New cabinets for Tooling

Home Model Engine Machinist Forum

Help Support Home Model Engine Machinist Forum:

This site may earn a commission from merchant affiliate links, including eBay, Amazon, and others.

Brian Rupnow

Design Engineer
Project of the Month Winner
Joined
May 23, 2008
Messages
14,976
Reaction score
8,268
Location
Barrie, Ontario, Canada
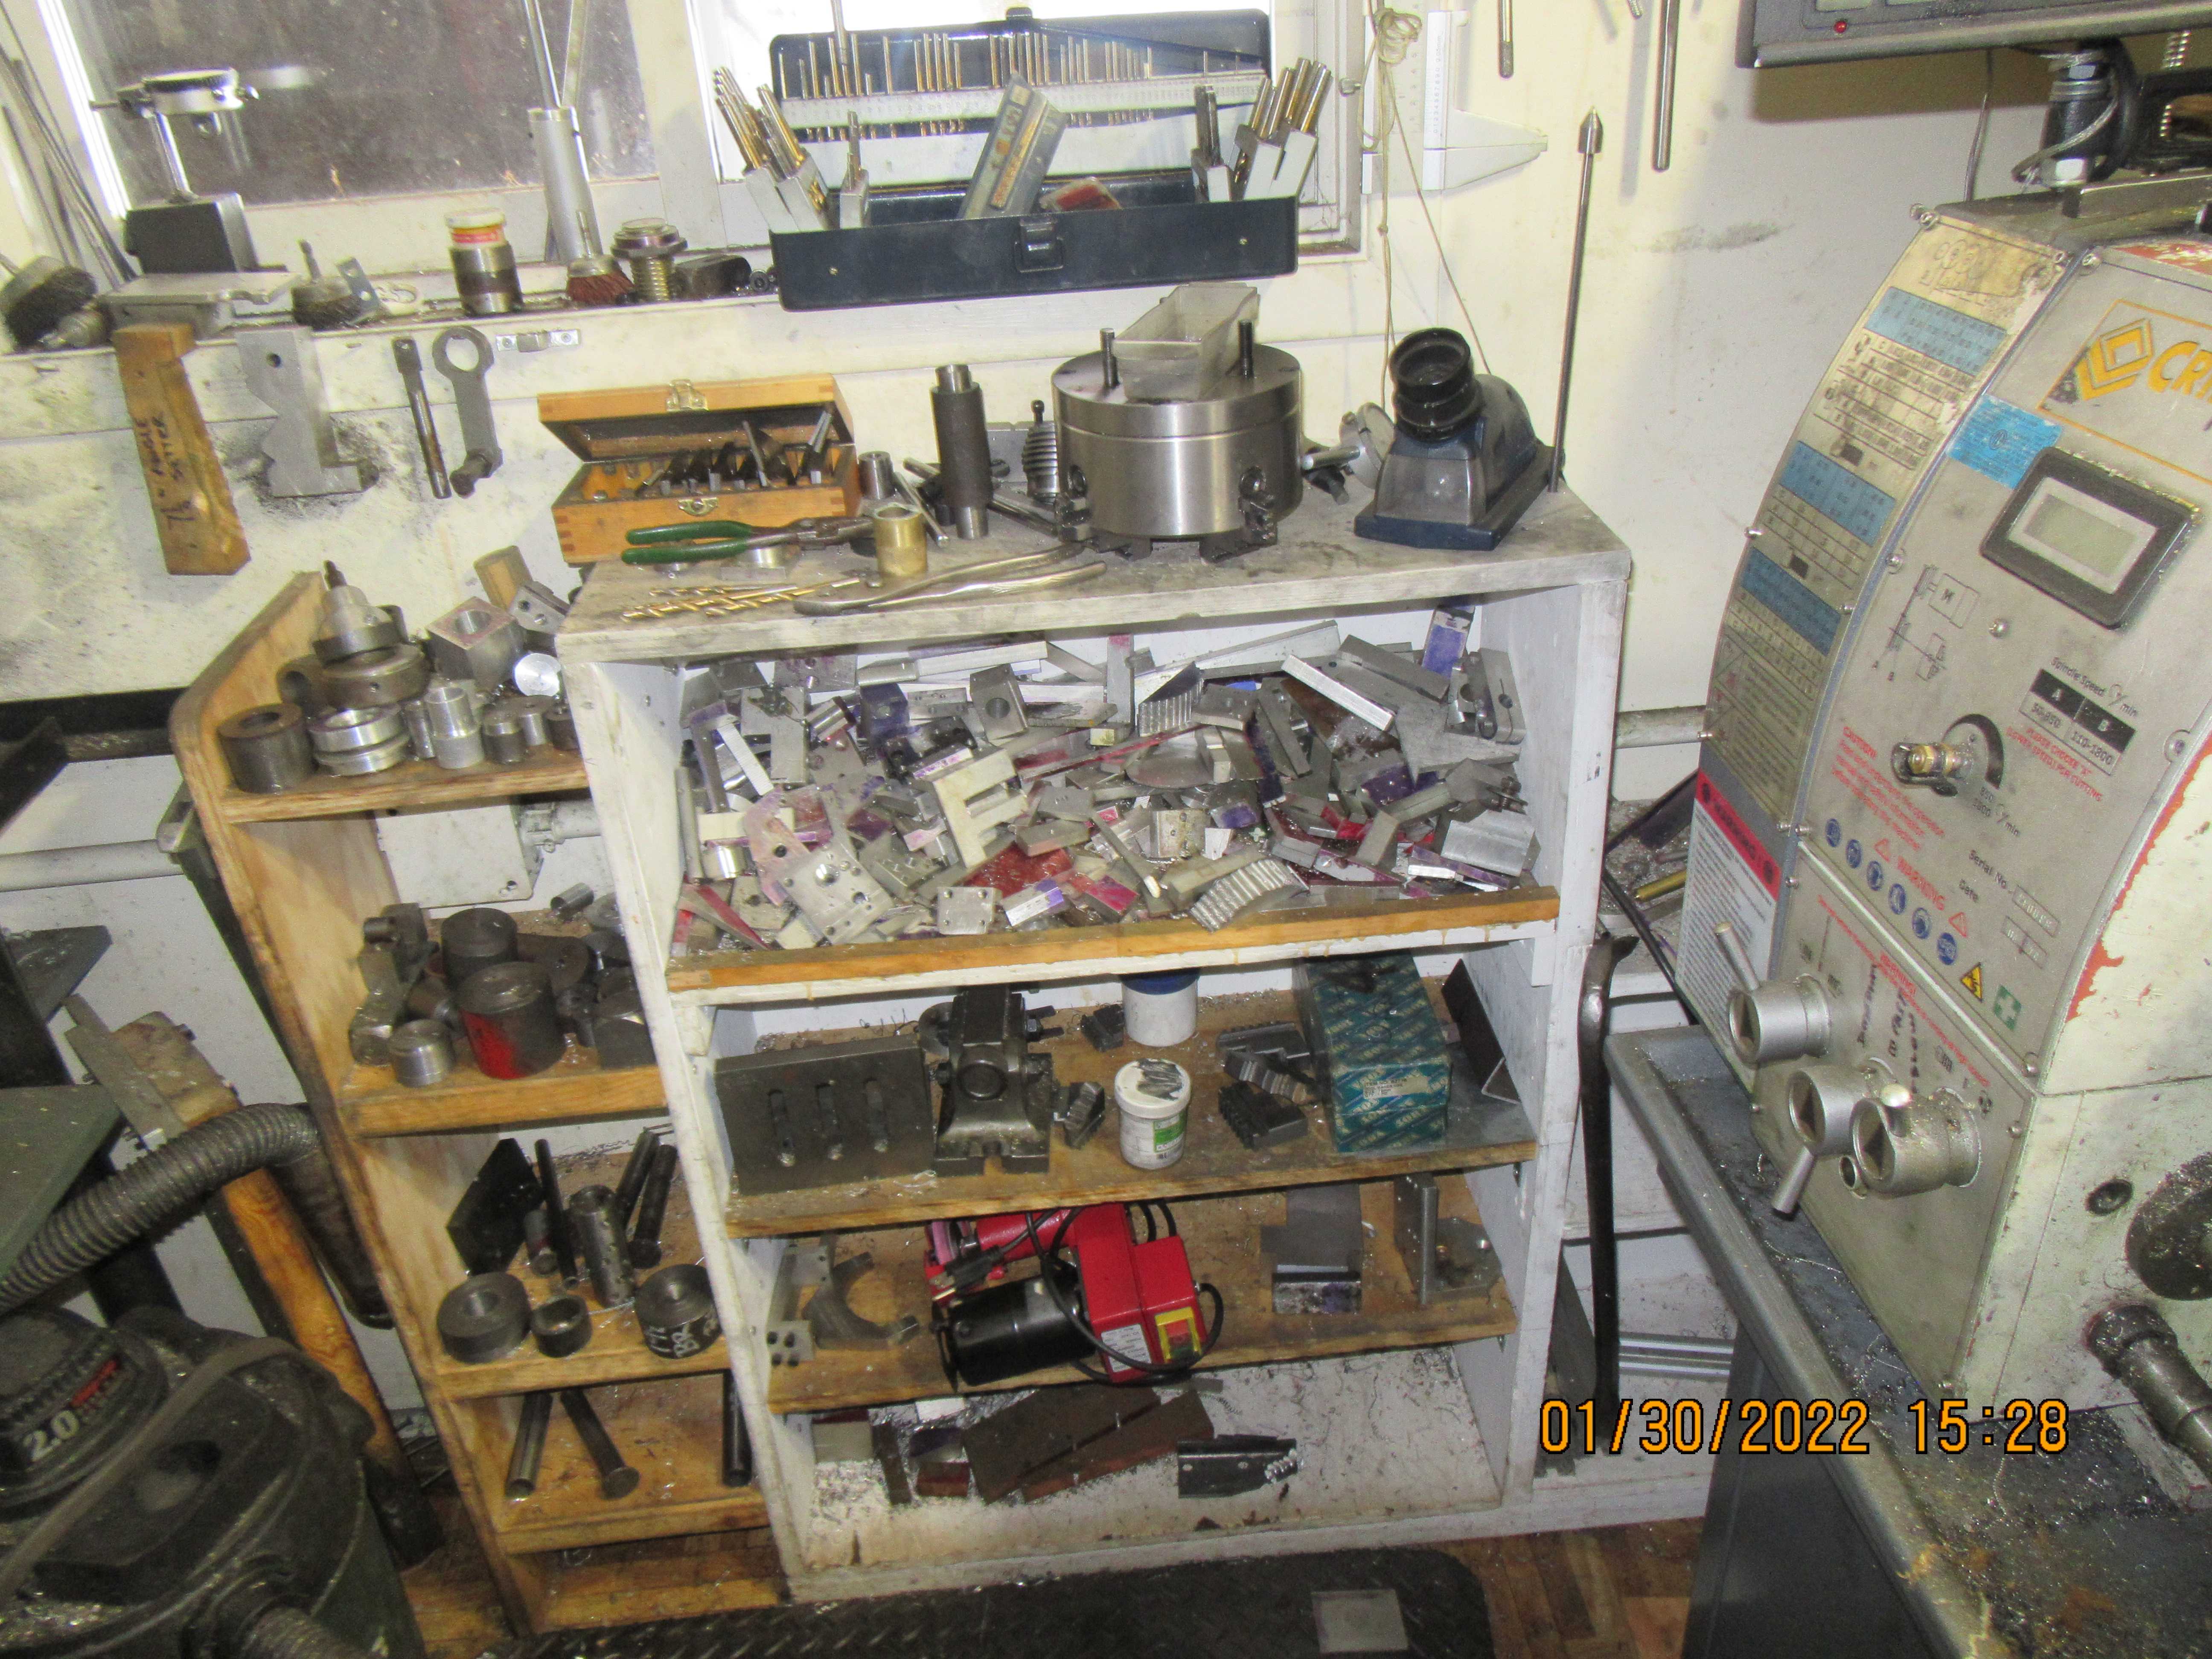
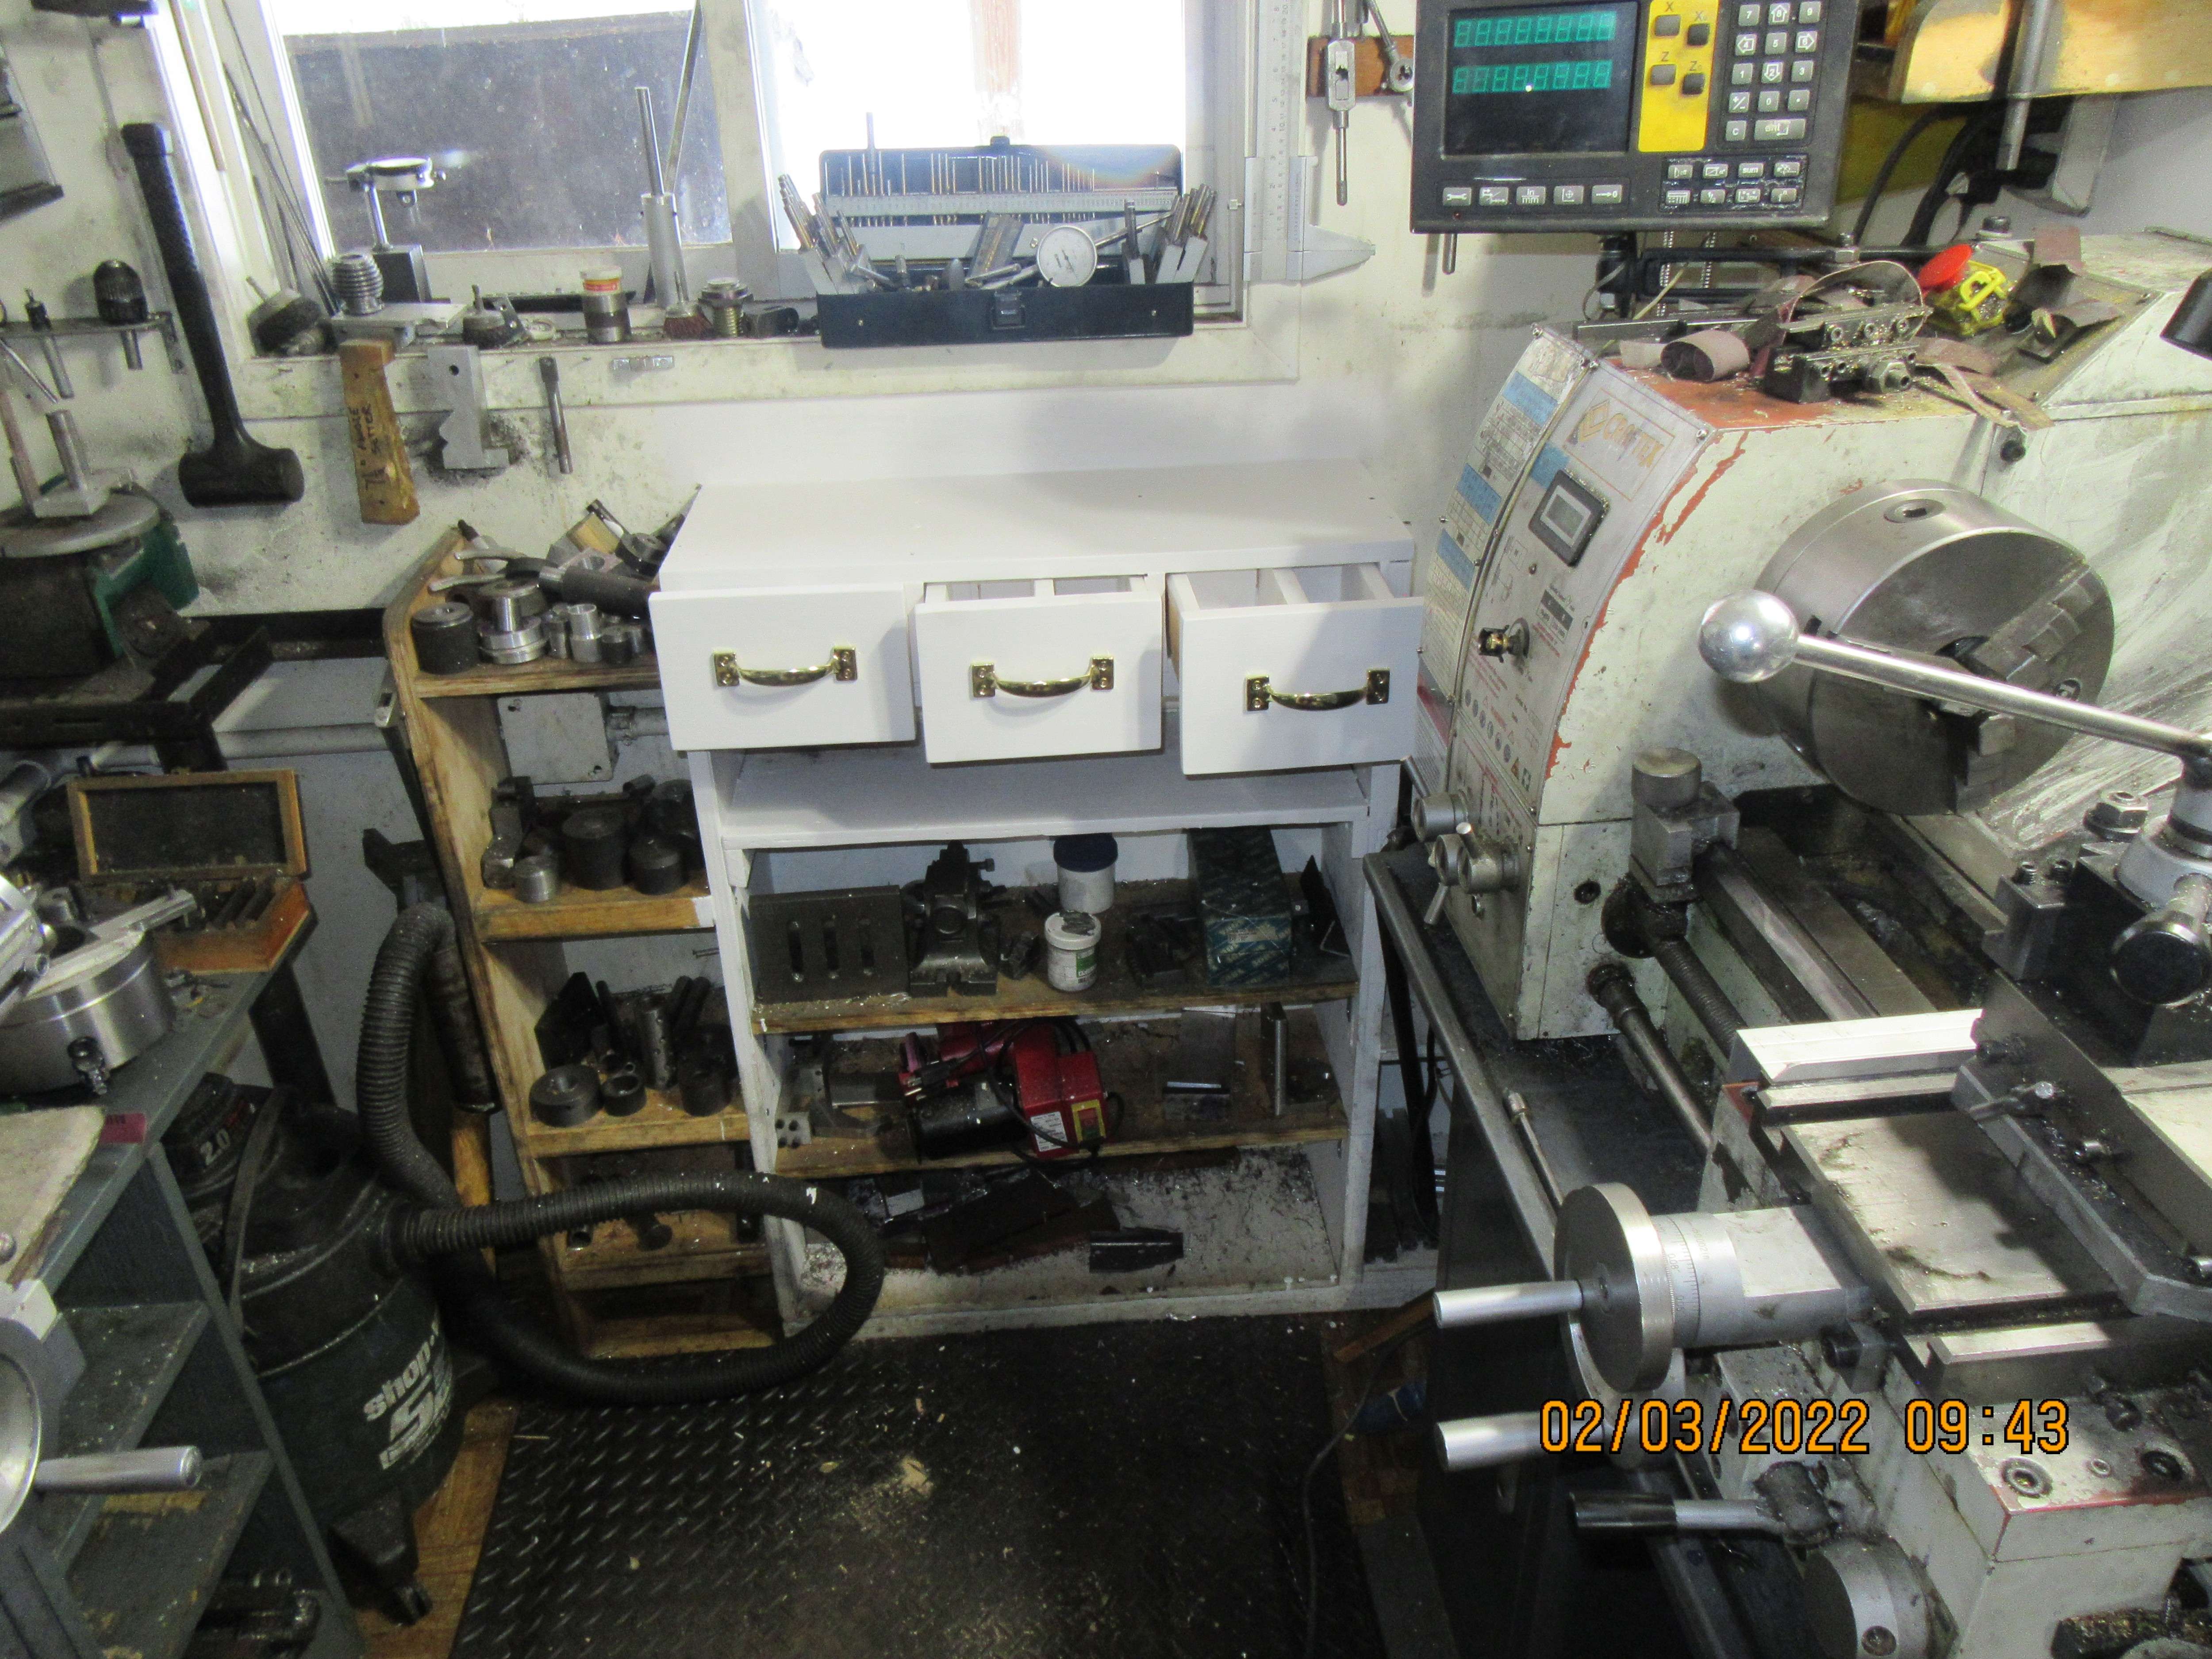
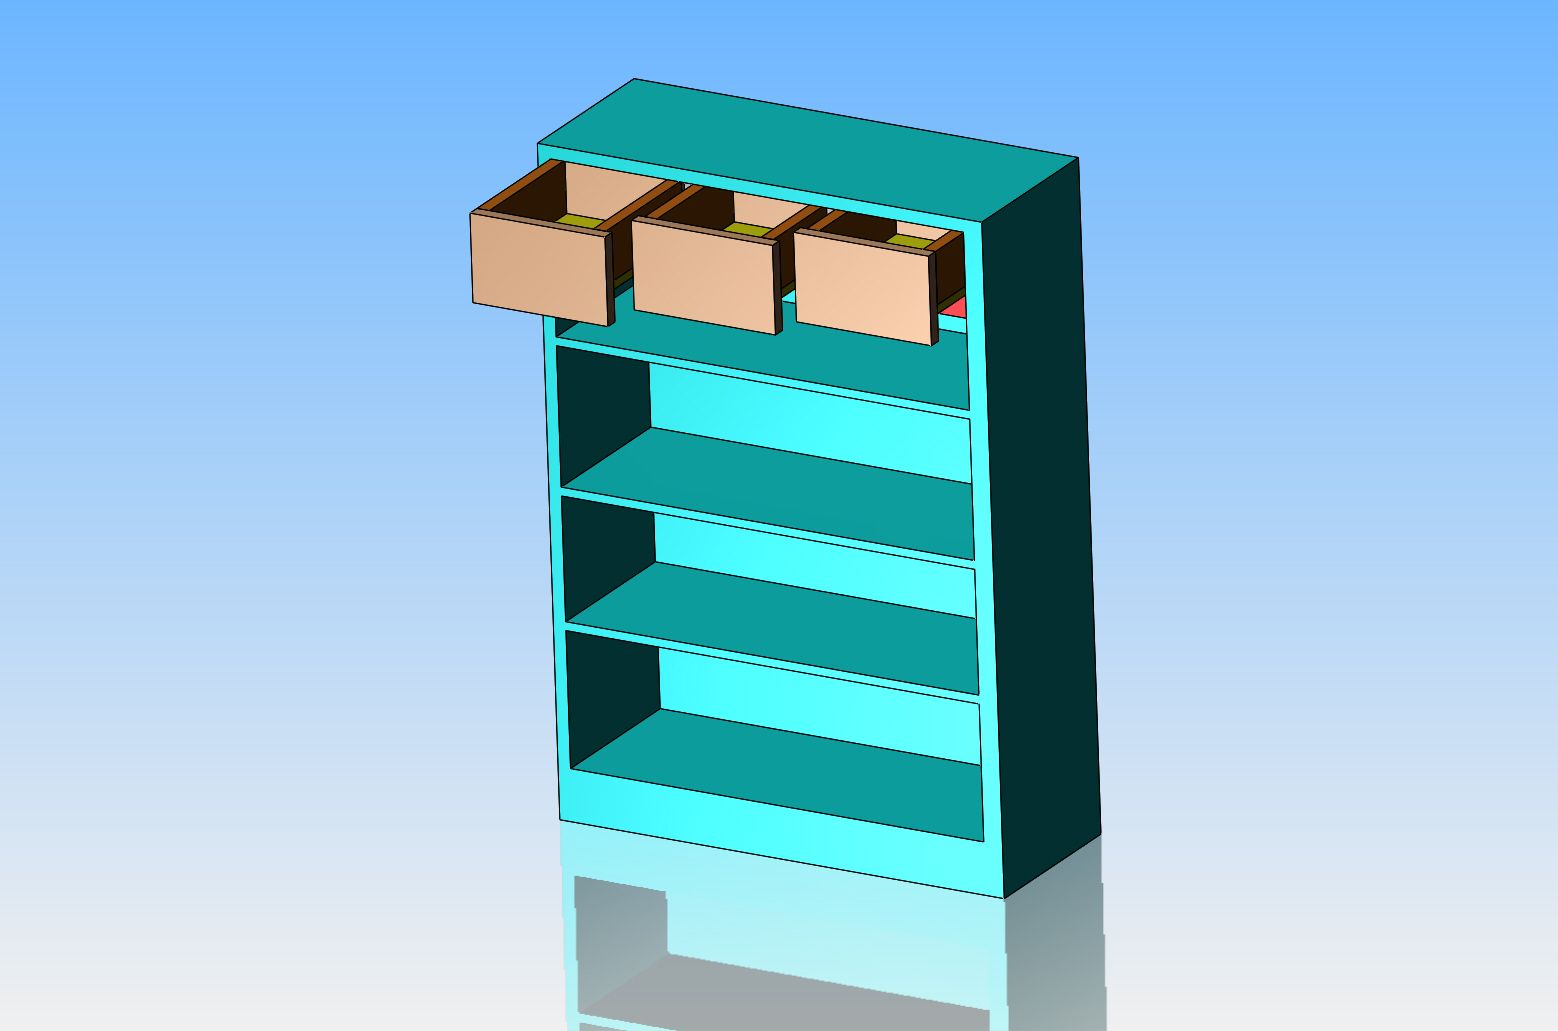
Twelve or thirteen years ago, when I set up my little shop, I had an old "recycled" set of shelves below my window to store things on. As time went by, the top shelf became a collection place for all my "off-cuts" of aluminum from various projects. About three years ago it reached capacity and wouldn't hold anymore. I have been buying various pieces of tooling this past year, and had ran out of good places to keep them.--so--it was time for a redesign. I pitched out all the aluminum cut-offs and built three drawers to fit in the top space. Each drawer is divided into two compartments. Yesterday I painted everything and this morning I put the drawer handles on and assembled everything for a picture. I'm happy with this.
NM609T.jpg

MmeloN.jpg

KQ7rra.jpg
 
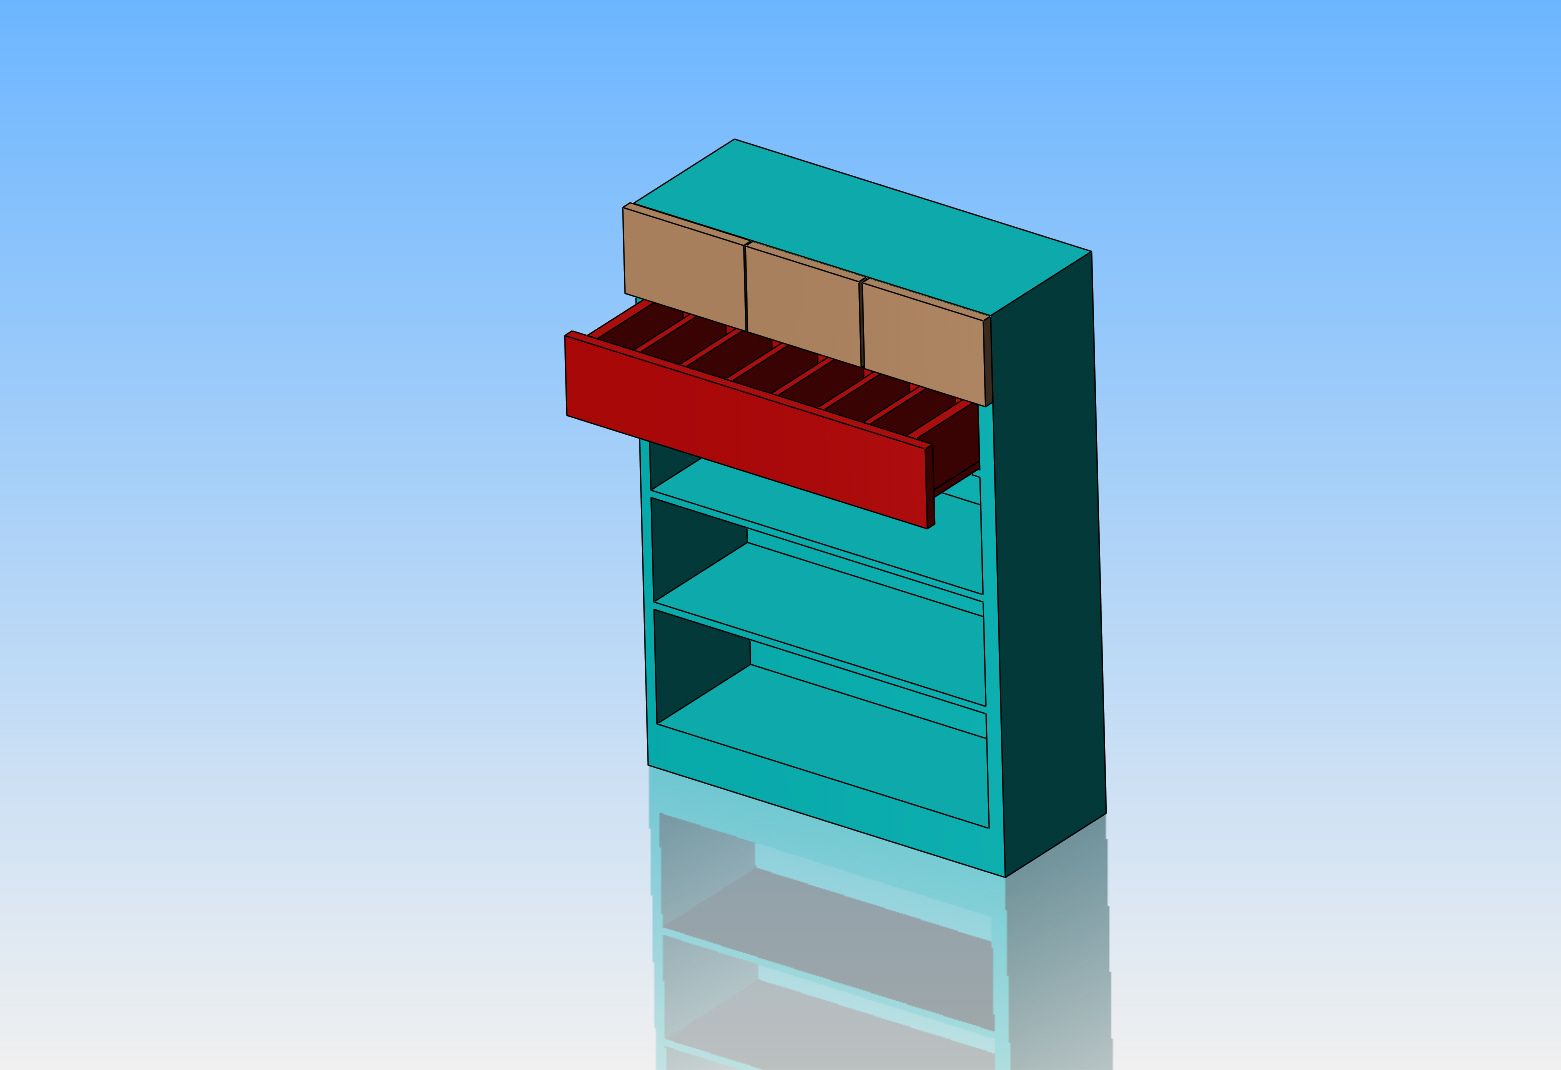
I had so much success with the three top drawers, that I may make one full width pull-out drawer to fit directly below them. I'm not sure yet, I have to check out my supply of wood out in my shed. That full width pull out drawer could be divided into about 12 separate "compartments".
YmJWpv.jpg
 
Last edited:
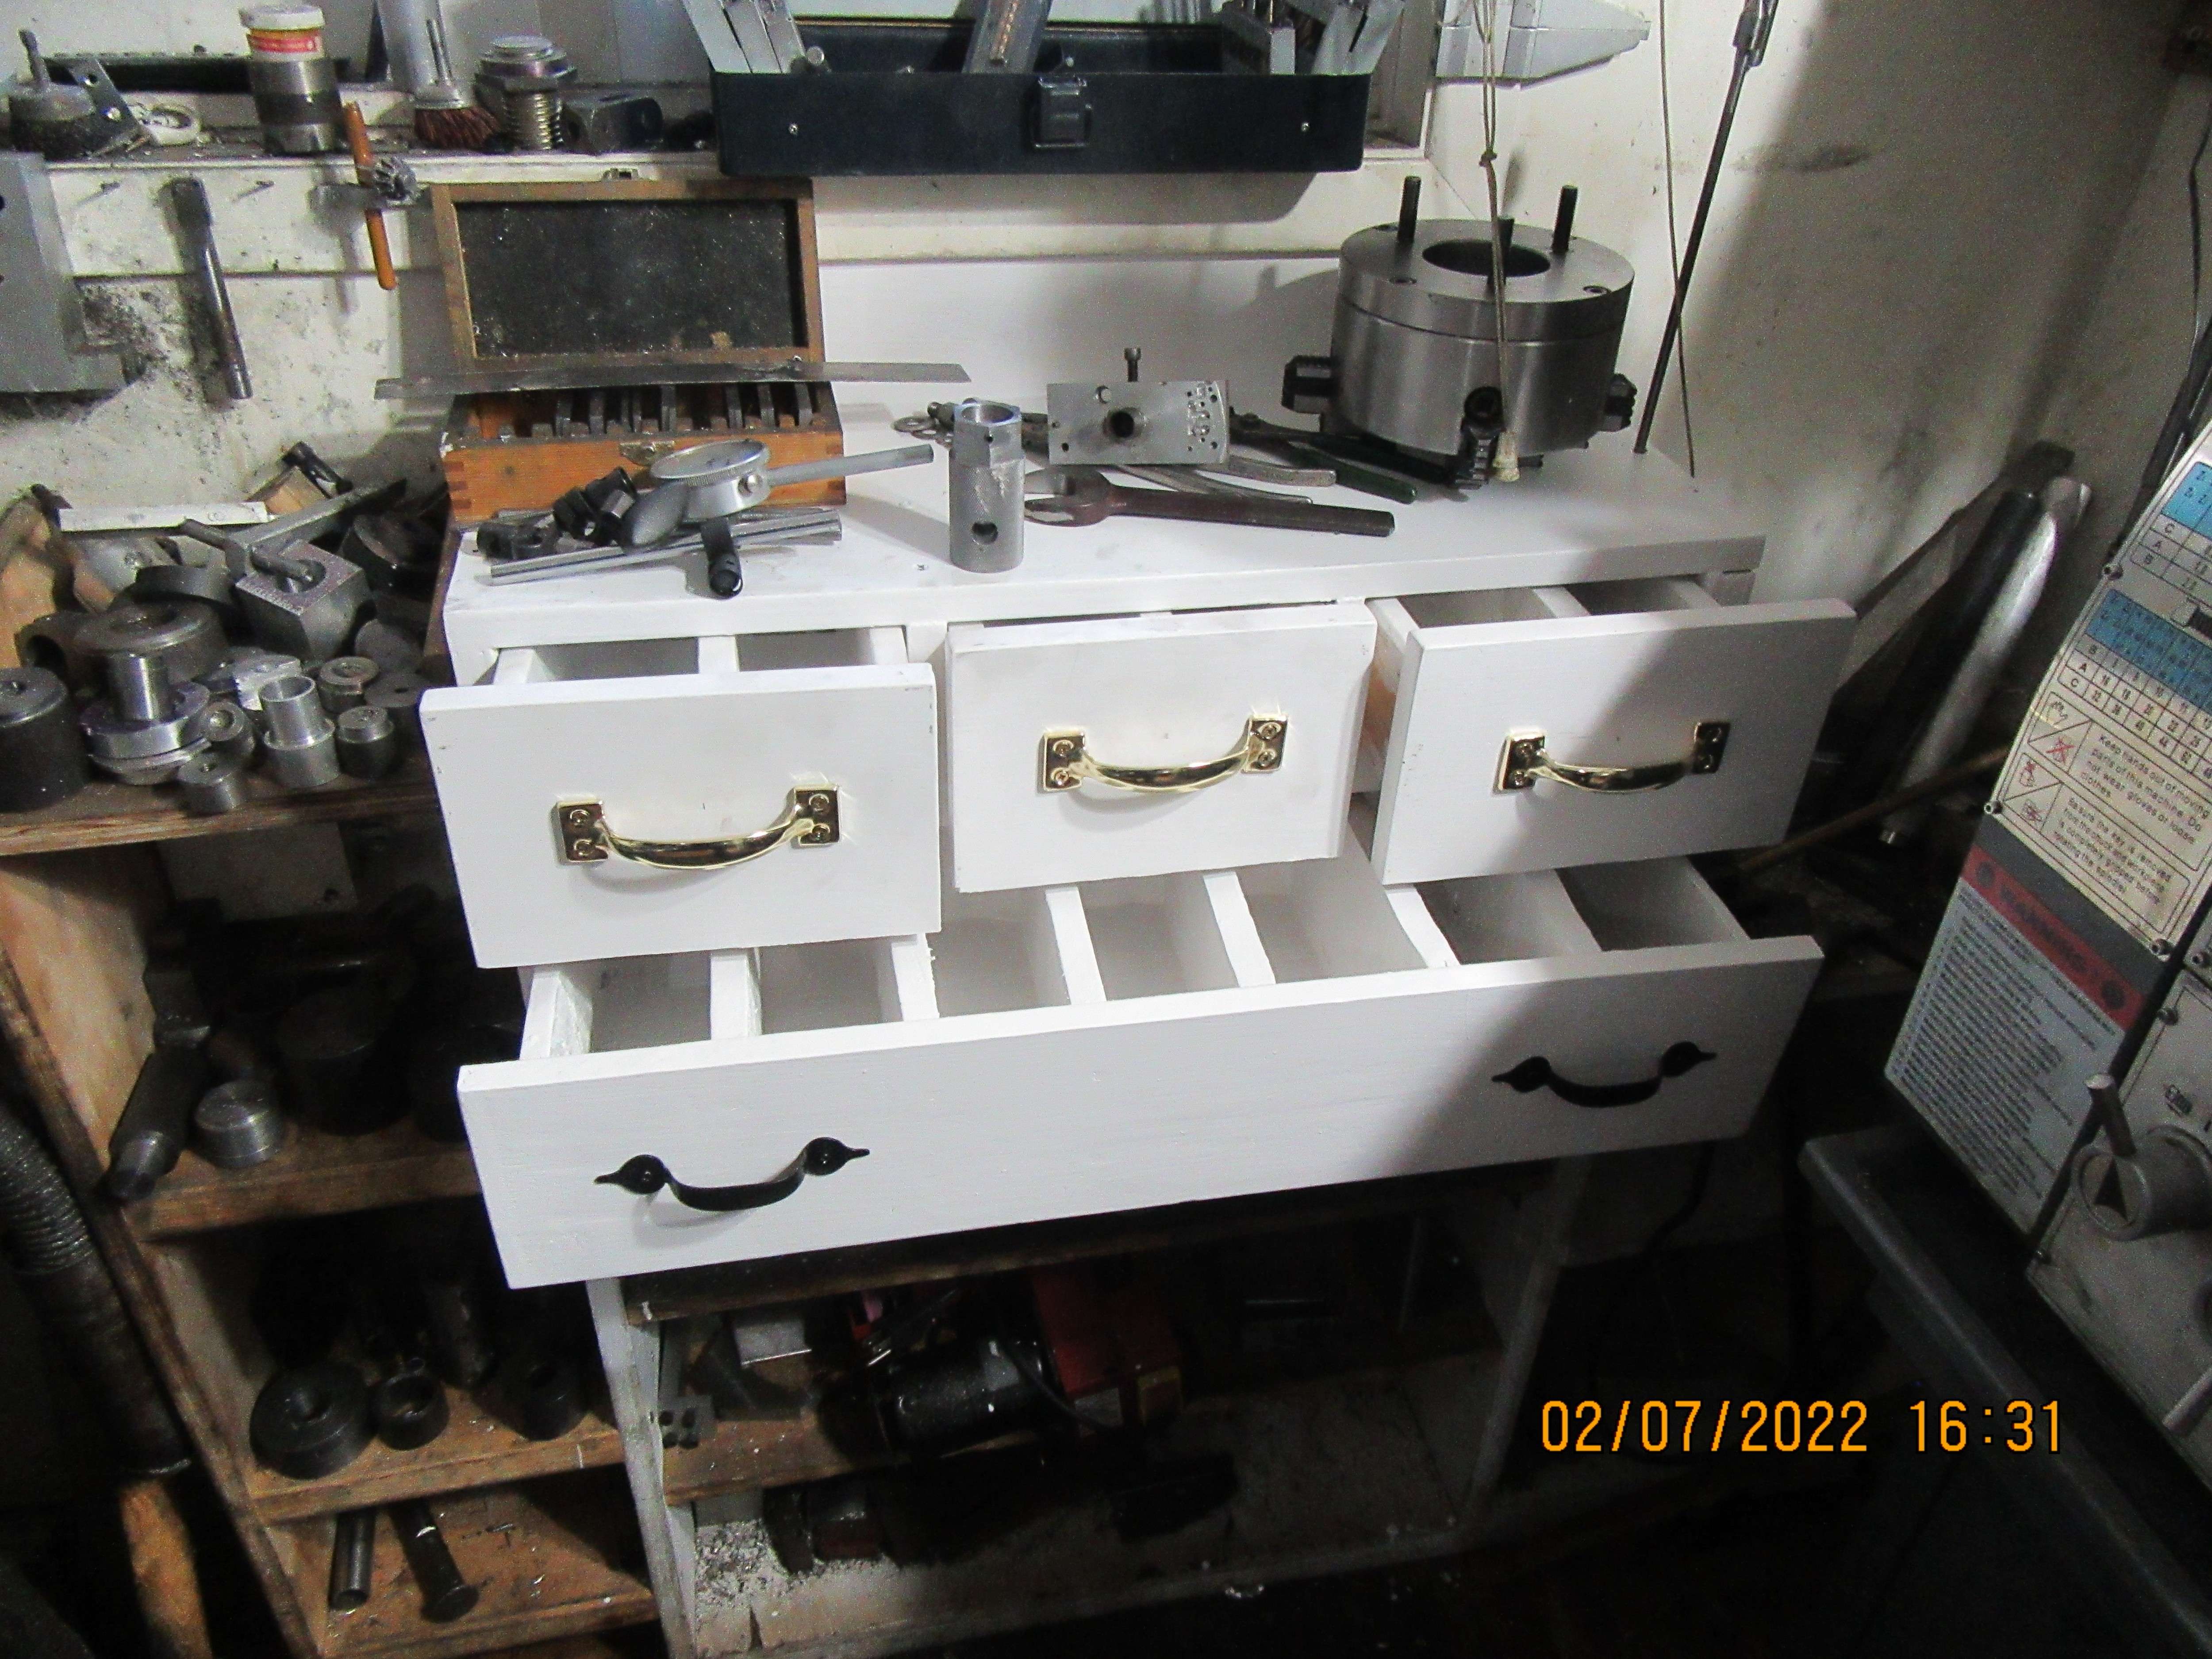
And here we are, with a second single full width drawer, which gives me seven more discreet places to store tooling---or "things". Why are the handles different than the first drawer?--Because I bought the last three the hardware store had in stock for the three top drawers. I'm really happy with this. I don't go into "cabinet maker phase" very often, but when I do, I'm generally pleased with the results.----Brian
ftQzNW.jpg
 
Twelve or thirteen years ago, when I set up my little shop, I had an old "recycled" set of shelves below my window to store things on. As time went by, the top shelf became a collection place for all my "off-cuts" of aluminum from various projects. About three years ago it reached capacity and wouldn't hold anymore. I have been buying various pieces of tooling this past year, and had ran out of good places to keep them.--so--it was time for a redesign. I pitched out all the aluminum cut-offs and built three drawers to fit in the top space. Each drawer is divided into two compartments. Yesterday I painted everything and this morning I put the drawer handles on and assembled everything for a picture. I'm happy with this.

snip

Some great ideas for improved storage.

I've been finding (over some years) that empty 20+ liter (5 gal if you wish) plastic buckets can also be a useful way of stashing off cuts.
The pails can take a fair amount of abuse. Lids can make them stack-able and the are move-able.
(Although when they're full of steel bits - - - they're rather heavy!!)

I've got a stack of 5 gallon buckets that I use for storing spare/excess power adapters (you never know when an adapter will crap out and this way I almost always have a spare):

IMG_4020.JPG


To make the stack easier to move, I have it sitting on a plant dolly (rated to 500 lbs.):

Plant Dolly.jpeg


Since "normal" 5 gallon bucket lids can be a pain to get off, I use "Easy-Off" lids (but still have a bucket lid remover hanging on one of the bails):


Easy-Off Lids.jpeg


I also use 5 gallon buckets for storing my 3D Printer filament, along with desiccant to keep it dry.
 

Attachments

  • Easy-Off Lids.jpeg
    Easy-Off Lids.jpeg
    38.6 KB · Views: 82
Carbuilder--you are right. The dividers are thick, but not being a real "fine" carpenter, I had doubts about being able to drive a screw-nail thru the front, bottom, and backboard and still keep the nail inside of any thinner divider.
 
Twelve or thirteen years ago, when I set up my little shop, I had an old "recycled" set of shelves below my window to store things on. As time went by, the top shelf became a collection place for all my "off-cuts" of aluminum from various projects. About three years ago it reached capacity and wouldn't hold anymore. I have been buying various pieces of tooling this past year, and had ran out of good places to keep them.--so--it was time for a redesign. I pitched out all the aluminum cut-offs and built three drawers to fit in the top space. Each drawer is divided into two compartments. Yesterday I painted everything and this morning I put the drawer handles on and assembled everything for a picture. I'm happy with this.
NM609T.jpg

MmeloN.jpg

KQ7rra.jpg
That top picture looks like my shop.
I do have 2 standing shop cabinets for larger tools.
 
Carbuilder--you are right. The dividers are thick, but not being a real "fine" carpenter, I had doubts about being able to drive a screw-nail thru the front, bottom, and backboard and still keep the nail inside of any thinner divider.

Yup, who hasn't had a nail or screw come out where it isn't supposed to. Especially fun when using a nail gun and holding your hand too close to the joint!

If you want to try some semi-fine carpentry the next time, use the thick stock for the front, back and sides. Cut rabbits (slots) vertically in the front and back panels so you can slip in thinner stock to make dividers. That also gives you the option of removing some to change the size of the compartments.
 
Carbuilder--I do have one ancient set of cabinets that are built as you describe. It works fine, and is probably older than I am. I just didn't want a quicky project to get more involved than what it did.
 
Yup, who hasn't had a nail or screw come out where it isn't supposed to. Especially fun when using a nail gun and holding your hand too close to the joint!

If you want to try some semi-fine carpentry the next time, use the thick stock for the front, back and sides. Cut rabbits (slots) vertically in the front and back panels so you can slip in thinner stock to make dividers. That also gives you the option of removing some to change the size of the compartments.
I think you are describing dados (dadoes?) rather than rabbets - ?? IIRC rabbets are along an edge, forming a sort of step, where dados (dadoes?) are grooves. But my memory is fuzzy - maybe someone else can give a definitive answer ...
 
Much of my workshop storage is repurposed kitchen units.
When my father replaced the kitchen in his house, I had the old units and bench tops.
If you find a kitchen fitter, they are always happy for someone to take away old kitchens.
 
I've got a stack of 5 gallon buckets that I use for storing spare/excess power adapters (you never know when an adapter will crap out and this way I almost always have a spare):

View attachment 133913


To make the stack easier to move, I have it sitting on a plant dolly (rated to 500 lbs.):

View attachment 133911


Since "normal" 5 gallon bucket lids can be a pain to get off, I use "Easy-Off" lids (but still have a bucket lid remover hanging on one of the bails):


I also use 5 gallon buckets for storing my 3D Printer filament, along with desiccant to keep it dry.

Chuckling - - - I have a few more buckets than that and as some of them are likely well over 100# that dolly just wouldn't be much help. Dunno if I wold even want to stack those bloody stash buckets up that high - - - that would be some serious work!!! (But I do love my cut off stash!!!! (wacky beeg grin!!)
 
Chuckling - - - I have a few more buckets than that and as some of them are likely well over 100# that dolly just wouldn't be much help. Dunno if I wold even want to stack those bloody stash buckets up that high - - - that would be some serious work!!! (But I do love my cut off stash!!!! (wacky beeg grin!!)

My shorter (≤ 12") stock and off-cuts are stored in "Really Useful Boxes" (Really Useful Boxes Inc - Box Details), milk crates or in tubes on a set of heavy-duty steel shelving:

Really Useful.jpg


IMG_4023.JPG


Longer lengths are also in the same set of shelving (tubes for some of the small diameters or to keep specialized material separate):

IMG_4022.JPG


As you can see, the dehumidifier is located next to this steel shelving, and the floor drain for the basement is partially tucked under the shelving: makes for a fun time of weight lifting when the drain gets clogged up!


Angles, channels and other light/long stock is on a wire shelf tucked under a long shelf that runs along one wall:

IMG_4024.JPG


I usually buy more than I need for a specific project to maximize minimum shipping charges, so I'm quickly running out of places to put stuff.


Charlie
 
Well done! The only small disadvantage of organization is that it takes a bit of serendipity out of the search.

Serendipity is fine, but if my shop had been better organized before the pandemic (when I organized and went through lots of labels) I wouldn't a have two or more of some small tools, parts and other miscellaneous stuff!
 
Serendipity is fine, but if my shop had been better organized before the pandemic (when I organized and went through lots of labels) I wouldn't a have two or more of some small tools, parts and other miscellaneous stuff!
I have a rack I made for my 4' or less tube and rod. Everything else just leans against the wall. I have way too much junk.
 
I have a rack I made for my 4' or less tube and rod. Everything else just leans against the wall. I have way too much junk.

You sound like my wife: while she seems appreciative of things I do in the shop that she benefits from, and has even admired some of my work, she still calls it all "junk," and pays too much attention to the 1-800-GOT-JUNK ads.
 
I think you are describing dados (dadoes?) rather than rabbets - ?? IIRC rabbets are along an edge, forming a sort of step, where dados (dadoes?) are grooves. But my memory is fuzzy - maybe someone else can give a definitive answer ...
Your description is correct. Rabbets are along the perimeter. Dados are grooves or as I refer to them as plows are in the field.
I am a retired carpenter and have worked in cabinet shops as well.
Rabbets and dados can be made in many ways. Cabinet saw with dado blades or even a single blade with several passes. Routers, shapers, radial arm saws and even jointers.
I have made and cleaned up rabbets and dados with hand tools too. There are router planes chisel planes and rabbet planes , they all can do the same as power tools, just slower.
most of these joints are probably done on a cabinet or contractors saw.
I have a method that will assure that the joints are the same depth all the way thru. Often , because a board is not completely flat , the result will be an inconsistent depth.
Make a wood insert for the saw table that has a slight ( 1/16" ) or so hump that is in the center and blends to 0 at each end. Sanding the insert probably to a slight hump is the easiest way.
The idea is to have the board pass over the blades at a high point for a full depth of cut.
If an insert without the hump is used and the board is not completely flat , then the depth of the dado may vary.
If you use a power feeder then the wood insert is not needed. The weight of the feeder will push the board flat as it passes over the blades.
I imagine few of us have a power feeder , I do myself .
Hope this info is helpful.
mike
 
Back
Top