Elmer's #6 -- Slider, a slide valve engine

Home Model Engine Machinist Forum

Help Support Home Model Engine Machinist Forum:

This site may earn a commission from merchant affiliate links, including eBay, Amazon, and others.
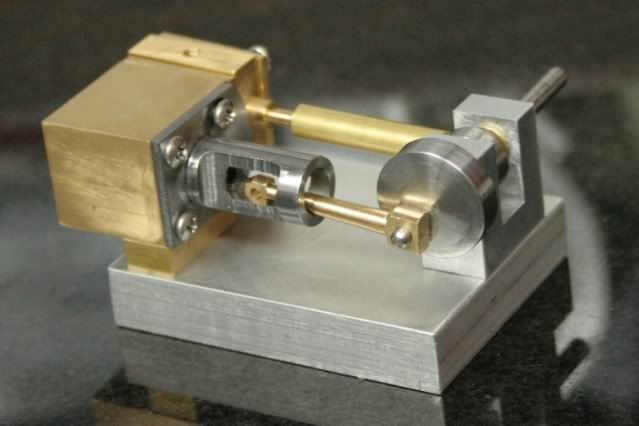
Looking good I can relate to small. That steam chest looks great you've done some excellent looking work!
I also can relate to not getting much shop time. Between my real job and all the other things going on you try and get as much done as you can when you do get to the shop.
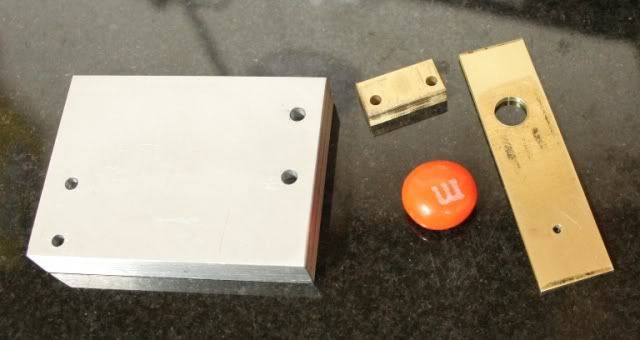
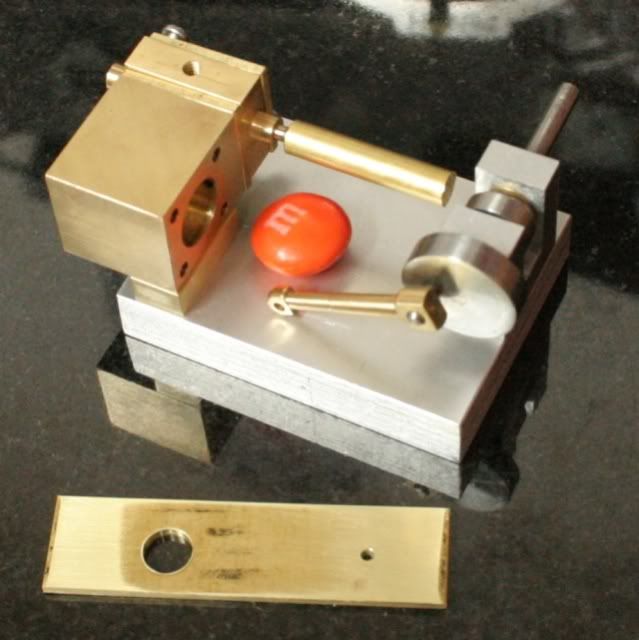
I like the m&m in the pics trouble here there would be no m&m's left by the time I got to taken a picture if you know what I mean. :big:
Keep up the nice work and pics!
 
You're right, Ed. That's patina...
Thanks for the correction ;D


Doc, thanks for the support. I got the big bag of M&Ms. I'm not a big chocolate fan, so they'll last awhile.
From the looks of things I think your engine parts are very nearly the same size as this.
 
The steam chests look very close I like the slide valve set up in yours better than in the one I'm working.
A big bag of m&m's would mean even less would get done :big:
m&m's are a weakness of mine!
 
Wow! The last post was in January. Has it really been that long? I know I haven’t had much shop time lately but I didn’t think it’d been that long since the last update. I really had to go digging to find the thread. Page 5 :(

A few things have been made since the last update. Between traveling for work, many late evenings, working weekends and family matters, play time has been scarce. Well, I did warn early on this could take awhile.

I managed to crank out the cylinder standoff and finally got the base plate drilled. I’ve started on the eccentric strap, just drilling the holes, but no shaping. I needed the big end hole to size the eccentric.

Making the eccentric allowed me to do some 4 jaw work today on the C2. The eccentric is now done except for drilling for the set screw. Sorry, I didn’t get any pictures of that, but you’ve all seen lathe work before. Then stupid me forgot to include it in the group shot. ::)

tn_group_1.jpg


And finally! A mock assembly shot! It includes the eccentric.

tn_mock_1.jpg


Thanks for looking.
 
Oooh, nice Kevin! That's starting to come together realy good, and looks great!

I went digging for your thread a while back. I thought I might have missed the Grand finale. I found it alive, and have been waiting patiently ever since.

Don't worry about how long it takes, everybody should understand that priorities come first, and a hobby is...well... a hobby.

-MB
 
Thanks for the support MB.

Let's see, you've gotten 3 completed to my one incomplete... I think I'm a little behind ;D

I'm not worried about this going fast or slow. It's the relaxation I get that's most important to me. Life gets pretty hectic now days between work, family and community obligations so this forces me to push all that aside and concentrate on the job at hand. Safety requires it, if I can't devote 100% concentration then I don't go in the shop.
 
Sure is going to be a cute little thing, Kevin.
That word "little" is deceptive. It usually means tight work and bitsy parts.
Looking great!

Dean
 
Thanks Dean.

Yes, this thing is tiny, with lots of itty bitty parts. Well, OK, everything is an itty bitty part ;D
The base is only about the size of a credit card, though I don't think I'd want to carry this around in my wallet.

 
I just finished maching the slide valves on my current project. They're about 10x the size of yours, so I can appreciate how much effort it was to make it. Those parts are too itty-bitty for mne. ;D
 
I had to do some work work this morning, got that out of the way early and headed out to the shop. I had intended to finish up the eccentric strap and the valve rod. But I didn’t feel like doing it so made the cross-head guide/cylinder head.

I grabbed a 1 inch round piece of 12L14 and turned down the spigot then drilled and reamed it 1/4 inch per plans. The plans call out a rather odd dimension of 11/32 for the outside of the cross-head guide, but I made it 3/8 so it will fit into a collet.

The piece was parted off then held in said 3/8 inch collet to face the back. Then off to the mill to drill the bolt clearance holes and trim it down square. I messed up the bolt holes but it’ll work. Somehow I didn’t get them in quite the right location, the square pattern was just a tiny bit small. The plans also called for drilling the 1/4 inch guide .625 deep, I did that and it seems a little short. I may end up making another one, I’m not too happy with it.

tn_xhead_grpjp.jpg


It’s starting to look like an engine.
tn_mock_2.jpg


Thanks for dropping by.

 
kvom,
Thanks for checking in. Yeah, they're tiny ;D
I may not do another one this small, old age is catching up to me. I just can't hold on to, nor see, things this small anymore.

By the way, you need to put something in your pictures to judge the scale by. The cylinder looks nice, the cast iron should be even better.

edit: Oops! I see that you did...
 
ksouers said:
By the way, you need to put something in your pictures to judge the scale by.

And so do you! ;D But you did mention the credit card scale...and wow...pretty small.

How did you cut that curved side of the piston rod guide (not sure about terminology)....the far left side in the last pic?
 
Thanks Zee.

Hey, I got M&M's in the previous pictures ;D
Yeah, it's damned small.

The curved side is a leftover. The part was turned from round stock, then squared up to match the shape of the cylinder block. I just didn't do that side.
 
ksouers said:
Hey, I got M&M's in the previous pictures ;D

Oops. Indeed you do. I'd seen the pics...but that was further back in time than my memory can hold. ;D

ksouers said:
The curved side is a leftover. The part was turned from round stock, then squared up to match the shape of the cylinder block. I just didn't do that side.

"I just didn't do that side."

There's a lot that was said in that sentence. Whether consciously or not...you made a decision that affects the look of the engine. I wish I had more skill in the 'art' side of things. Sometimes not cutting something is better.


zeeprogrammer said:
"I just didn't do that side."

There's a lot that was said in that sentence. Whether consciously or not...you made a decision that affects the look of the engine. I wish I had more skill in the 'art' side of things. Sometimes not cutting something is better.

You give me too much credit. I was just being lazy.
I have the artistic talent of a thumb tack.
 
It's great to see some progress Kevin.

I was wondering what you have been doing with all of
your spare time.
:hDe:

Rick

 
Hey Rick! Thanks for stopping by.

Yeah, I was glad to finally get some shop time. It's been weeks and I was afraid some furry little critters had taken up residence.
 

Nice work Kev!

That's going to be a great looking engine!

 
Cool, Kevin. Two days in a row and good progress, too.
It's really taking shape, now!

Dean
 
Back
Top