Elmer's #6 -- Slider, a slide valve engine

Home Model Engine Machinist Forum

Help Support Home Model Engine Machinist Forum:

This site may earn a commission from merchant affiliate links, including eBay, Amazon, and others.
Thanks MB.

Yep, they're itty bitty, all right. I'm wondering if I should have made them on the Sherline.
 
There ya go! That M&M really lets everyone know what you're working with. Even smaller than I had in my mind, and that's a pretty small place to begin with.

Good going, Kevin.

Dean
 
I didn’t get as much shop time today as I had planned. The tools I was expecting yesterday arrived and put to use. I finished threading the valve rod and got it fitted to the steam chest. I still have to drill for the pin and shape the end before parting it from the parent stock, then slot it for the eccentric strap.

tn_e6_valve_rod_2.jpg


I then started on the valve adjusting nut. A thin piece of 1/16 inch brass was cut, squared and brought to size then drilled and tapped to match the 2-56 thread on the rod.

tn_e6_valve_nut_1.jpg


After drilling and tapping the nut was cut from the parent and brought to size. You can almost see it in this shot.

tn_e6_valve_nut_2.jpg


Finished. And it’s only .006 too tall. Not bad for just eye ball work and a scale, I couldn't mic it while it was in the vise. I little work on the wet-dry and it's ready to go.

tn_e6_nut_mm.jpg


The nut with it’s mate, the D valve.

tn_e6_nut_mm_2.jpg


Here is the steam chest sub-assembly.

tn_e6_valve_assm_mm.jpg


The parts are growing. I didn’t get to work on the bearing block like I wanted to.

tn_e6_group_4.jpg


Disclaimer: No M&Ms were harmed during this project.
 
I got to finish up on the bearing block today. There was nothing special about it, just straight forward milling and drilling so no pictures. The bushings were also turned from brass and the hole reamed to size. While the bushings were still in the lathe a rod of the same size was chucked in the tailstock and run through the bushing to burnish it.

tn_e6_bearing.jpg


Next up was the con rod. I cut a length of 1/4 inch brass rod and turned down the small end to size. The piece was then chucked up in a collet block to mill the flats. The small end first, then the big end.

tn_e6_conrod_1.jpg


The part was moved back to the lathe for turning the big end down to size and start profiling the taper. Everything was turned down for the big end then I changed tools to start shaping the narrow part at the small end by plunging straight in. This is a time to go slow as plunging usually causes a lot of chatter.

tn_e6_conrod_2.jpg


OOPS!

tn_e6_conrod_oops.jpg


I think I need to change my strategy. Maybe next time I’ll profile the small end before I start turning the rest down to size so I’ll have less sticking out of the collet.

tn_e6_group_5.jpg


Disclaimer: No M&Ms were harmed during this project. (It’s all Dean’s fault)
 
Kevin, when I machine a small thin part like that in the lathe I leave an extra 1/4" on the end and center drill it for a tail stock center, and then later saw of the excess with the lathe off by using an 'Exacto' Saw. Then the rounded end can be hand finished with file and paper.

Just a suggestion that could work in this case.

-MB
 
Hi Kevin, everything is starting to take shape very nicely. Here's a little tip for you. You said you couldn't measure the piece because it was in the vise. Take a piece of .375 diameter by 1.00 long round stock and drill it out .047, or some small standard size. Drill and tap from the side into the .047 hole, 5-40 will do. Now cut a piece of .047 rod by 1.00 long and square up the ends. Use this as a depth tool. Allow the center rod to lightly slide in the bushing as you push it down to meet your stock then snug up the screw. Now mike across the whole affair and subtract 1.00. It's a handy little measuring gauge.
gbritnell
 
Thanks MB.
Yeah, that crossed my mind, too, but I discounted it. I probably shouldn't toss out the basics so quickly just to do something a little differently.
 
Yeow. I'm afraid I saw that bent piece coming up, Kevin.
Eat a few of those M&M's. They'll make you feel better about the experience. Especially if you already "had" the experience! Works for me, anyway.

It's still coming along nicely! I like this small stuff.
Good pics and writin', too.

Dean
 
Thanks for the support, George.

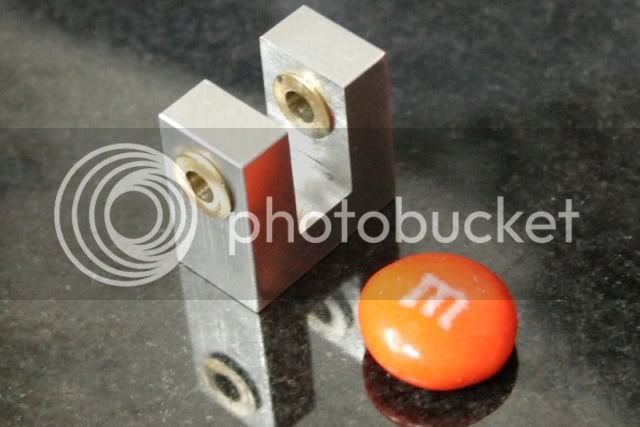
Now that's a neat little trick. That's easier than the one I'm working on.

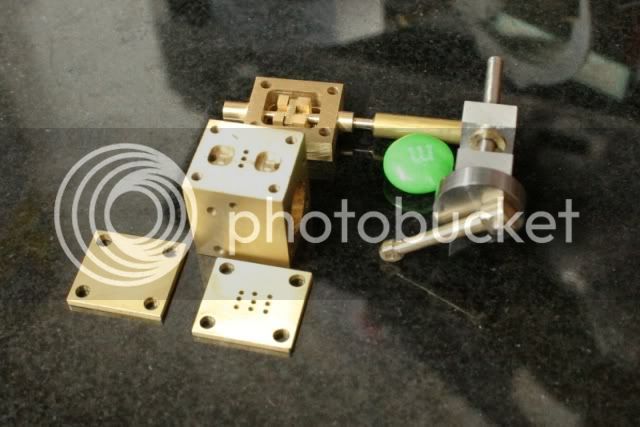
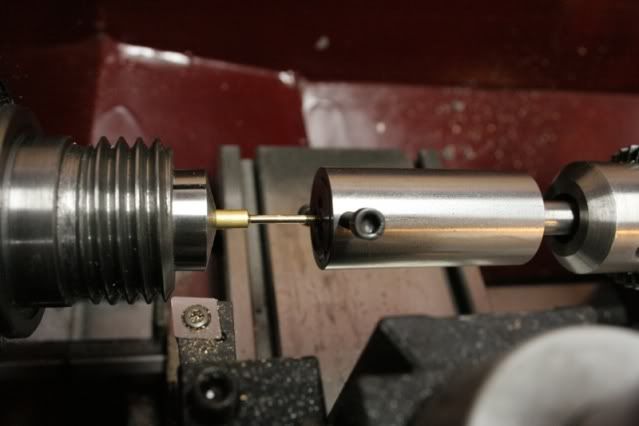
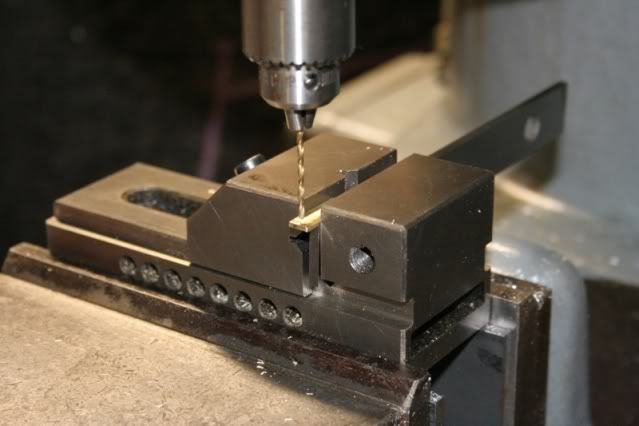
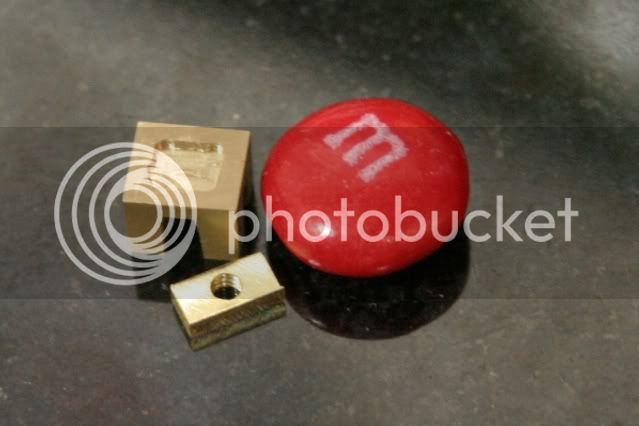
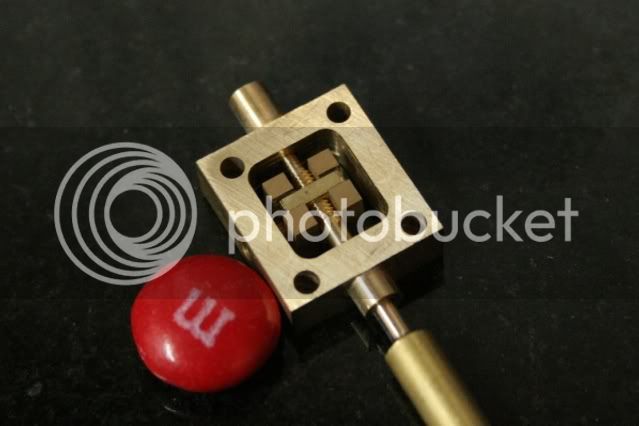
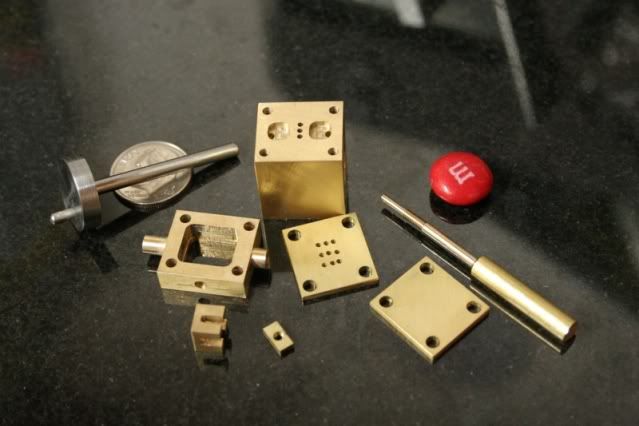
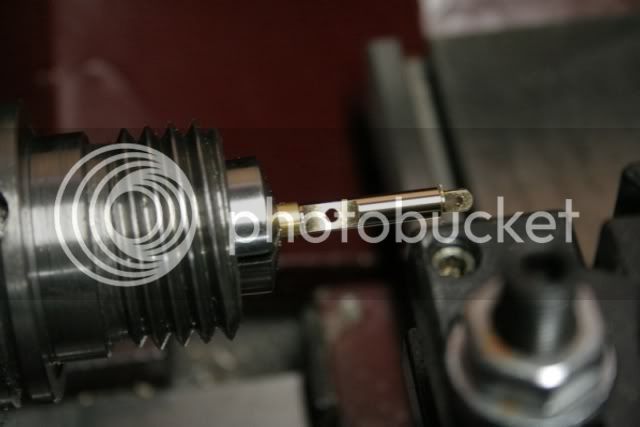
I have something similar where a small rod slides through a block, the rod poking out both sides. I need to make up a collar for a dial indicator, so I can poke the rod into it and read the measurement on the DI. Marv's idea originally, I stole it.

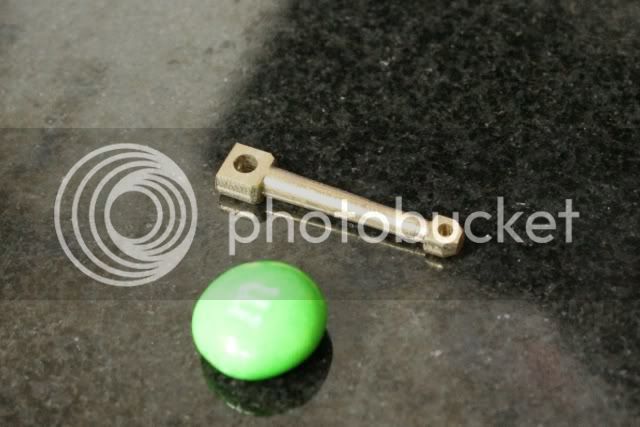
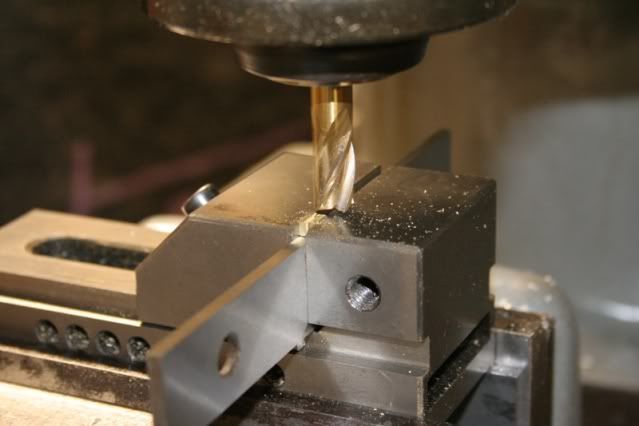
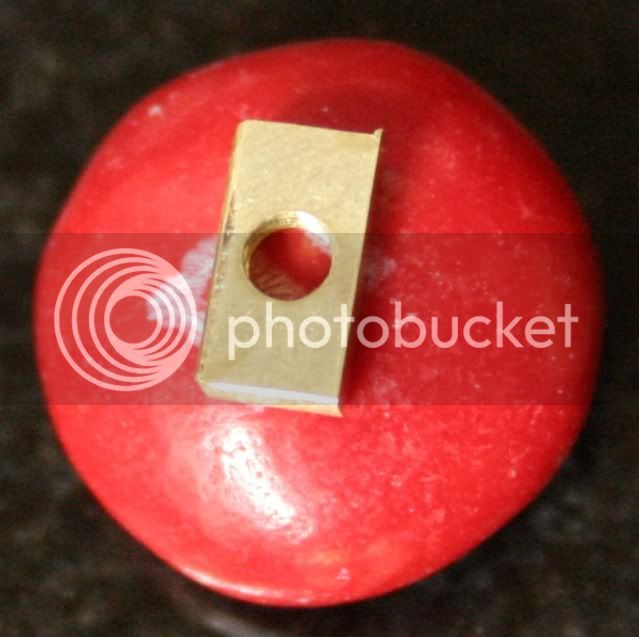
In this instance I just stuck a 6 inch scale next to it. It wasn't a critical dimension, close enough was close enough.

I'm certainly going to make up your suggestion, though. I can see that being real handy. Thanks again.
 
Thanks Dean.

Yeah, you could see it coming a long way away, couldn't you.

Just me being stubborn. I had it laid out how I was going to do it even though I knew the risk ahead of time. But I had to do it MY way, I could get away with it if I was just careful enough... ::)

I'm not much of a choco-holic. But I do like the peanut M&Ms, but they aren't as uniform in size.
 
ksouers said:
Thanks Dean.
Yeah, you could see it coming a long way away, couldn't you.

Only because I've seen it happen to someone in my own shop, more than once. If he wasn't my sisters' brother, I'd fire him.

Dean
 
I've been trying to catch up on all the threads...I was already being surprised by how much was going on...but this one...gee whiz! I can not believe how small those parts are!!! That requires some awesome patience!

ksouers said:
Disclaimer: No M&Ms were harmed during this project.

You say that as if you're proud. But M&Ms are meant to be eaten. Just ask Dean. ;D
 
Deanofid said:
Only because I've seen it happen to someone in my own shop, more than once.

It wasn't my first pretzel, either ::)


Thanks zee.
Yeah, I guess it does take some patience. I don't get much done in a shop session. Seems I spend about 5 or 6 hours and only have one part to show for it. Well, and maybe a boo-boo. But then I spend some time looking over the plans again or doing a little machine maintenance, too. I've been on "vacation" this week, so I got quite a bit of shop time. But that's all over now.

I spent some time today making tools, as well. Just a simple holder. I may do a quick thread on it when I finish it.

Actually, I kinda like the small stuff. It definitely requires more concentration, which gets my mind off my day job or other mundane life issues.

Oh, and I do eat the M&Ms. But I don't torture them ;D
 
Getting shop time this weekend has been rather difficult; just an hour or two scattered about and not much to show for it. I did get a chance to finish the con rod I ended up bending last week. The process was basically the same, so no pictures, but I did it in smaller stages this time. It worked, so now I have another technique I can use if the need arises.

Finished con rod.

tn_e6_conrod_3.jpg


And the obligatory group shot.

tn_e6_group_6.jpg


Thanks for checking in.
 
Getting pretty close, and looking good, Kevin.
A few round bits, a few flat bits, and it will puffing along.

Thanks again, for the pics.

Dean
 
That is a great group shop.
Really nice stuff.

So you went for the green M&M eh? The femme fatale.

We should do a poll sometime..."What M&M are you?" heh heh
 
Thanks for the support, Dean.
Yeah, got a few pieces to go yet. Almost there, maybe another month or so at this rate ::)

zeeprogrammer said:
So you went for the green M&M eh? The femme fatale.

Thanks zee.

I just use em as they fall out of the bag ;D
Though I try to use colors I haven't used before I suspect I won't be using the brown ones on the black granite backdrop.
I really do need to do something about the lighting in that corner...
 
Hi Kevin. Your making real good progress for the limited time you spent.

All the parts look great. Their small enough to justify a camera attachment for a microscope!

Nice looking piston too! But why is it green? ;D

-MB
 

Latest posts

Back
Top