canadianhorsepower
Well-Known Member
- Joined
- Oct 22, 2011
- Messages
- 1,671
- Reaction score
- 324
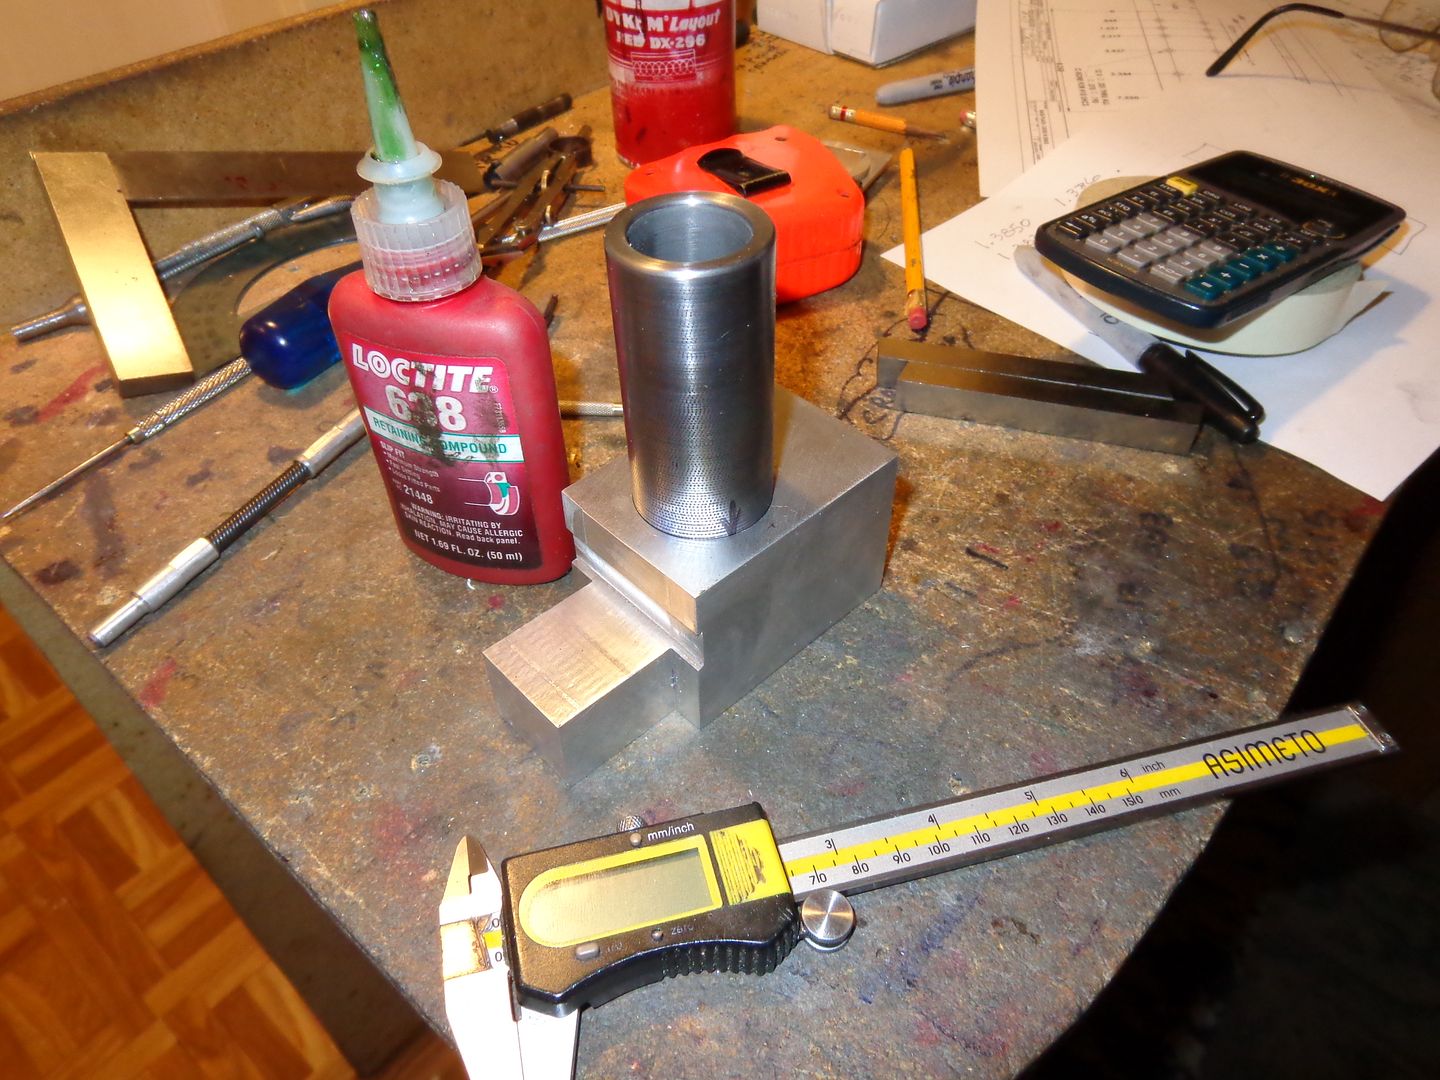
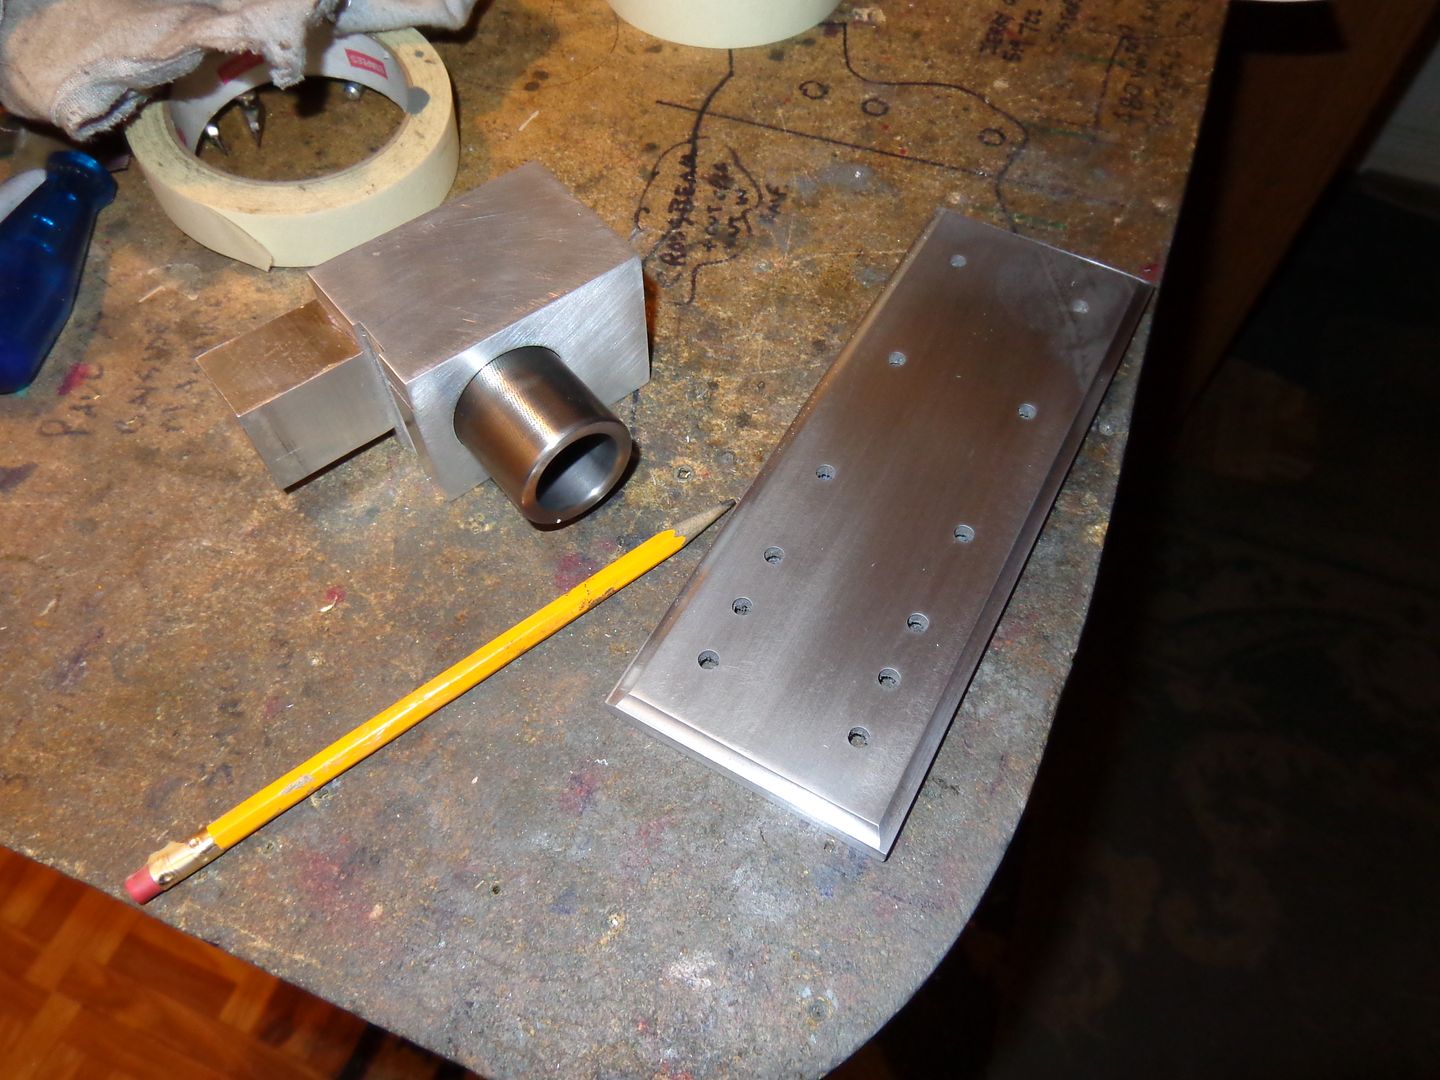
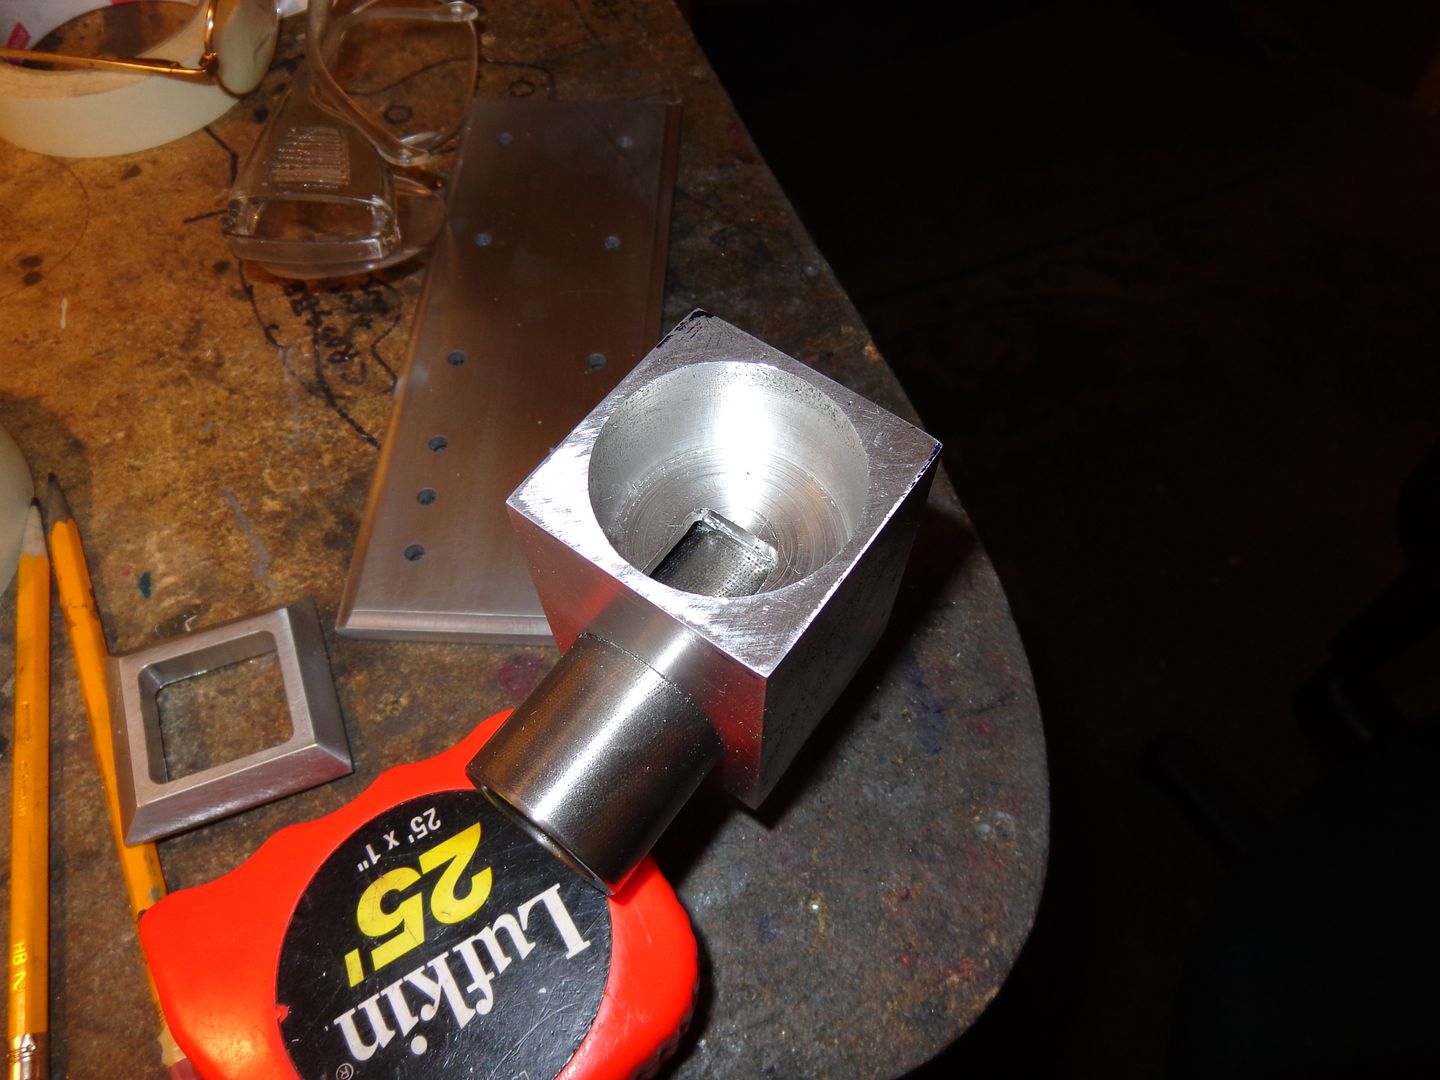
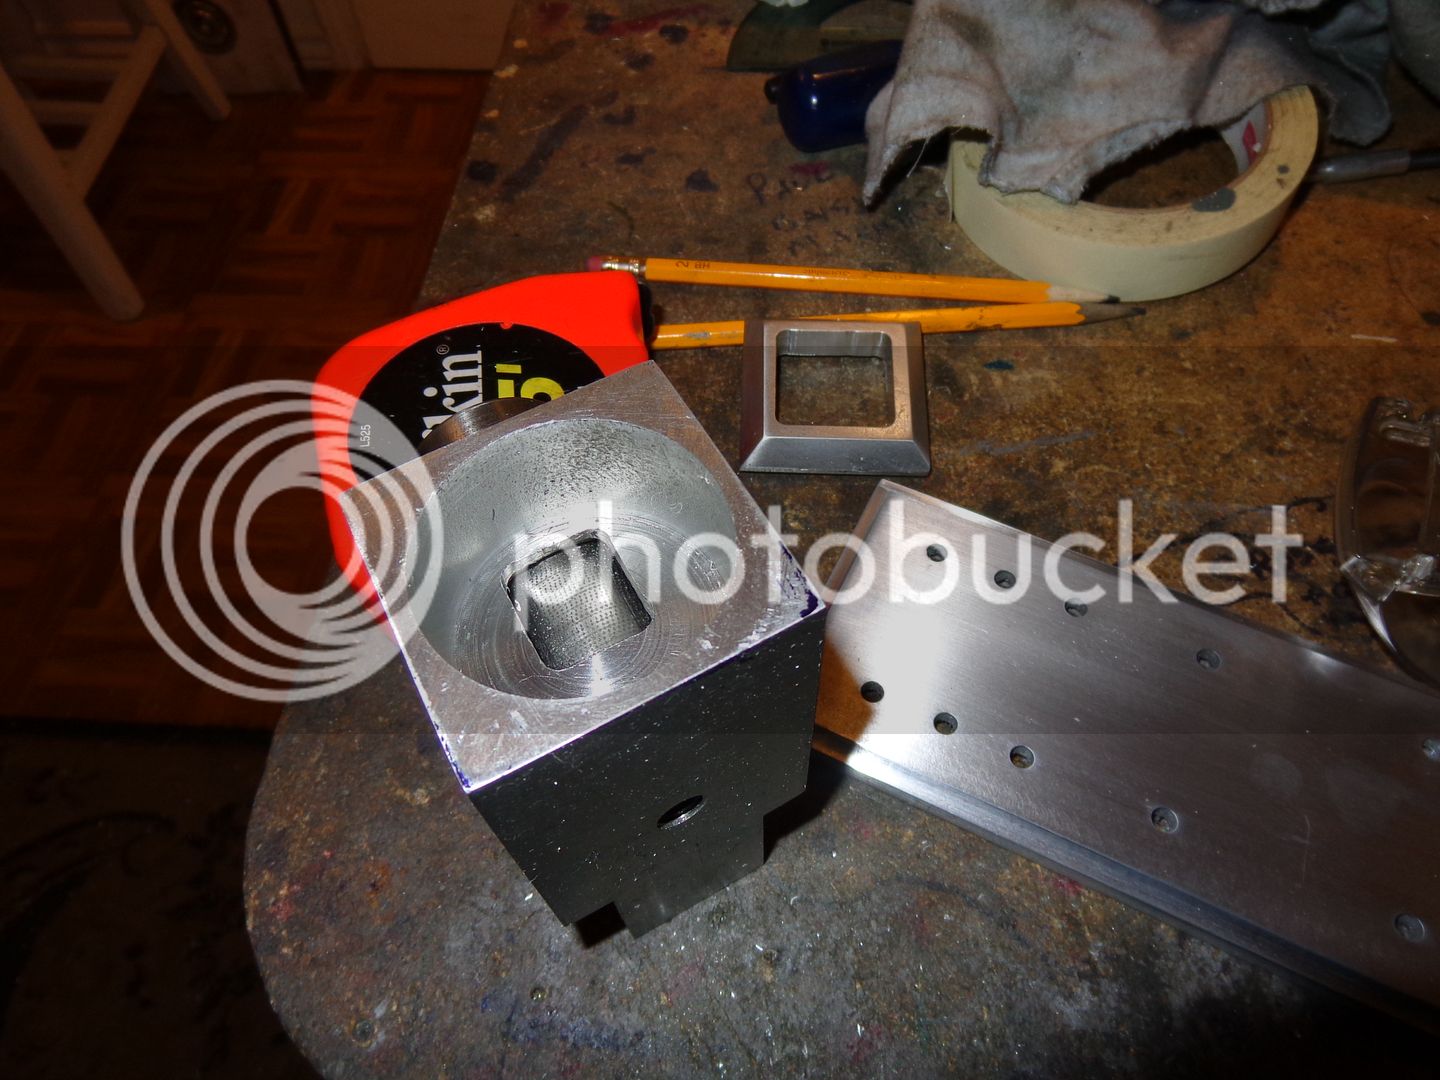
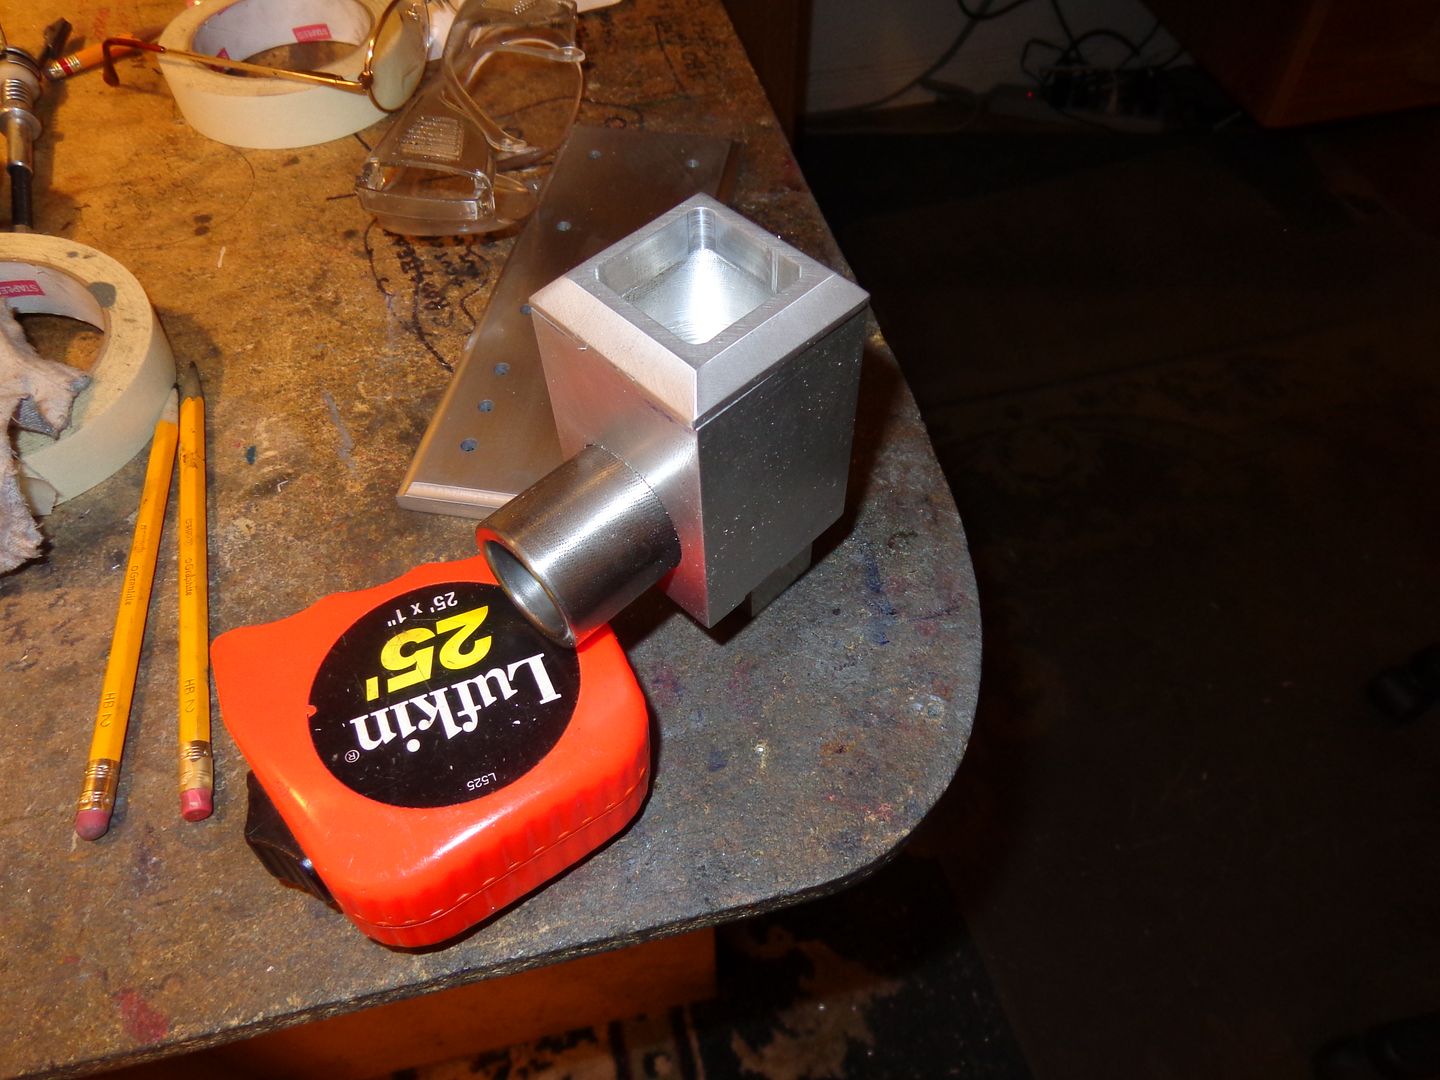
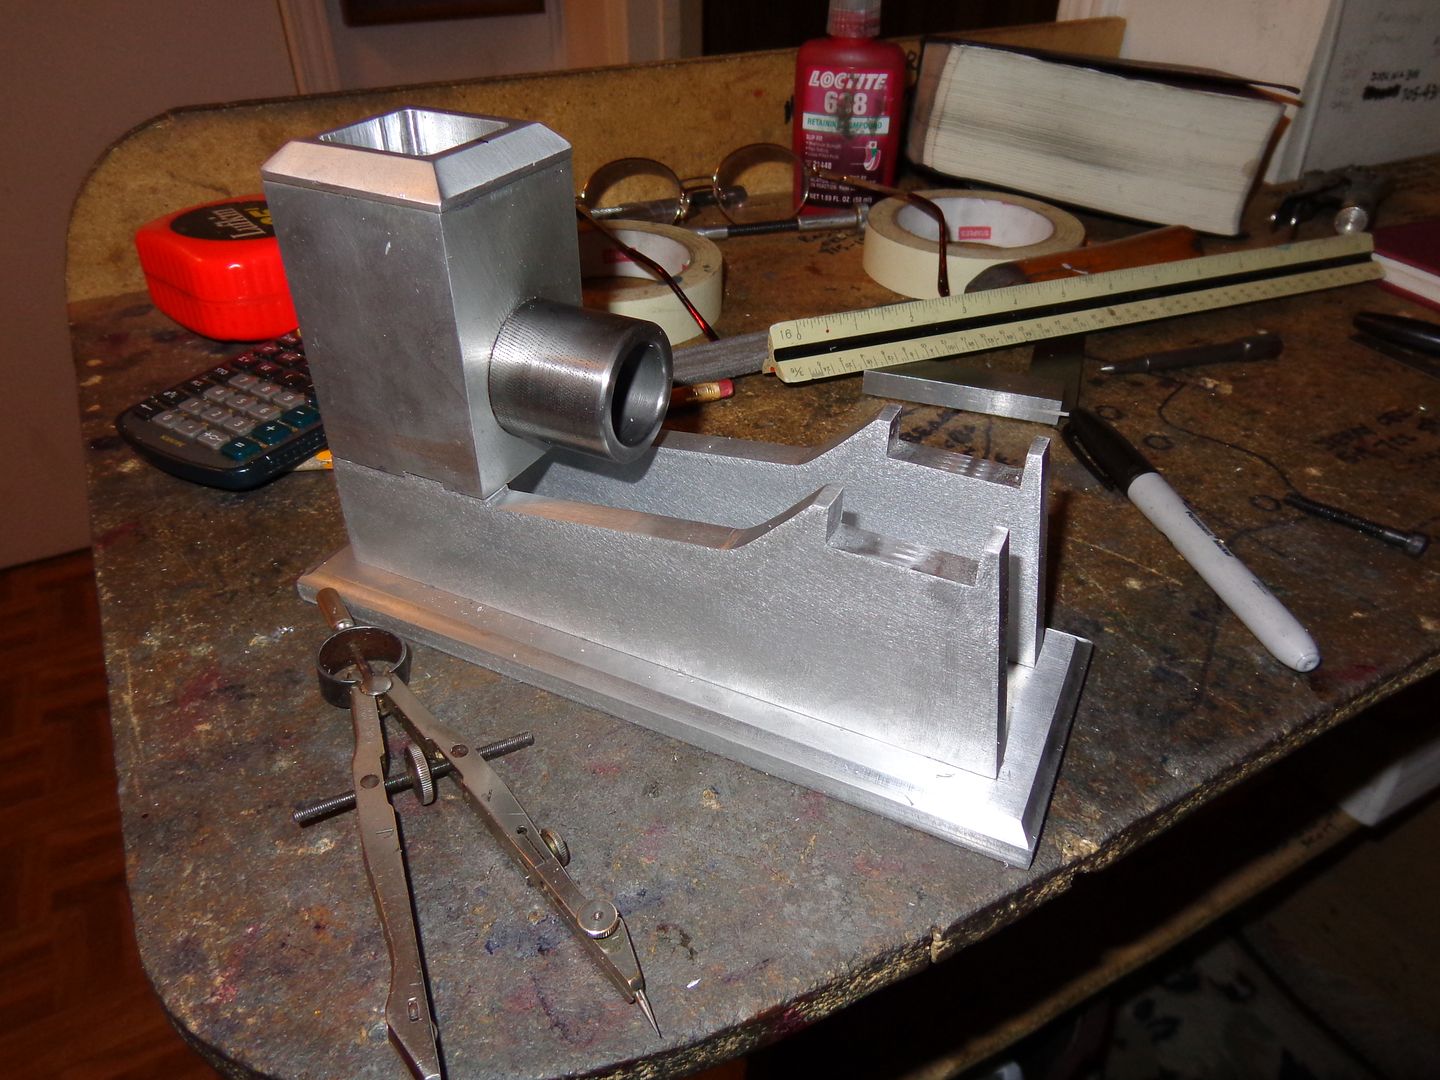
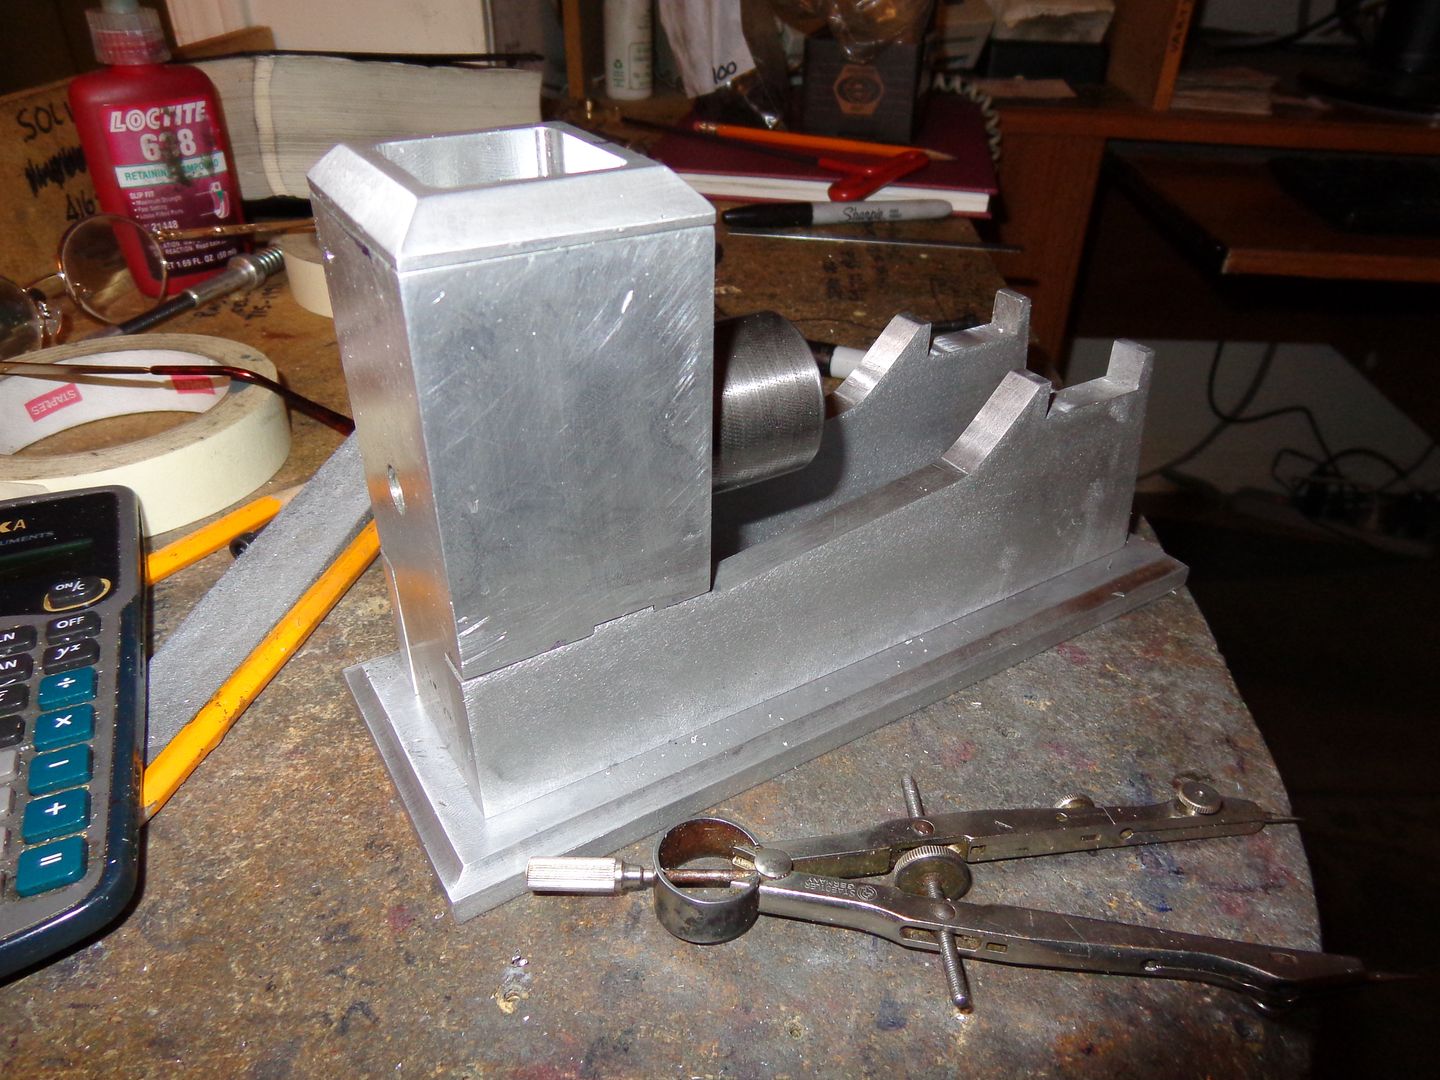
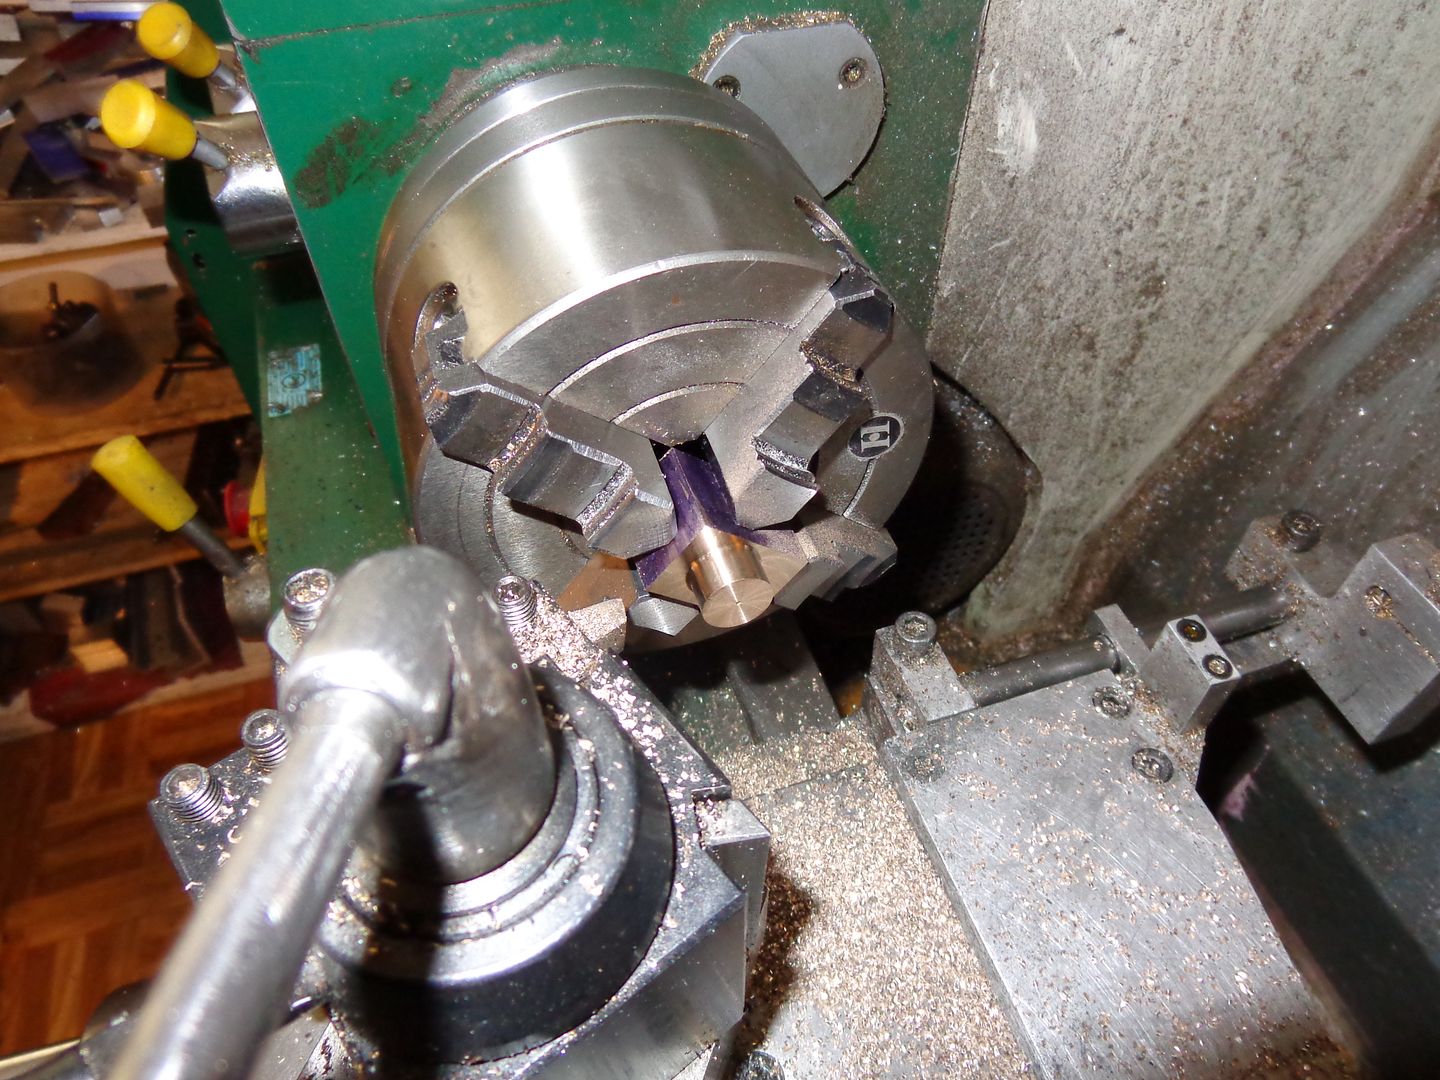
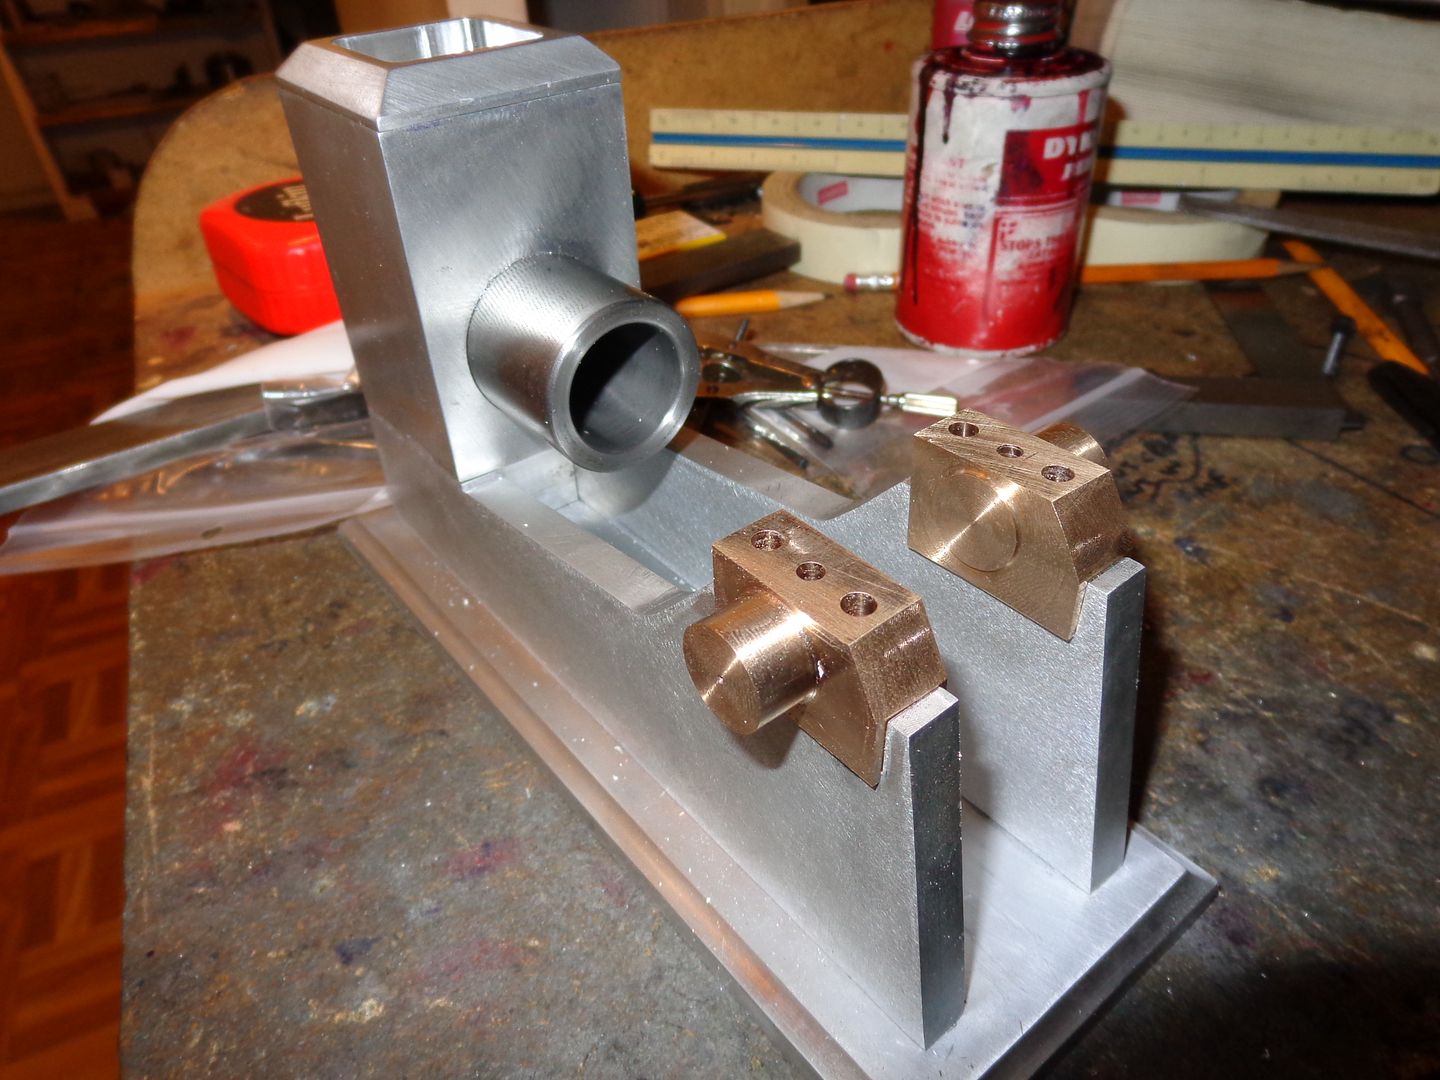
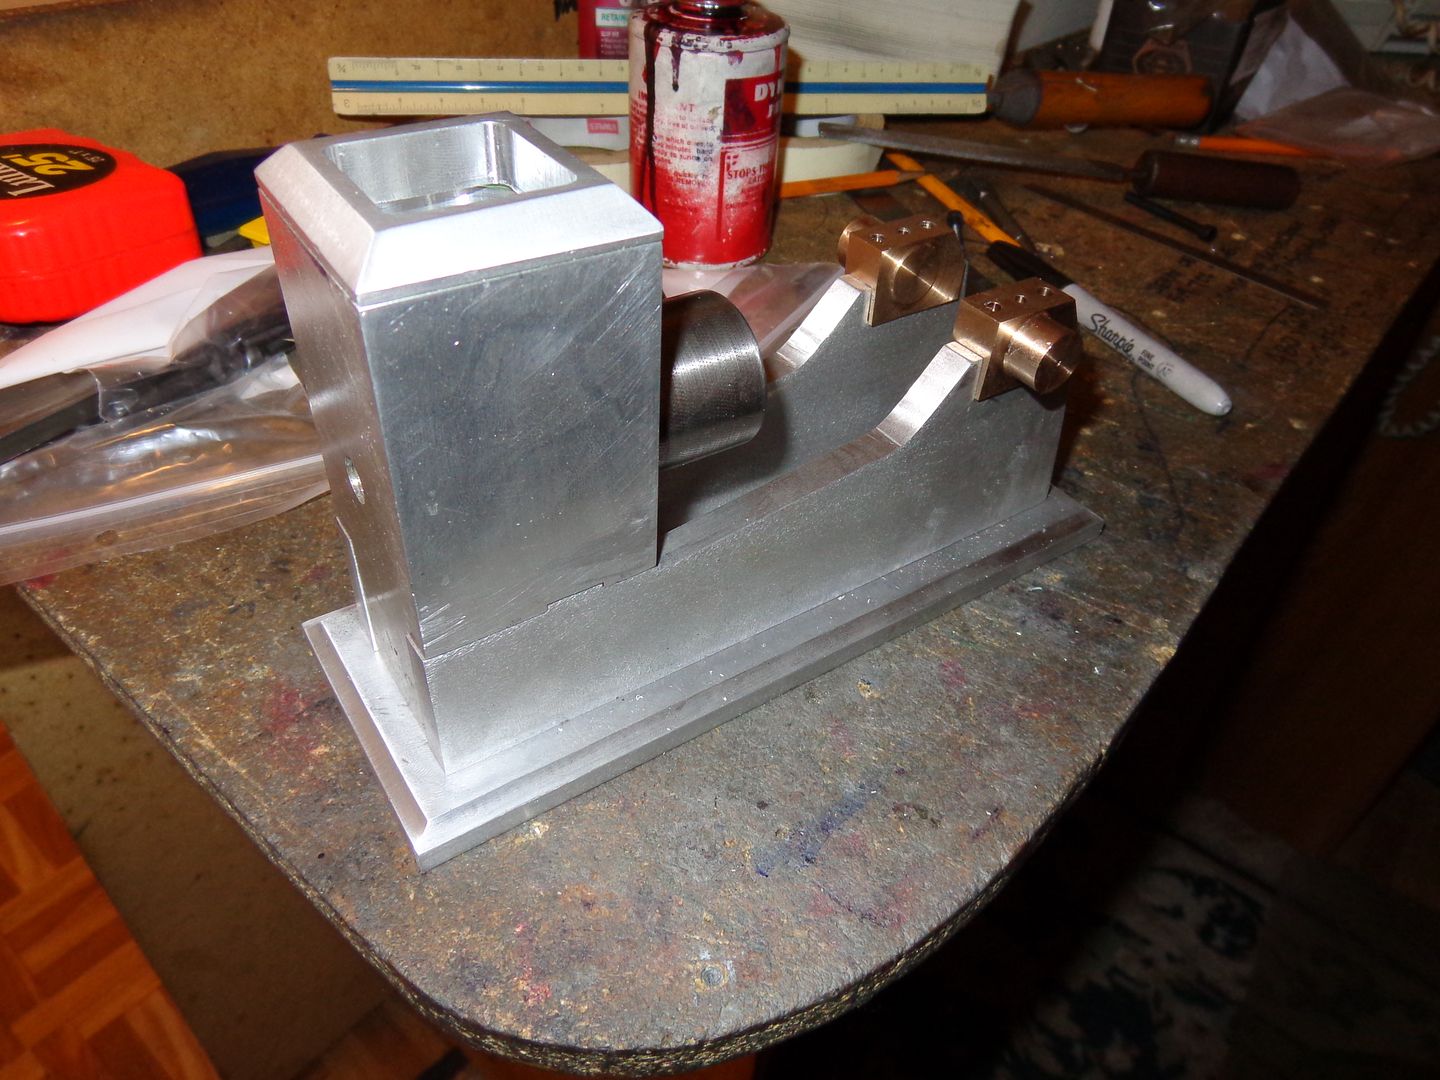
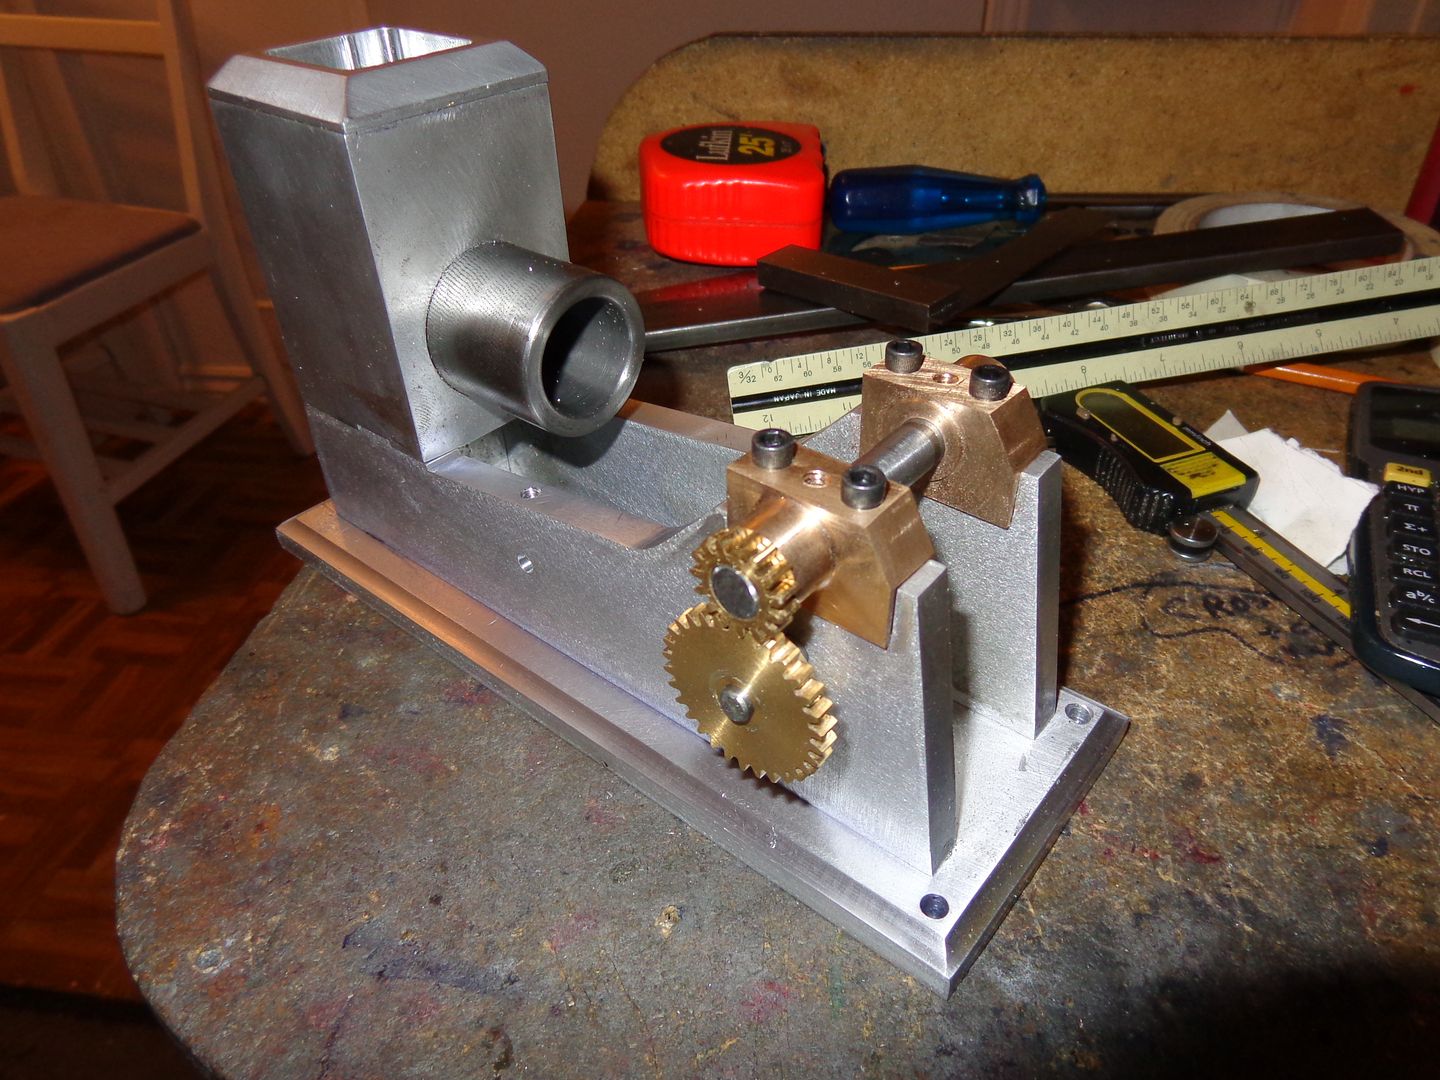
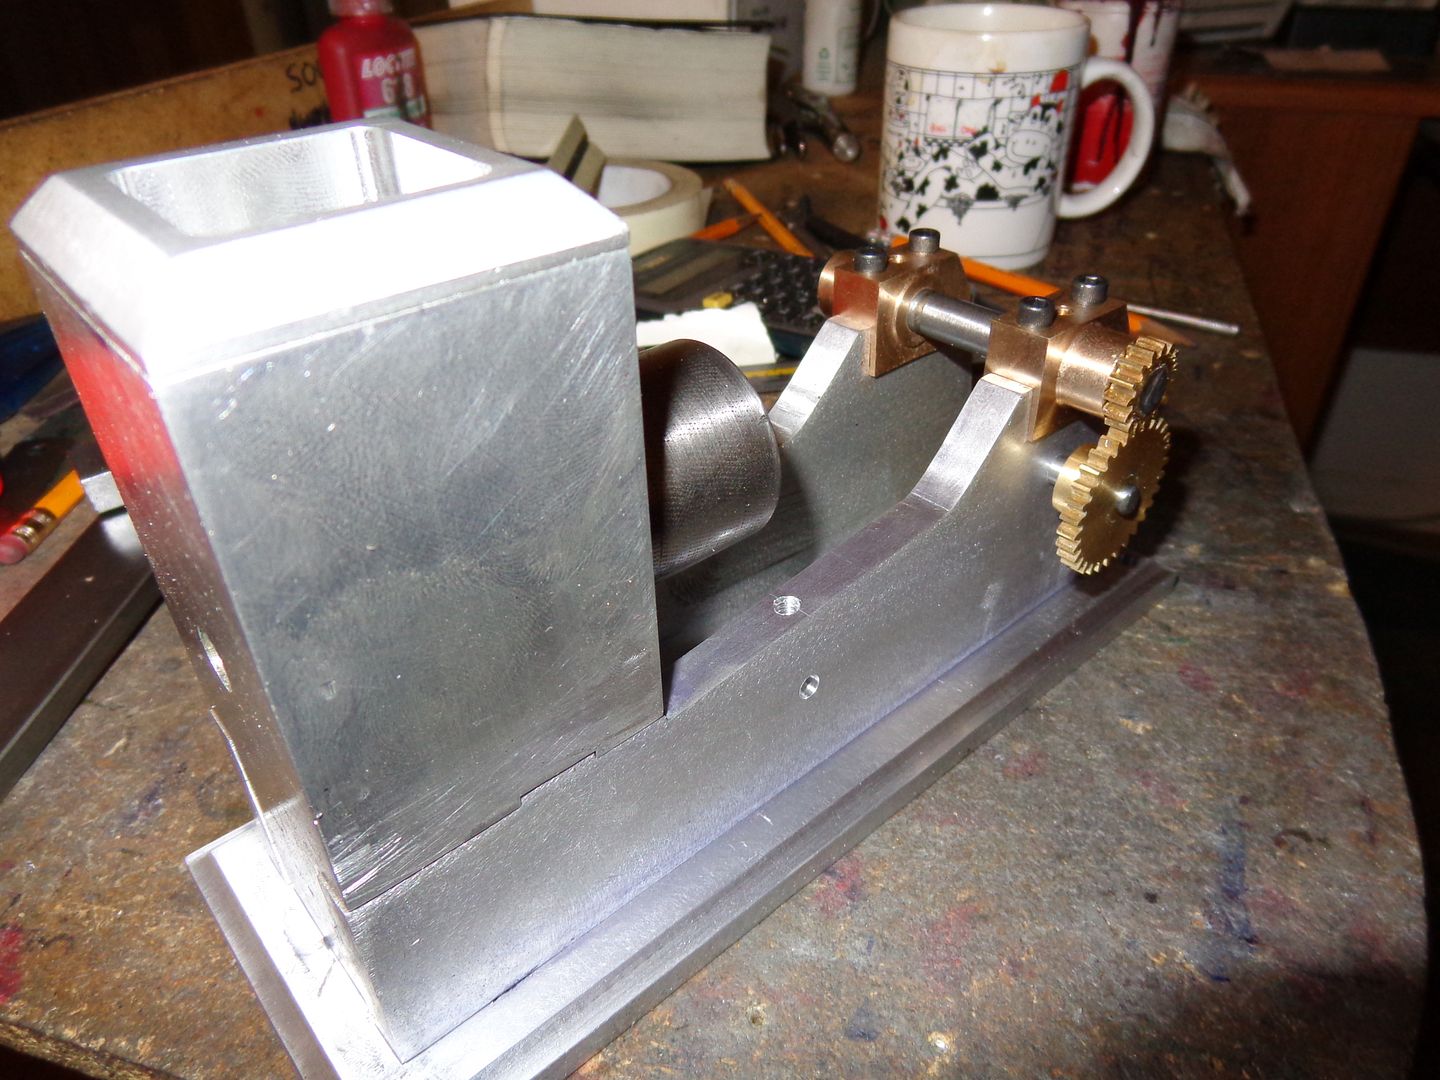
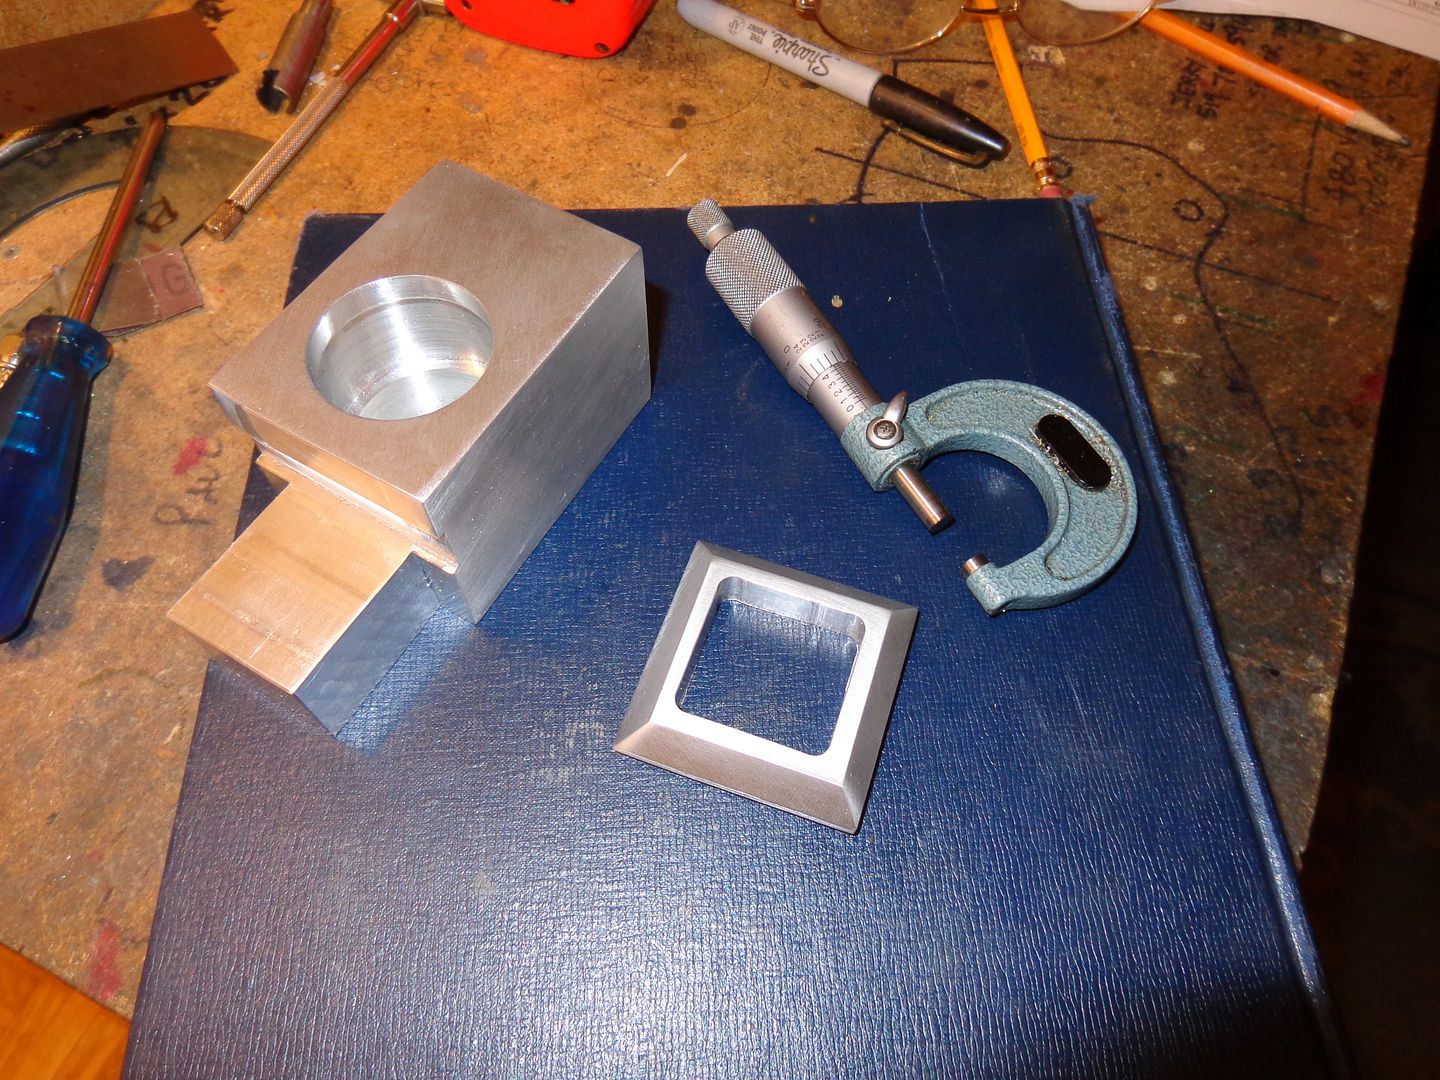
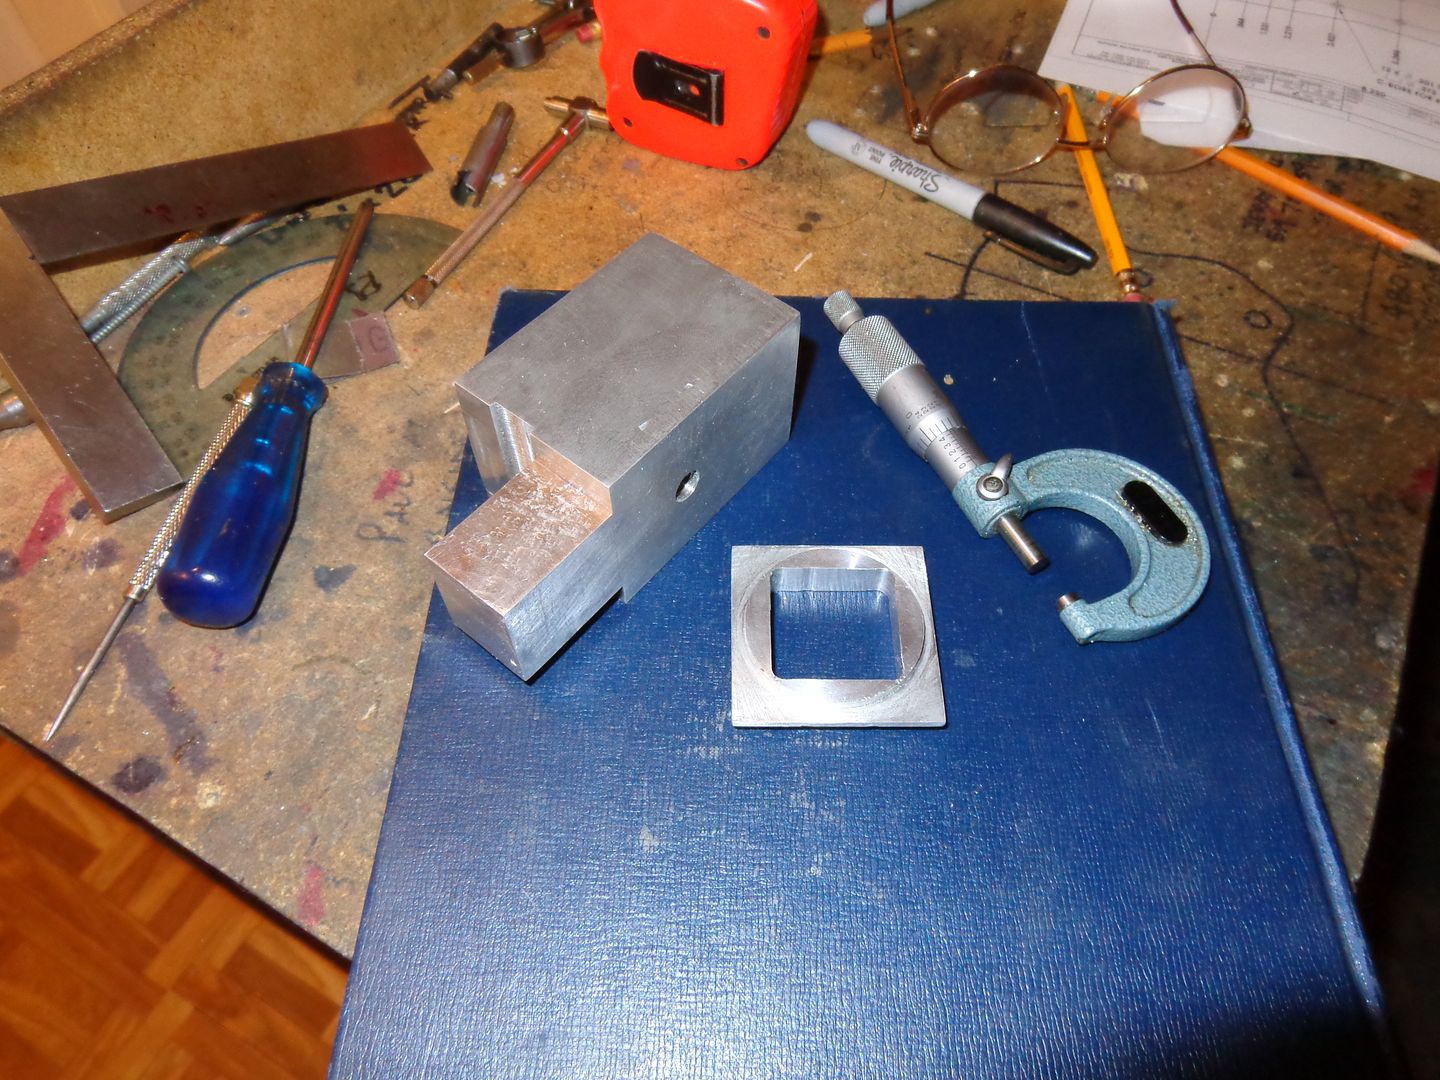
great work Brian,I found a little time this afternoon (actually quite a bit of time) and made the top for the waterjacket. Since I opted to have a "tail" on my waterjacket to fill up the gap between the sideplates, there was no way I could fit the waterjacket into my 4 jaw on the lathe to do the stepped bore for the water container. Not a big problem. I'll do the bore for the water container part of the water jacket on my mill, and Loctite the top on as a seperate piece. Since I had the 4 jaw chuck on my lathe anyways, I decided the top should have a 3/16" long x 1.75" diameter projection on it to fit inside the bored hole--all the more for the Loctite to hold onto.
you can use GREEN loctite for that application
or if you go to a GM dealer they have Gasket eliminator it's red but 4 time the thickness of red loctite.
or go to a professional motorcycle shop that does two stroke their is a produck call crankcase glue
it's use to assemble crankcase of motorcycle or snowmobile work awsome
cheers