Geared horizontal twin engine

Home Model Engine Machinist Forum

Help Support Home Model Engine Machinist Forum:

This site may earn a commission from merchant affiliate links, including eBay, Amazon, and others.
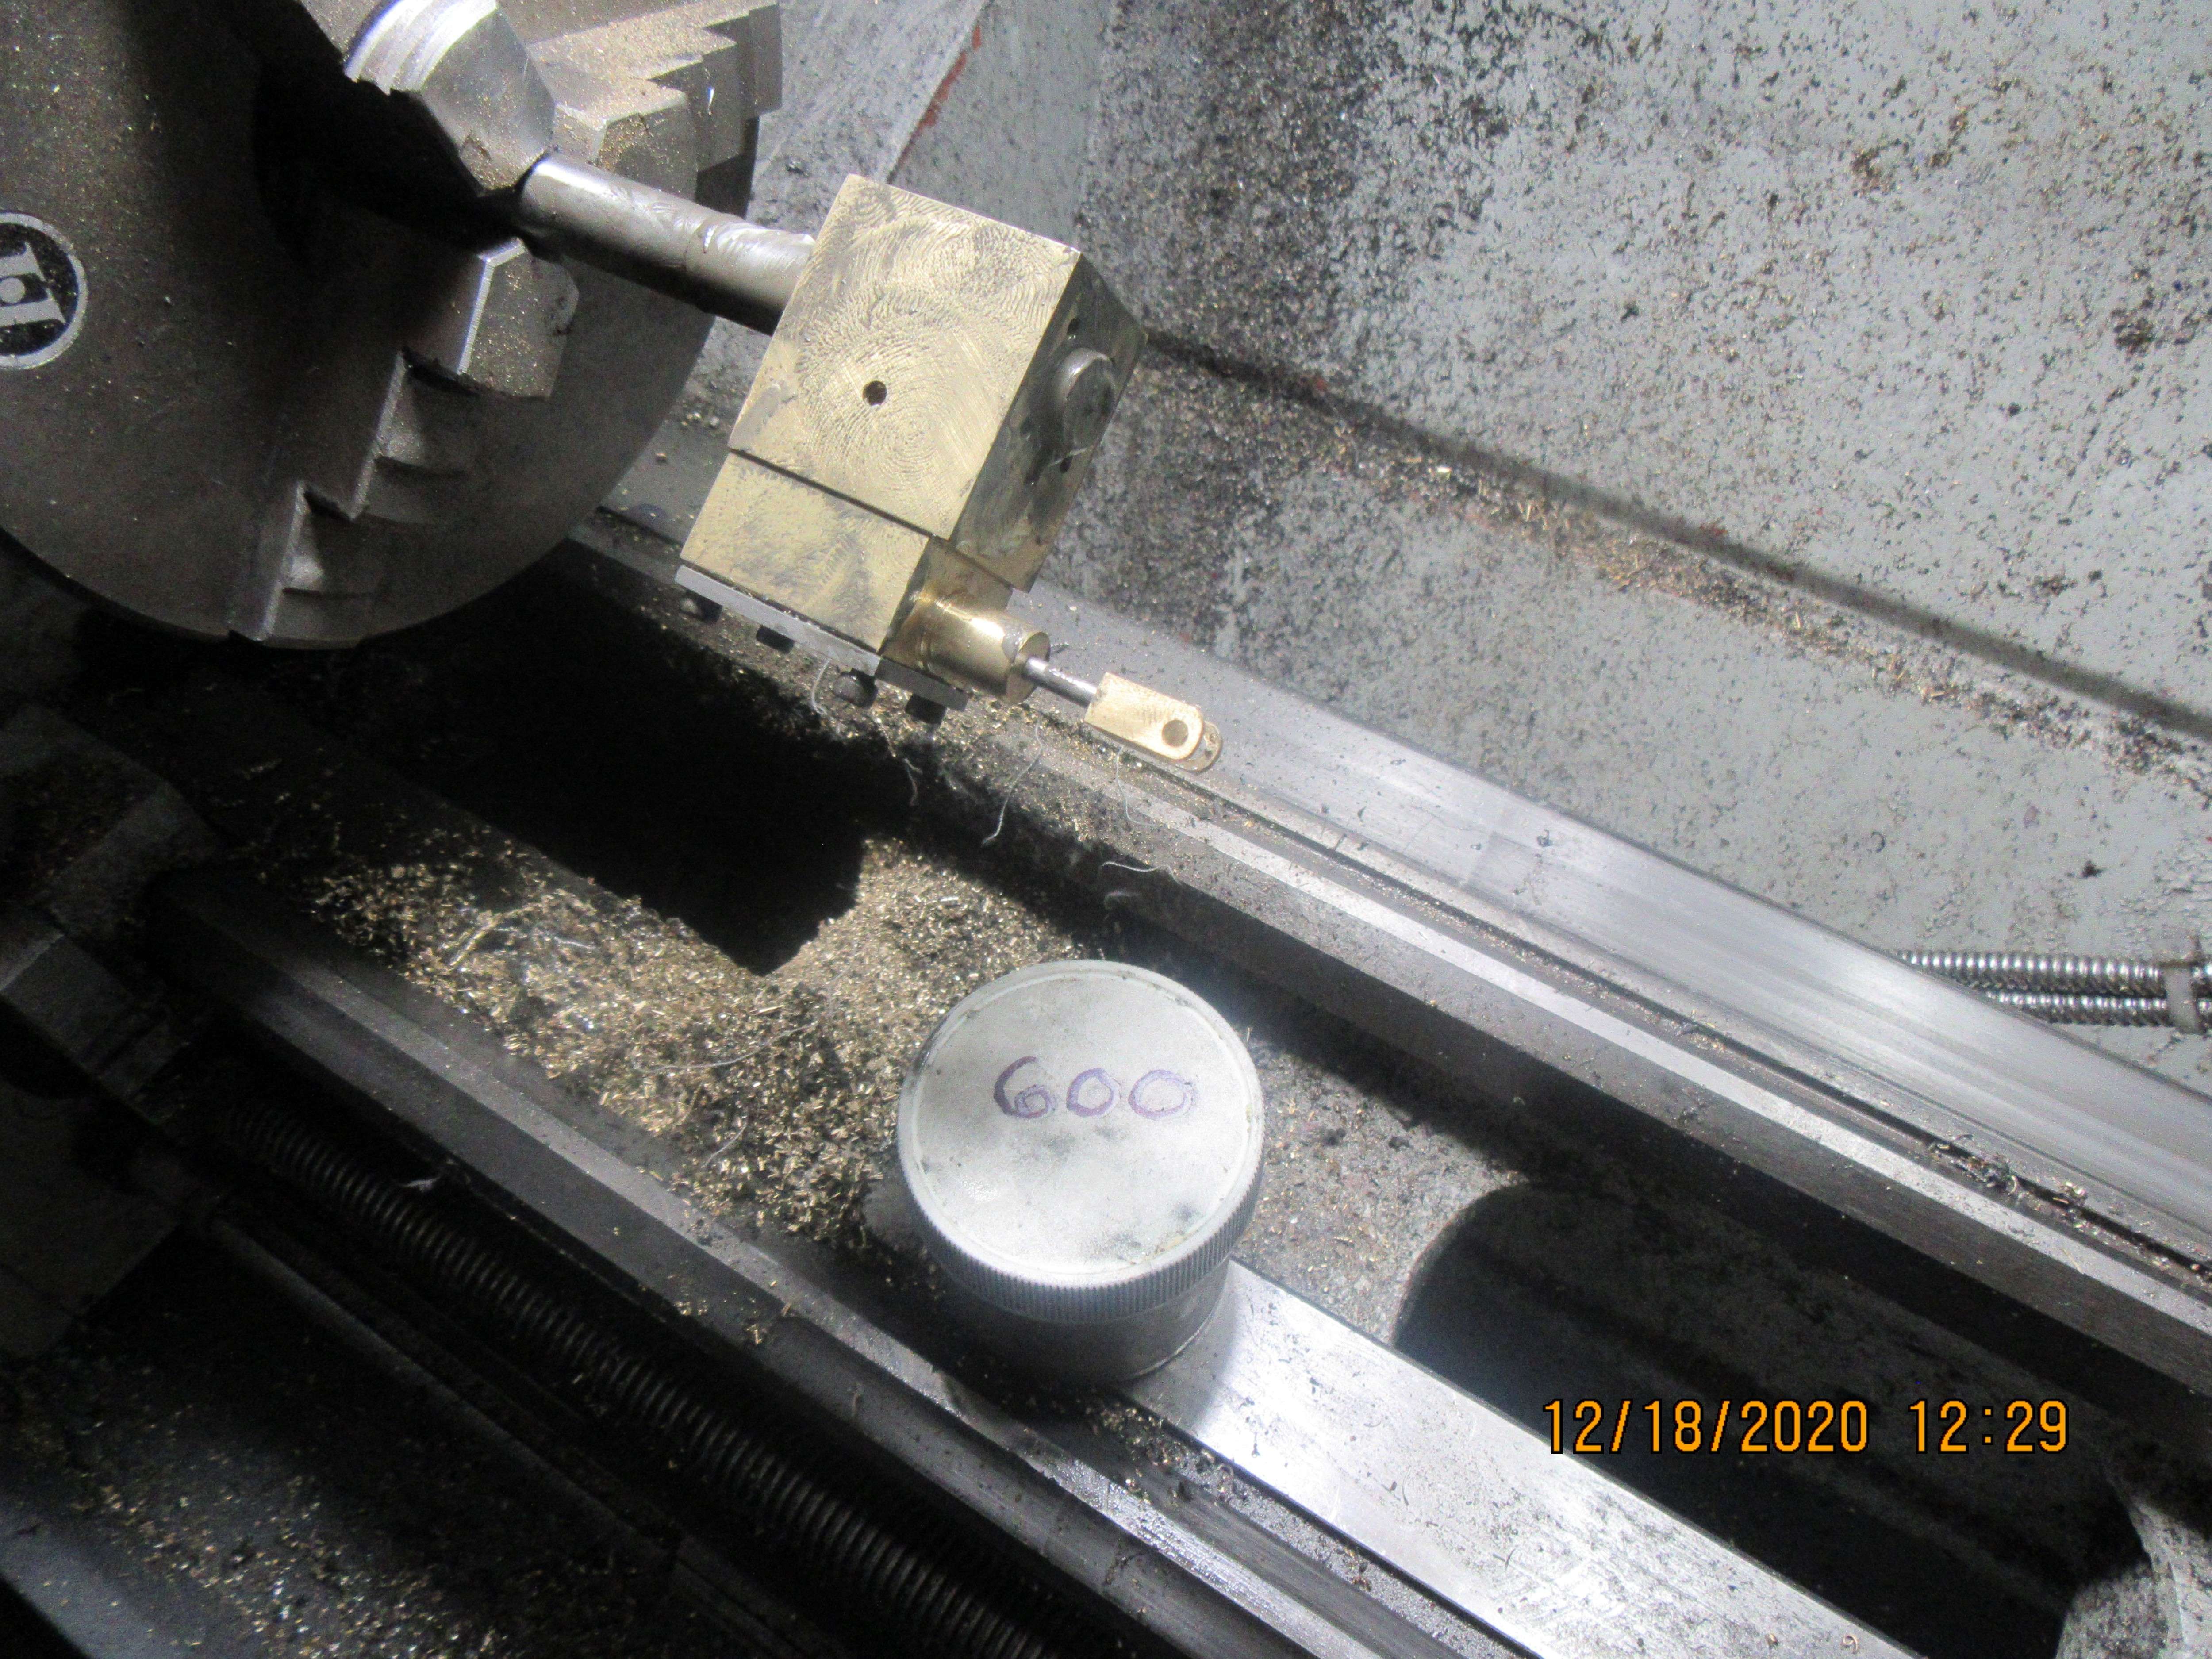
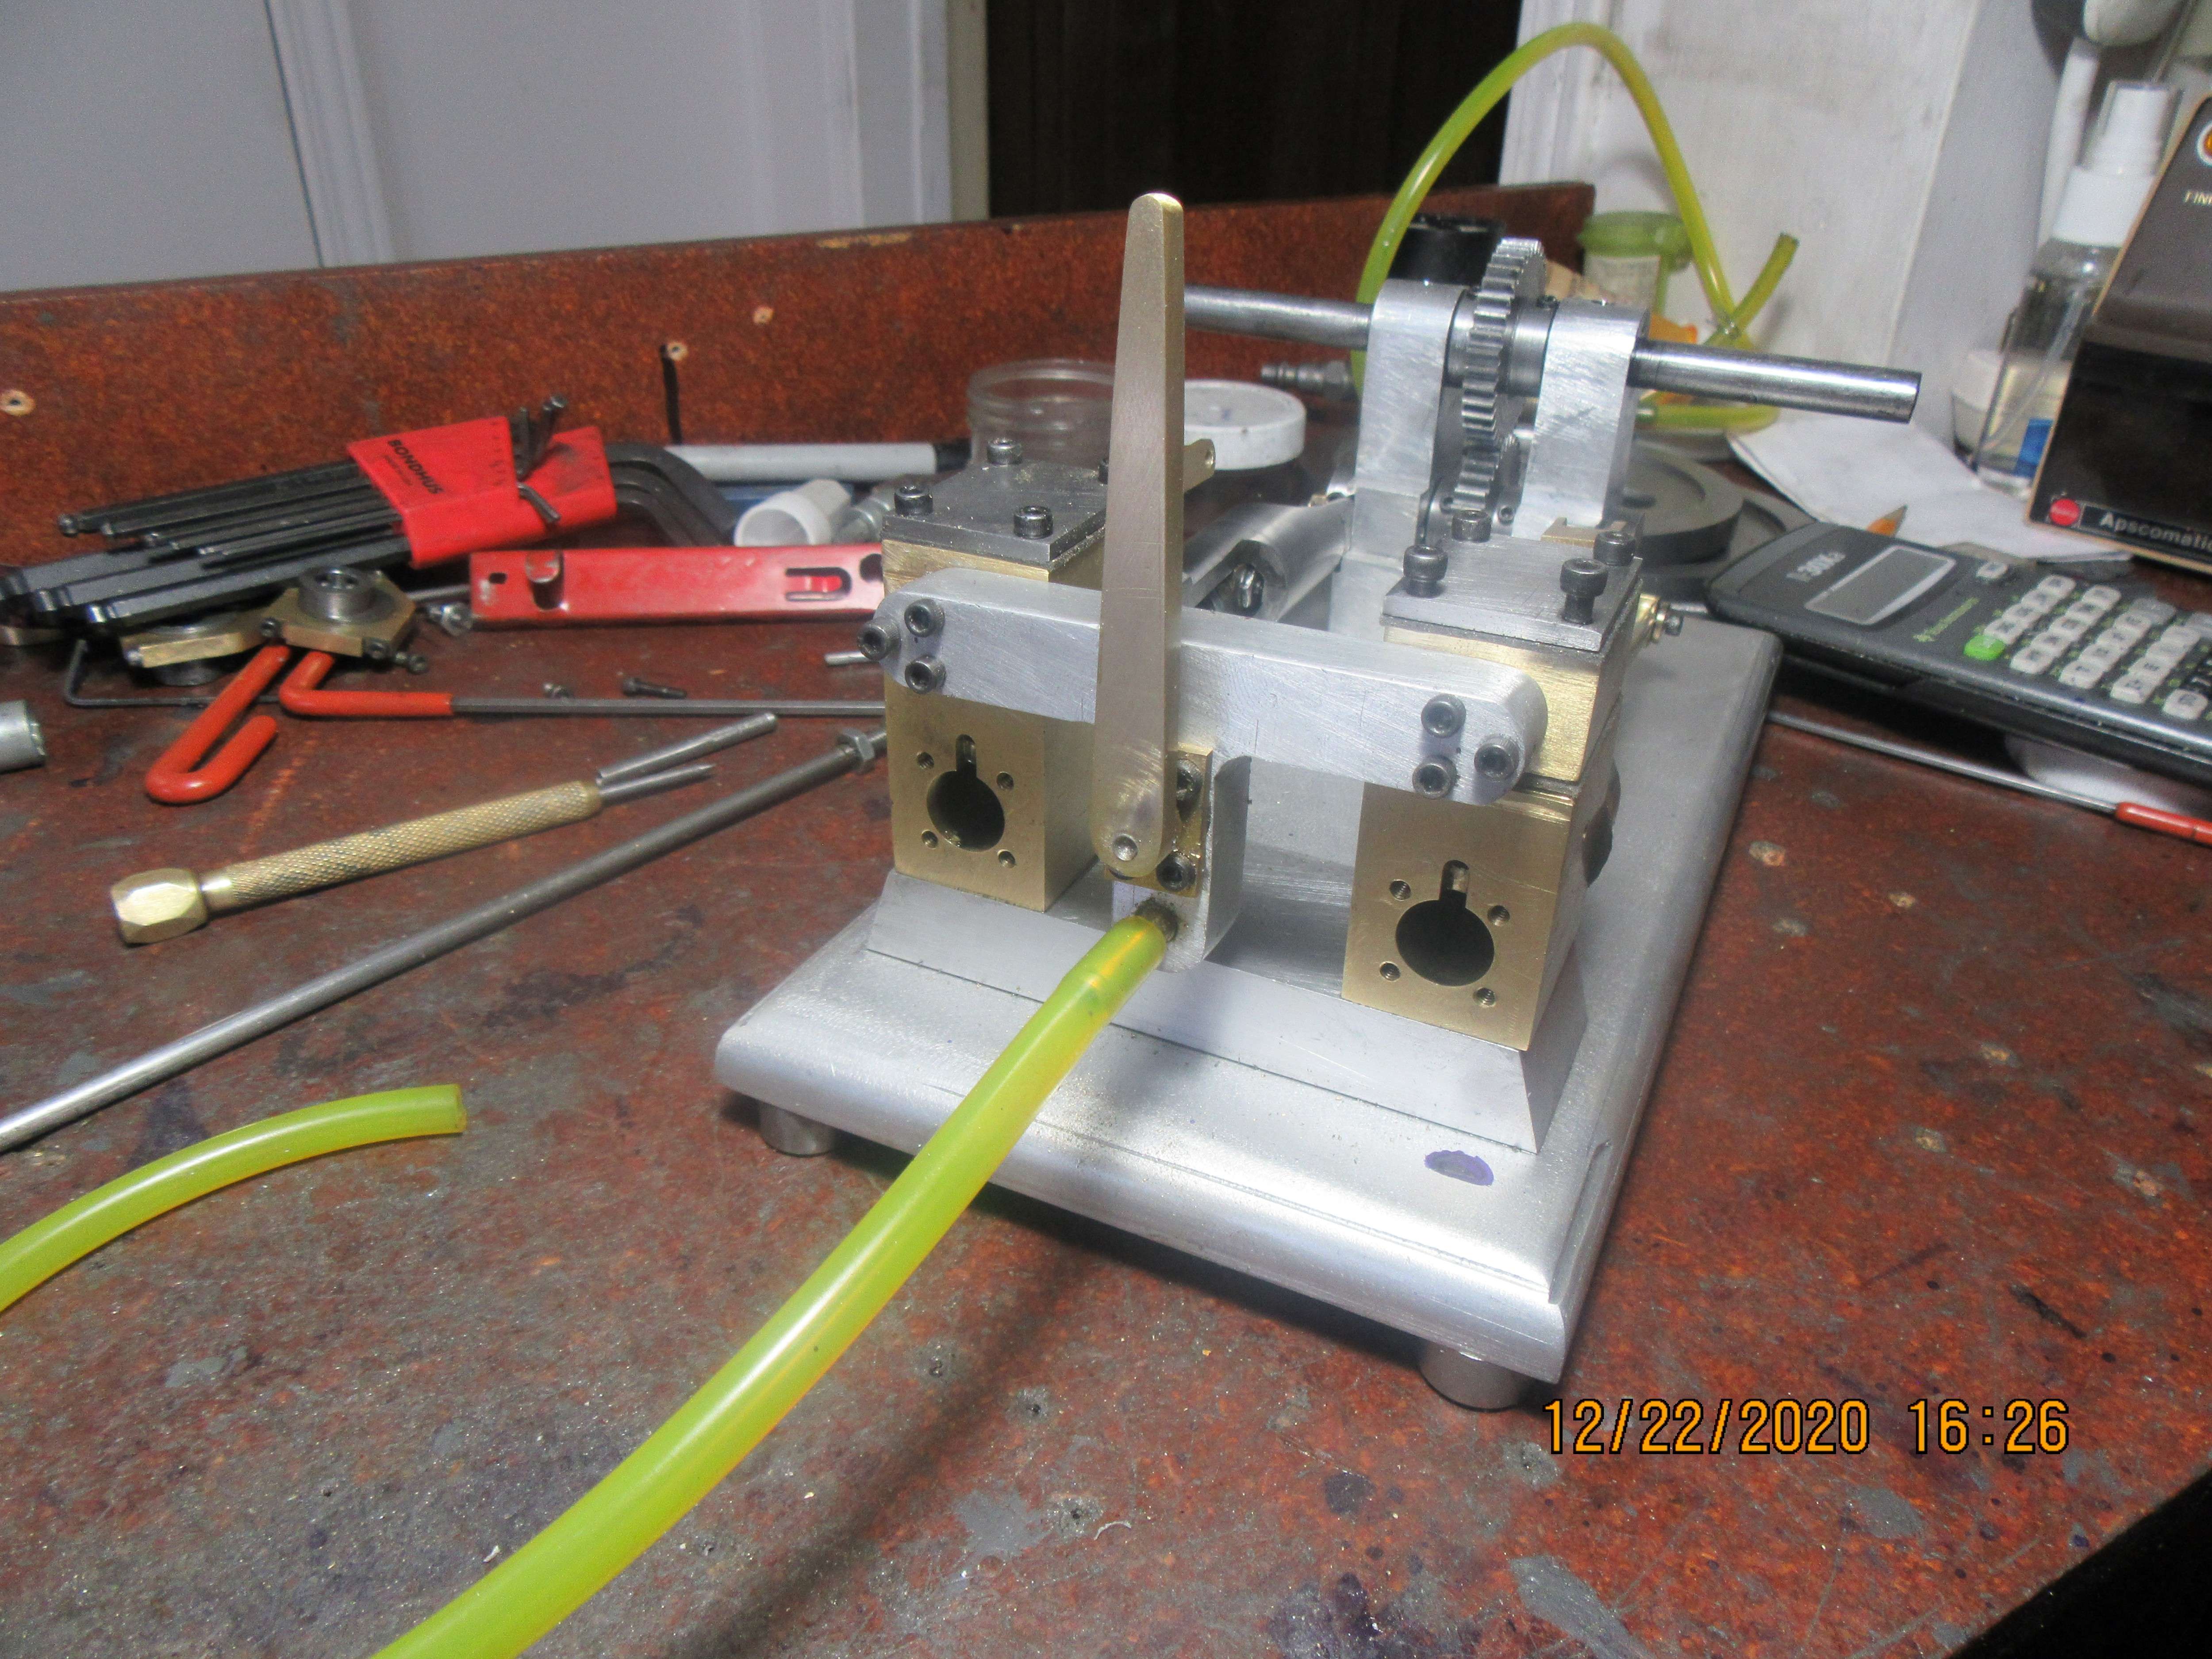
This morning I lapped the brass cylinders. I have brass expanding laps, but didn't want to risk brass on brass. The cylinders were originally reamed to 0.500" with a machine reamer. A piece of cold rolled steel 1/2" shafting is always about .0005 to .001" undersize, which makes it unsuitable for a lap. 01 Steel however, comes in exactly on size, at a full 0.500" diameter, and will not pass freely thru the hole in the cylinder---but very close. So--I chuck up a piece of 1/2" diameter 01 steel, coat the end of it with 600 grit lapping paste, and with the lathe running on it's lowest speed, I SLOWLY AND CAREFULLY work the brass cylinder onto the lap. Not all in one go.--Maybe an eighth of an inch, then back off, then maybe a 1/4" and then back off and keep at it in 1/8" increments until the lap passes all the way thru the cylinder. Generally it sticks solid at some point and requires a trip out to my arbor press to press the stuck 01 steel out of the cylinder. You have to be damned sure that when it begins to seize that you can let go cleanly and not wrap yourself up in the lathe. After the lap passes completely thru the cylinder, work it back and forth slowly about 20 times, and you are finished.
sViNH7.jpg

R5ysrA.jpg

nMOndR.jpg
 
These are the pistons (aluminum) and the piston shafts (cold rolled steel). The pistons and the shafts are threaded #10-24 and joined with #262 Loctite thread locker. The pistons, as they currently are, are 0.504" diameter, and will not fit into the cylinders. After the Loctite has 24 hours to "set up" I will lap the pistons into the cylinders. There will be no piston rings, only a couple of small oil retention grooves in each piston. These were the last parts of the engine, except for the intake manifold system, which I will start work on tomorrow.
4WF9NR.jpg
 
Made a mistake--Kissed a snake--That previous picture is wrong. I have just remade the aluminum pistons. They should be only turned to 0.562" diameter with no oil grooves. They still get Loctited to the threaded piston rod and left 24 hours to dry. Then, to ensure concentricity, the steel rod is gripped in the chuck, and the piston is turned down to about .002 to .003" oversize and the oil grooves cut into it, THEN it gets lapped into the cylinder.
 
Thanks for the correction Brian - I'm not speaking for anyone else - but I didn't notice your mistake! - Actually, if the grooves are machined to the correct ID before you finish machining the OD of pistons concentrically to the rods, then they will still function as labyrinth seals (and retain oil) - even if a thou or so eccentric. - I think? And doing it that way, would you not also ensure that cutting the grooves does not deform the piston OD? - I know the lapping will eliminate any burring or distortion from machining grooves, but maybe you can work to just a 0.001" oversize and have less lapping? - From my experience with full sized mass-produced car engines, the finish machining of pistons should be "coarser" than the amount to be lapped, so the surface is finished to "flat topped" machining, with half-Vee grooves in it which are "lower friction" (from shear of oil films) and ensure oil retention all along the surface of the piston... This was a point specifically discussed between a Japanese "expert" and Hepworth and Grandage "expert" when we were selecting the company with suitable expertise to make pistons for my Company. H & G tables a paper that explained how their pistons had lower "skirt friction" in real engines than certain competitors, because of their particular (patented?) machining of the skirt surface. Probably inconsequential to you, for the performance of you engine..? - But may be of interest to someone out there?
 
So---If you wondered what a lapped piston looks like, then this is it. After setting overnight while the Loctite set up, the pistons were turned down to 0.502" with a very sharp carbide while the piston rod was gripped in the three jaw chuck. Then a very slight touch with a diamond lap brought them down just far enough that one end of the piston would start to fit into the cylinder. Then they were covered in 600 grit lapping paste . I held the cylinder in my hand and worked it (again, very slowly) onto the piston (The piston is still being turned by the lathe). Once I had it lapped enough to fit thru the cylinder, I came in with the corner of a very sharp tools and cut the two oil grooves. Of course, like almost any metal, this operation raised a ridge of material on each side of the oil groove---So---More lapping paste and then one more light lapping into the cylinder to get rid of the raised up ridges on the piston.
f57o0H.jpg
 
I figured you would have burrs to lap-away... so your first method (machine the grooves before finish turning on the con-rod) would not have the "raised ridges" to lap. Plenty of ways to "kill this pig!".
But "well done" for an excellent job anyway!
K2
 
So---If you wondered what a lapped piston looks like, then this is it. After setting overnight while the Loctite set up, the pistons were turned down to 0.502" with a very sharp carbide while the piston rod was gripped in the three jaw chuck. Then a very slight touch with a diamond lap brought them down just far enough that one end of the piston would start to fit into the cylinder. Then they were covered in 600 grit lapping paste . I held the cylinder in my hand and worked it (again, very slowly) onto the piston (The piston is still being turned by the lathe). Once I had it lapped enough to fit thru the cylinder, I came in with the corner of a very sharp tools and cut the two oil grooves. Of course, like almost any metal, this operation raised a ridge of material on each side of the oil groove---So---More lapping paste and then one more light lapping into the cylinder to get rid of the raised up ridges on the piston.
f57o0H.jpg
What effect did the lapping have on the cylinder? Did it come out oversized by say, half a thou? What happend? I am considering doing this, following your method, but I would like to know all the effects.
 
Happy Gasket to me--Happy Gasket to me---This is how I make all of my gaskets. 0.030" general purpose gasket from an automobile supply store. I use it for head gaskets on i.c. engines too. It's cheap, and I've never had a failure from the gasket degrading. I print them out on a sheet of printer paper, glue them to the gasket material with a glue stick, then use a leather-workers punch, a pair of scissors, and a surgeons scalpel to cut them out.
Ix2tne.jpg
 
Richard--even when cut with a reamer, the inside of the cylinder is microscopically rough. The first reaming with the 01 steel shaft and 600 grit paste removes all the ripples and ridges and leaves a smooth surface. If the cylinder was iron and you could find a 3 stone brake cylinder hone small enough, it would accomplish the same overall effect. If you could look at the surface of a lathe turned piston, you would again see a rough finish. By making the piston .001" to .002" oversize and lapping it into the cylinder, it polishes the piston to the same finish and diameter as the inside of the cylinder. That is almost the only way to come up with a mostly air tight seal between the piston and cylinder when no piston rings are being used. Can it be measured?--Not with the equipment I have. My micrometers smallest divisions are thousandths, not ten thousandths.
 
Oh Happy Happy--Joy Joy---Even though I know the computer said it will work---Even though I have a lot of experience with these small engines---It still just makes me light up when all the major parts are assembled and they really do go round and round and up and down with no big interferences or glitches. This was only the first side, and I still have to test/fit the second side, but I'm stoked!!!
3d3P9u.jpg
 
Here we are at the "running in" stage. The motor is a 1/4 hp. 1750 rpm appliance motor, and with the pulleys I have on there, the geared engine is turning about 400 rpm. The engine was "tight", but I was able to turn it through a complete 360 degrees by hand with no interference. The eccentric straps are very tight on the eccentrics, so I have loosened off the connecting bolts to free the strap up a bit. After 10 minutes of running, I will shut things off, inspect, and tighten those bolts a bit more. Over the course of a 1 hour run in I will have all the bolts tightened up to spec, and all of the tight spots worn away so the engine is free to rotate with no binding.
kp5JA7.jpg
 
It doesn't look like much---but---there's a whole days work there. I did take time out to eat and to go to my nut and bolt store to buy a couple of new 1/16" hex wrenches, but other than that I've worked on this air control valve all day. I still have to build the handle and drill and tap the steamchests where this valve bolts on.
4SaApV.jpg
 
I have had a rather scattered day today, but did manage to finish and mount the air control valve. I am very close to having a running engine here. I have some rework to do on the piston rods and then when I put the flywheels back on, this thing should run.
Blx2KQ.jpg
 
After building and running 40 engines, I have reached a milestone. I no longer find it difficult to make the parts. (As long as they are designed in a reasonable manner). Since I am the guy that machines the parts, I have a fairly good eye for what is doable, given the machines that are in my shop. So---I don't have any problem designing the parts. I (mostly) don't have a problem machining the parts. The next thing to get a handle on is putting all of the parts together and getting them to work together in harmony.--Kinda sounds like a workers paradise, doesn't it)!! All of the components for this engine are machined. They are all assembled. I have found that if I leave lots of clearance on all of the parts that are assembled, then the engines run easy, but after an hours running all of those fits get sloppy as Hell. And you can't machine material back on!!! The alternative is to leave just enough clearance to assemble the engines. When everything is assembled and all the nuts and bolts are tightened up, the machines are generally "seized" and won't turn over at all. So---I don't cinch all of the nuts and bolts down dead tight. I snug them up, but not too snug. then I "run in" the engine with an electric motor and v-belt drive for half an hour---Then I shut the motor off, inspect everything, then tighten up all the nuts and bolts a bit more, but still not "dead tight". I may repeat this three or four times, until I reach a point where all the fasteners are tightened down fully and the engine still turns freely. That's where I'm at on this engine right now.
 
That's an interesting comment on running in.

Car engines manage to run from scratch (well, except for formula 1 engines -- apparently you need to pre-heat them for 30 minutes before you dare start them).

But back in the 1990's our ace engine rebuilder would build 'em to last forever -- and warn us that the cost of that was that the break-in period was about 5000 miles! Everything would be just a bit tight, and you'd have to run the engine carefully, but in the end it'd have 200,000 or 300,000 miles of hard living pulling a truck around before you had to worry about it.
 
Brian, that is going to be a cute running motor you have there and know that it will work out, you designed it with the end in mind, I worked for years at a company that the younger fellows started coming in they had there degrees to prove how stupid they were, send out a set of plans to the in house fabricators and those fellow knew it was not going to work but the kid engineer told them how smart he was and they going to prove him wrong by not saying that they see mistakes so several million dollars later when the equipment would not work on the job site they proved there point to the kid but that only got worse and more money lost, I told one of kids one day you should have to be able to make the part and make sure it works before it going on job sites, you are not an asset you are liability, course they got rid of several of them only to get another batch that was more stupid, I finally made it to retirement 46 year, long enough to see us go down the slippery slope, your advice on break in was great, thanks for sharing, Joe
 
I was one of those graduate engineers... but started my "apprenticeship" at 13 - part-time cleaning, then using, machine in a machine shop, re-furbishinge engines and compressors of all sizes. By 19 I was told I'd had at least as much train as the full-time apprentice. But 50 years on I am still learning. The best combine academic and expertise, like Brian, and that's my goal...
Nice work Brian.
K2
K2
 
Back
Top