Upshur's opposed twin engine

Home Model Engine Machinist Forum

Help Support Home Model Engine Machinist Forum:

This site may earn a commission from merchant affiliate links, including eBay, Amazon, and others.
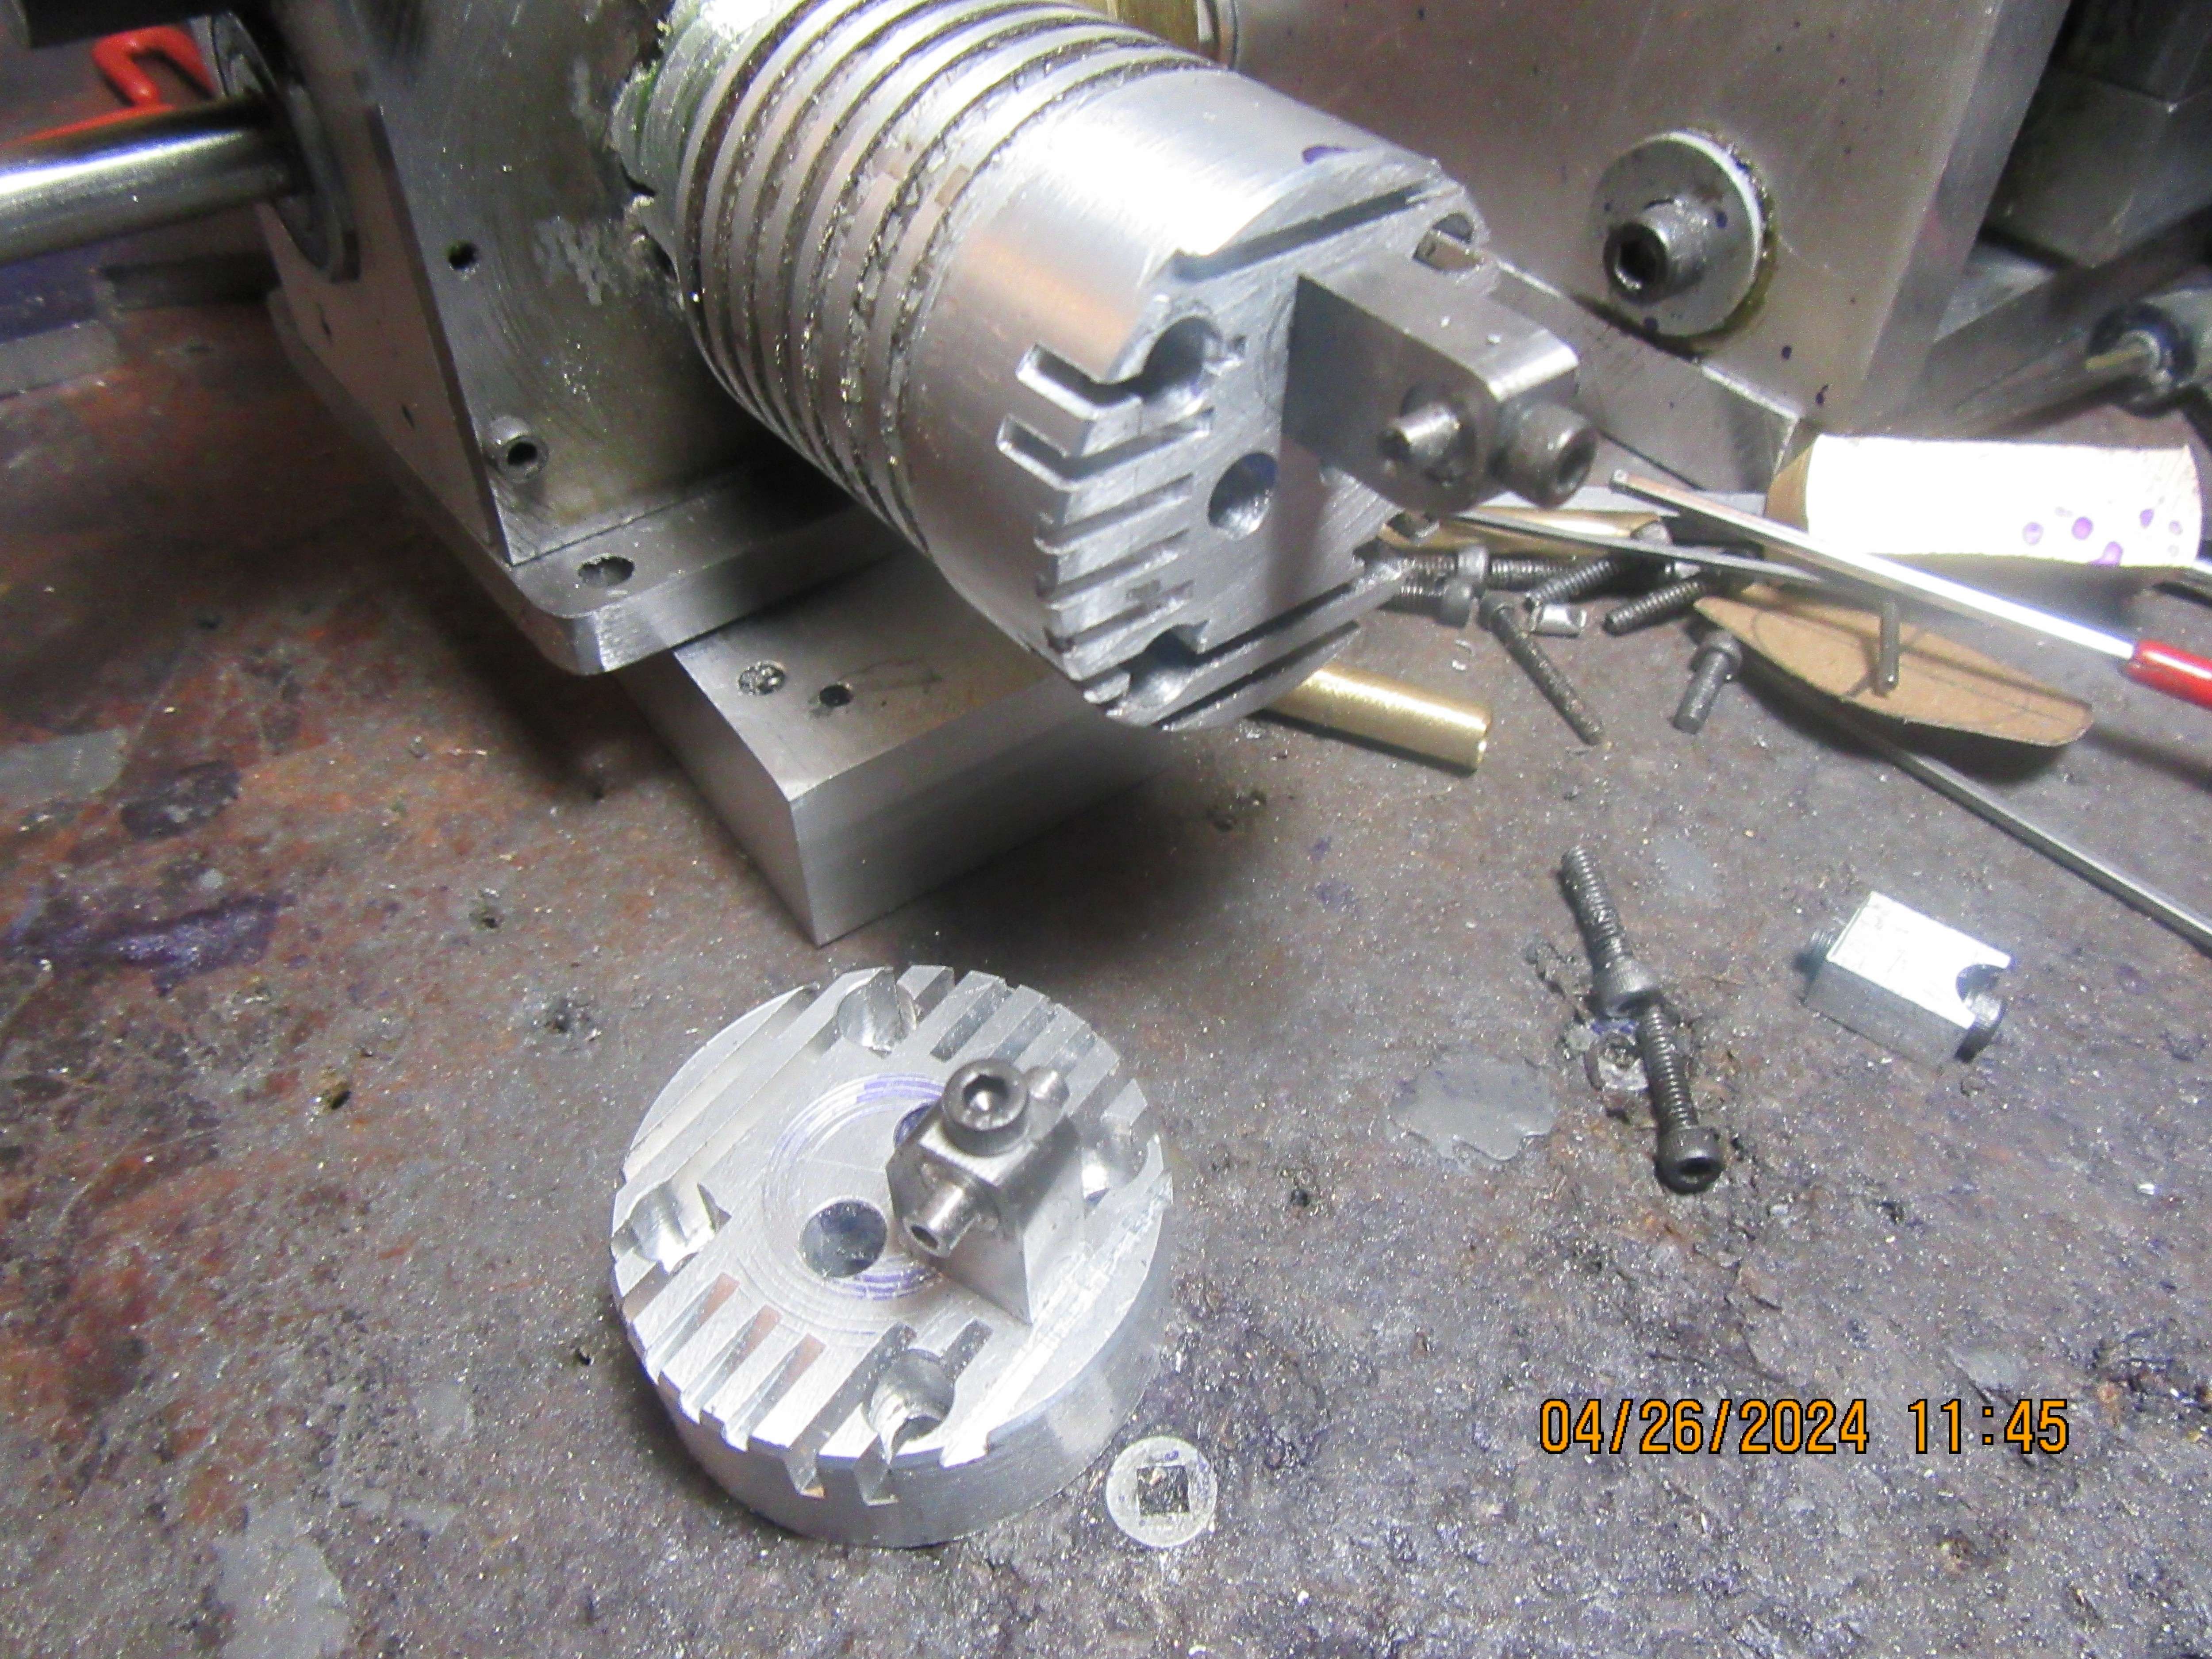
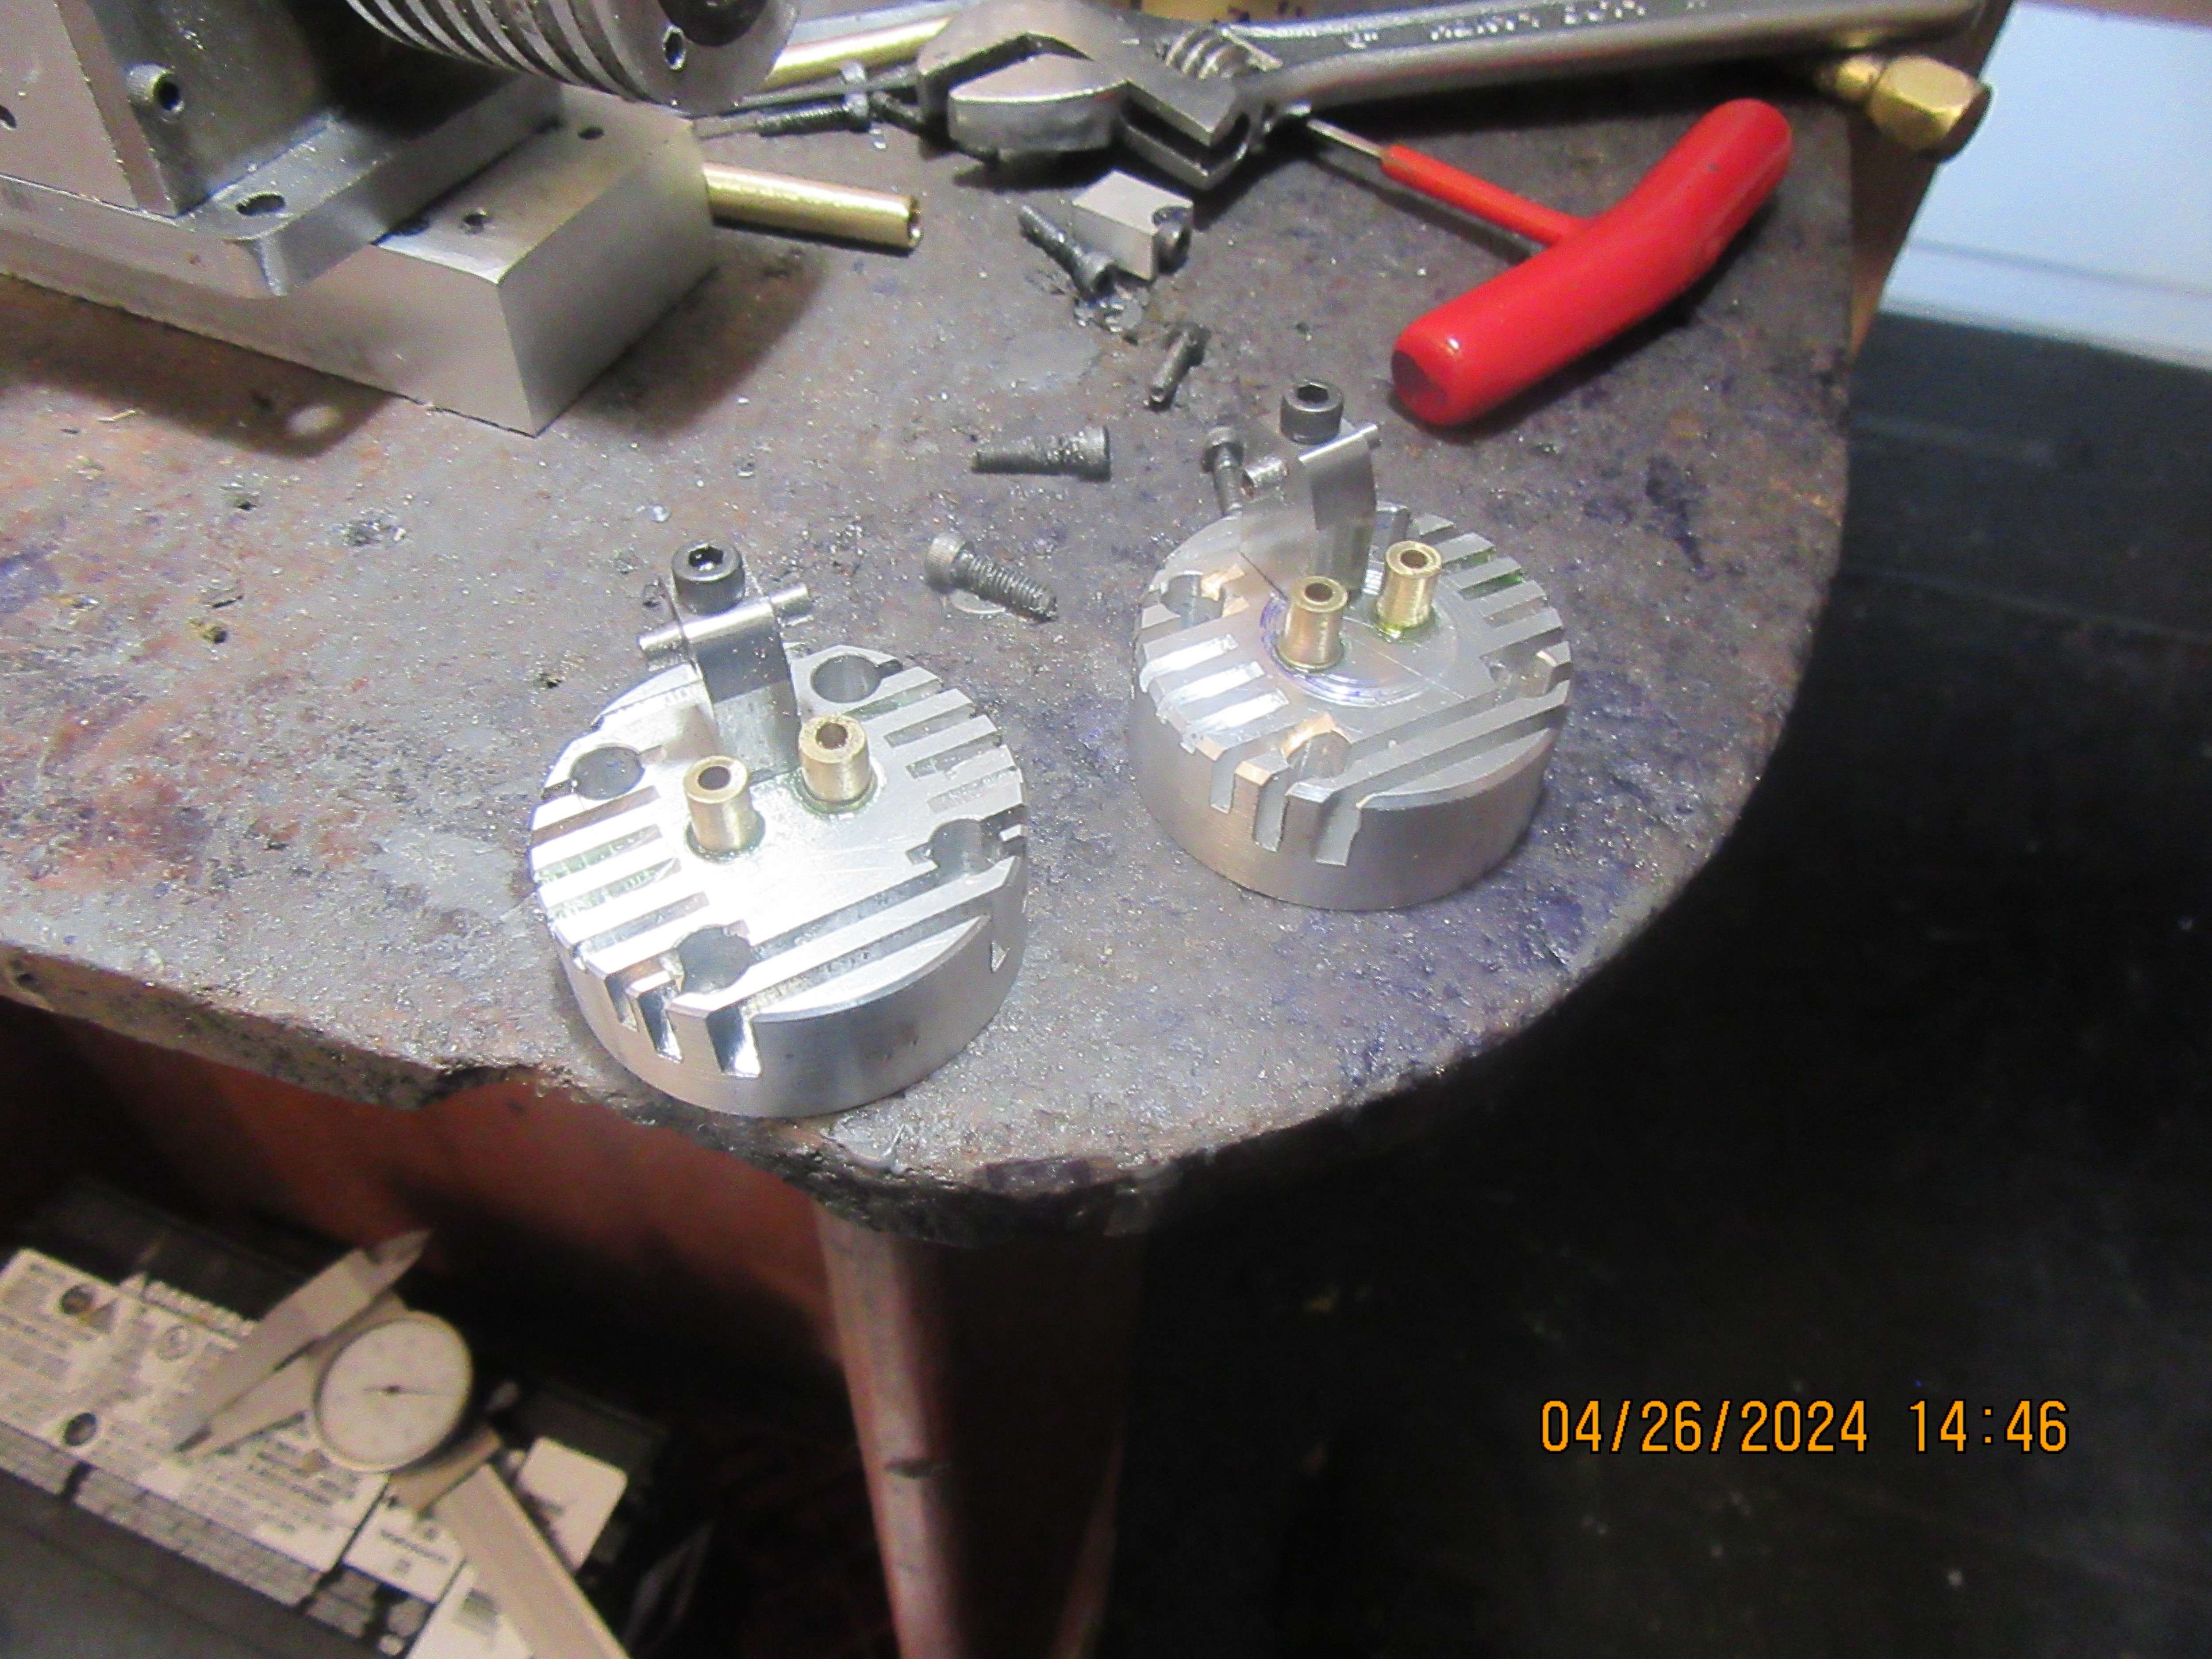
Regarding the sparkplug counterbore--my drawings call for a 0.375" diameter counterbore for the sparkplugs. This is too small, and there will be no way to get a wrench on the plugs to tighten them. I do have a socket that fits the sparkplugs, and the outer diameter of the socket is 0.429". There is sufficient room to make the counterbore 0.438" diameter, and that solves the problem. I have not put the sparkplug holes in my cylinder heads yet.
 
No machining over the weekend. This weekend was devoted to leaf raking. My one acre lot is surrounded on 2 sides by oak and maple trees, and I have an awesome amount of dead leaves to get rid of every spring. With the help of two grandchildren and good wife we raked up 33 bags of leaves and got them out to the curb for pick-up. Every spring I breathe a sigh of relief when that job is finished.--Now, on with my build.
 
I only manage a couple of buckets of leaves for the compost. But after shredding pruning I managed a dozen buckets for the compost bins. Then a few buckets of grass clippings and weeding, now the compost bin are both 2/3rds full.
I suppose using agricultural machines counts as "Engineering Machining" in some way?

The tidy levelling of grass?
The creation of "vegetable swarf" for the compost doesn't count in my view.... just "necessary occupation".
K2 😊
 
This morning was devoted to tappets and tappet guides. The tappets are as per Upshur drawings. I added a 0.050 thick flange to the end of the tappet guides. The guides are pressed and Loctited to the crankcase plates.
wpaEQZ.jpg
 
I only manage a couple of buckets of leaves for the compost. But after shredding pruning I managed a dozen buckets for the compost bins. Then a few buckets of grass clippings and weeding, now the compost bin are both 2/3rds full.
I suppose using agricultural machines counts as "Engineering Machining" in some way?

The tidy levelling of grass?
The creation of "vegetable swarf" for the compost doesn't count in my view.... just "necessary occupation".
K2 😊
I like the vegetable swarf term very much! Seem the last few weeks have been almost entirely devoted to chain saws, tractor and implements, landscaping, planting, and seed starting. At least some model making is happening, but more on the train and model boat side of my hobby world. On the topic, I have a kit of materials and gears purchased from Mr. Upshur at the Tuckahoe Steam and Gas Engine Show back sometime in the second half of the 1990's. He was a very pleasant and friendly gent. I really should set aside some time and make at least one of his engines.
 
Today has been a laid back kind of day. I made the oil filler tube and Loctited it into place, made the oil filler cap and right now it is mounted on a short piece of 3/8" shaft so I can cross drill it. I also made up the distributor ignition adapter plate and made up both exhaust pipes. That's not a lot, but somehow it has filled up most of my day.
7RrcWd.jpg
 
Yesterday I ran all over Barrie buying a new garden tractor. This morning I wanted to something a bit different, so I machined the distributor cap and the rotor out of some nylon material I had. It turned out quite nicely, other than the fact that the machined areas turned kind of a dull grey. I don't know if there is any way to restore a nicer finish color to them or not.
oXCgkp.jpg
Nylon can be a little peculiar because it absorbs a lot of moisture from the air (and becomes a lot softer when it does so). I've worked with nylon bars that have a substantial difference in colour at the surface where the plastic has been exposed to the atmosphere, compared to the interior. I used to turn it with a HSS tool, neutral rake, polished sharp edge and a generous tip radius. Parts were 4" OD bushings for pallet handling equipment, I ran at full speed for my lathe (1200 rpm). Swarf was so hot it was smoking and formed a continuous ribbon flying over my shoulder and landing in a pile behind me, made for a fun clean up job later. The surface finish was always shiny under those conditions. Don't get me started on what it was like to drill and bore the ID...

Nylon can be dyed, which might work to darken the colour. Maybe even colour it in with a sharpie? Don't bother trying to sand or file it, though you probably knew that already.

Or grab yourself a bit of acetal/delrin, it's way easier to machine and will leave you with a smile on your face every time.

Edit: one more thing: make sure your feed rate is high. I was running something like 20 thou per rev.
 
Last edited:
Today has been a laid back kind of day. I made the oil filler tube and Loctited it into place, made the oil filler cap and right now it is mounted on a short piece of 3/8" shaft so I can cross drill it. I also made up the distributor ignition adapter plate and made up both exhaust pipes. That's not a lot, but somehow it has filled up most of my day.
It should be as "laid back" as you feel happy with.
I constantly have the feel that I get nothing done :). And every time I try to become more efficient ( aka rush) it fires back and ends in rework, or damages.
To me it looks like you proceed at quite a good pace.
 
Last edited:
And that ability of Nylon to absorb moisture that Nerd mentions could cause tracking of your distributor cap. That is why Delrin is given on the drawing as it is a lot less hydroscopic.
 
I knew someone who made new bearings for his yacht rudder... After fitting, he went sailing, and half-a day later, the steering started to stiffen-up. Before he got back to shore, the rudder had seized solid. Due to the nylon absorbing water and swelling - thus eliminating the clearance require for the rudder to turn.
Had to be salvaged to avoid a shipwreck. Thanks RNLI!
He didn't know Nylon was hydroscopic... just that it would not rust....
Previous Brass bushes had failed due to de-zincification... should have been BRONZE. But when you buy "rudder bearings" you expect the supplier to use appropriate materials, not something that rots in a few years when in water... (Where else would you sail a boat?). So he made the nylon bushes... to his embarrassment.
When I go fishing (rarely) I always soak the line on its spool in water overnight beforehand. The water the nylon absorbs softens it nicely so it is like new when casting or tying knots.
Recently I bought some nylon strimmer line... to strim the garden. Stiff as anything and would not auto-feed. So I soaked it overnight, and hey presto! Good strimming was enjoyed!
K2
 
I didn't care for the way Upshur had designed the rocker arm support towers, in fact I found it quite confusing. I redesigned them to be made from mild steel, with the cross shaft pressed and Loctited into the towers themselves, then one #5 bolt goes thru clearance holes in the steel rocker support towers and screws into the cylinder head.
---Sorry for the crappy picture.

zrCAIr.jpg
 
Hi Brian, can the loctited #5 bolt resist the oscillating torsion from the cam load reaction on the rocker pivot pins? - I guess "maybe", but is there a way to secure the post - say to the adjacent cooling fin groove?
And does the pillar need relieving on the corner nearest to the spark plug? - Something like a 1/8in x 45 degree chamfer to give a bit more room for the plug? It may not be necessary, just looks close from where I am sitting 5000miles away.
Good stuff. Keep it up. I think you are right to improve as you see fit. Upshur would approve as well I reckon!
K2
 
That's one of the valve cage holes not the plug hole.

I've taller rocker posts on M3 screws with a smaller area to the base of the post and they hold up fine to the minimum loads the light springs on this size of engine is likely to produce. CSk M3 up from under the head on this engine of similar bore & stroke.

DSC03875.JPG
 
And to end off the day in style, we have four valve guides machined and installed. This is going to be the first time I have built an engine that doesn't have the valve face contact area as part of the valve cage. It is also the first time (I remember) that I have used a valve stem 0.094" diameter. All of my previous valves have been 1/8" diameter. The guides were all an interferance fit of 0.001" and coated with 638 Loctite before being pressed into place in the cylinder heads.
1cKcQr.jpg
 
That is a really weird place to put a carburetor---down at the bottom of the engine. And since these carburetors have to be higher than the gas tank to keep from flooding, then the gas tank will have to be even lower. This makes a really good case for having the gas tank inside a rectangular block which acts as a sub base for the engine.
tKnyv9.jpg
 
Help!!! I buggered up a sparkplug thread. It should have been 1/4-32 but I pooched it. I have too much work in the cylinder head to scrap it, so I'm looking for a Helicoil kit that will let me save the head. Who can help me find a Helicoil kit that will get me out of trouble. I only need one Helicoil but the kits I've seen have 25 or 30 Helicoils in the kit. I need to buy the drill, the tap, and a driver (maybe). Can somebody line me up with a kit that has the least number of Helicoils in it. ----Brian
 

Latest posts

Back
Top