V-TWIN---MAYBE V-4

Home Model Engine Machinist Forum

Help Support Home Model Engine Machinist Forum:

This site may earn a commission from merchant affiliate links, including eBay, Amazon, and others.
And, after much kicking and squealing, (by me) the engine now has new support feet so it can be mounted on my starter table. NOTE---They are not sanded and prettified yet. They are made and they are installed and they fit. I still have a bit of work to do on them, but today was spent finishing the machining and installing them. The old feet I took off are setting beside the engine. I have a bottle of Christmas Baileys Irish cream whiskey upstairs, and five minutes after I finish this post I am going to see if it tastes as good as I think it will.----Brian
owuPrC.jpg
 
IMG_0476.jpeg

I think I’m going to need some help with this silver soldering. Do we have an expert in the group? Built a solder fixture for alignment and depth
 
Where the part can be heated for a high temperature silver solder, I have used flux free silver solder. It contains some phosphorus that cleans as it melts and wets the surface. Silver solder needs a clearance to penetrate the joint by capillary action. use plenty of a good flux. "Easiflo" for regular 35% or 50%~55%. But high temperature suitable for stainless steel when silver soldering stainless, or other higher temperature solders. - This prevents degradation of the flux at higher temperature.
If you are very fussy about silver solder appearance where it flows across the surface of the copper tube at random, you can mask against this with pencil graphite, clay, or some other compounds that do not degrade with red-heat, but prevent the flow of the solder.
Regular silver solder is around 35% silver - sometimes the cheapest and OK for most jobs.
IF you need a low melt silver solder (useful when doing a repair on a previously silver soldered job) use 55%. 55% also makes large fillets of solder, compared to 35%.These can be more attractive when you want a larger radius, to appear like a casting on painted parts. BUT the main strength of silver soldering is the penetration by capillary action, not the fillet.
De-grease parts, make a flux paste by mixing a small amount with water, apply to the joint when assembling, then add more flux as the part heats and starts to change surface colour. Keep the joint well flooded with clean flux (a clear liquid when hot) and supply adequate silver solder all around the joint area.
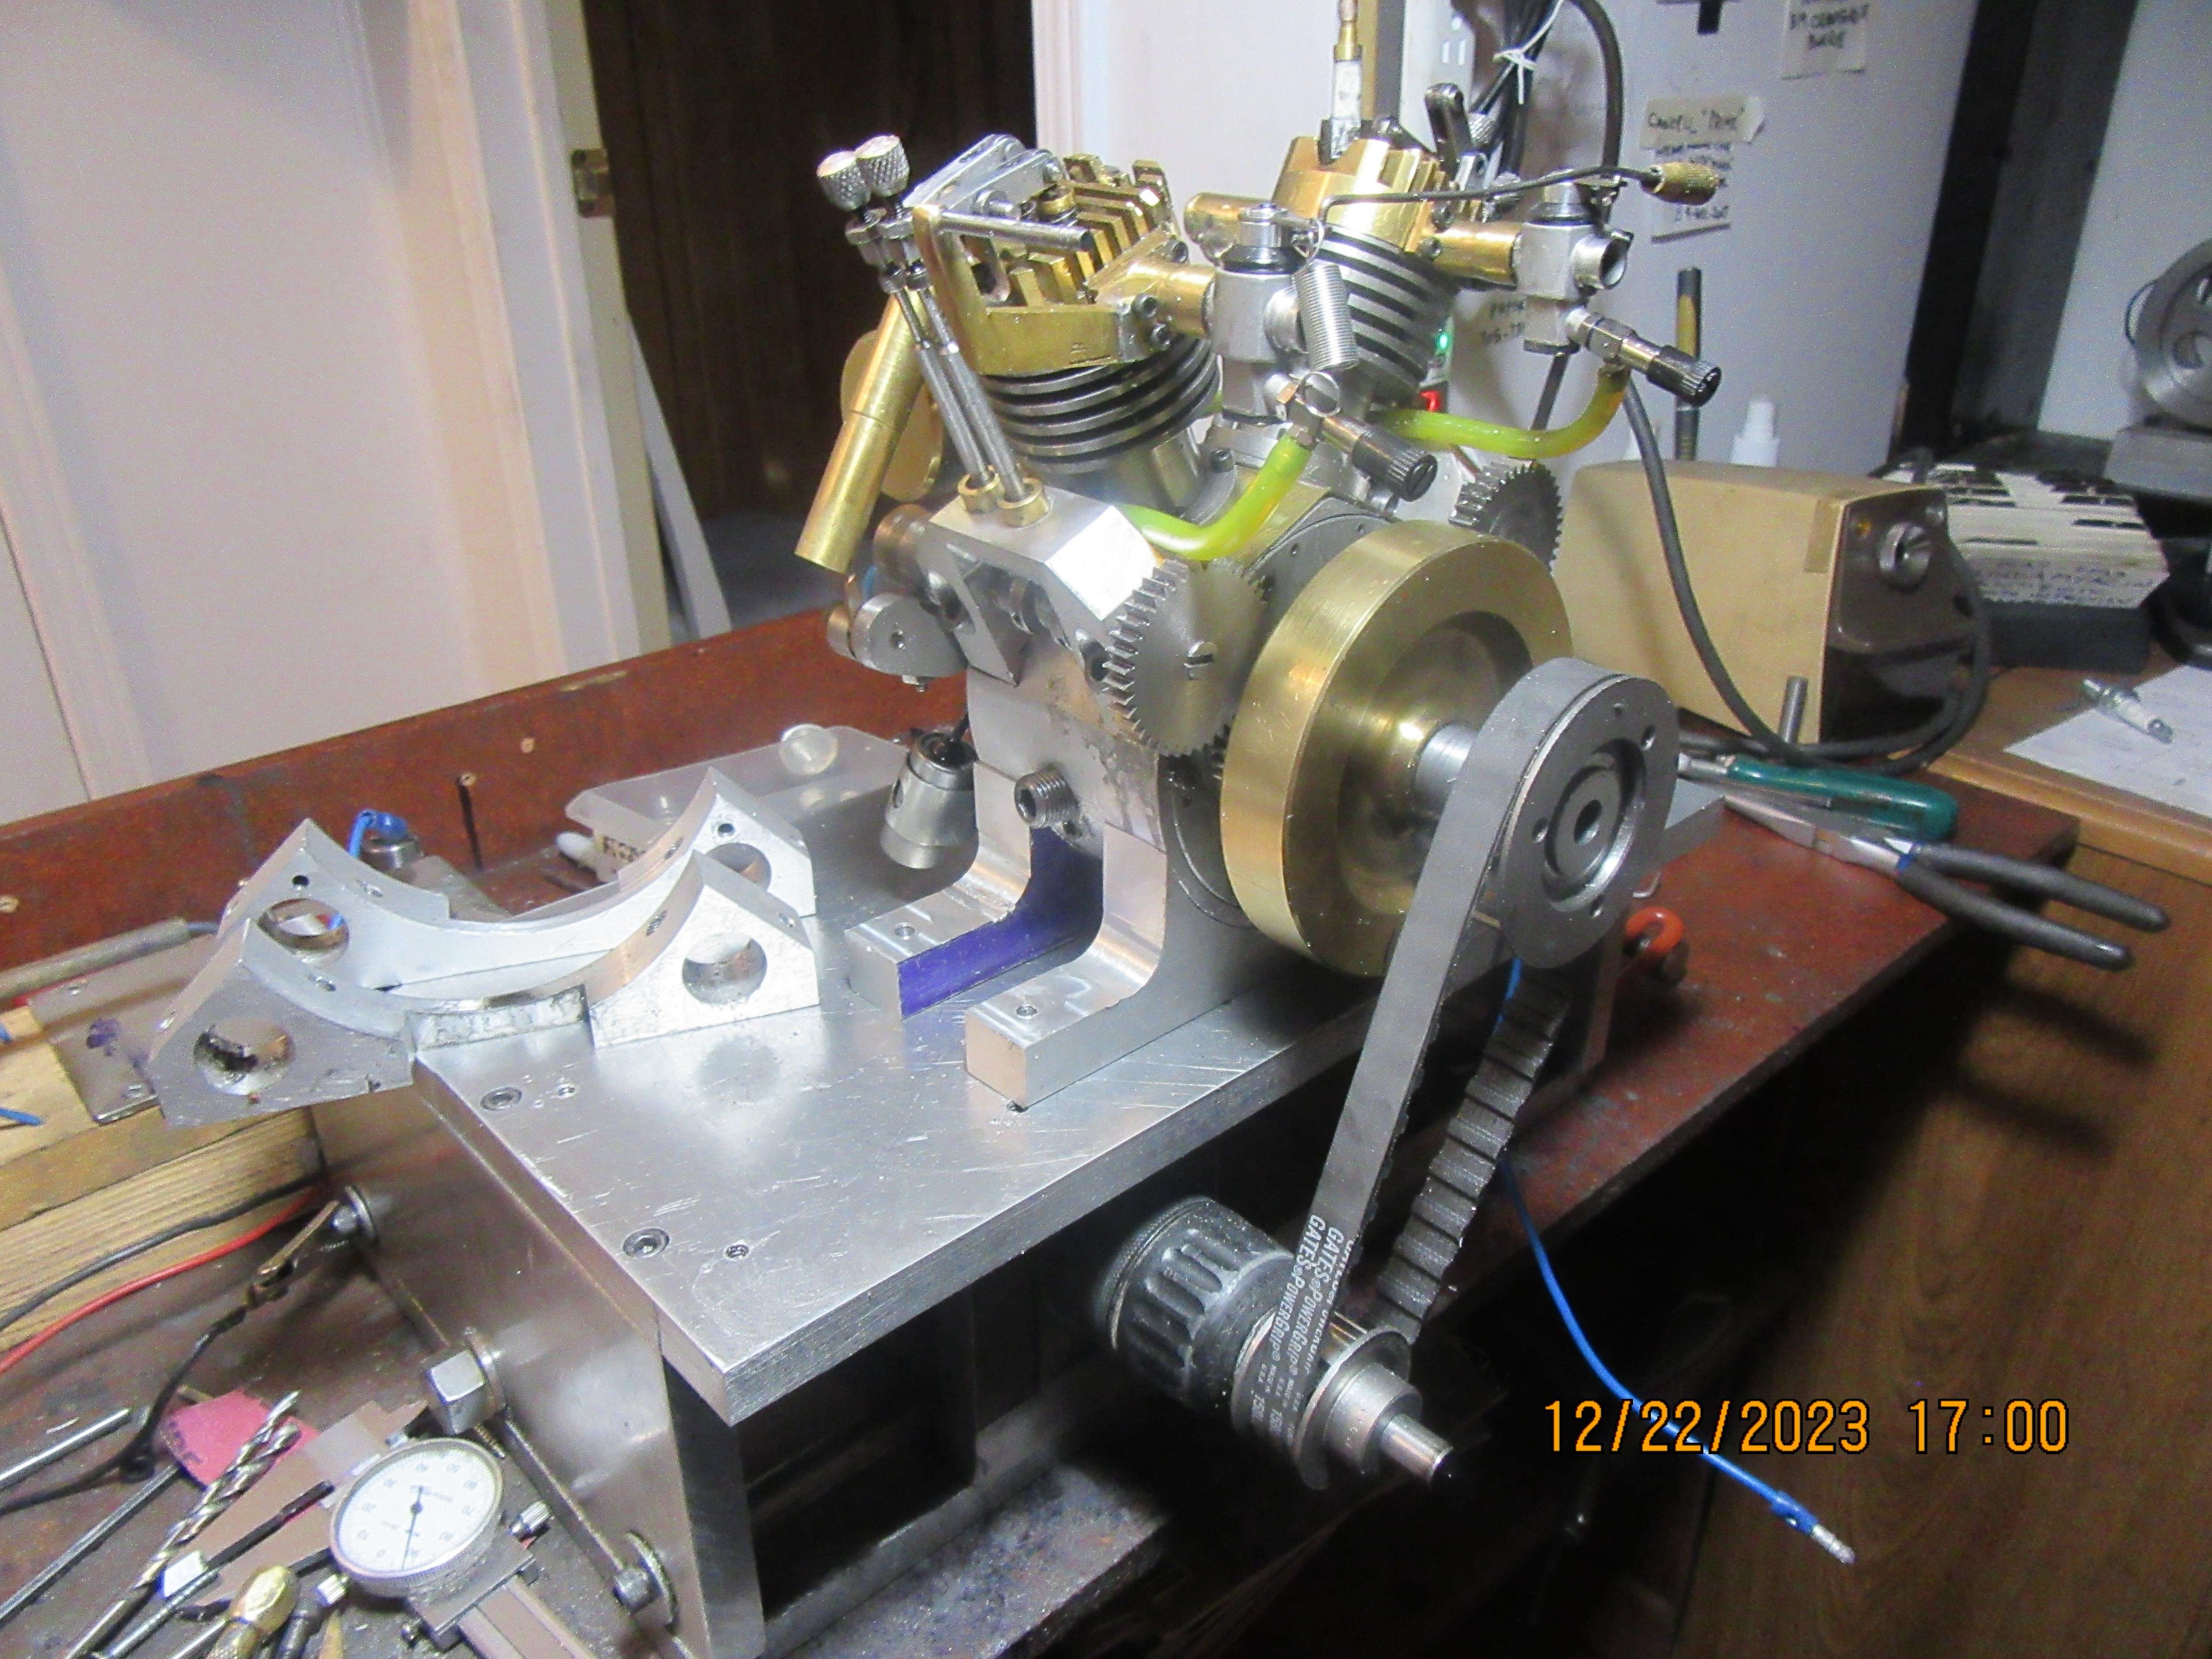
My work isn't pretty, but effective.
Hope this helps... but advice from an expert can help further...
Any other experts want to add/correct this advice, please chip-in. (I'm a Bodger that made it work, not an expert!)
K2
 
For a start you need silver solder not what you have in the picture. The name applies to the silver content not the actual colour of the alloy.

As you are using Harriss products get some Safety-Silv 45 or Safety-Silv 56* solder and Stay-silv black flux

Put the heat into your metal fixture plate first as that will suck the heat out of the parts.

The flux is a good indicator to when the part is hot enough, First it will boil off the mositure then thicken and finally it will turn to liquid and that is when you can feed in the rod of solder.

What are you using for heat? many new to silver soldering use too small a torch which takes forever to get the part upto temperature by which time the flux is exhausted so the solder won't flow. On a job like that I would be using a 7kw burner, thats 28mm dia to give an idea of size. A small MAPP torch won't do it. *The 56 solder has a lower melting point which is better if you have asmaller torch but it doe scost a bit more due to higher silver content

Practice on some offcuts first rather than risk those nicely machined parts. You are aiming for a neat clean fillet at the joint so don't go by Brian's example as I have never worked out what he is actually doing or using.

Have a look at this post & video I did for someone else https://www.model-engineer.co.uk/forums/topic/steam-engine-number-one/page/5/#post-410874
 
Last edited:
Ignore all the hardness names in that video as jewelry solder which he is talking about uses different classifications
 

Latest posts

Back
Top