Horizontal Double acting Twin Self starter

Home Model Engine Machinist Forum

Help Support Home Model Engine Machinist Forum:

This site may earn a commission from merchant affiliate links, including eBay, Amazon, and others.
Brian,

Thanks for your kind words. Compared to many members here my efforts are very ordinary to say the least ::)

For me it's not so much the accuracy, but the accuracy combined with the excellent finishes I have looked at. I guess I'm just too impatient. :-[

Your machining skills and your recovery from, Oh S@#t, situations would be the envy of many.

Best Regards
Bob
 
Great photos as usual Brian. You did a great job on those connecting rods. Saving the one from the "recycle" box was a bit of creative effort. :bow: :bow:

Cheers,
Phil
 
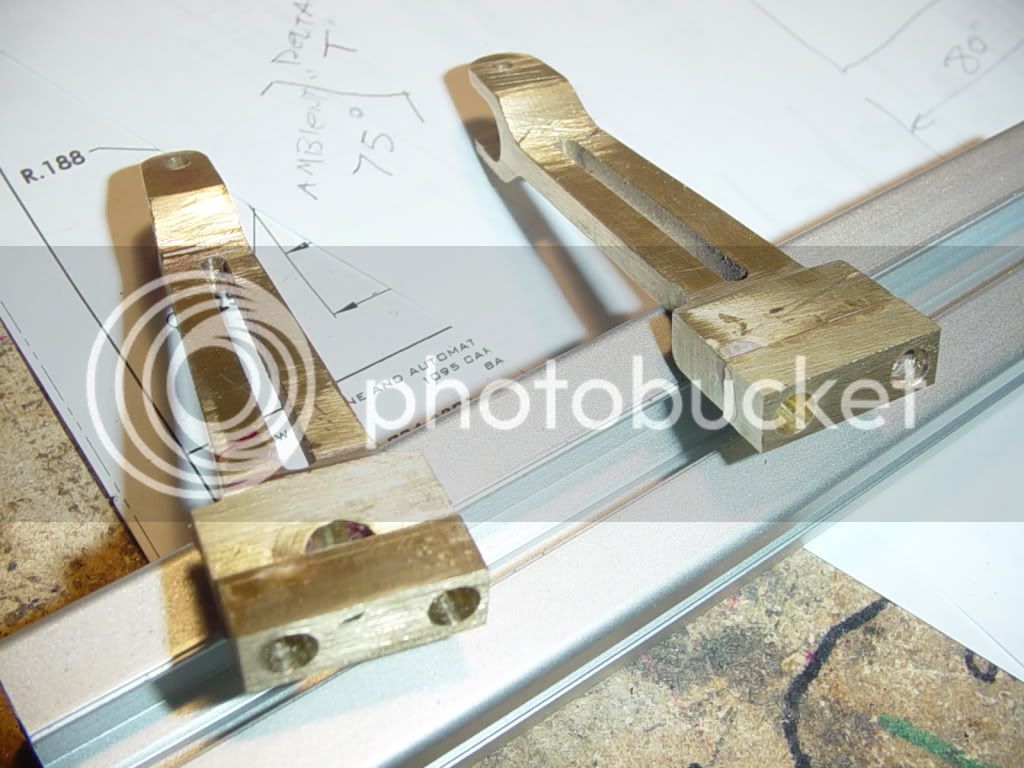
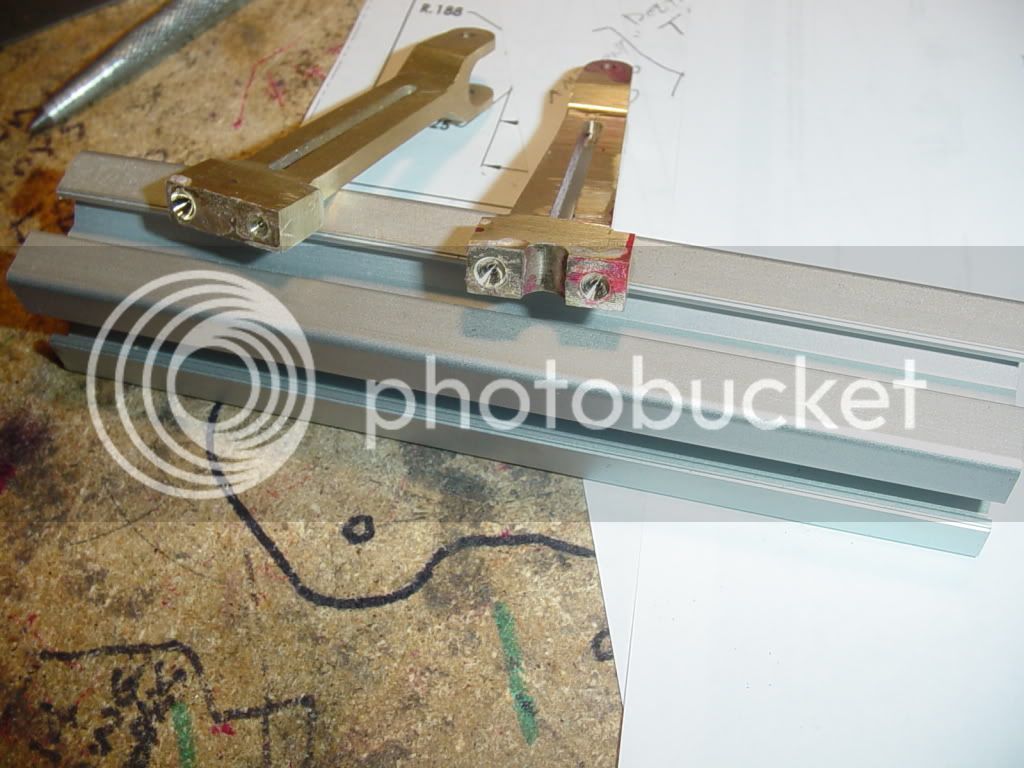
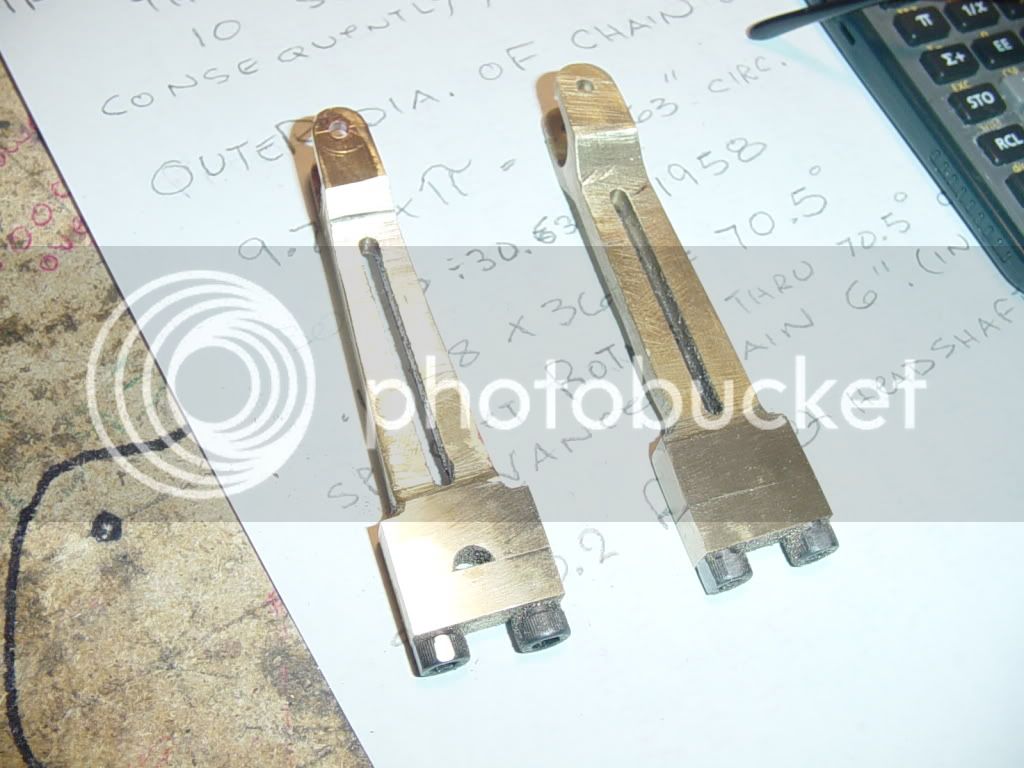
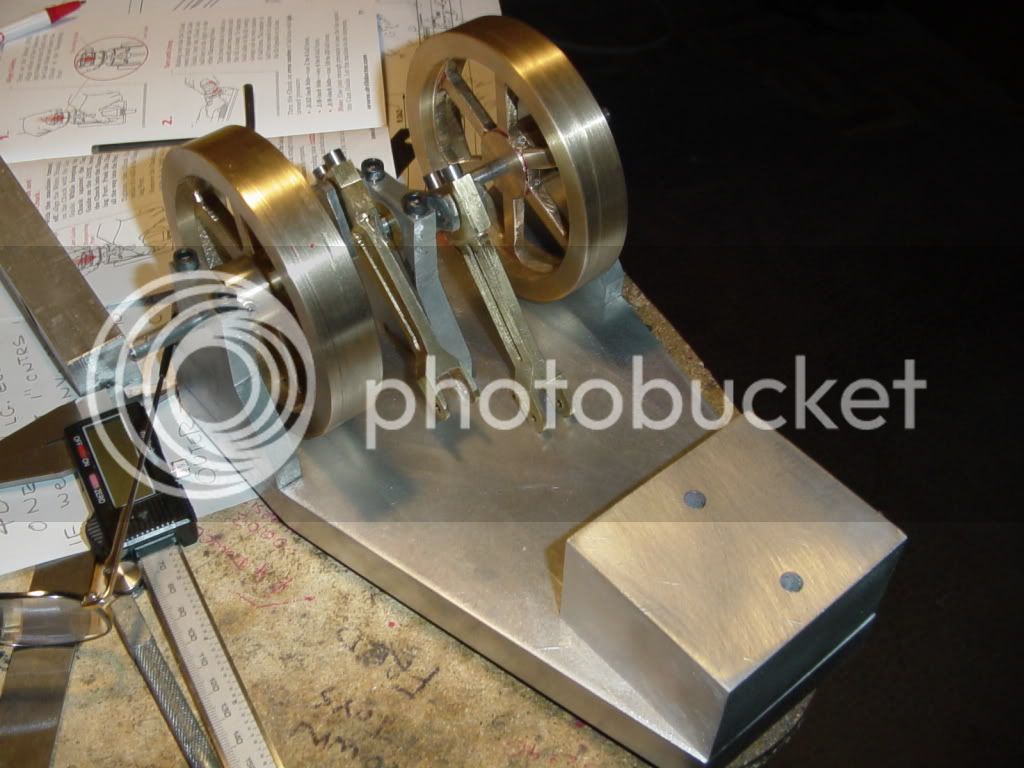
I milled out the peices for my connecting rod caps, and then wanted to match the holes in them perfectly to the connecting rods. I don't know how the other 3 billion people on the planet would handle this, but this is what I did. I drilled the clearance holes in the connecting rod caps, then lined them up and crazy glued them in more or less "perfect" alignment to the con rods. Then I took the clearance drill in my hand drill, and using the conrod caps as a "guide" I spotted the ends of the conrods as shown. Then match marked the con rods and their respective caps, and broke the crazy glue bond to remove the caps. I then set the conrods up one at a time in my mill and drilled and tapped them----Everything fit perfect. As you can see in the last picture, due to repeated filings and "alignments" the thickness of the conrods has shrunk a bit from what I originally intended. This is not a problem function-wise, but I am going to have to turn down the head diameter of the #10-24 capscrews a little bit to compensate for that.
CONRODPROGRESS002.jpg

CONRODPROGRESS003.jpg

CONRODPROGRESS005.jpg
 
Brian, there are as many ways to skinthe proverbial cat as there are people doing the skinning. No one way is right or wrong, it is what works best for you. Things are look good!!
 
Brian,

You did good man. :bow:

Not trying to teach you to suck eggs but have you thought about some form of locking arrangement for the big ends and other bits, when the engine is assembled ???

From bitter personal experience with my mill engine, they will fly apart at higher speeds, with a second con rod the result. :eek:

I used through bolts so it was just a matter of centre popping the nuts and threads. With cap screws, maybe a star washer, loctite on the threads etc.

Best Regards
Bob :)
 
Maryak--I don't run my engines very fast--In fact with steam (or air), slower is generally preferred. However, it is advise well taken. All of the previous engines I have built were one peice con rods, with nothing to fly apart. I will use a bit of Loctite blue threadlocker on the con rod bolts at final assembly. Thanks---brian
 
Nice going Brian ;D ........... but you've missed a bit, how did you cope with the 1/2 hole ;)

CC
 
CrewCab said:
Nice going Brian ;D ........... but you've missed a bit, how did you cope with the 1/2 hole ;)

CC

It was a trick worthy of Harry Houdini!!! I took the con rod cap off, put a 1/8" dowel in the chuck on the mill, and shoved the con rod small end up onto the dowel. I opened the vice and lowered the quill and chuck untill the conrod big end was between the jaws, and roughly centered. Then I closed the vice jaws untill the con rod was securely gripped, but the quill, chuck, and 1/8" rod would slide freely up and down. I then took out the 1/8" dowel and cranked the table 3.0" to towards the big end. Then I put a 1/4" dowel in the chuck and played pokey monkey untill the 1/4" dowel was a perfect fit into the "half hole. Then I raised the quill and put the conrod cap back on--a decidedly tight squeeze, as it was the exact same size as the big end of the con-rod (I sandpapered the ends a bit to get it between the vice jaws)------Then I put a 3/16" endmill into the chuck and VERY CAREFULLY lowered the quill untill the end mill chewed a half hole thru the cap. Then I put in a 7/32" drill and played pokey monkey again untill I had a 7/32" half hole thru the rod cap, but hadn't touched the con rod. Then I put a reamer in the chuck and reamed everything to size. Big pain in the keester, but it worked.
 
Brian, it's looking a bit like an engine!! And a darned fine one at that!!

I am enjoying this build! Thanks for the ride!! :bow:
 
Brian
I had to chuckle when I read the last post you made. The water engine almost caught me in the same sort of predicament. Luckily the light bulb lit jus tin time and I managed to avoid it. This build is coming along in a very impressive manner and it's got you thinking outside the box, for sure.

Steve
 
Brian,

You sure don't muck about.
eek2.gif


Faster than a locomotive - Leaps tall buildings in a single bound etc. ;D

Looking good :bow:

Best Regards
Bob :)
 
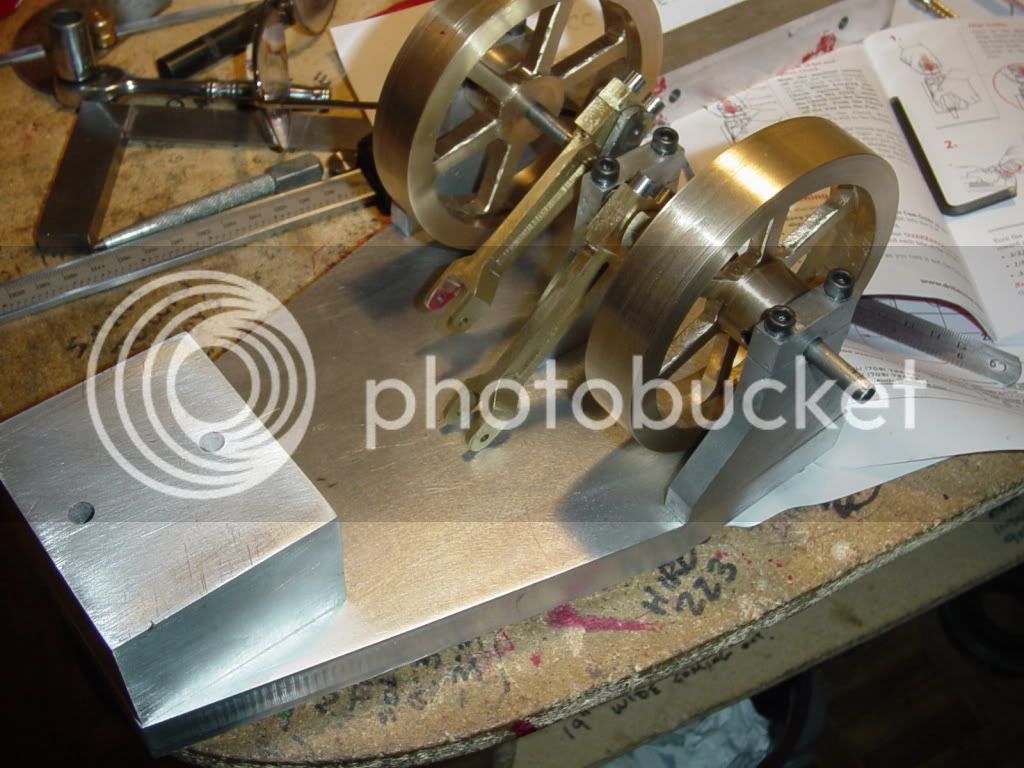
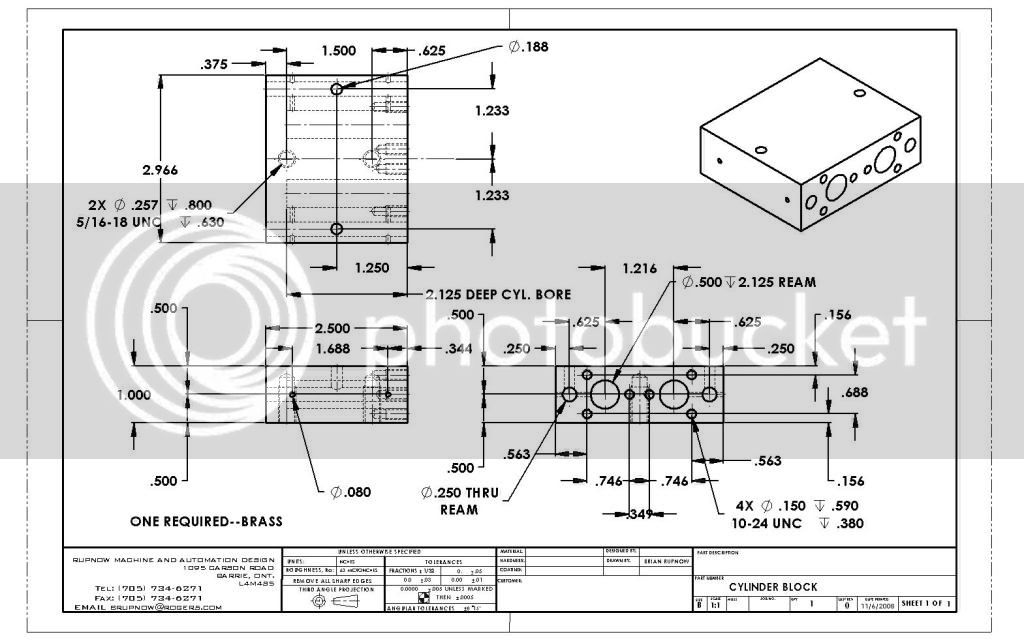
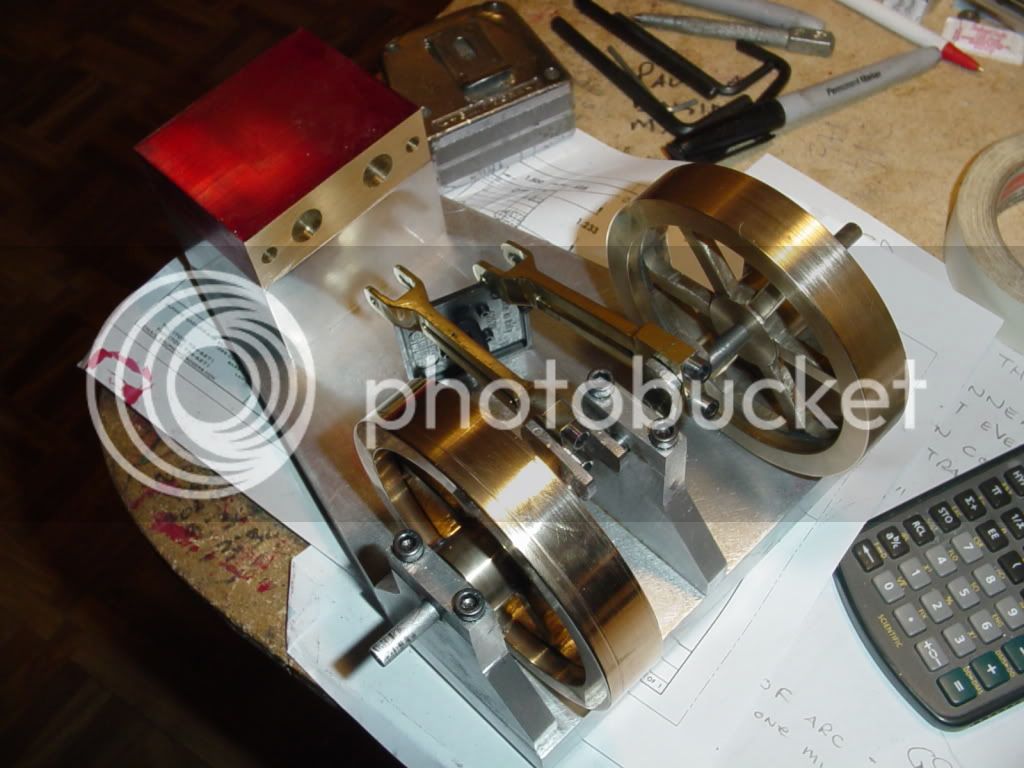
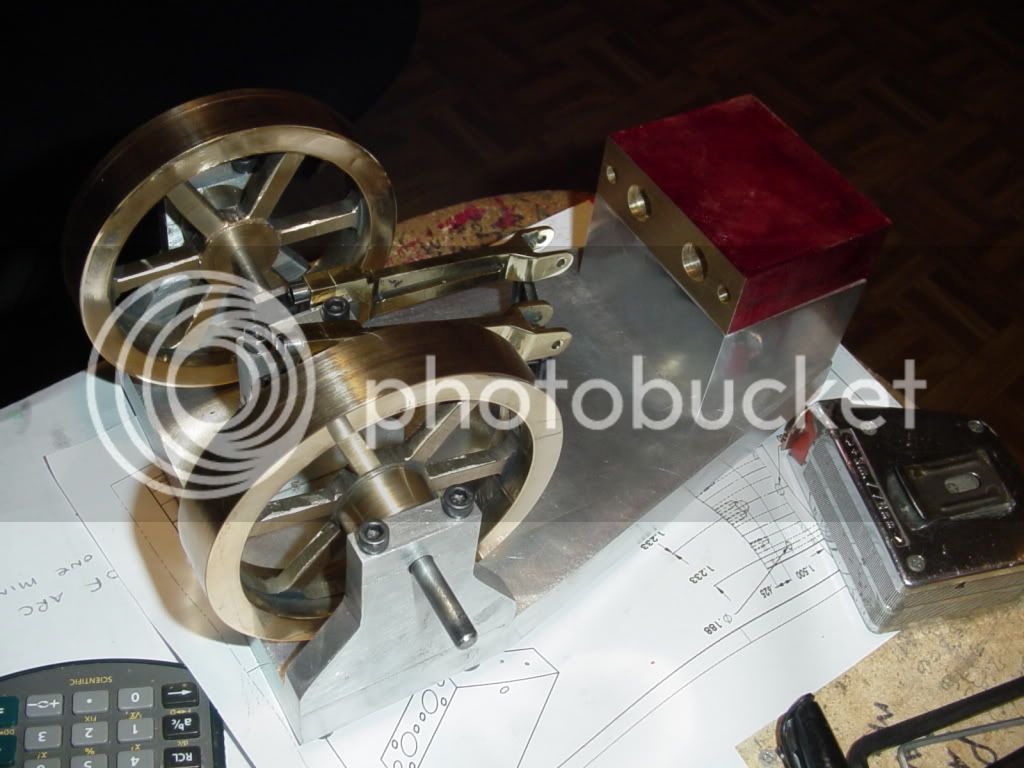
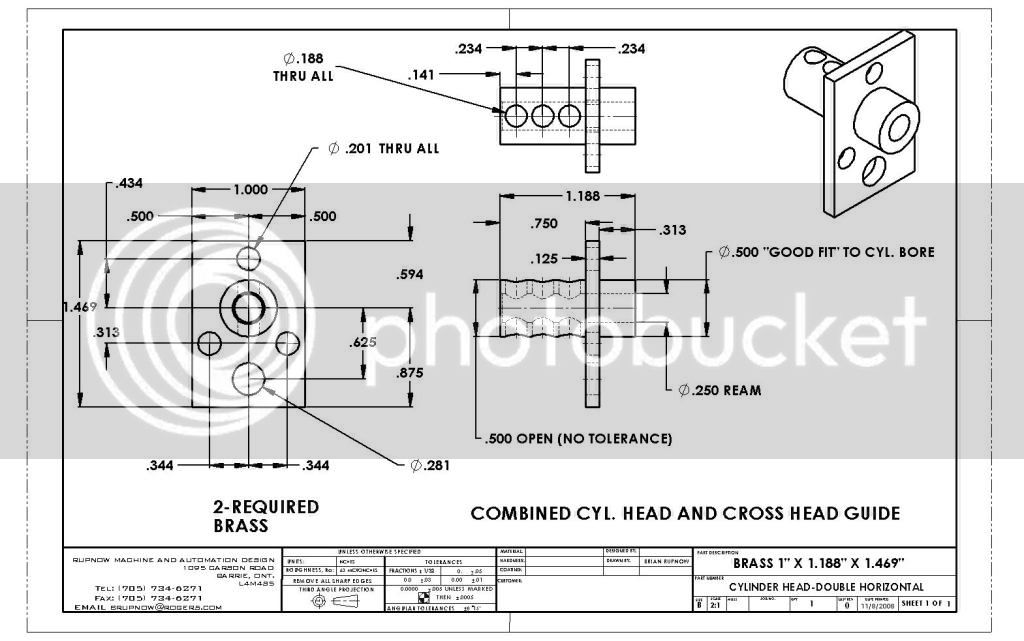
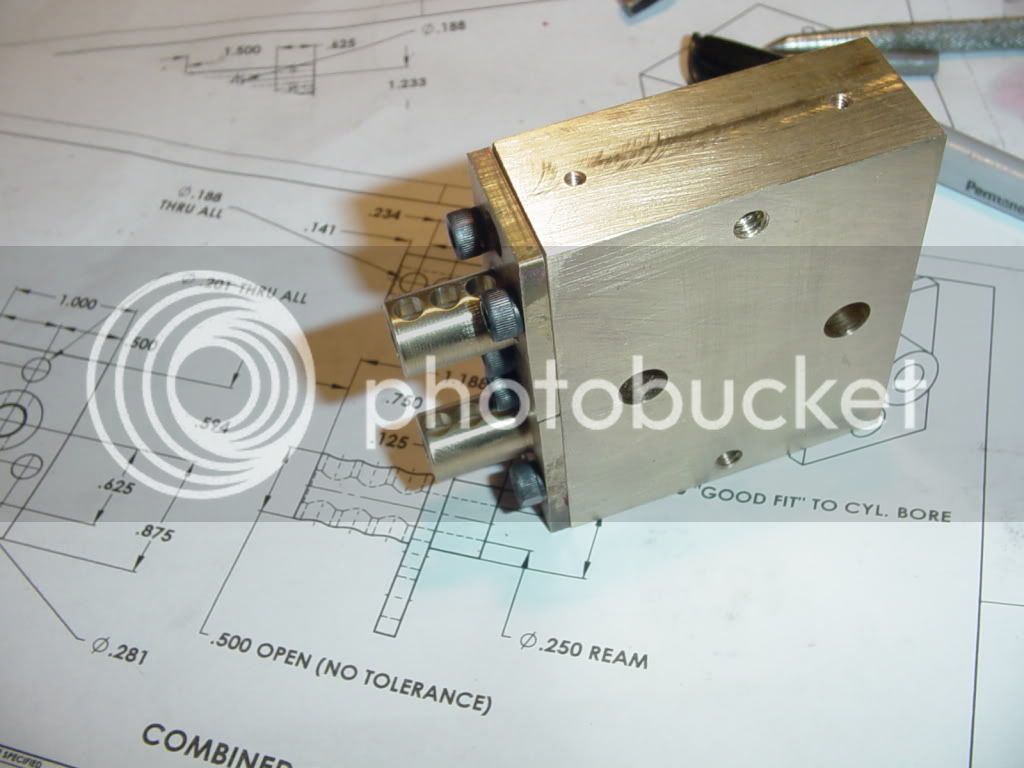
Onward and upward---It looks like 99 percent of my milling machine work is completed. I have a couple of holes to add to the cylinder body that I made yesterday, then on to the cylinder end/cross head guides.
cylinderhead-doublehorizontal.jpg
 
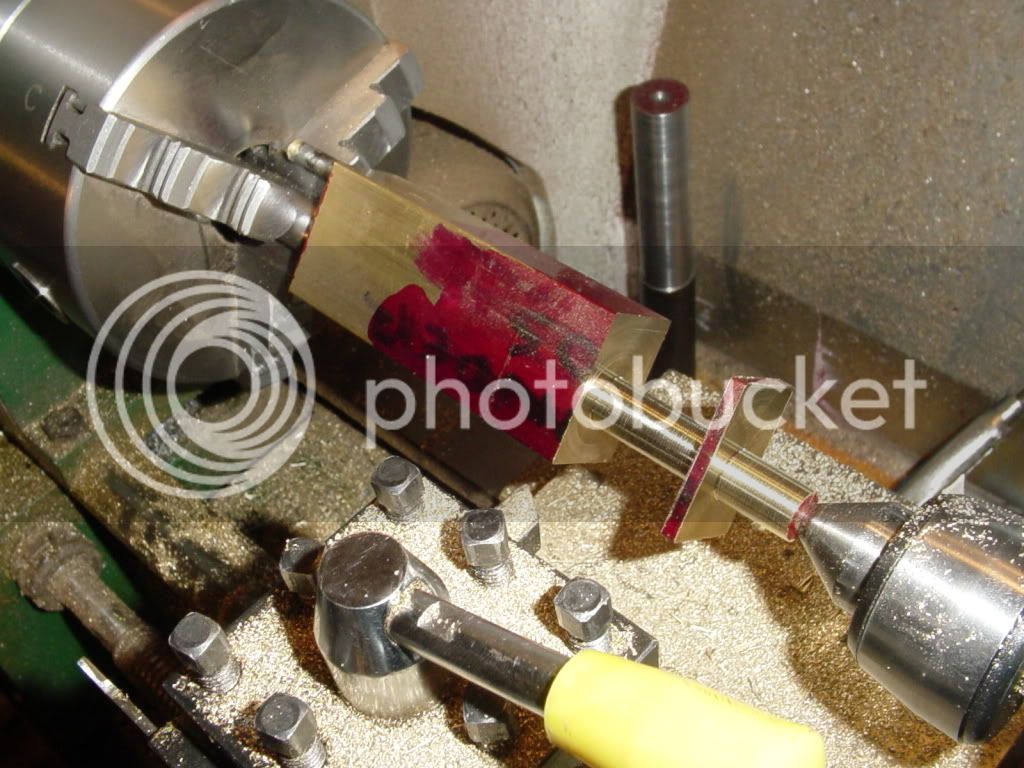
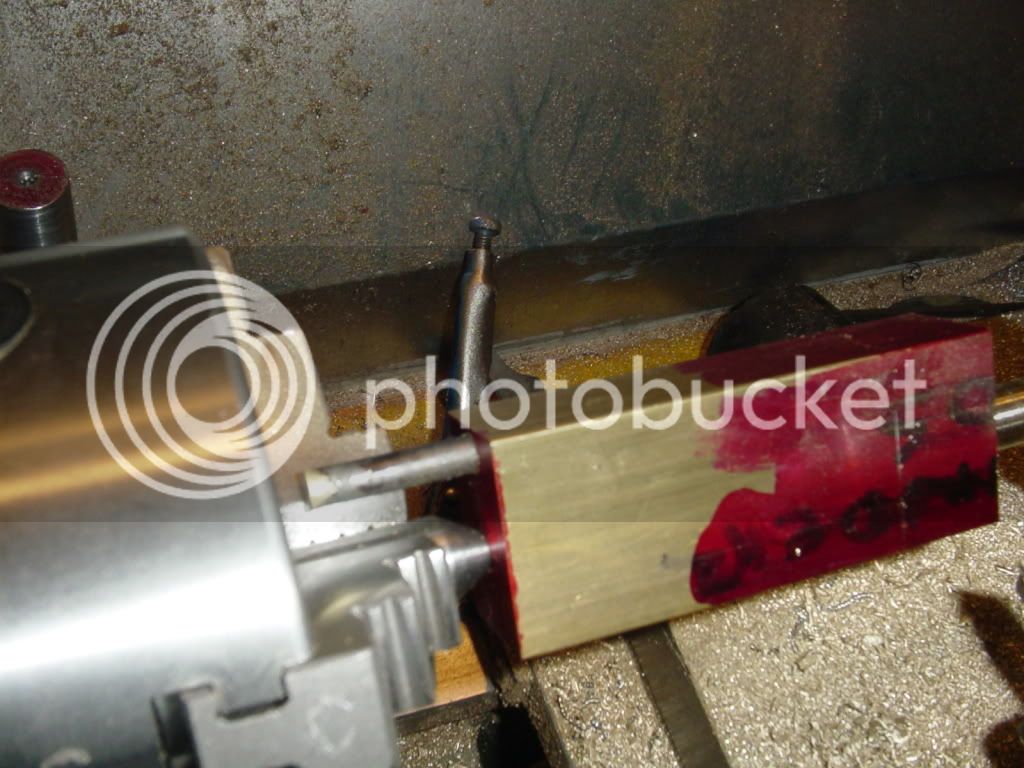
I'm all tuckered out!!! There is a full days work in these cylinder caps, and they aren't done yet. I didn't want to change chucks for this, so I did it in the 3 jaw. I layed out the holes in each end of the bar and center drilled the ends on my mill. I also drilled an extra hole in one end and tapped in a 1/4" dowel to be my lathe dog. I put a center in the 3 jaw, and supported the bar between centers and machined it that way. They are finished to the extent shown, and everything worked out okay. I set them up individually in the 3 jaw after they were parted off, and drilled and reamed the center for a 1/4" piston rod. Tomorrow I hoope to finish them.
CYLINDERHEADS-GUIDES001.jpg

CYLINDERHEADS-GUIDES002.jpg

CYLINDERHEADS-GUIDES003.jpg
 
Brian, it sometimes amazes me how much time one I put into a little bitty part! It's the nature of the beast I guess. Hang in there, just keep on keepin' on and you'll have a great little engine on your hands!!
 
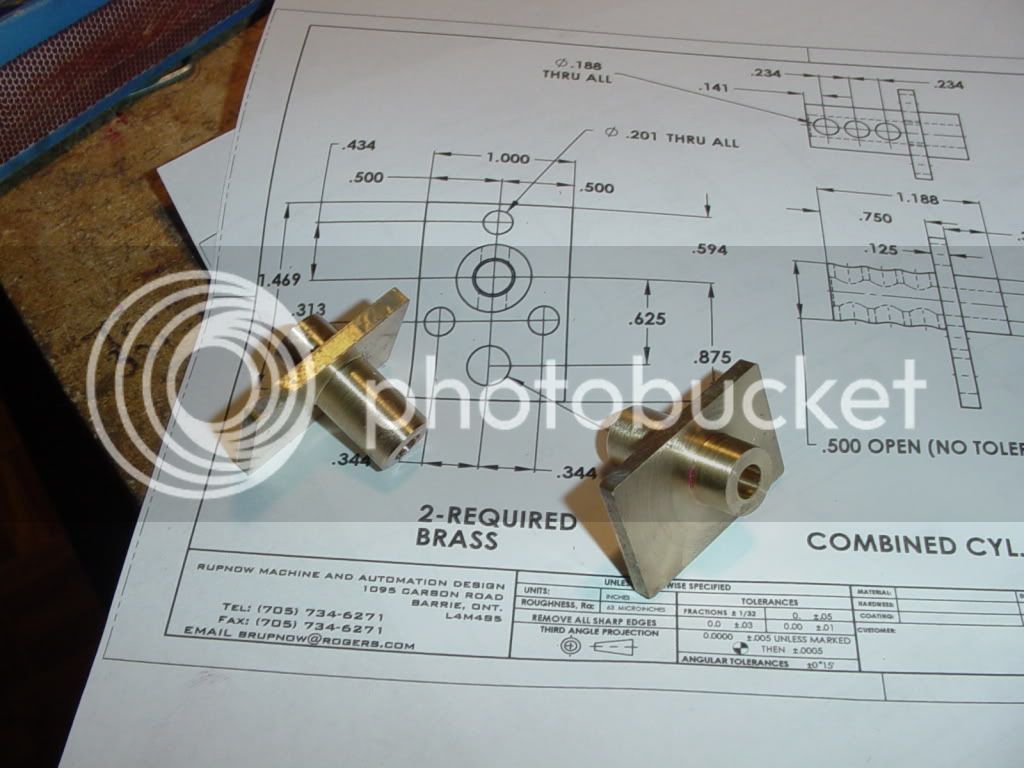
We are one step closer to a living, breathing engine---(I hope). I got in a good days machining yesterday, and today my wife and daughter are over painting the daughters new condo. I've already paid my dues at the new condo---plastered and sanded about a thousand friggin nail holes in the drywall and fixed 2 "cat holes" that the previous owner had cut through the bedroom walls and front hall closet so her cats could get from one room to the other. Nothing real tricky about the cylinder caps, except it was a lot of hogging from barstock to get them cut out yesterday.
CYLCAPSFINISHED002.jpg
 

Latest posts

Back
Top