Stirling "Miser" Engine

Home Model Engine Machinist Forum

Help Support Home Model Engine Machinist Forum:

This site may earn a commission from merchant affiliate links, including eBay, Amazon, and others.

JMI

Well-Known Member
Joined
May 22, 2008
Messages
134
Reaction score
0
Location
Seattle, WA
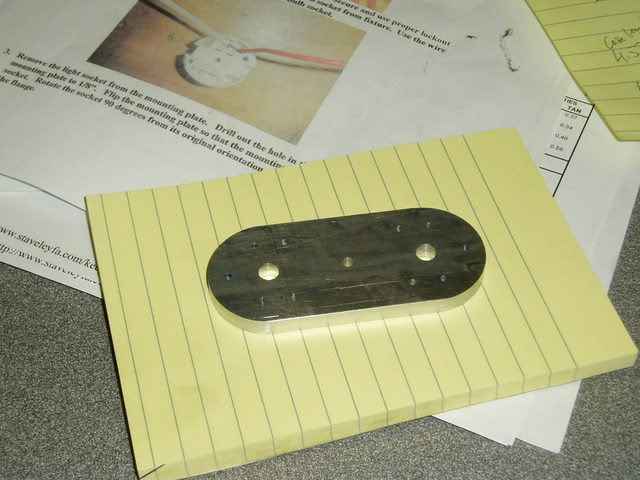
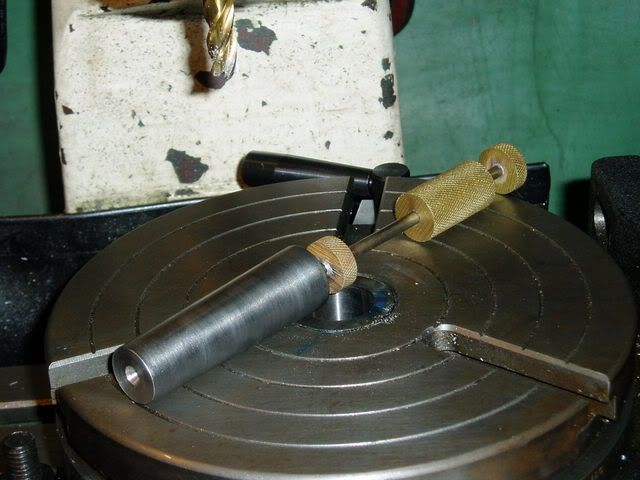
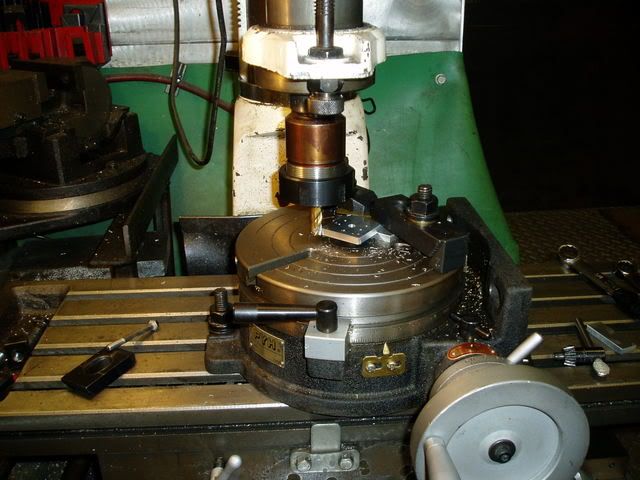
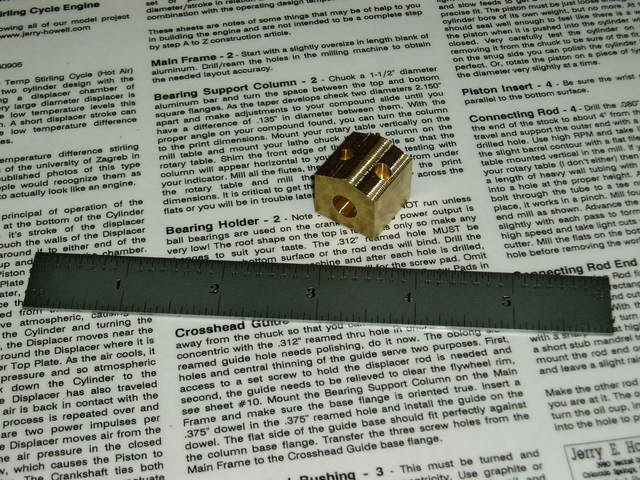
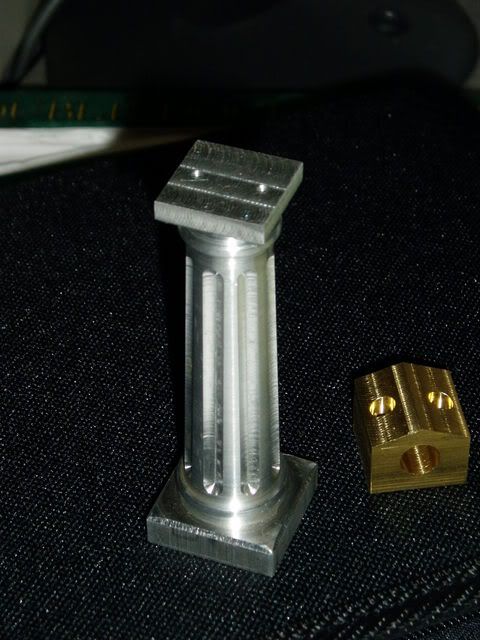
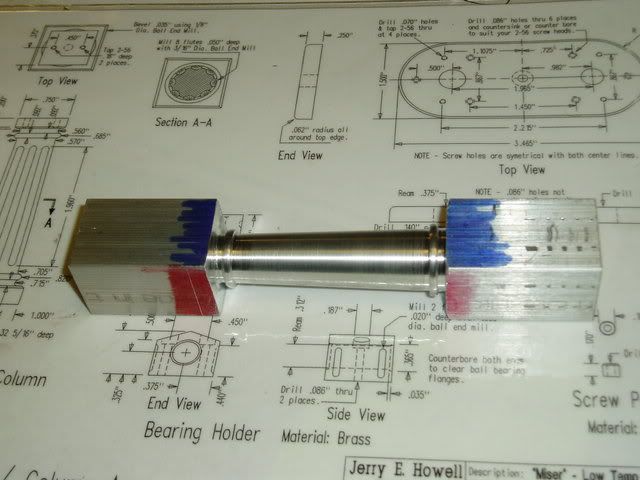
Might as well get this posted as an incentive to carry on till finished. Need to order some ball type end mills to finish the column per (Jerry Howell's) drawings.

P1080054.jpg


Jim
 
Jim,

That is a great start. You gonna work on other parts while you wait for the ball type end mills?

Keep the pictures coming.

Eric
 
Brass_Machine said:
You gonna work on other parts while you wait for the ball type end mills?

Being that I'm chained to the machines do I have a choice? :eek:

Jim
 
A few more photos:

This is the "Main Frame" picture. The two bigger holes need to be enlarged but enough work for 1 night.
P1100057.jpg


They are drilled @ 1/4 inch and I used a tool that was suggested by Marv in another thread to align/center the part to the rotary table.
http://www.homemodelenginemachinist.com/index.php?topic=3638.msg36749#msg36749
P1100056.jpg


This was the setup:
P1100054.jpg


Took and awful long time to make that one piece.

Jim
 
JMI,

I built 2 of the Mizers last spring. It was a fun project. I used a corner rounding endmill to round off the edge of the base plate as long as it was already clamped down to the rotary table. I put a cast iron sleeve in the power cylinder so the outside could be aluminum. Did you purchase the hard-to-find parts from Jerry Howell? I used a reamer blank for the main crank shaft because they are very straight & your flywheel will run very true. Have fun with this!

Mike N
 
Mike,
Have the corner rounding mill on order as well as a few ball end mills for the various flutes. I suppose it would have been easier to use the rounding mill as you did when the part was already in the setup.
Already have the HTF part kit.
Have used drill rod for the crankshafts on all my previous (read 2 :big:) engines with success and will likely use it again.
Did you paint yours? I'm thinking along the lines of anodizing it.

Thanks for you comments.

Jim
 
A couple of pics of the "Bearing Holder"

The set-up:
P1110054.jpg


and the workpiece:
P1110056.jpg


Jim
 
Jim,

Congratulations on a really smart column. :bow:

Best Regards
Bob
 

Latest posts

Back
Top