Philip Duclos "Odds N Ends" hit and miss engine

Home Model Engine Machinist Forum

Help Support Home Model Engine Machinist Forum:

This site may earn a commission from merchant affiliate links, including eBay, Amazon, and others.
Brian, switch to the methanol... its less tempermental about running rich... Kinda a stupid question, are you running in the right direction?
The direction these small engines turn is all established by how you set up the valve cam and ignition cam. they will run either direction equally well.
 
Brian, you can make a really good needle valve by soldering a sewing needle into a brass screw. Phil Duclose used this method in his later engines, I think starting with the Topsy Turvey. I've done this several times and it's dead easy to do, believe it or not. I'll scan a drawing for you if you're interested.

Chuck
I know about that Chuck. I just find it impossible to run a hole large enough for a sewing needle up the center of a #2-56 x 3/4" long screw. If you have any way of doing that that I am not aware of, please let me know.---Brian
 
Brian

Could you drill part way through the screw and then glue / solder part of a sewing needle into it

Mike
 
I know about that Chuck. I just find it impossible to run a hole large enough for a sewing needle up the center of a #2-56 x 3/4" long screw. If you have any way of doing that that I am not aware of, please let me know.---Brian

I did a drawing based on Duclos's design. Scale may not be exact, but close.

NeedleValve.PNG


The materials are all brass. The small hole for the needle is drilled only though relatively thin head. I think the two things that make this needle valve work well are the long taper on the needle and the smooth finish.
 
I do the sewing needle trick an all of my engines and it works great. Be sure to have needle in seat before soldering. It will be dead on. TJ
 
I know about that Chuck. I just find it impossible to run a hole large enough for a sewing needle up the center of a #2-56 x 3/4" long screw. If you have any way of doing that that I am not aware of, please let me know.---Brian

Chuck the screw in the lathe and drill. The drill should go dead center as deep as you want.


This one is a #2-56 with a #2 hand sewing needle (.039). I did a press fit so I didn't have to solder or locktite it together.

DSCN1044s.jpg
 
Chuck the screw in the lathe and drill. The drill should go dead center as deep as you want.


This one is a #2-56 with a #2 hand sewing needle (.039). I did a press fit so I didn't have to solder or locktite it together.

DSCN1044s.jpg
press fit 10 tons Rof}Rof}
 
The finished product is a little different than the pretty solid model. I determined that I didn't require the raised boss around the center hole, so the plate was machined from a left over flat piece of brass (from an earlier project). I cut the slot thru to the center hole with the bandsaw, as it is hidden in behind the flywheel when its all together. The points are early chrysler product #018-4126-8 A110P by BWD, purchased from Partsource. I like the fact that with this set-up there is some adjustability of the timing possible while the engine is running. I wired everything up when I was finished installing the new points and mounting plate, tested it for spark, and damned near electrocuted myself in the process. Now I know how Chief felt in "One Flew Over the Cuckoos's Nest".!!! I have some real engineering work at the moment, so haven't really persued anything about the needle valve as yet.
newpointsandbrkt002_zpse1b0e4c6.jpg

newpointsandbrkt003_zps62e537ff.jpg

SUBASSY--POINTSONBKGPLATE-ODDSNENDS_zps0fa01372.jpg
 
Last edited:
Chuck---Thank You--Thank You--I have the same Philip Duclos book as you, but I hadn't skipped ahead to where that carburetor set-up is shown. That may just solve all my needle valve woes for now and future.----Brian
CARBURETOR-SUBASSEMBLY-NEWNEEDLEVALVE_zpse4d043b7.jpg
 
Last edited:
Aha---Fooled me!!! It wasn't the needle valve preventing the engine from running. It was that hokey point set up. I gave it a quick try this morning and BINGO!!!! First run movie attached. The governor system isn't hooked up yet, and truly, I didn't expect it to start and run like it did.---Thus all the crap on my side desk doing the Hootchie Kootchy when it started right up and ran and I grabbed my camera.
 
Congrats Brian. I knew you'd get it. th_wavth_wav

So now that you know it was the points are you going to give the old piston and cast iron ring a try?

Ron
 
Hi Brian,
What is the keyway size on your crankshaft and also what did you use to cut the keyway in the flywheels?

Cheers Gaz
 
ha ha ha ha ha.... gotta love it, sounds good too!! I was thinking the points set up seemed a bit off, like no spring tension to close the gap quickly enough....
 
Congrats Brian. I knew you'd get it. th_wavth_wav

So now that you know it was the points are you going to give the old piston and cast iron ring a try?

Ron

I was kind of wondering the same thing?
 
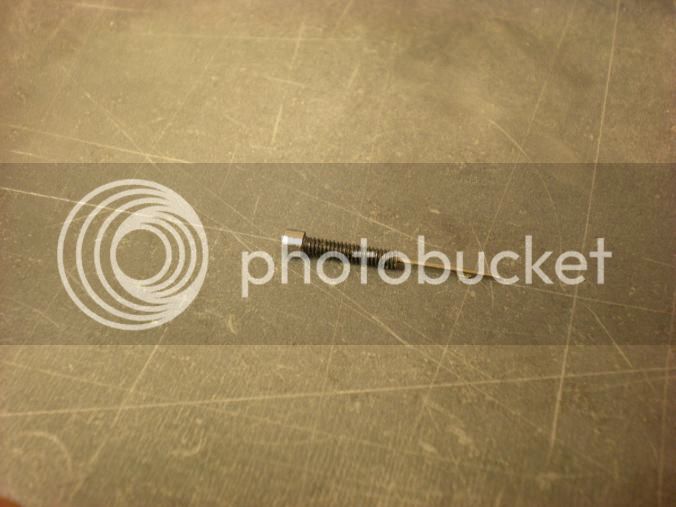
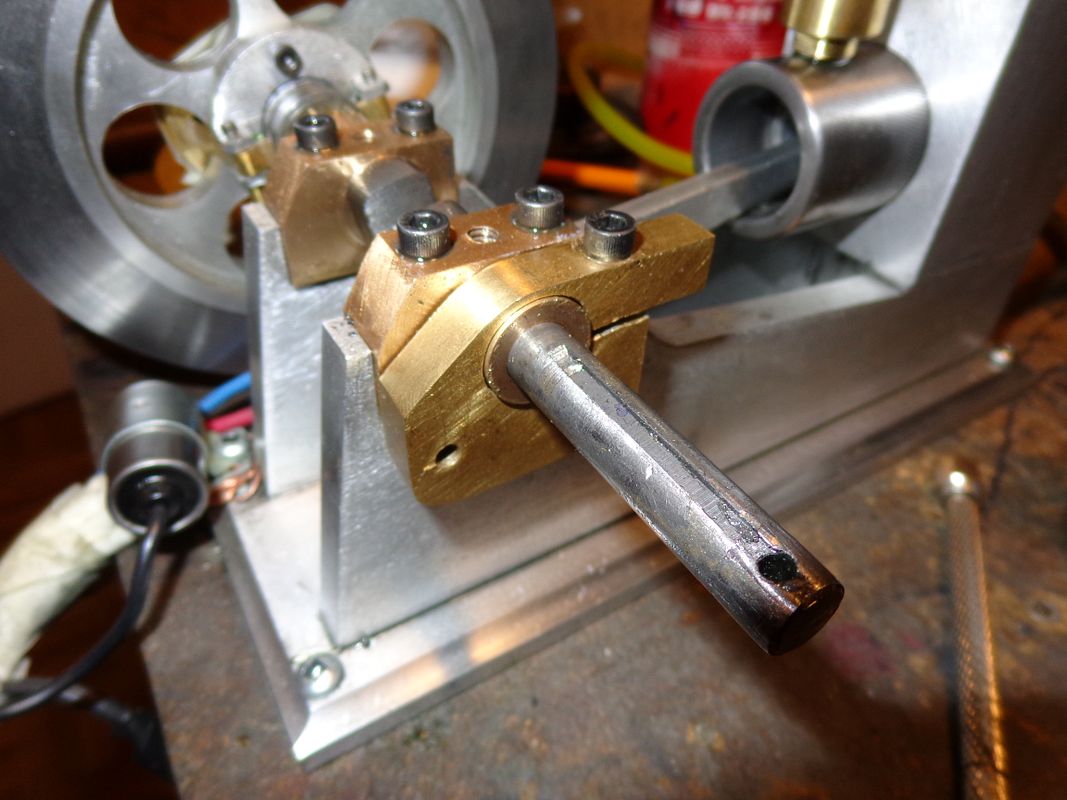
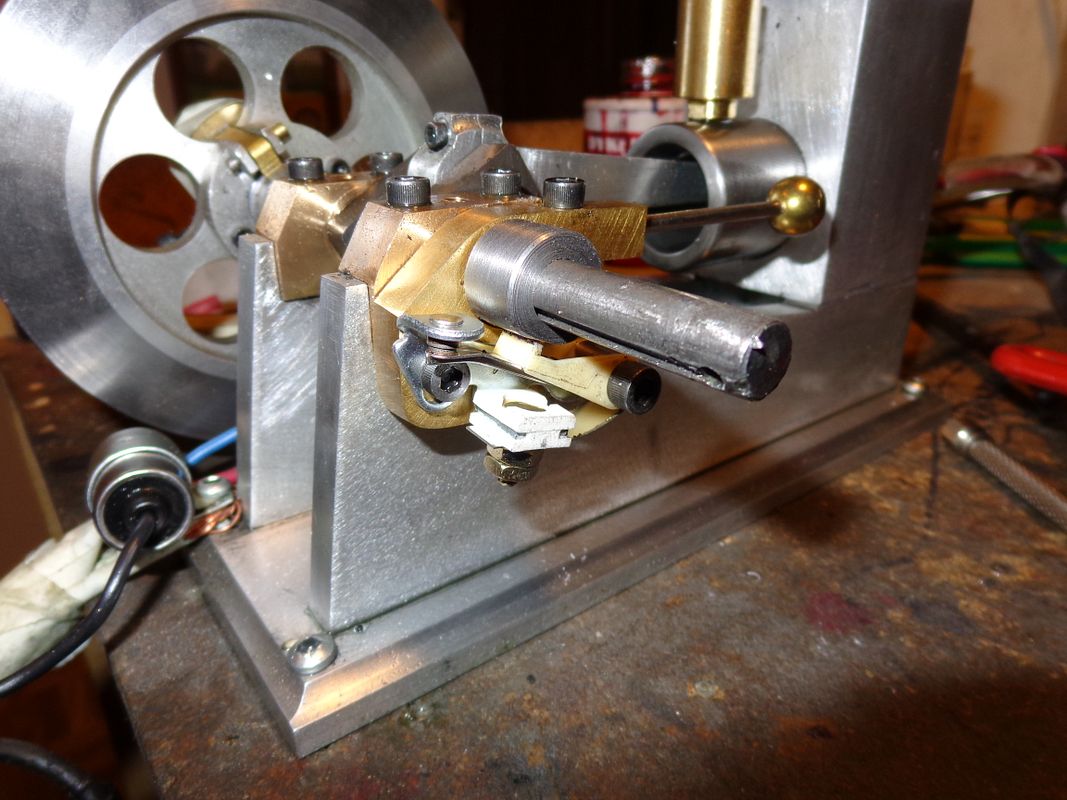
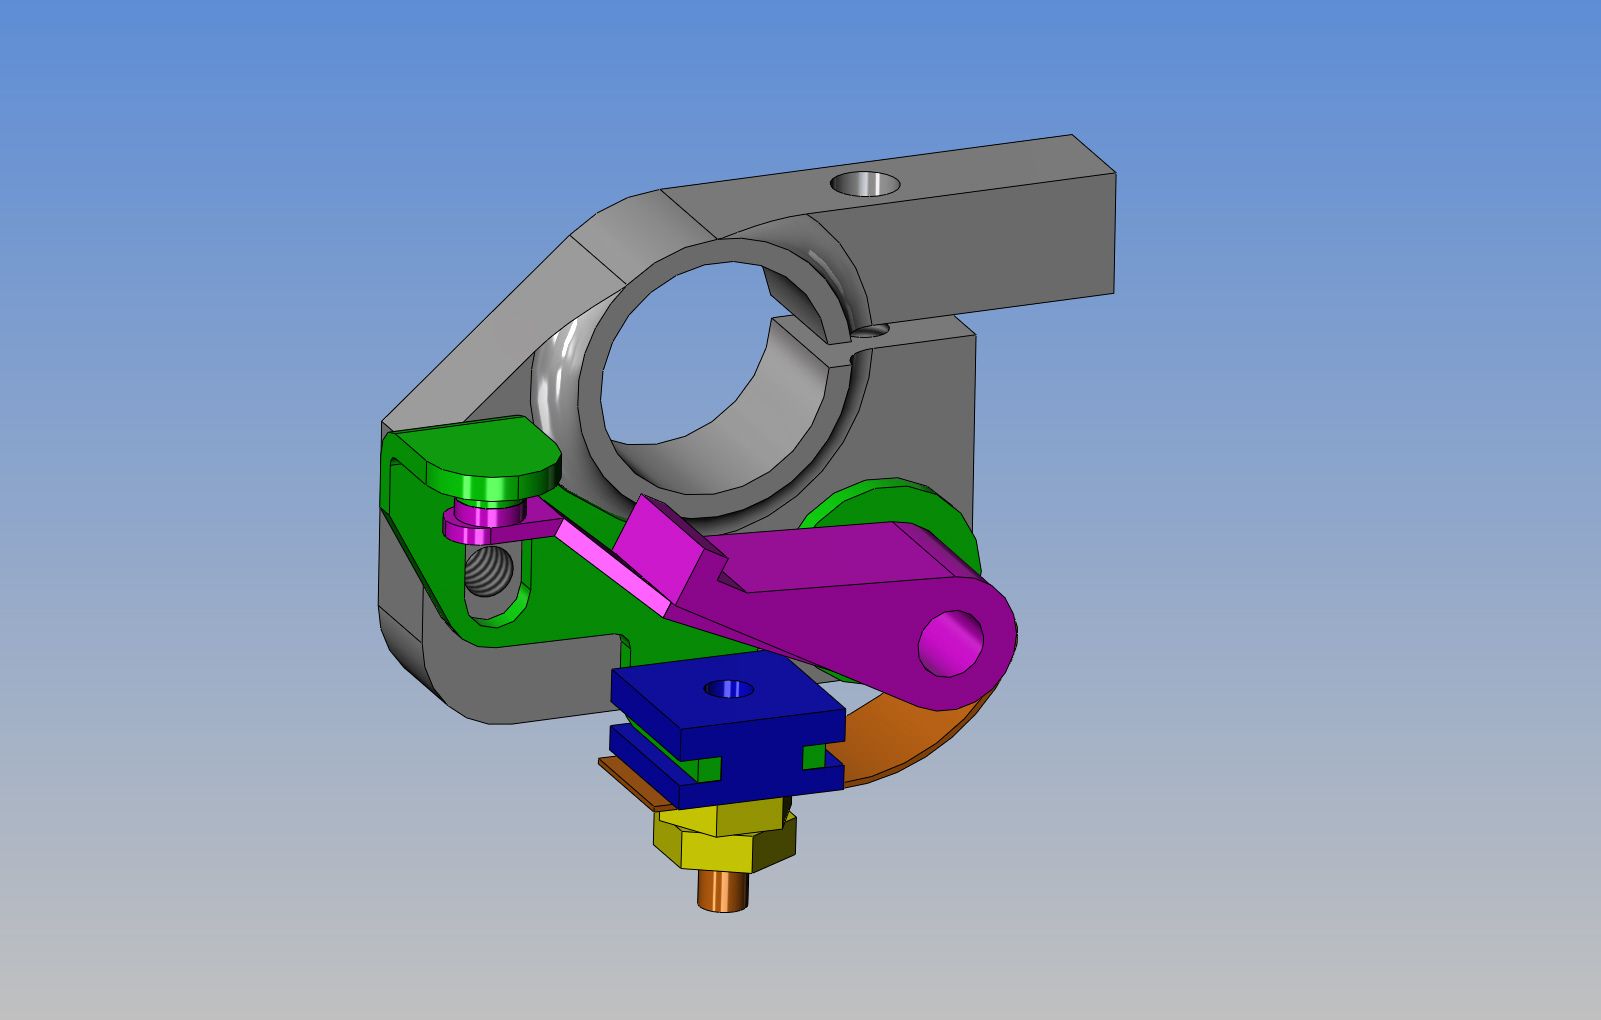
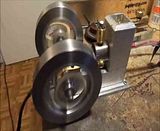
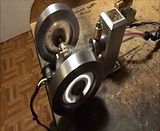
Not going to happen guys. Remember, I couldn't get the engine to fire nor run at all with the cast iron rings. It simply wasn't going to happen, there wasn't enough compression. As soon as I made a new piston and put a Viton o-ring on it, I had lots of compression and the engine would fire quite regularly when driven by the electric drill----it just wouldn't stay running on its own. Then with the new Chrysler points it blasted off and ran as you seen it in the video. I've had that piston in and out enough times. I truly believe that with another couple of hours of running in, the cast iron rings would have sealed properly, based on visual inspection of the rings and piston. The wear pattern on the rings is about 90% uniform, with two areas that had started to wear but still hadn't reached the same finish as the rest of the ring. I paid $20 for the rings including shipping, and made a cast iron piston. I'm not going to use it.--If anybody wants the 1" dia. c.i. piston and rings, they can have it for $20 plus shipping.---The next part of this marvelous adventure will be to get the governor working.
 
Hi Brian,
What is the keyway size on your crankshaft and also what did you use to cut the keyway in the flywheels?

Cheers Gaz
That is a 3/32" square key. I use woodruff key cutters to cut the keyseat in the crankshaft, and a small broaching set (manual) to cut the keyway in the flywheels. I like the woodruff key cutters because they cut a very accurate keyway and are not near as apt to break as a small endmill.
 
Congratulations Brian, your patience and persistence paid off.

Jim
 
Yes, a thrill and kind of a surprise. I had myself so convinced that it was the needle valve I wasn't really expecting it to run. I hooked up the governor with an "over the counter" tension spring from Brafasco and it is definitly going in and out of hit and miss mode. I'n not sure why its making such a clatter, but the sound pickup on my new camera is very sensitive, and I was only about a foot away from it when I shot this video. I have to get a better spring, and I think the timing was too far advanced because I could see the engine bucking a bit which to me is a pretty sure sign of firing just before top dead center. I am going to go ahead and make a new spray bar and needle for the carb anyways, because thanks to Chuck on HMEM he called my attention to the fact that Philip Duclos (who designed this engine) has a method for using a sewing needle as part of the needle valve that doesn't require drilling a hole all the way thru the center of a #2-56 bolt.
 
WOW What an exciting build. You know Brian your postings get me so involved with the build that I feel like I should jump up and dance with you as I watch the video of it running. Thank you for another excellent build.

Pat
 
Last edited:

Latest posts

Back
Top