I know that you are using a new blade but check that the teeth on both sides have equal bite. I get this symptom when the blade is due for replacement.
I doubt that a little out of square should stop your wedding project. I have found it best to tack weld two pieces together with one tack then using a square and hammer make the parts alignment perfect before starting the full welding pass. I have magnets and clamps to hold pieces together but usually something goes wrong so tacking and adjusting works best for my projects. If it's really badly off position the tack is easy to break then start again. With 6013 rods there is lots of molten puddle to fill in any slight gaps.
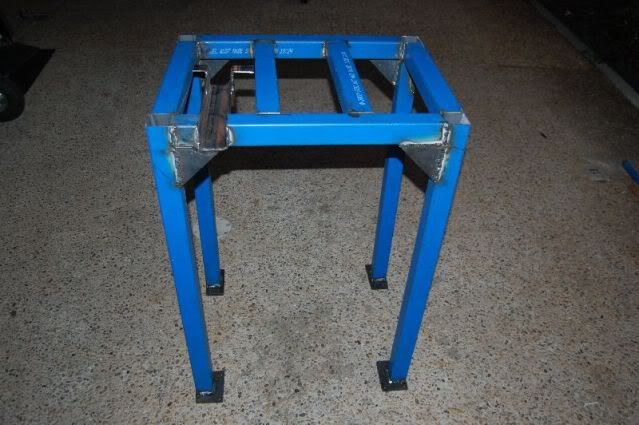
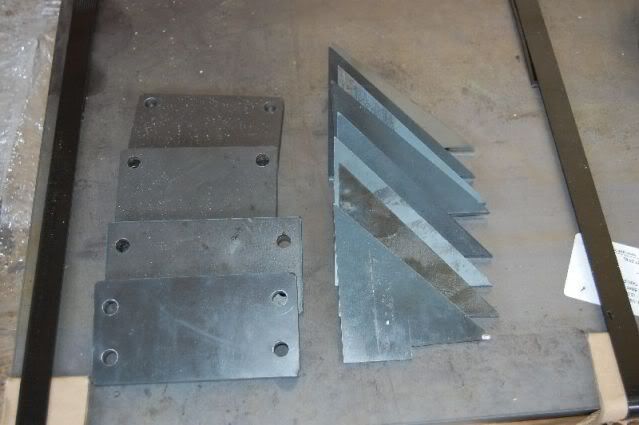
These thoughts are assuming a general welding project like a work bench. If you are into high precision and many parts then a jig is required and after the welding process the parts need to be heated to relieve stresses before final machining. I don't do that level of work.
I doubt that a little out of square should stop your wedding project. I have found it best to tack weld two pieces together with one tack then using a square and hammer make the parts alignment perfect before starting the full welding pass. I have magnets and clamps to hold pieces together but usually something goes wrong so tacking and adjusting works best for my projects. If it's really badly off position the tack is easy to break then start again. With 6013 rods there is lots of molten puddle to fill in any slight gaps.
These thoughts are assuming a general welding project like a work bench. If you are into high precision and many parts then a jig is required and after the welding process the parts need to be heated to relieve stresses before final machining. I don't do that level of work.