Rudys Radial 5

Home Model Engine Machinist Forum

Help Support Home Model Engine Machinist Forum:

This site may earn a commission from merchant affiliate links, including eBay, Amazon, and others.
The time it takes to make the fixtures it will save you time later on in the progress. I made the Cylinder fixture first and have used it to make 27 cylinders. The fixture holds it for all the turnings. The second fixture holds it for the drilling and tapping. One setup and keep making parts. Thank god both fixtures are easy to make.
 
Sorry for the delay. The snow if finally gone.
I made more chips today I had 5 disks of 2 inch by 1.200 thick cut and am ready to make the valve chambers.
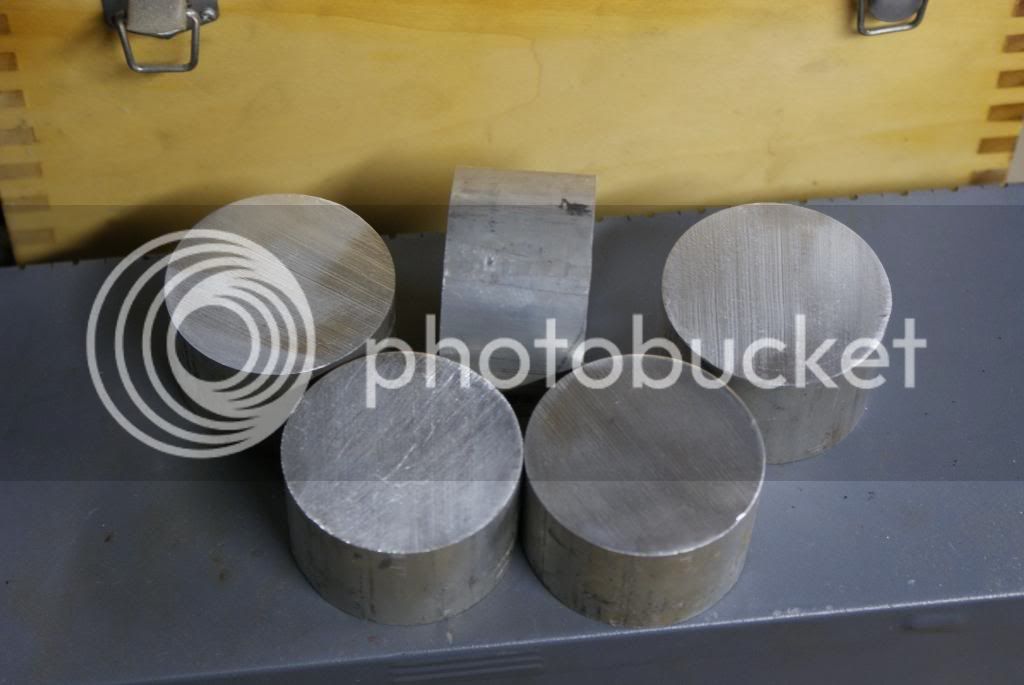
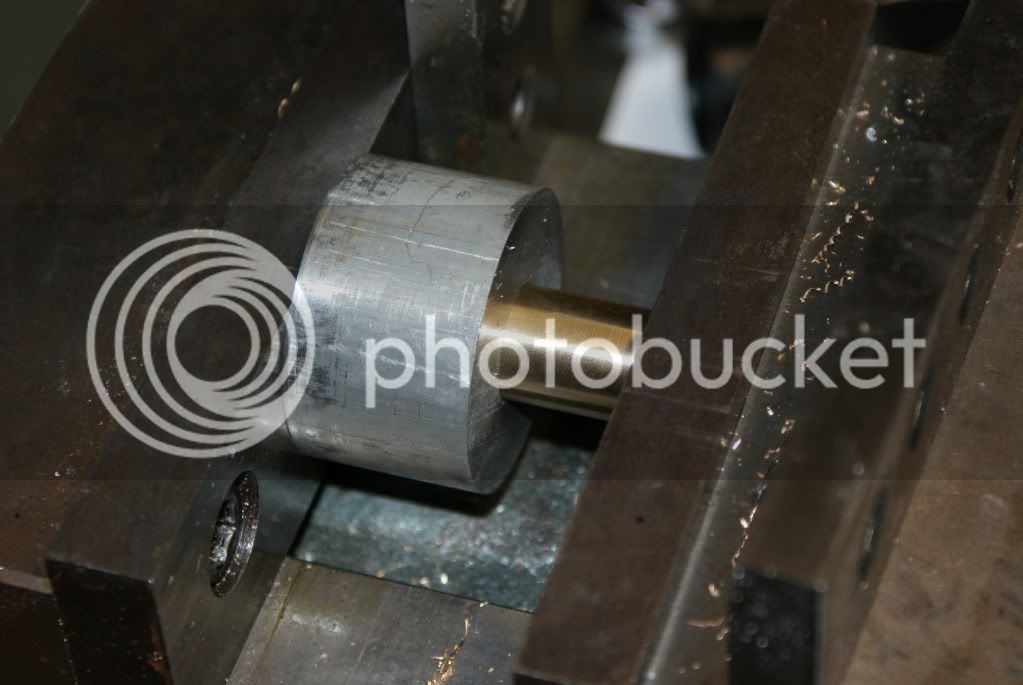
This is what I started with
DisksReadytoCut.jpg


Whats funny with having the disks cut was that the person that cut them is going to be one of the guys getting one of the engines.

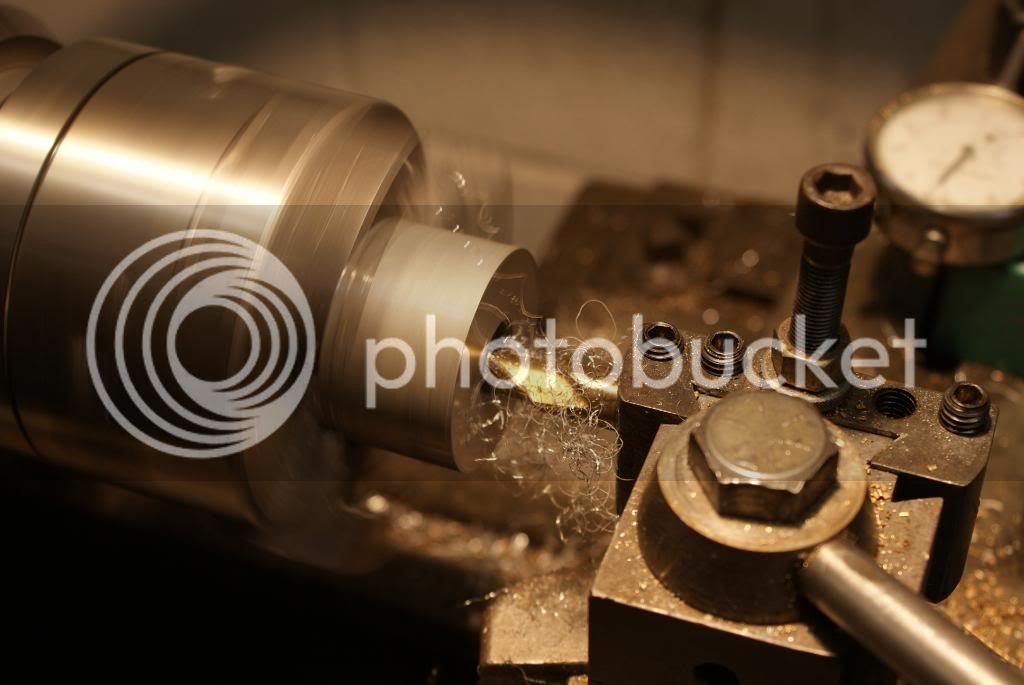
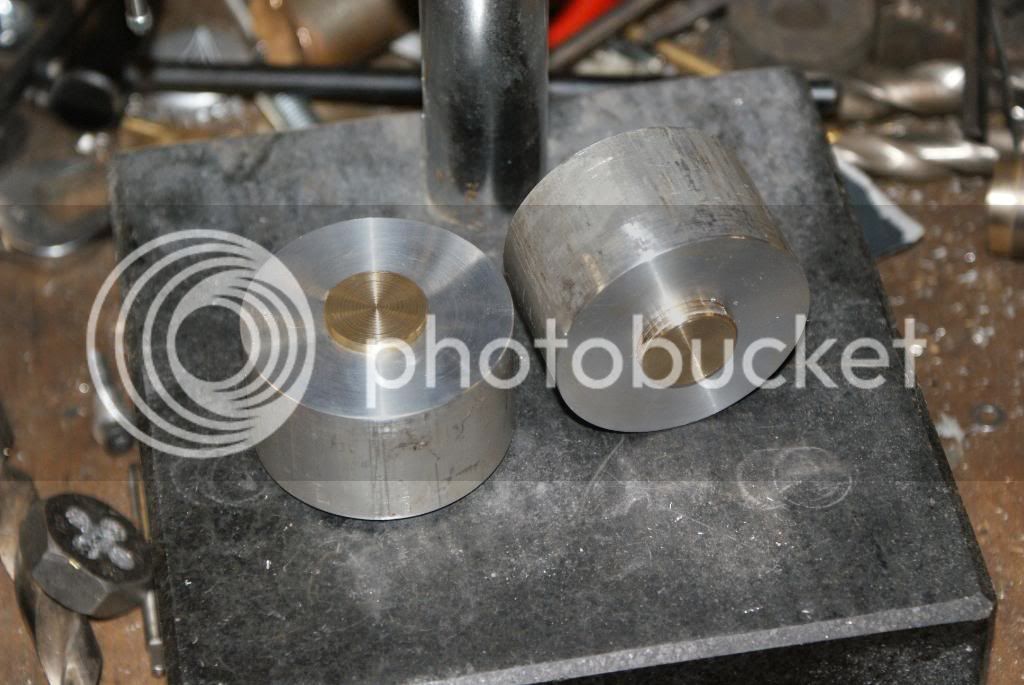
I started with facing one side and drilling then boring the hole to .750dia to accept the brass bushing.
CuttingtheBoreForBushing.jpg


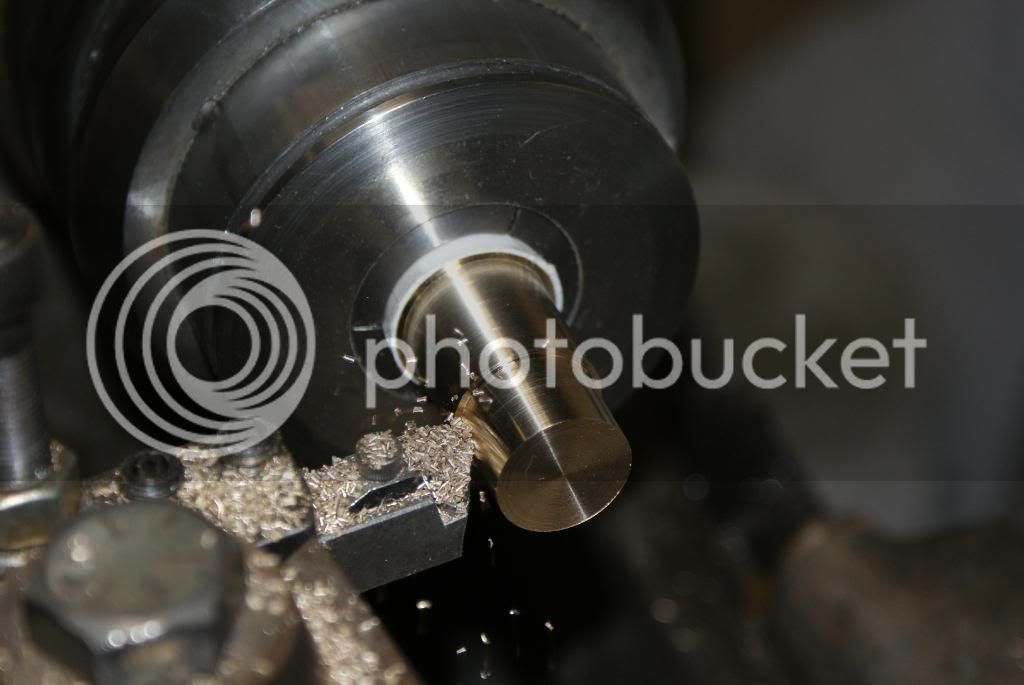
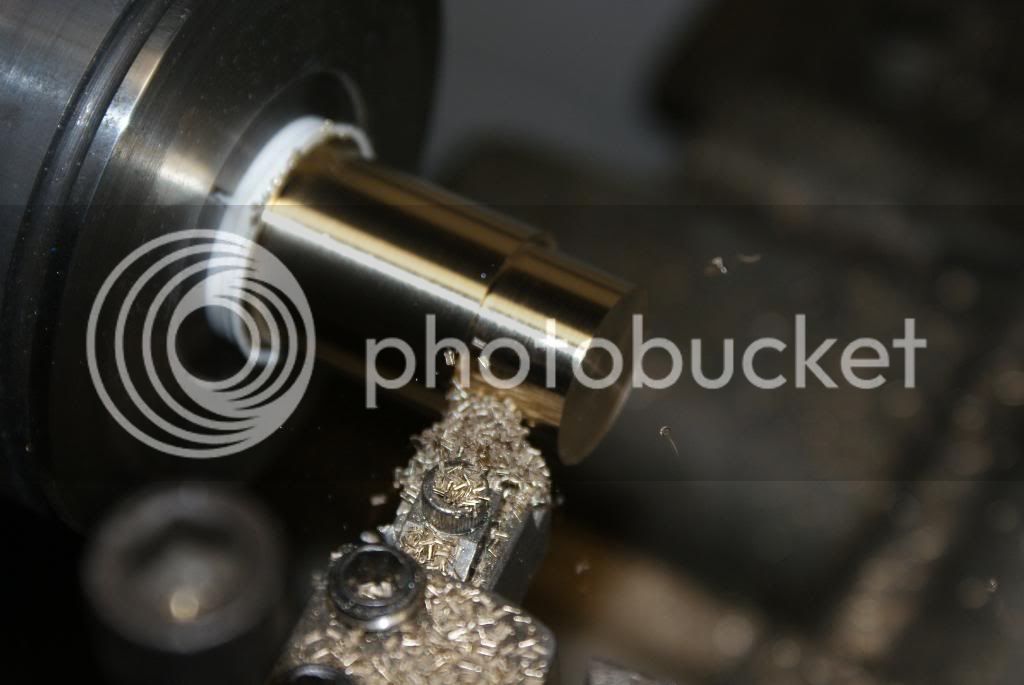
I than cut the brass bushing to dia. and then cut them to length.
Bushing2.jpg

CuttingtheBushing.jpg

Noice the paper as a shim. The brass is 1.024 dia. I used a 1.0625 collet and wound the paper around the brass to make up the difference.

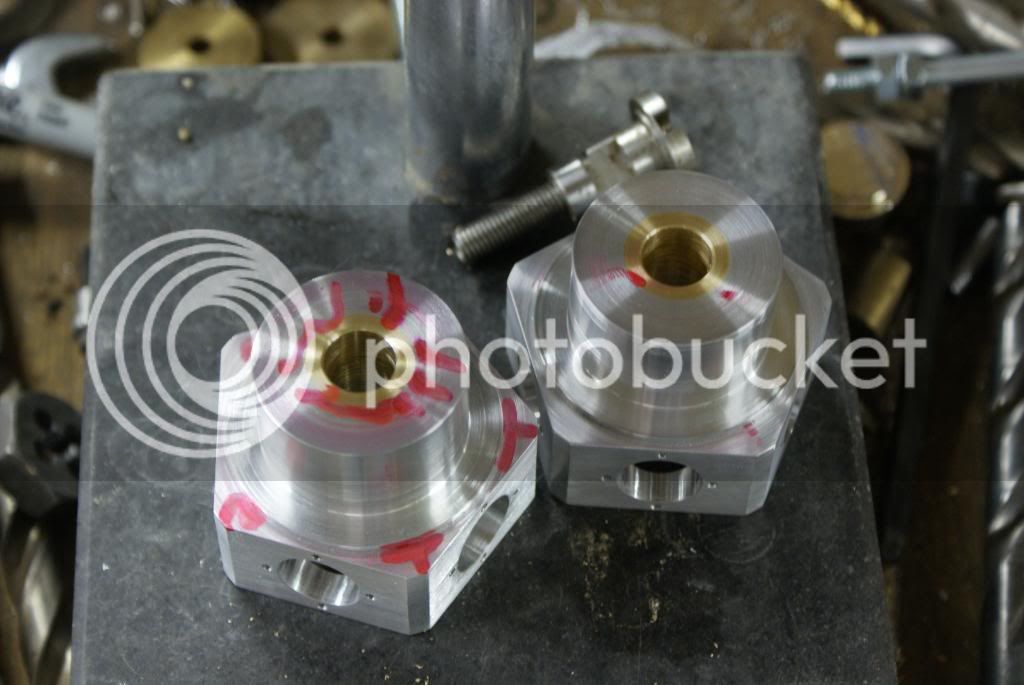
The next step was to press the bushings into the valve body. I used the mill vise to press them in
PressingBushingIn.jpg


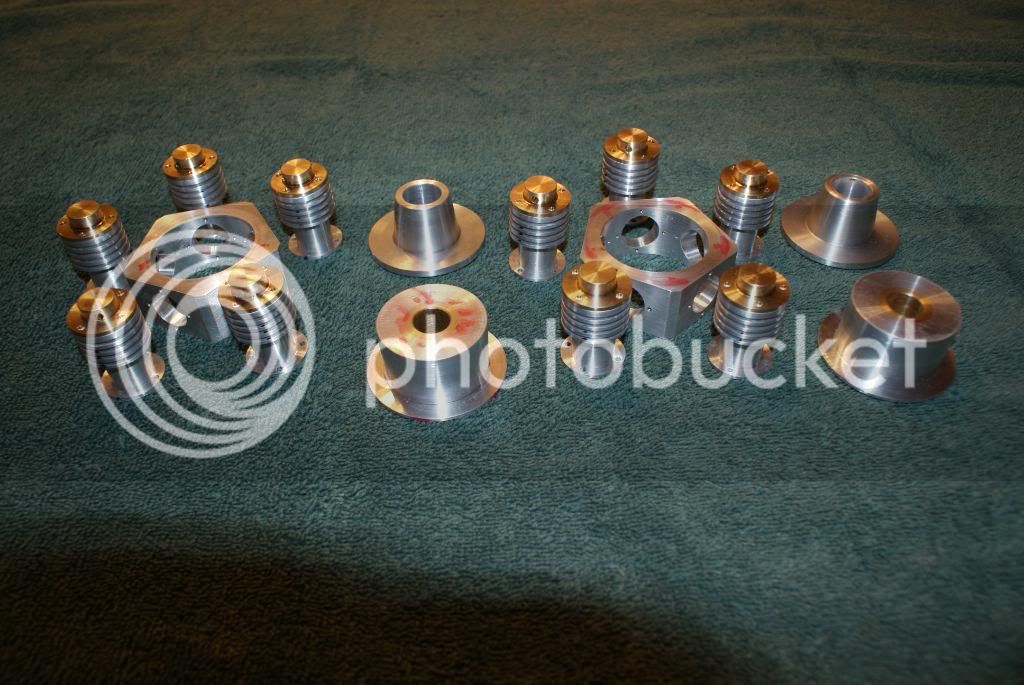
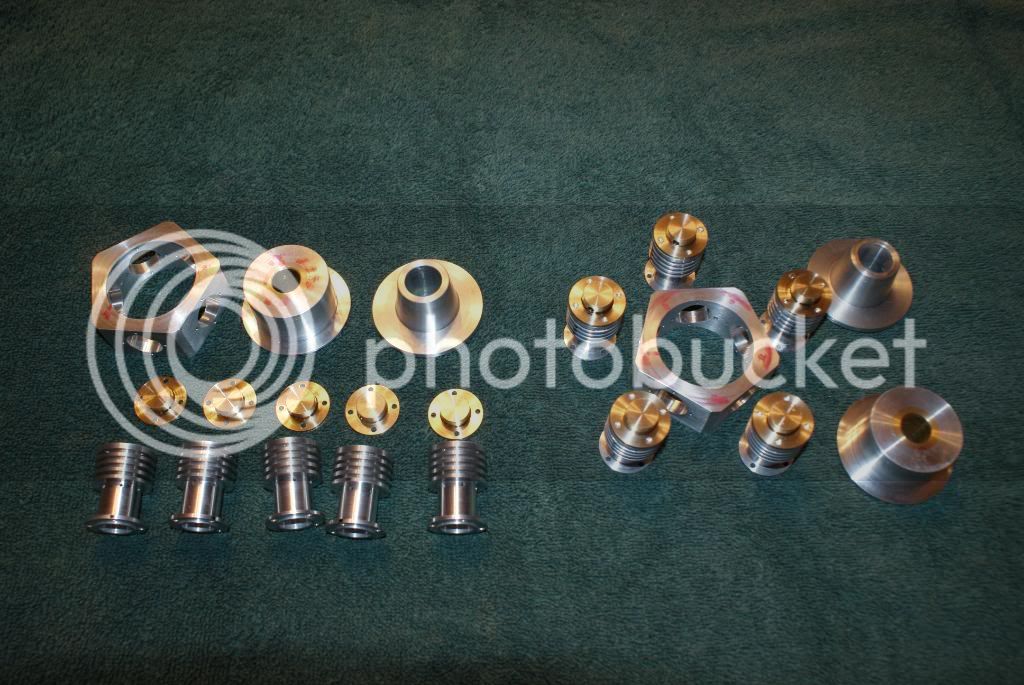
This is the parts after the press job.
FinishedBushings.jpg


I did not take pictures of the next step. Im sorry I know you like pictures. :big:
I returned the body back to the chuck and faced one side and then drilled then reamed the .500dia hole for the valve. I then cut the register to fit the crankcase.

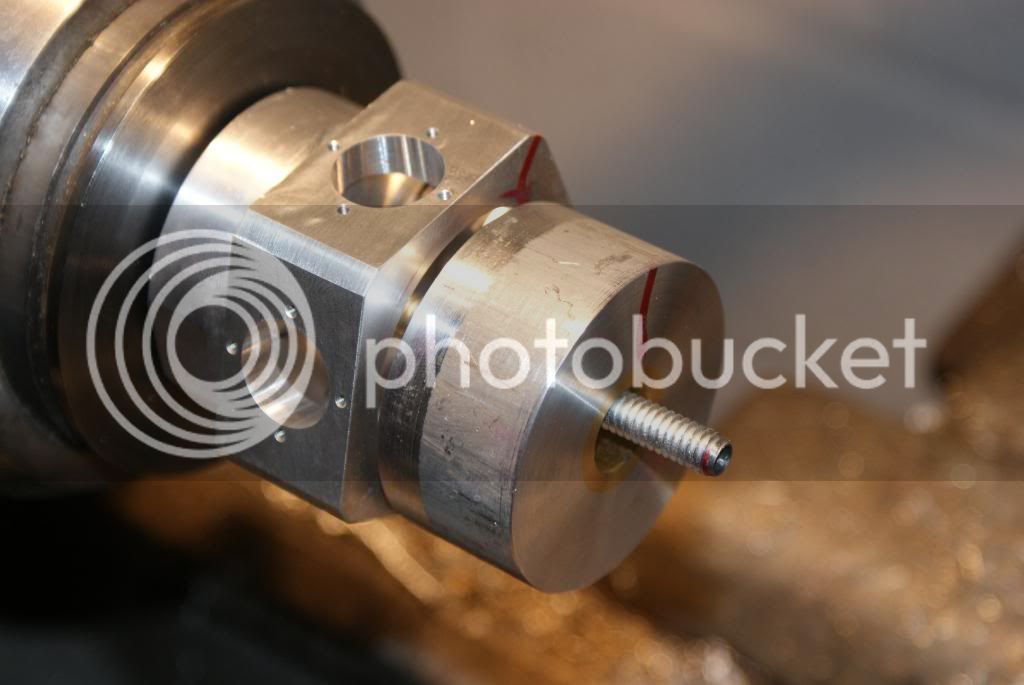
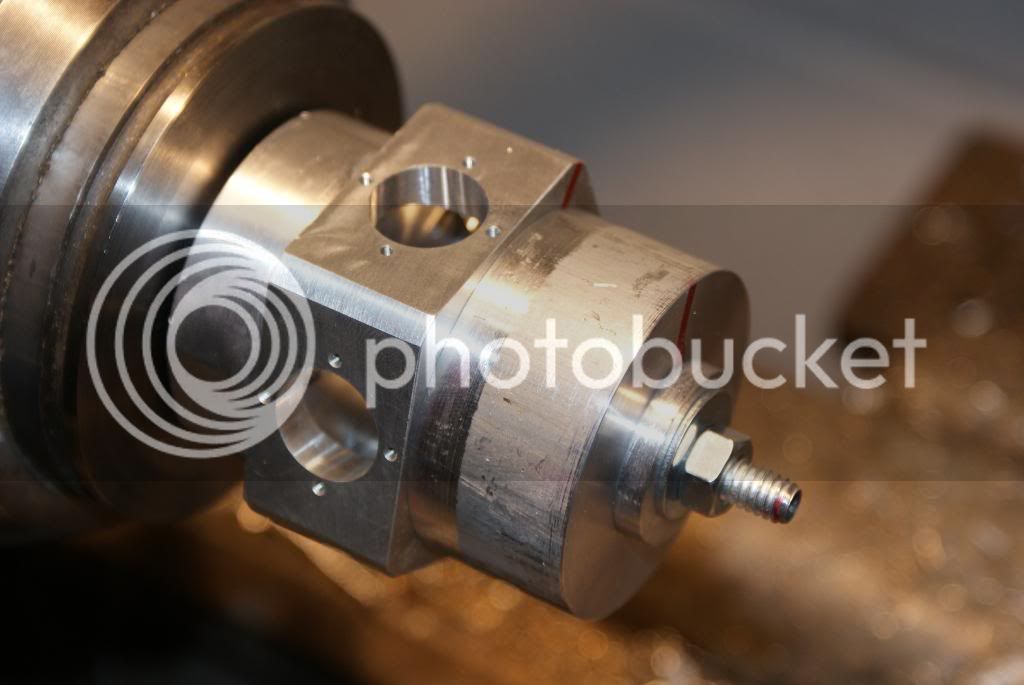
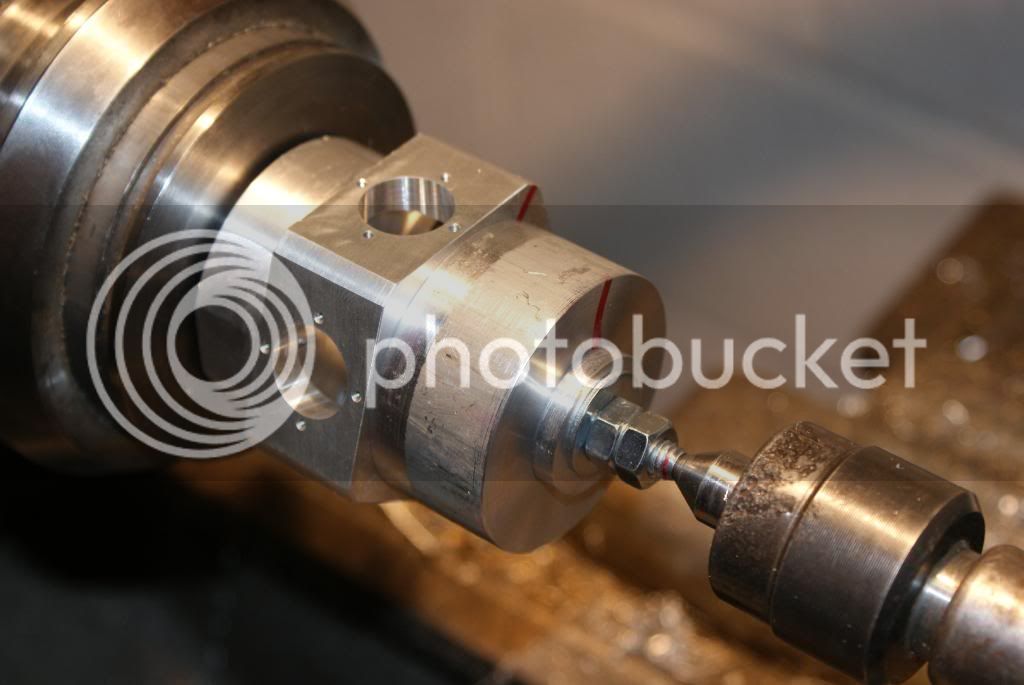
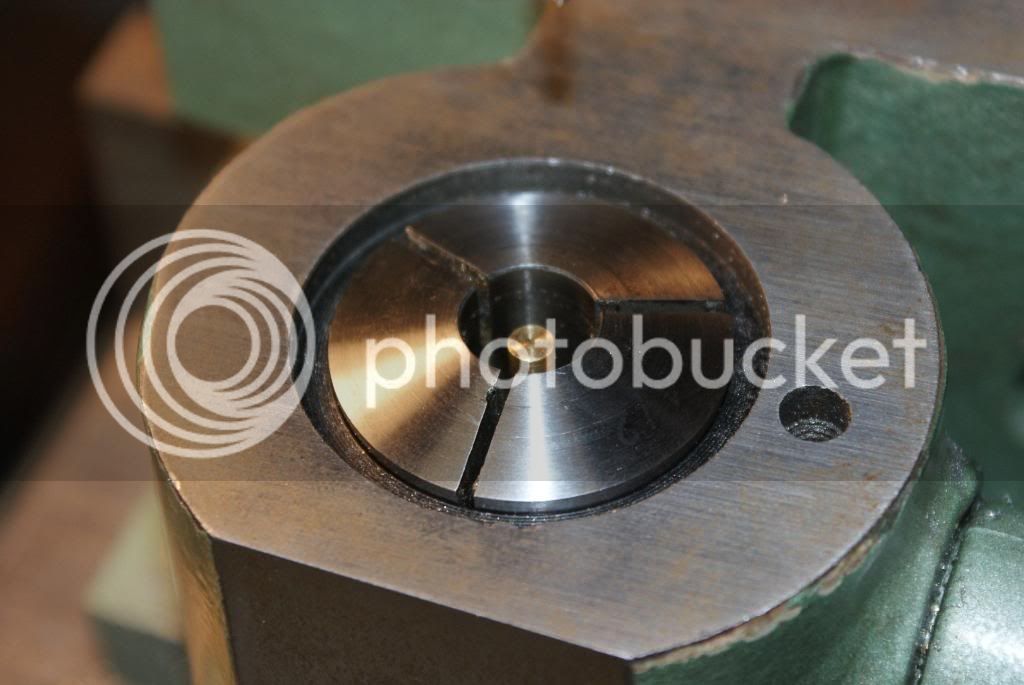
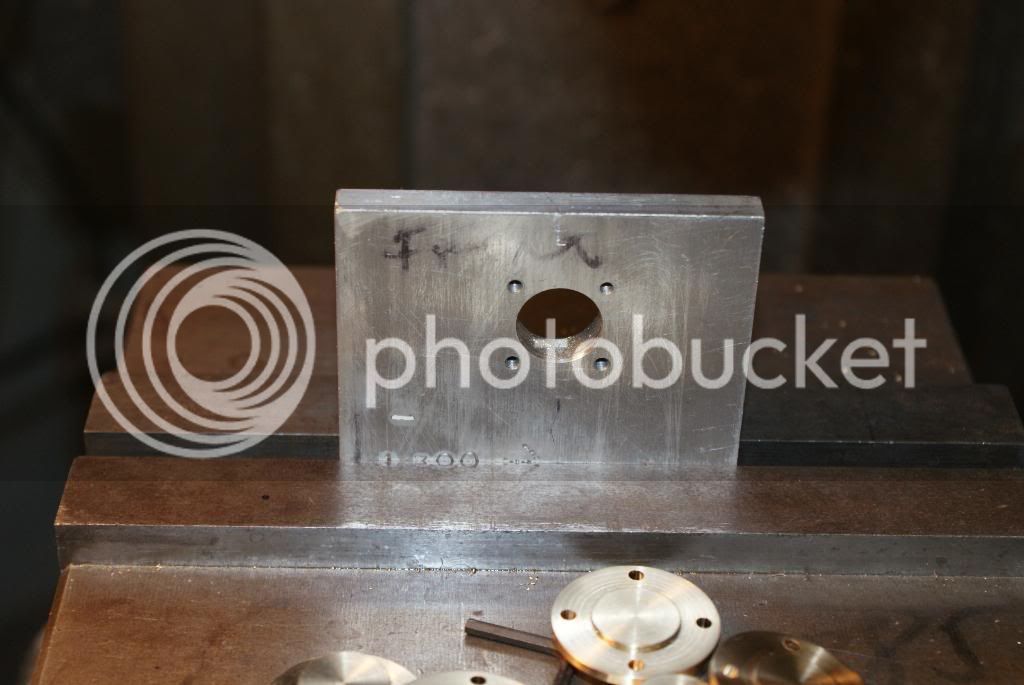
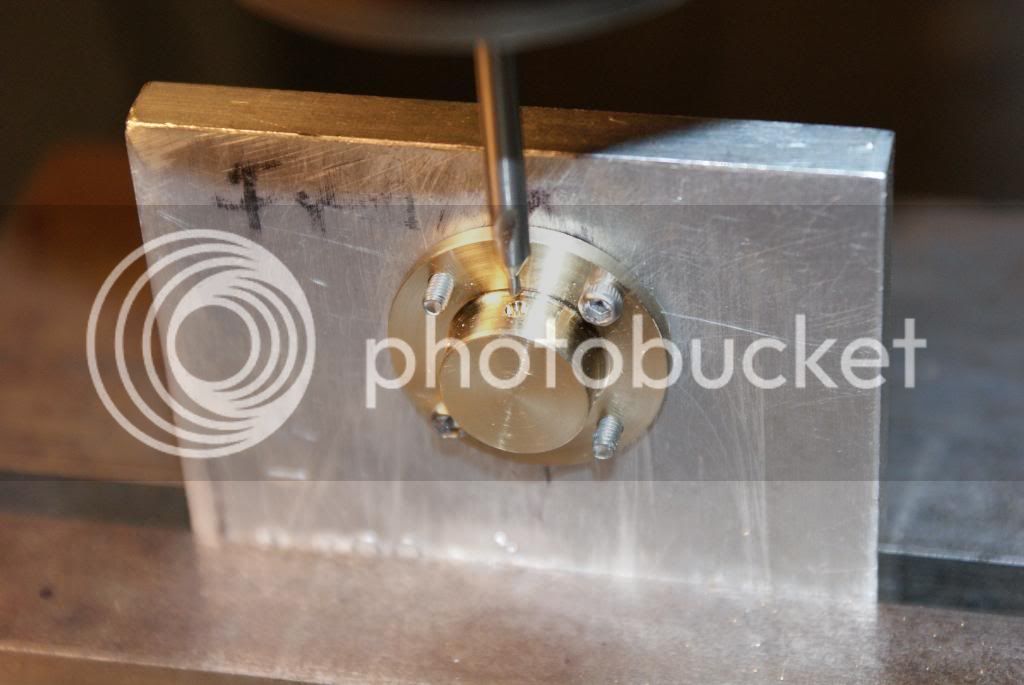
The next step is to cut the valve body to the 1.500 dia with a .0625 flange. I used the same fixture I used to drill the cylinder holes. I added a piece on the back to fit the .500dia on the rear to hold the valve body tight to the fixture.
fixture1.jpg

Fixture2.jpg

Fixture3.jpg

Fixture4.jpg

Fixture5.jpg

Fixture6.jpg


Starting to cut the valve body
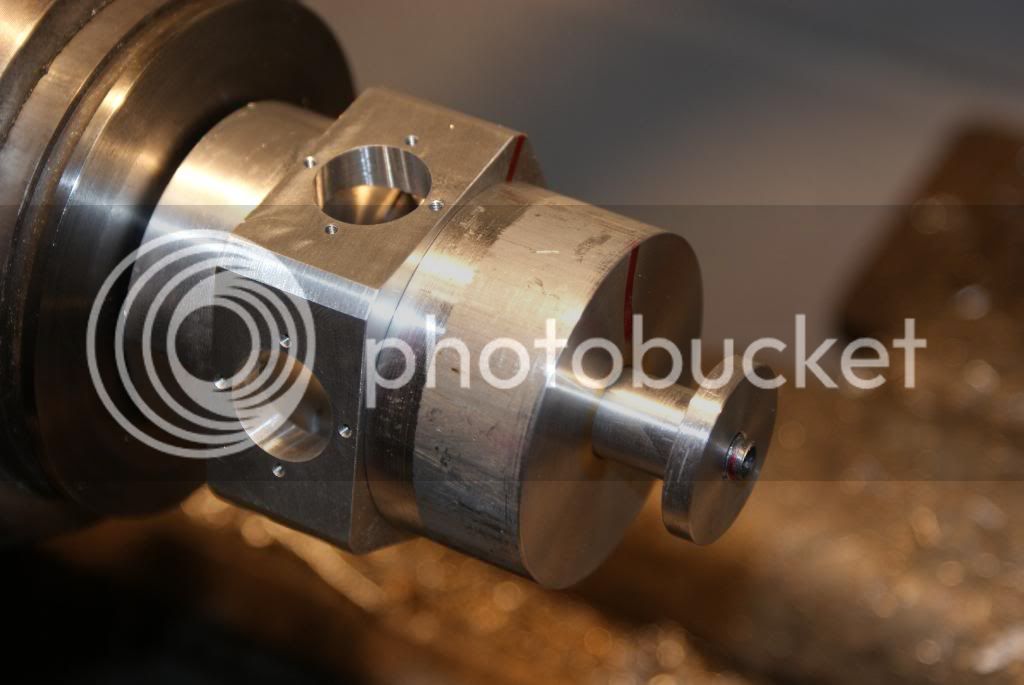
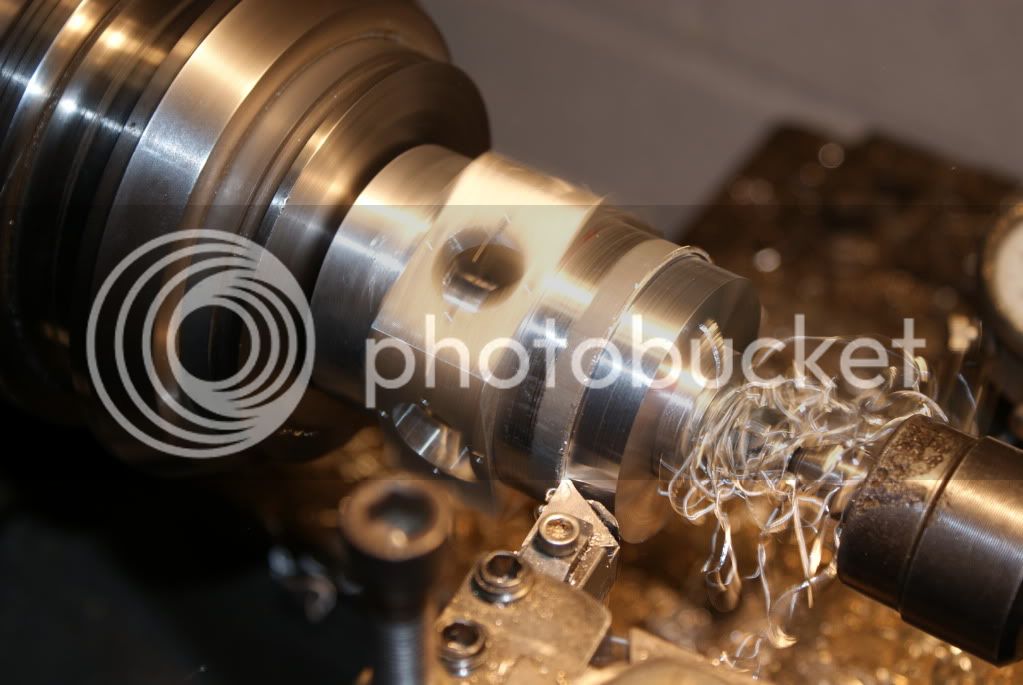
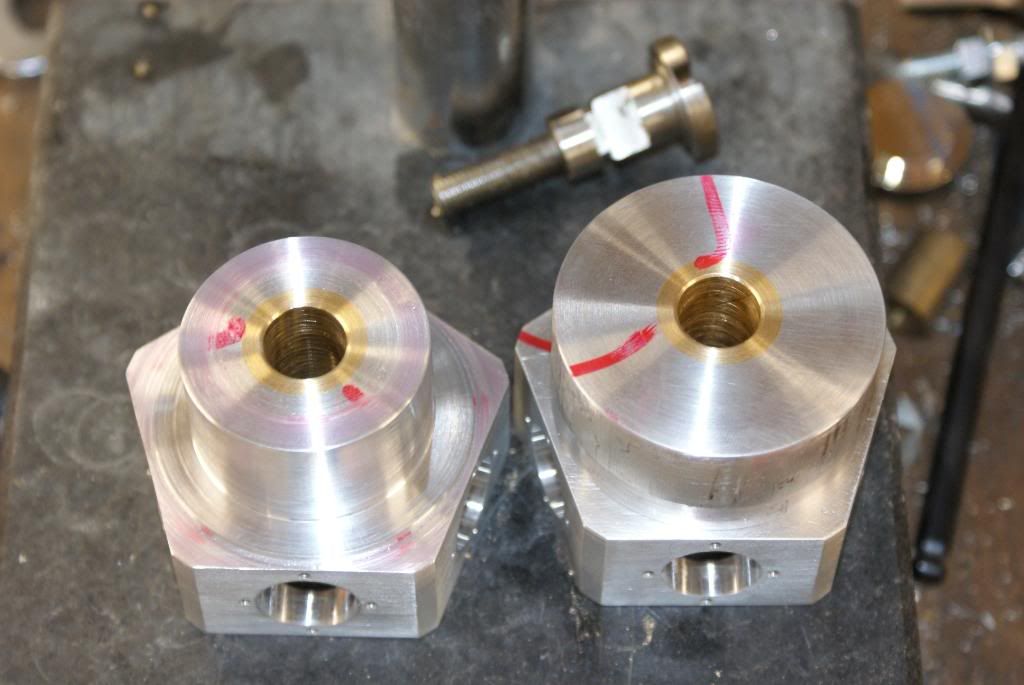
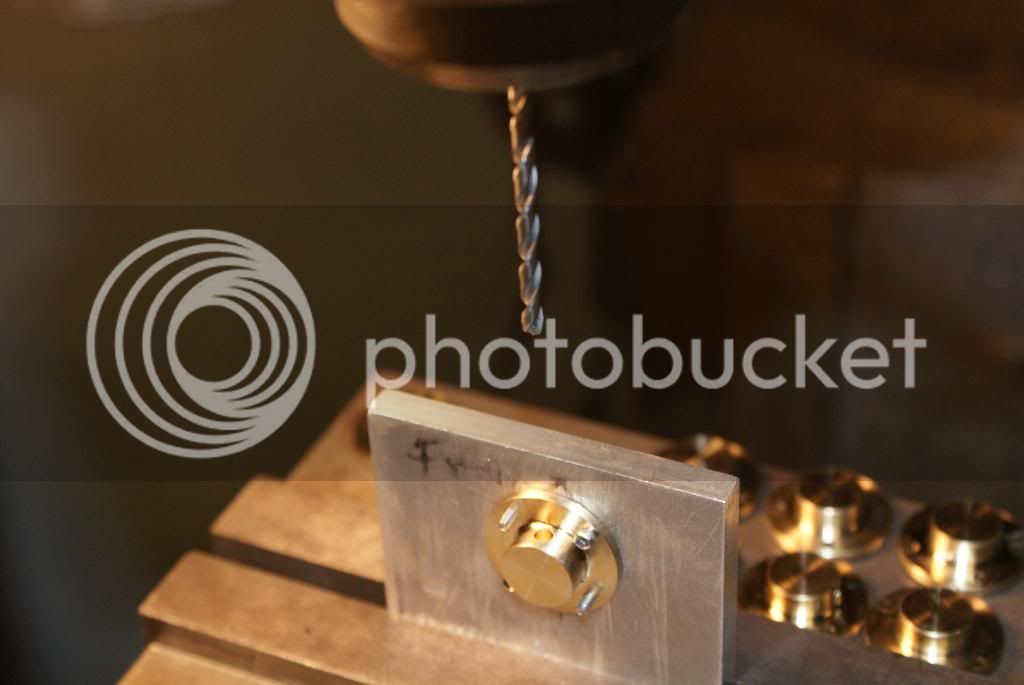
Fixture7.jpg


One done
1done.jpg


Two done
2done.jpg


Till I get more time ;D

 
dreeves, got a question for you.

I ordered the book and built the engine. When I run it, it wants to practically jump off the workbench. Even at moderate speeds. I suppose the design is naturally unbalanced.

When I watched the radial five that was posted here, it looked very smooth. How does yours run?
 
Putputman, The 5 cylinder runs very smooth at low RPM and at higher RPM's it will jump alittle. The 10 Clyinder jumps around a little more. Both run well. You may have something a little off. I had thought about putting a counter ballance on the crank to dampen the affect.

Do you have a video to share so I can see whats it looks like.

 
The crankcase/cylinders look a lot like the Halo I built - same size and 2-56 screws. Definitely a lot of drilling and tapping. The rest is different. I'm liking the build.
 
I have the plans for the halo and it will be my next build. I got most of the materal fof the build. I was watching you build great job
 
Here is a video of the first radial 5 built about 2 years ago

[ame]http://www.youtube.com/watch?v=lXtLwnNkob4[/ame]
 
Here is the Radial 5's big brother the Radial 10

[ame]http://www.youtube.com/watch?v=UdeK2hED-7s[/ame]
 
Wow Dave, those engines look great...and the sound is unbelievable. Very nice.
 
I cant wait to get all 4 of them running at the samt time.
 
O.K. dreeves, I just watched your radial five and it is smoother than mine. Your base is lager and maybe heavier. That would help.

I have mine mounted on a piece of corian that eventually will be mounted in a larger piece of wood. I may have to pour some lead in the base for weight.

Hope this loads O.K.


Do you have any hints to make it settle down?
 
hi putput
sounds great
very grunty, love it
Pete
 

putputman, I cant recall ,have you balanced the propeller? That mightr make a difference.


Ron
 
putputman, I did not balance the prop. The engine is built to the plans. The base being larger I think helps but to its mass. The black it coran as well with woos around. I hope this helps
 
lack of ridgity of the base may also be the cause of the bounce.
 
Got more done on the 2 engines over the weekend. I was able to make the 10 cylinder heads. I have pictures of the drilling but not the lathe work as it is straight forward turning.

Here I have the vertical 5c holder to drill the 4 bolt holes for a clearance holes for the 2-56 bolts
DSC01302.jpg

You can see the homemade stop in the collet.

Here is a picture of the stop out of the collet. I made it with a removable tip so I could do many types of ends to fit what I need.
DSC01303.jpg


After drilling the hole for the bolt holes I mounted the heads to a fixture that holds the heads vertical so the .125dia holes for the intake tubes.

Here is the fixture in the mill ready to start.
DSC01304.jpg


I center drilled all the heads

DSC01308.jpg


Then I drilled the .125dia holes

DSC01310.jpg


I than remounted the 5c holder to drill the center hole to the intake hole. sorry I dont have any pictures of that.

Here are pictures of what I have done so far

DSC01314.jpg

DSC01315.jpg
 
Looks great Dave.
I liked the tip/idea for the collet stop.
I've been appreciating more and more these kinds of aids.
 

Latest posts

Back
Top