- Joined
- Jan 17, 2009
- Messages
- 887
- Reaction score
- 81
Thanks George/Dan/Brian/Bob
Brian
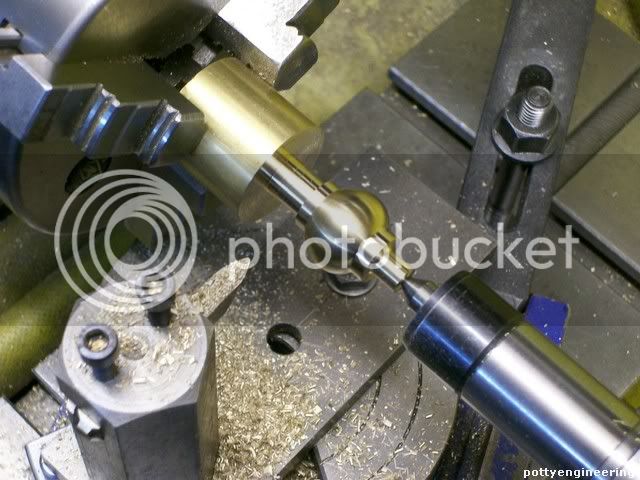
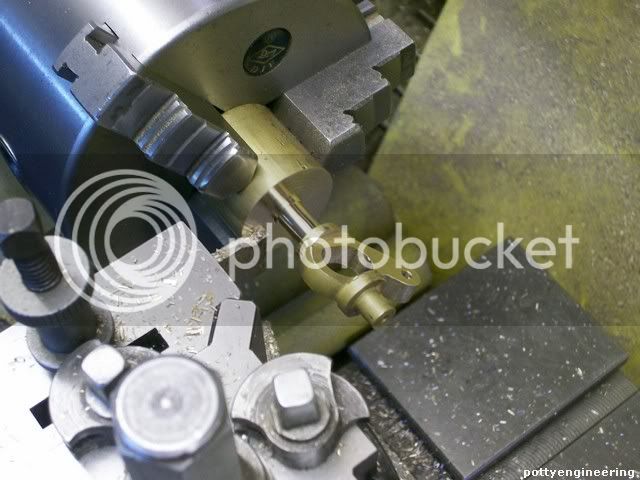
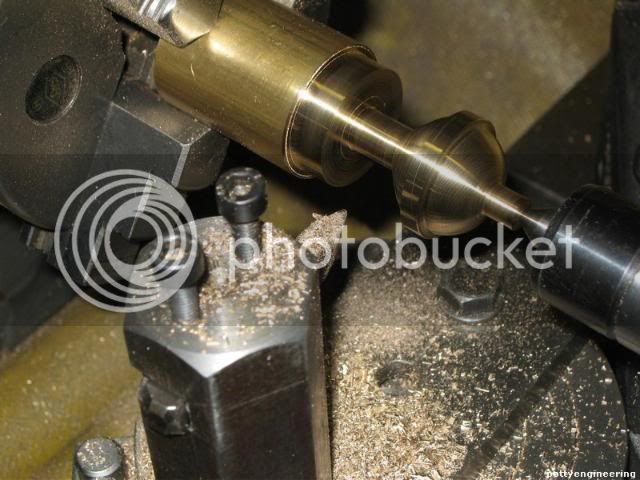
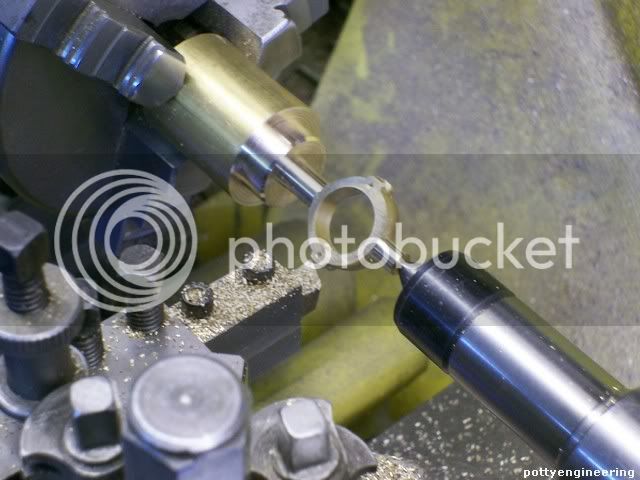
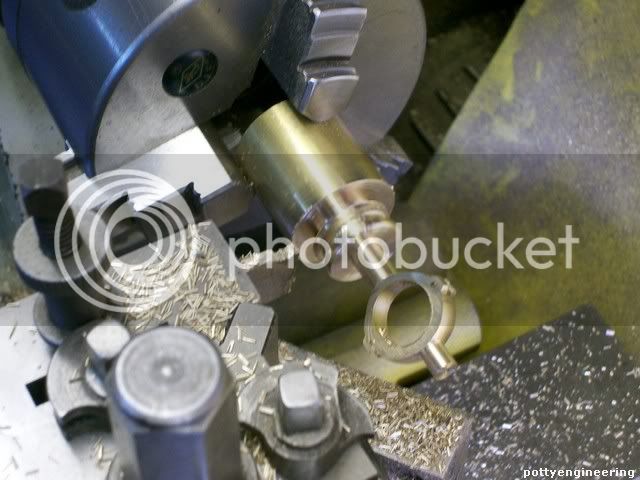
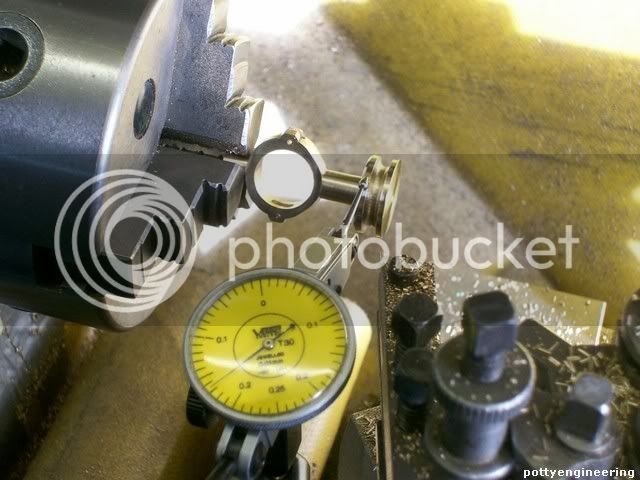
Good eye site that man, they are 12.3 dia about 1mm undersize from being a true ball, I needed to bring the tool forward a touch to make them a ball at 1/2".
But hey they are close enough to do the job :big:
Bob
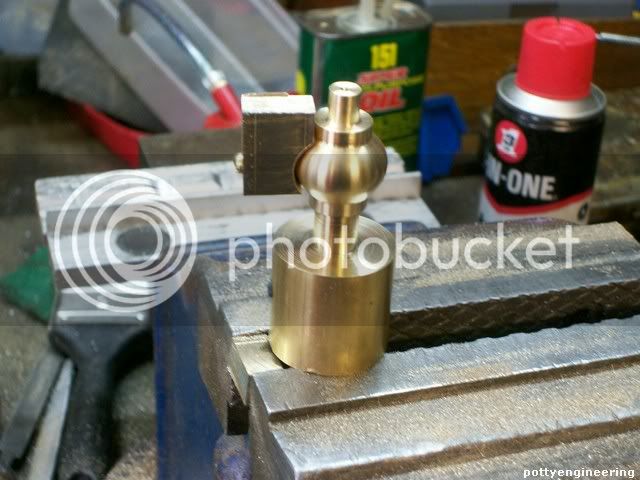
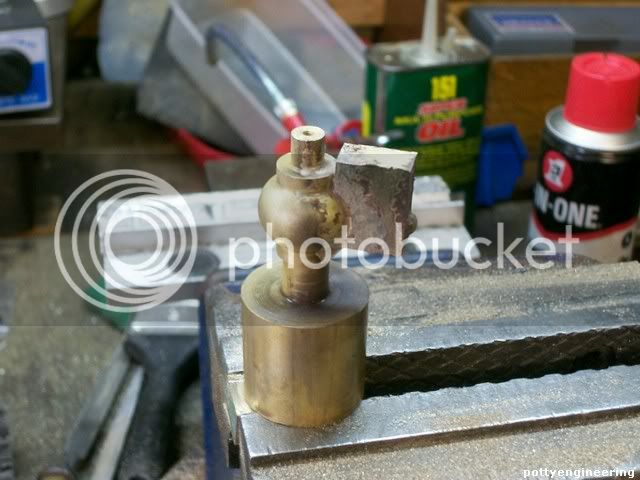
Probably holding up the rest of the balls,
"Cold enough to freeze the balls off a brass monkey" is an old navy expression, a brass monkey was a square of brass they used to stack the cannon balls on in a pyramid, when it got gold it contracted and the balls fell off, hence the expression.
Thanks for the interest guys,
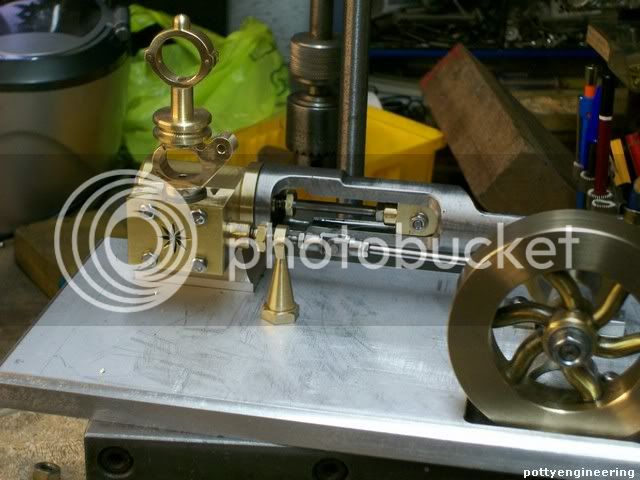
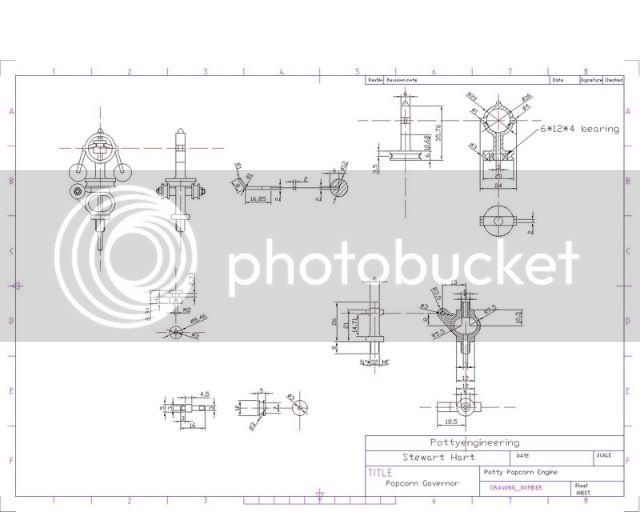
I've bin busily drawing up the governor and things, I'll post the drawing when I've got it done.
Stew
Brian
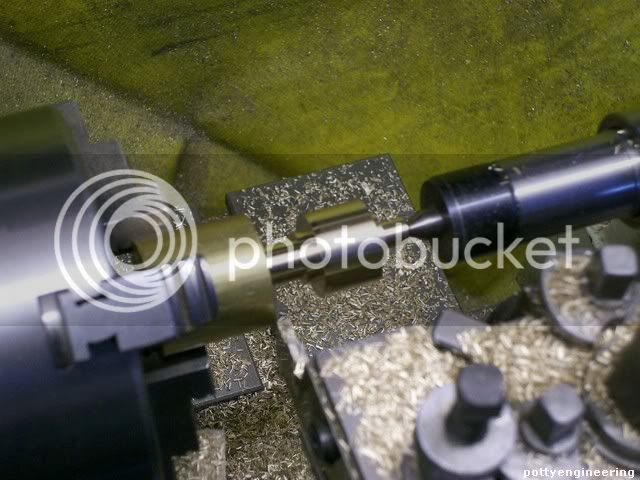
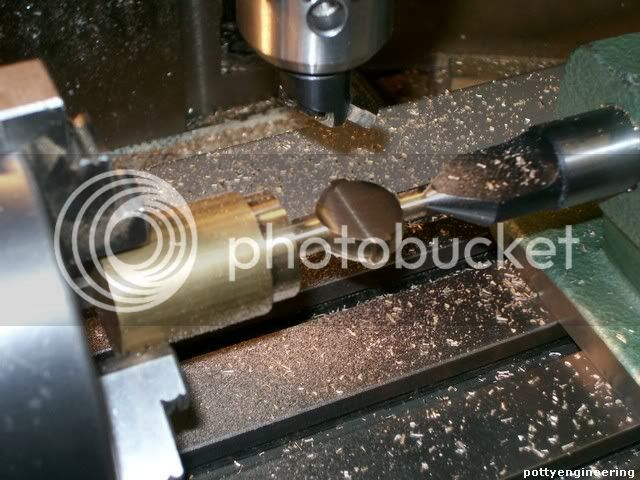
I think Marv would point out that you have turned "Ogives". I never heard that term before, but on one thread last year somebody was turning egg shaped balls with pointy ends, and thats what Marv said they were.
Good eye site that man, they are 12.3 dia about 1mm undersize from being a true ball, I needed to bring the tool forward a touch to make them a ball at 1/2".
But hey they are close enough to do the job :big:
Bob
Do you know where the rest of the monkey is
Probably holding up the rest of the balls,
"Cold enough to freeze the balls off a brass monkey" is an old navy expression, a brass monkey was a square of brass they used to stack the cannon balls on in a pyramid, when it got gold it contracted and the balls fell off, hence the expression.
Thanks for the interest guys,
I've bin busily drawing up the governor and things, I'll post the drawing when I've got it done.
Stew

")