Kozo A3 in 1.5" scale

Home Model Engine Machinist Forum

Help Support Home Model Engine Machinist Forum:

This site may earn a commission from merchant affiliate links, including eBay, Amazon, and others.
Lookin' good kvom. How will you be sealing the smoke box around the steam inlet pipe. Your "T" is also slightly different from Kozo's design.
 
Lookin' good kvom. How will you be sealing the smoke box around the steam inlet pipe. Your "T" is also slightly different from Kozo's design.

The photo doesn't show the saddle installed with the smokebox. The smokebox has two holes in the bottom, one for the steam inlet and another for the exhaust.

The tee design was modified to make fabrication simpler. Trying to make it in two pieces soldered together would be very difficult given the size of the pieces at this scale. The vertical part of the tee is the main support for the smokebox, so my round exhaust extension does the same thing. The exhaust nozzle screws into it and secure the smokebox to the tee very well.
 
I spent the afternoon in the shop building the blower nozzle, based on one I saw at Bob Harpur's shop a while back. Here are the components:

large.jpg


The "body" was made from some 1.25' round brass bar, the top from 1/8" sheet; the inlet is a 1/16NPT to 1/4" tube adapter from Locoparts. The exhaust holes are 1/16".

Assembled with 5-40 screws:

large.jpg


And positioned on the exhaust nozzle:

large.jpg


Bending and soldering the copper tube is for the next time.

I also annealed the steam delivery tube, and that made it much easier tore-install.
 
Little bit of work recently. I remade some parts of the throttle control to make it a tighter assembly, and also drilled/tapped a hole in the bottom right side to supply the blower. I'll get some fittings at Cabin Fever next weekend from PMR to attach this supply and a globe valve to the blower tube shown in the photo:

large.jpg


The hole on the left side of the turret will supply the steam whistle eventually. I still need to figure out the placement and supply to the pressure gauge.

I also managed to get the supply tube bent for the blower in the smokebox.:

large.jpg


The bender I'm using doesn't make sharp radius bends, so it took a bit of trial and error, plus annealing the tube to get it to fit and stay within the smokebox boundary.
 
Since almost all I know about steam locomotives has come from this thread, please correct me if I am wrong, but you look dangerously close to lighting a fire under this. :D
 
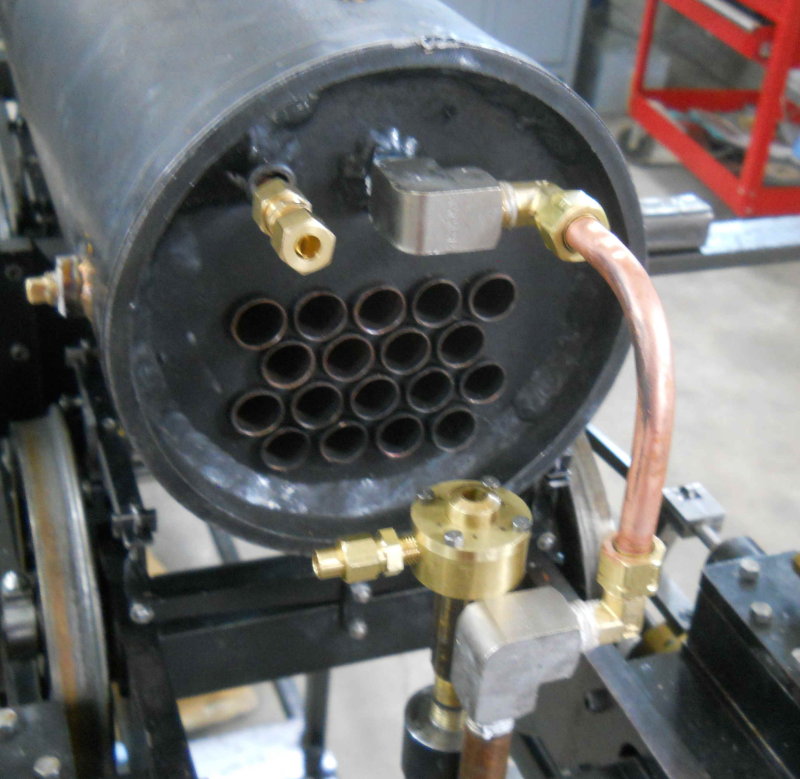
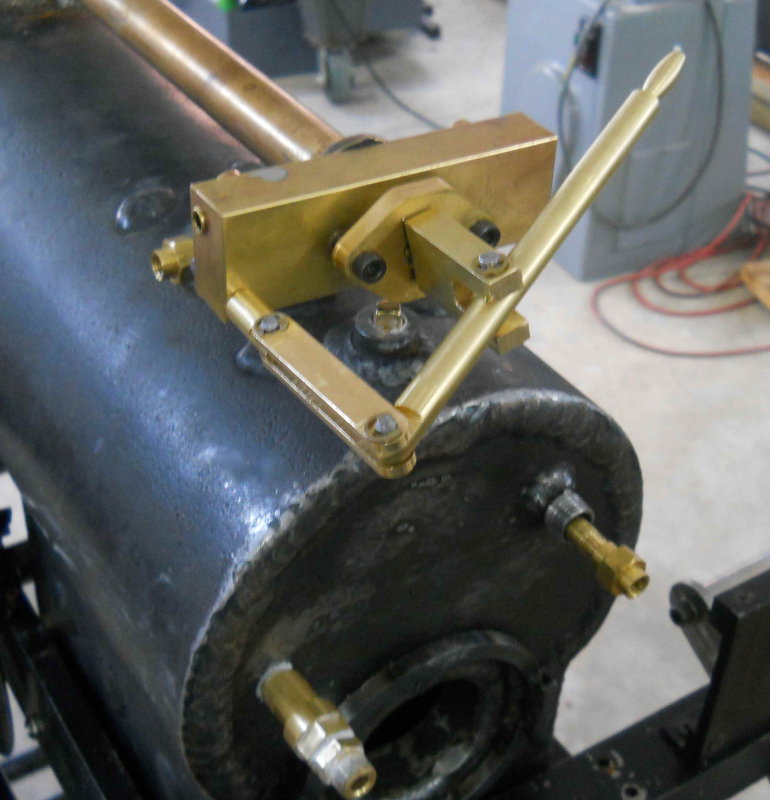
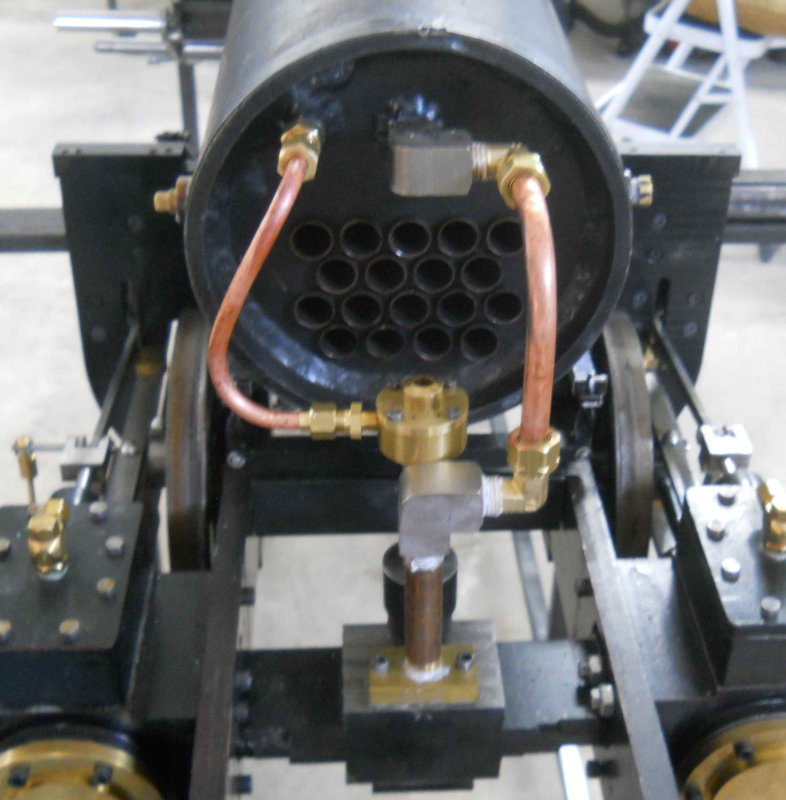
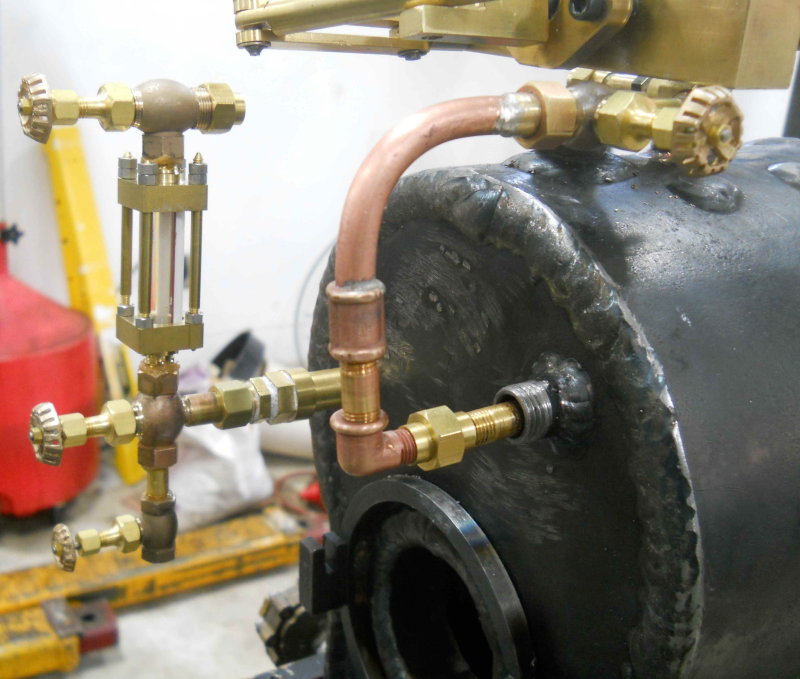
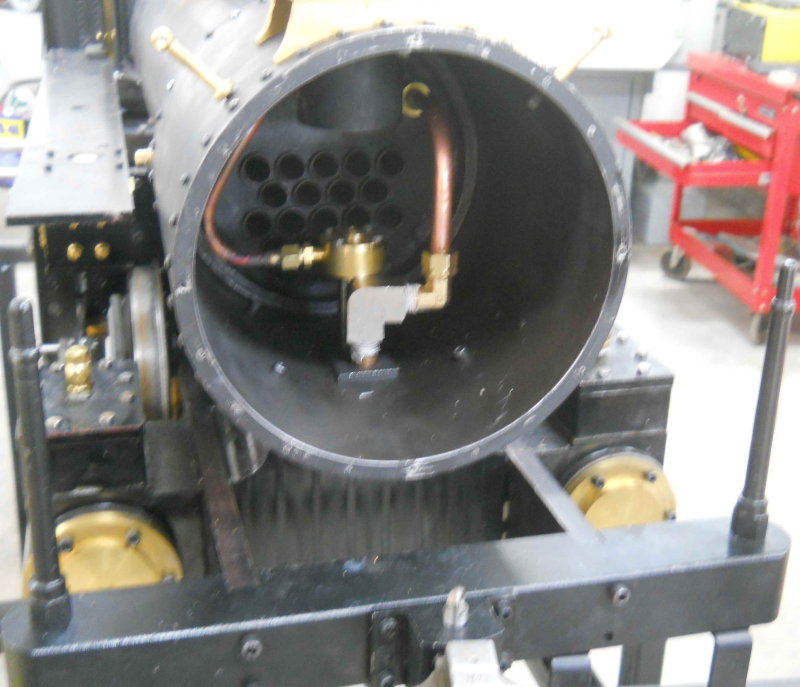
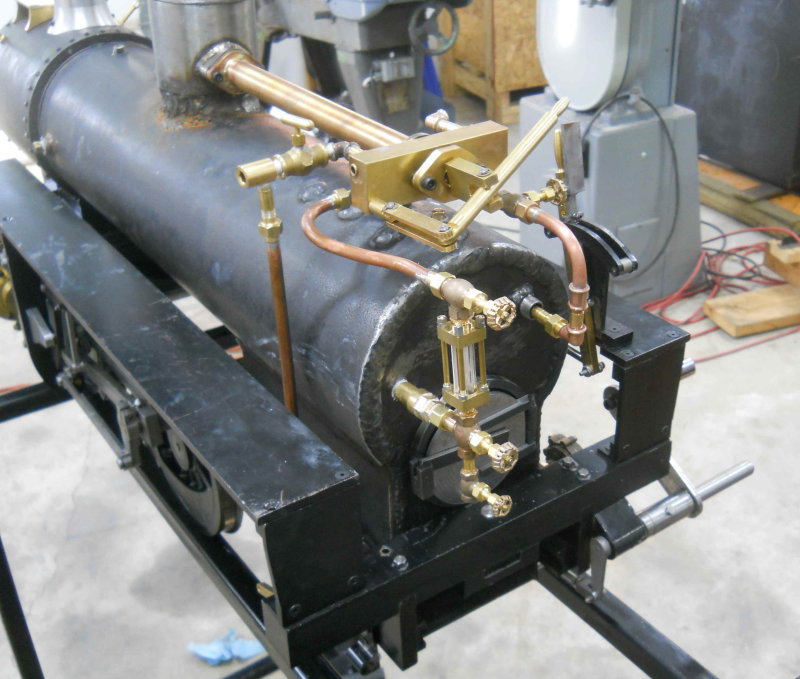
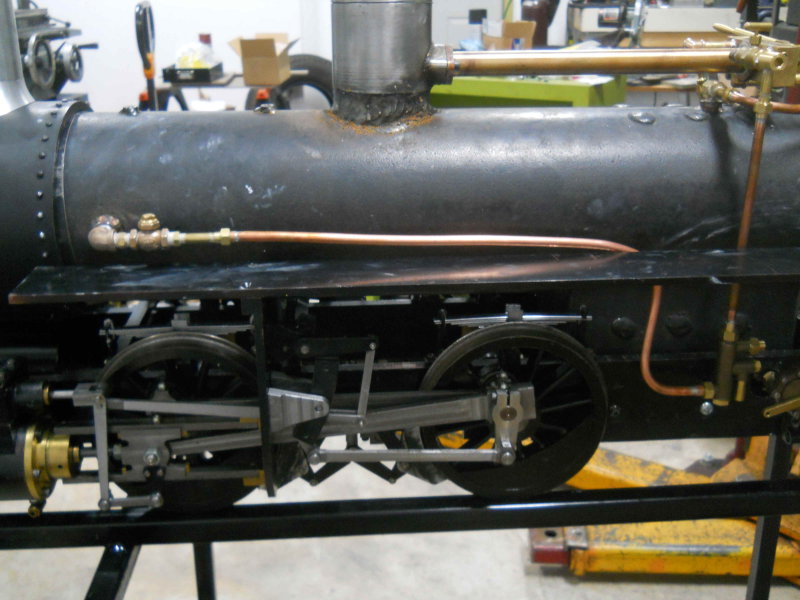
Pretty close. I need to finish piping for blower, pressure gauge, water glass, lubricator, one injector, and one side of the tender. I'll be buying a bunch of fittings at Cabin Fever (mostly elbows, plus some valves, and new boiler checks).

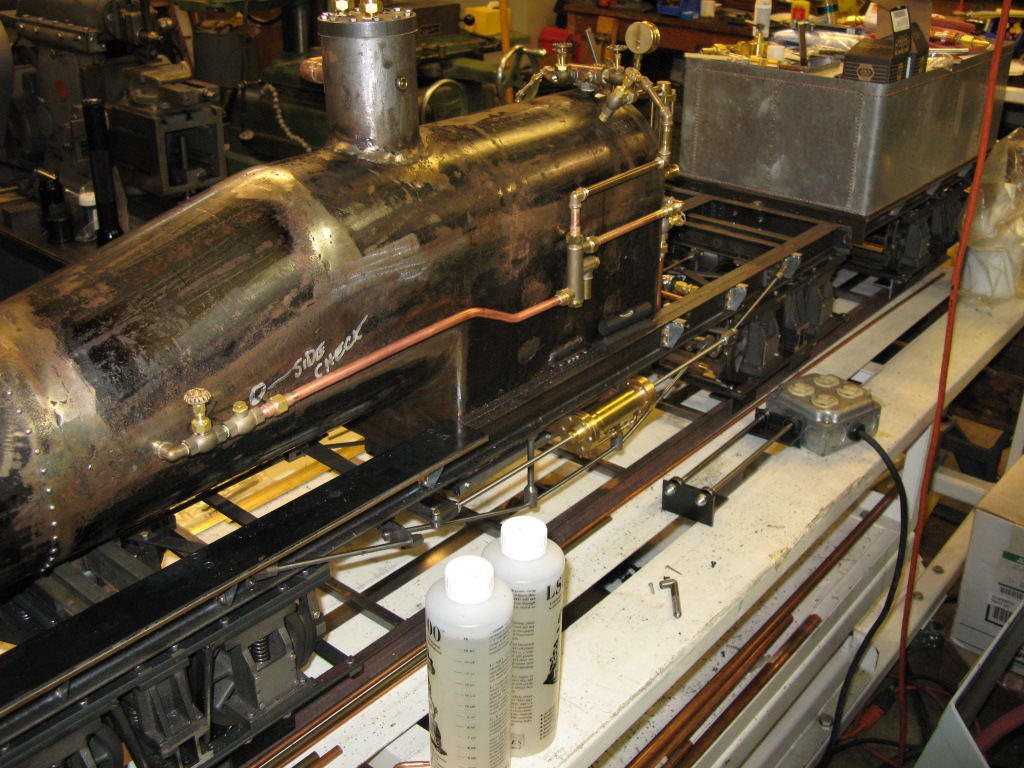
This week I'm wanting to put the loco onto the treadmill to test the throttle using compressed air. It's too heavy to lift off the stand and awkward to attach hoisting slings, so I'll need to work out something to do that safely.
 
I am curious there KVOM about your blower ring. First off, nice job on the ring. I quickly fashioned one just to get a loco running so that the public wouldn't be disappointed with not having a steamer to be pulled by.

What my question is have you tried your ring with pressurized water to see if the nozzles aim the steam up the stack? I have had one where a single nozzle was aimed badly and had a reduced draft from a small pressurization in the smoke box. Were the small nozzles drilled on a slight taper forming a cone in the center of the stack? I know a pain in the back side question.

Looking forward to seeing this guy steam.

Daniel
 
Holes are drilled straight down at the same time and not otherwise aimed. The design perforce has them parallel to the exhaust. We shall see how it works.
 
Nice progress kvom! I'm also interested in seeing how that blower performs. Kozo's original design for the 3/4" scale version is just a 'J' tube aimed up the stack. I imagine that may not be enough for the larger scale locos?
 
Just returned from Cabin Fever with a few goodies for the loco. Sack of fittings from PMR to help finish the piping. I also exchanged the Locoparts water glass for the shorter version; this will stick up less high and make piping it to the boiler less convoluted. I also arranged with Railroad Supply to take back the bell casting kit I bought from them last year as partial payment for their castings for the front lantern. Because of the spacing error on the steam dome, I won't be mounting a bell on the boiler.

Since I flew up this year I wasn't tempted to bid on anything at the auction. I did buy a 0-1/2" Albrecht keyless drill chuck on a MT2 shank that should handle most things on my lathe tailstock. Up til now I've been switching between a 0-5/16 keyless chuck and a 1/8-3/4 keyed chuck, the latter with a worn shank that holds less well than I would like.

I also picked up some 32 tpi hacksaw blades; these fine blades are best for cutting copper tube and leaving little if any burrs.

Finally I bought a package of the 5 issues of Digital machinist that describes construction of the gearless clock thatr a couple of people I know are building. This looks like a good project to do that won't take much time and can be pursued when engine building gets tedious.
 
Spent a few hours hooking up the blower line to the turret.

large.jpg


It might have looked neater with an elbow since the tube bender I'm using has a fairly large radius, but this should work for now. Valve is from Locoparts.

I also installed the smaller water glass that I traded for at Cabin Fever. The lower height will make the steam pipe connection much straighter.
 
A bit more progress today. First, disassembled the smokebox piping and placed the saddle and smokebox back on the engine. In the past I kept the saddle and smokebox assembled, put them over the tee, and then pushed the boiler tube into the smokebox. With the boiler already in place, I decided to place the saddle on first, and then try to slide the smokebox over the boiler and then re-attach. Still took some effort, but I got there in the end.

The assembly of the smokebox innards went pretty easily. The two pipe compression joints were easy to line up and accessible (I had left the boiler ends attached). I needed to use a socket on an extension to screw in the nozzle through the stack opening.

large.jpg


Then I was able to get the top pipe on the glass connected to the boiler. I had cut off a piece of copper tube using #1 eyeball to measure, expecting to trim it, but it ended up fitting as is. What were the chances? Only had to anneal it once to get it bent correctly.

large.jpg


I had been planning to make the water supply run from the injector to the boiler today now that I have horizontal check valves. However, the local Ace hardware was out of 1/8 elbows, plus I'll need a 1/8-1/16 reducing bushing. So I ordered some more stuff from McMaster and called it a day.
 
I'd put a valve between the boiler and the check valve, that way if the check starts acting up while the boiler is under pressure you can close the valve and open the check. You might have one there already, I can't really make out the details there.
 
I'd put a valve between the boiler and the check valve, that way if the check starts acting up while the boiler is under pressure you can close the valve and open the check. You might have one there already, I can't really make out the details there.

I considered that, but was advised to avoid any extra sources of turbulence in the water path that might "annoy" the injector. It will not be difficult to add one at a future date though.
 
I considered that, but was advised to avoid any extra sources of turbulence in the water path that might "annoy" the injector. It will not be difficult to add one at a future date though.

It worked just fine for me, and I think my injector has to lift the supply a bit more than yours. I found an older construction photo showing my install, it worked very well.

shay_plumbing_3.jpg
 
I had a bit of a disaster yesterday; I transported the loco sans tender to the club as a "show and tell" for a guest run day, and on the way back the loco broke free of its restraints in the truck. It didn't derail but rolled back and impacted the tailgate with the rearmost part, the sight glass. No other damage but the glass is toast. So an expensive lesson and a project to use better hold-down strategy.
 
That's frustrating. :mad: That's the site glass that you just bought isn't it? Do you have a spare?
 

Latest posts

Back
Top