Goin' Crackers.

Home Model Engine Machinist Forum

Help Support Home Model Engine Machinist Forum:

This site may earn a commission from merchant affiliate links, including eBay, Amazon, and others.
Vernon said:
Yeah, sounds like a glowplug to me. ;D

Speaking of safety, I got a new pressure gauge, and re-tested my boilers. Well, ONE of them, at the moment... I'm waiting for the pump to leak down.

After hearing more about how hard silver-soldering is, I'm sure I must have done something wrong with mine. I didn't NEED to build a firebox of bricks, was the solder melting point too low, with just a dull red glow to the copper to melt it?
If you used cadmium-bearing silver solder, that sounds about right. It was the Cd-free stuff I had to get orange-hot.

Anyway, with a gauge that reads higher than 60PSI, and with Goodall valve in place, I just pressurized one of the boilers again. No leaks, no pop.

No wonder I sprung my first gauge, that pump puts out a LOT more pressure than I thought.... but I had no way of measuring it, before now.
That Goodall valve holds a LOT more pressure than I expected, too. I expected to get squirted.
I would have thought the rubber would give way before that... it's really eye-opening the first time you hydro test something with a little pump how much pressure it can exert.
 
shred said:
If you used cadmium-bearing silver solder, that sounds about right. It was the Cd-free stuff I had to get orange-hot.
I would have thought the rubber would give way before that... it's really eye-opening the first time you hydro test something with a little pump how much pressure it can exert.

As long as this stuff has been around at work, I'm sure it's Cd-bearing.
My Goodall valves are using silicone fuel tubing. ;D
I'm not using a homebuilt hand pump, I cheated, dug through my junk, and found a 12v diaphragm pump from a sprayer. ;D It works, and quickly, although it'll leak that 140PSI down to 50 or 60 in about 45 minutes.
 
No real progress today. "Fixed" the Goodall valve that i accidentally drilled through, by tapping the end for a 2-56 Torx-head screw I happened to have.
valve010.jpg

Also, I turned the step-coupler into a woodburner-style "spark arrestor" stack for my dad's Cracker.
I should have turned the top ring out of a seperate piece, and made it brass. Oh well. Maybe I'll change it later.
Stack004.jpg


Last of all, I blackened my third set of wheels, the extras... and lost one, dropping it off my bench at work to roll who-knows-where. That was going to go on a railcar...guess I'll make more.
 
Lookin' good Vernon, I am eager to get back on mine.
 
This is such a good project, an you're doing a great job, Vernon. I've been reading along since I joined the group, and am enjoying your adventure. I don't have any rail road stuff, but seeing these little guys run gets me thinking...

Keep it up, and well done!

Dean
 
BMyers said:
Lookin' good Vernon, I am eager to get back on mine.
Thanks! Yeah, I'm eager to see more of yours, too... especialy on days when I don't get anything done on my own. One of this pair of Crackers: http://www.16mm.org.uk/mom2008-10.htm uses a burner right off of the Harbor Freight pencil torch. I would have tried it if either of mine worked for any length of time.


Deanofid said:
I don't have any rail road stuff, but seeing these little guys run gets me thinking...
Thank you, Dean!
Do it! Build one of these, I bet you'll get as big of a kick out of seeing it MOVE for the first time, as I did!
I'm hooked, I'll be building more locomotives after these two. ;D
 

A while ago I posted this in BMyers' Cracker thread, about finishing my Cracker frames in a black color:

Vernon said:
I'm either going to,
(a) Set up another anodizing tank and do it myself. Surprisingly easy.
(b) Wait for a batch of stuff going to be anodized at work, and include my parts. Could be a while.
(c) Send my parts to the local plater and PAY for anodizing. Not likely.
or
(d) Remake the frames and footplates in steel, and blacken them. Stronger and heavier, but more work, and rust-prone.

Today, I'm doing A and B. Work needs some parts anodized, the local platers went out of business/stopped anodizing, and they know I can do it.
So, I've got homework today, and a project tomorrow. ;D
Actually several, I've got a bunch of aluminum parts waiting, including the table on my mill.
 
Tell us all about 'A'. Well...tell me anyway. 'They' may know, but I don't.
 
Hot and sweaty. Hot rubbery apron, hot elbow-length gloves, acid fumes, and mosquitoes trying to carry me off by my exposed elbows.

And now I hear a thunderstorm warning. :-\

I'll post some pictures and a description when I'm done with the test pieces... which they gave me to try... they THINK they're 6061 alumiunum... I hope so, or it won't come out right, I didn't do the lye bath.


Edit: Darn. It was 7075 aluminum. Ugly now.

 
So, I tried again, with a different alloy.
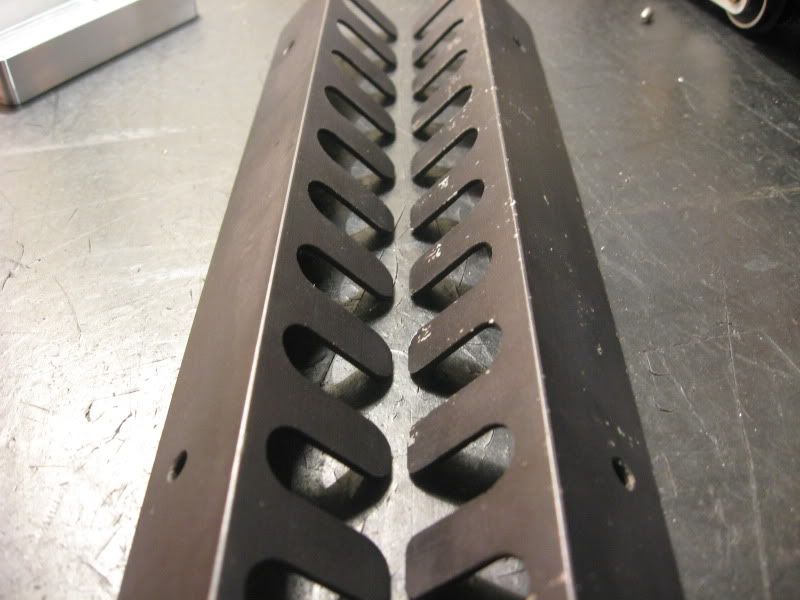
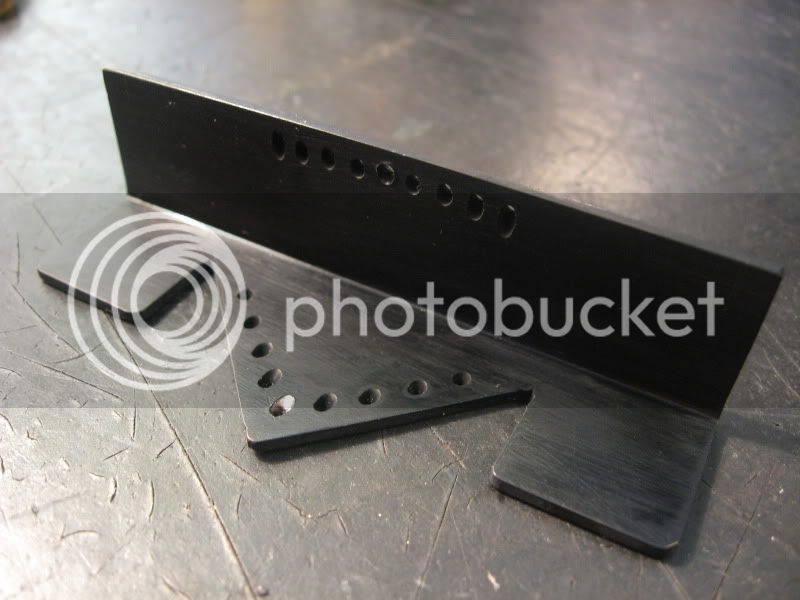
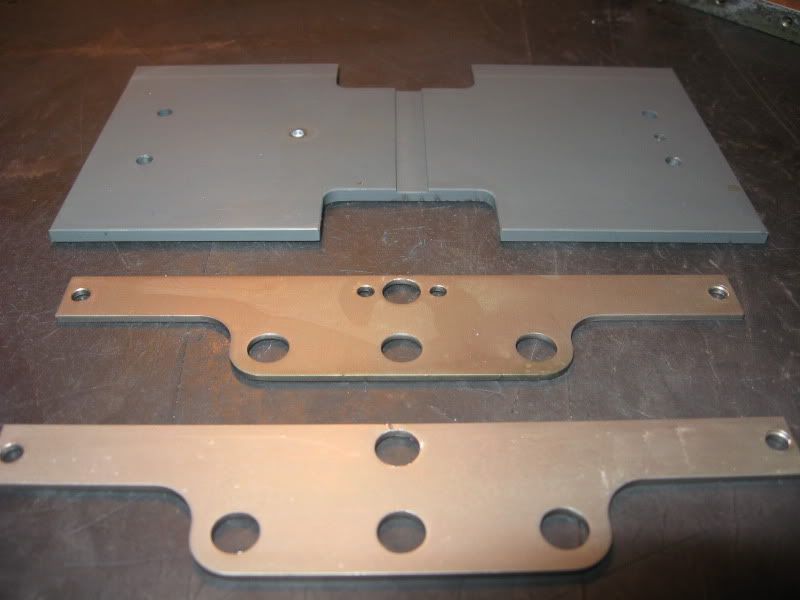
This time, I roughed out a pair of heatsinks, for the battery charger I'm using to anodize, and dyed them black, instead of the apparently more-difficult red I tried on the first piece.
This way I could verify my acid mix was correct, and get an idea of the amperage and 'cook' time I'd need.
These parts were abrasive-blasted before anodizing, so they have no shine.

Anodise003.jpg


Using less amperage this time, I let the parts run for 3 hours (!) before pulling them out. The finish was nice, so they went into the dye bath (black RIT clothing dye mixed at 4x strength), and then were boiled to seal them.
I should have used a larger container and suspened the parts from wire hooks, because one of the parts was scratched up by the other before sealing. oh well.

Anodise004.jpg


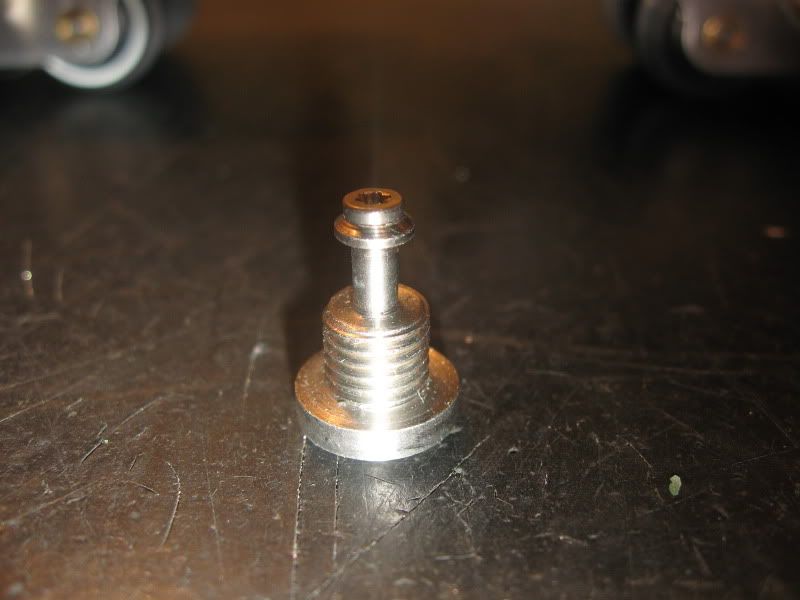
Now I'm running another part, 6061 aluminum, fully machined finish, to re-try the red dye.
Cracker parts after that, if the rain stays away.

 
How did you know it was 7075?
And how do you know how to anodize? Got some references you're following?

Thanks.
 
zeeprogrammer said:
And how do you know how to anodize? Got some references you're following?

Anodizing seems to be one of those things that's easy to do fairly well, and difficult to do expertly. I first read about it online around '95... there are a million pages out there about it! ;D It's not something I'd do anywhere other than outside, as acid fumes are no fun, and safety gear is a must.

I suspected my first test piece was 7075, and the oddly-pitting surface... makes me suspect it even more strongly. ;D Although, the acid bath temperature DID get too high, which will also pit a part quickly, and seal the surface before you get a chance to dye it. Still, I should have dunked the part in a lye bath first, it'd have come out better.

 
Ok, back to Crackers. The footboard pilot, or "cowcatcher" for Loco #1 is mostly finished.

It's just a piece of aluminum angle, sawn out and drilled- all rough handwork, no machining on this one.
Anodized011.jpg


Brass tubing, .050" and .062" diameter, runs through the holes. Failed red part in the background.
Anodized032.jpg


Just a quick idea of what it'll look like:
catcher005.jpg

 
Good stuff!
How did you mount the part for drilling?
How are the tubes held?

And where's Chip?
 
zeeprogrammer said:
Good stuff!
How did you mount the part for drilling?
How are the tubes held?

And where's Chip?

Mount it? That thing's all hand work. Part in one hand, cordless drill in the other.
Ok, I centerpunched the two rows of holes first, drilled them perpendicular to the plate at .040", went back and drilled them again swinging the drill toward it's opposite hole to cut the angle. Then opened them up to .050", and .062" for the center post. The brass tubes are bit of a press fit, with some superglue to convince them to stay put.

Chip isn't to scale for Loco #1... my dad doesn't like the look of the tall skinny cab on #2.
So, I'll cheat the scale a little, and scale the cab for a slightly shorter human:
valve013.jpg
 
??? Are you saying that's 'dad' ???
Good looking fellow. Do you take after him?
 
Cracker Loco #2 is in the acid.

Here's a "Cracker Racker" shot taken beforehand. I'm not carrying my camera outside, anywhere near acid fumes.

Rack204.jpg


...and, Zeep, I ain't answering that. ;D
 
Crap. :-\

I knew I shouldn't have tried to do that many parts at once.

Maybe I had the amperage too high.

Maybe the acid bath was a bit TOO warm.

I've just added a bunch of parts to my wall of shame accidental hard-coat anodizing.

Ah well, at least it was on MY Cracker... I wanted a more industrial-looking loco than my dad's. :big:

I might leave it this way... but the frame stretchers (the end pieces) NEED to be stripped and re-done.

Oops003.jpg


Oh well. :-\
 
Sorry to hear that.

I know very little about anodizing and I can't tell from the pic...
What exactly is wrong?
You can strip anodized material? How?
 
Say Vern', if I recall correctly the acid bath should be held at a relatively constant temperature range of 70-75*F, as the temperature increases the coating becomes more porous. 14-18 V and a current density of 10-25A/ sqft. This is based upon a 15% acid solution at 12floz/gal. 15-30 minute bath exposure time. What are you using for a Cathode? (as far as surface area?) I'm pretty certain these figures are correct albeit it has been several years since I had an opportunity to do this type of work. Good luck and your engines are way cool, the 'cowcatcher' is a novel idea as is the faux spark arrester.

BC1
Jim
 

Latest posts

Back
Top