Goin' Crackers.

Home Model Engine Machinist Forum

Help Support Home Model Engine Machinist Forum:

This site may earn a commission from merchant affiliate links, including eBay, Amazon, and others.
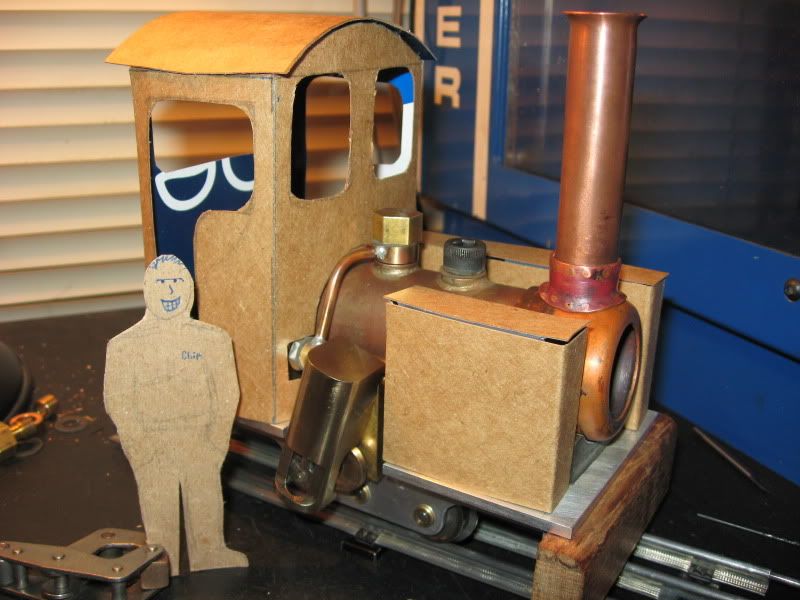
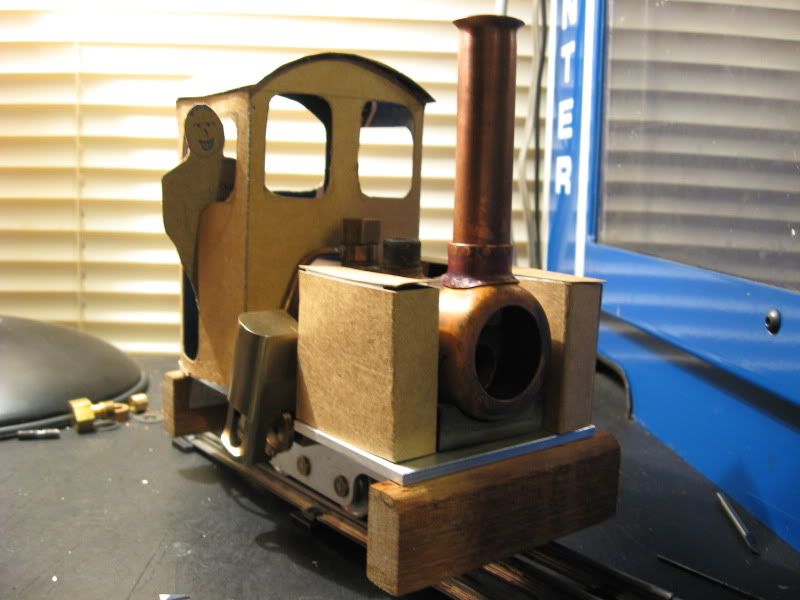
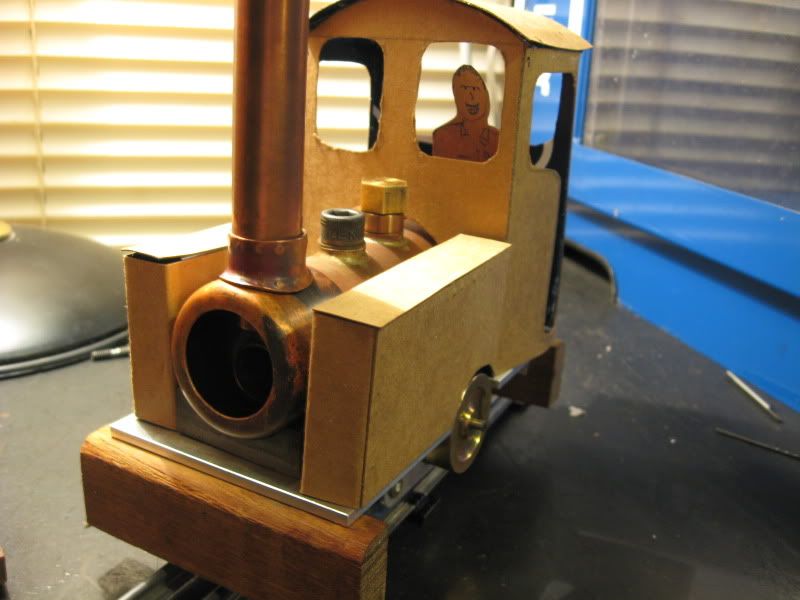
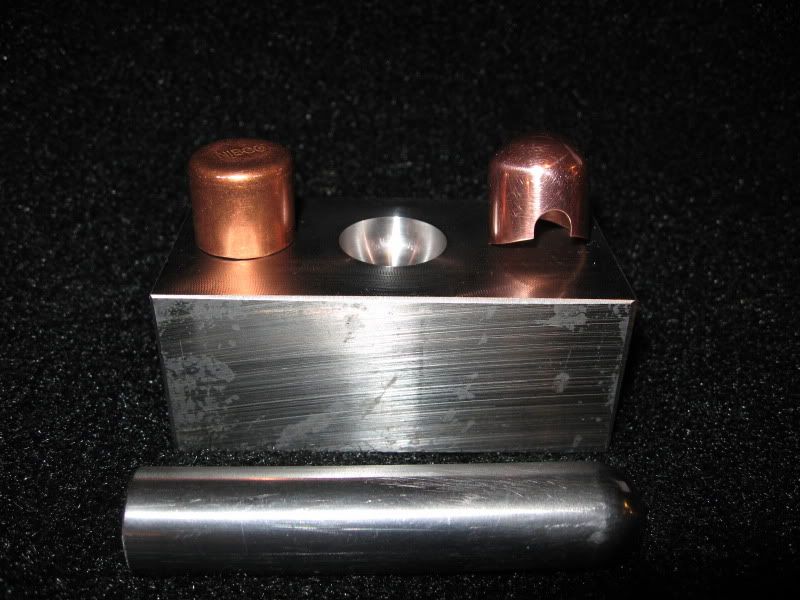
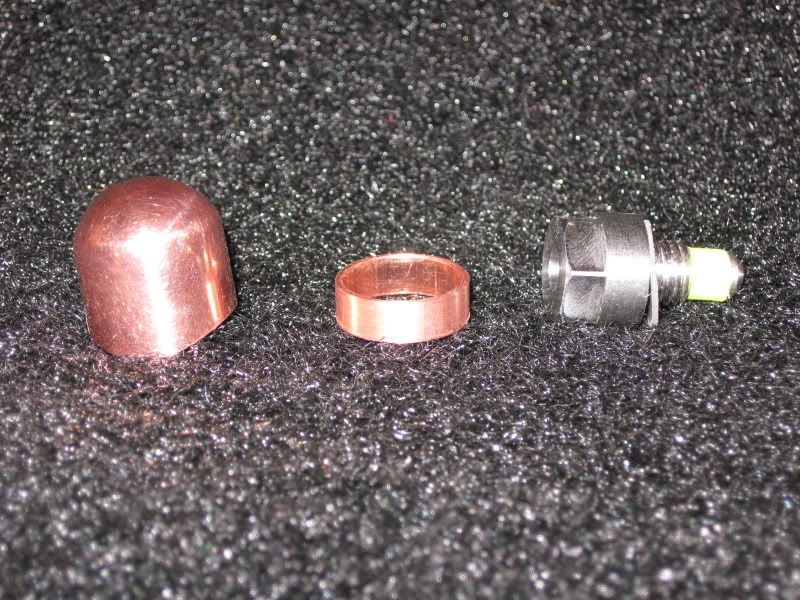
I've got some sealing issues around the engine steam lines on mine as well-- some paper gasket material and sealer helps, but I think there's just too many sliding bits to really be a good joint. The easy answer might be soft soldering and just desoldering it for disassmbly, but I don't like that much and think if I were to do it again I'd try making a small compression fitting. Kozo's New Shay book has some instructions on making compression fittings in the back that look fairly simple to fab.

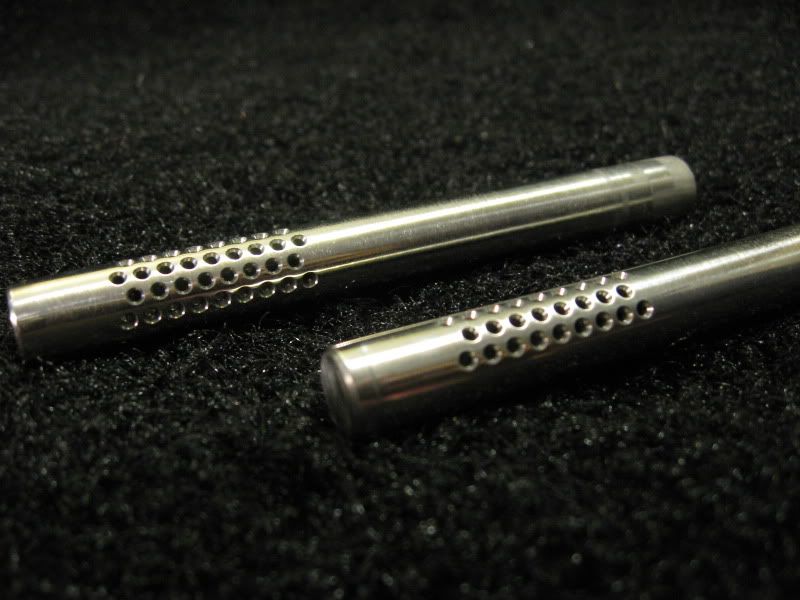
Btw, the exhaust on mine is kind of a trick-- there's no sealing needed and the 'drilled bolt' is long enough internally that it can be unscrewed and slid up the pipe to the smokebox far enough to clear the threads and remove that pipe without pulling any of the other engine bits.

 
shred said:
The easy answer might be soft soldering and just desoldering it for disassmbly

Thanks, Shred, good point. Desoldering wouldn't be that hard, and the two soft-soldered joints have held up so far. I'll add it to the list of considerations.
 
Must...resist...<a href="http://www.homemodelenginemachinist.com/index.php?topic=5485.msg57843#msg57843">Projectitus</a>...

Ha, that little rocker engine looks fun, it's hard to resist. However, I'm terrible for switching projects halfway through... even a coworker/friend of mine who buys a different car/truck/Harley every year is laughing at me.

So, I must distract myself from the tiny engine builds somehow...

Cardboard cutouts! ;D I've started on the mockups for the bodywork. After I decide what body style I want, I'll draw up REAL patterns with the same software I use for my cardstock models.

cardboard011.jpg


;D My wife accused me of playing with paper dolls when she saw my 96mm assistant, "Chip". He's a 16mm-to-the-foot scale 6-foot human, added in for a better sense of scale.

cardboard016.jpg


I'll be trying a few variations, differently-shaped windows and door cutouts, smaller tanks, a saddle tank, and if I don't make the front left water tank a fuel tank, I'll be adding a coal bunker to the rear of the cab.

cardboard019.jpg


cardboard025.jpg


Yeah, I know it's silly. I've already used up my 40 hours of "serious" for this week. ;D


Now if we can just get you to color staying inside the lines, you'll be fine! Rof} A terribly good idea using the cardboard mock ups, I sometimes have a hard time visualizing what the end results will be in my head. So many options to go with in detailing these engines, it's amazing, who would have thought it. Chip appears to be enjoying himself way too much. ;D

BC1
Jim
 
bearcar1 said:
Now if we can just get you to color staying inside the lines, you'll be fine!

Vernon doesn't strike me as the type. In fact, too often, when someone draws a character, it's their own inner being that comes out. Look closely at Chip. I'm thinking he's mischief maker. Coloring outside the lines would be in character.

I like prototypes and mock-ups. They are very handy.

Oh...and draw a girlfriend for Chip. Rof}.
 
Cool. I hacked out a paper cutout for the cab on my loco, but it wasn't near as nice as these.
 
Haha, thanks, everyone! I didn't really expect a response , I'll probably be posting more photos as I tweak the cardboard cutouts... not as fast as Crap-O-CAD, or as nice as Rapid Prototyping... I guess I'll call it Ragged Prototyping.

Actually, posting the pictures on here and then coming back to them later, I've seen a few things I don't like. Changes will follow...feel free to become bored and run away. :D

zeeprogrammer said:
Vernon doesn't strike me as the type. In fact, too often, when someone draws a character, it's their own inner being that comes out. Look closely at Chip. I'm thinking he's mischief maker. Coloring outside the lines would be in character.

Oh...and draw a girlfriend for Chip. Rof}.

Hahaha, I have no idea what you're talking about. ;D
Also...draw a girlfriend for Chip? My wife predicted I'd be making clothes for him next...
 
Vernon,

No only is your Cracker choo choo nice, so is your sense of humour. :bow: :bow:

Best Regards
Bob
 
Say Vernon, I notice that round the lip of the chimney flue saddle and at its base, there appears to be a series of dimples. It gives the appearance of a rivet line, how did you achieve those ???


BC1
Jim
 
Maryak said:
No only is your Cracker choo choo nice, so is your sense of humour.

Thanks! I like to unwind when I'm at home working on this stuff. ;D

bearcar1 said:
Say Vernon, I notice that round the lip of the chimney flue saddle and at its base, there appears to be a series of dimples. It gives the appearance of a rivet line, how did you achieve those ???
I just punched a row of dents from the back side, with a punch ground to about .030" or so, and radiused. Sitting against the smooth, polished surface of a V-block, the outside of the bump is flattened into what you see. Not the most realistic rivet bumps, but it'll hopefully add texture under paint and at least hint at rivets.

I like the "baling wire and bubblegum" maintenance you see on old narrow-gauge railways, so my sloppy row of rivets has a purpose. ;D
There's actually another row around the smokebox where it meets the boiler.they don't show up well at all, since the material is a lot thicker, but it's not exactly authentic, so I didn't press the issue.
 
Oh I like the faux rivet effect a lot. I never noticed they were out of line at all. Anything that adds just a touch of the real thing is always better than straight, clean lines at times anyway. Your loco is going to be terrific looking. I can't wait to see what you finally decided on as far as saddle tanks etc. It'll be great!

BC1
Jim
 
Thanks!

bearcar1 said:
I can't wait to see what you finally decided on as far as saddle tanks etc.

I can't either.. and I'm not working on it tonight, I have homework! The bottom pair of parts in this picture, which still need to be finished:

work010.jpg

A pair of replacement sears, work for a friend of the boss. ;D
 
Hey Vernon,
what holds the boiler in the saddles ?
 
BMyers said:
Hey Vernon,
what holds the boiler in the saddles ?
At the front, a bolt through the smokebox portion of the boiler tube, or in my case, seperate smokebox tube.
At the rear, nothing. It just rests on the rear saddle, allowing for thermal expansion.

At first, I considered using the cut-off portion of the coupler I made smokeboxes out of, to make a ring bolted down like the front. I may still do that, opening up the radius in the rear saddle for the larger diameter tube, but it seems like the steam line and burner will do a good job of securing the boiler on their own.

If not, I can always do a little rework.

 
Crap.

Made a part for Zeep's "Wall Of ShameTM" today... a Goodall valve with a through-hole. :-\
Also tried a few safety valve/whistle ideas, to no avail...yet.

That's what I get for deciding to stay late at work and make a few parts, with no plan. ::)

On the good side, I've got some silicone tubing for fuel line, I've realized the compression fittings I've been looking for are easier to just make, and I seem to have found a tap for the fill valves from the Harbor Freight pen torches.

I'll try again tomorrow.
 
Whoa! It's your part...it's your 'Wall of Shame'! I'm very proud of my 'Wall of Shame' and you should be of yours. Otherwise, you're going to have to give me credit for the good stuff too. Oh...I see...sorry.

Crap indeed.
 
I was poking around the internet today looking for something else but ran across this in a set of articles: http://www.gauge0guild.com/manualonline2.aspx In the Live Steam section on Small Repairs (the rest are worth a read as well) is a bit on making compression fittings for tube as small as 1/16" OD. It should be possible to sub #4-40 for 6BA in that size and scale up as needed to Cracker-sizes.


Thanks for the link, Shred, I just might use those flare fittings. Those are good articles, entertaining to read during lunch today.

At least, when I wasn't making a .375" dent in a chunk of 4140...
dome013.jpg

I made a punch and die, with .625 round stock, and a .750" ballmill, to bash small pipe caps into domes. One of these will be the steam dome cover for Loco #1, which will be an O-scale Cracker-like loco for my dad.

On loco #2, (mine) this will be a smaller dome cover over the Goodall valve in the front boiler port, and won't have a cutout for a steam line.
I guess I'll put rivet bumps on it, too.
Edit: Oops, I forgot rivet bumps. I got ahead of myself and silver-soldered the copper ring to the inside of the dome without punching the rivets. That dome REALLY needs some kind of detail, at least a flare at the bottom... I might remake it.

dome028.jpg


These valves really work! I haven't tried it under steam yet, but I know it seals... pushing Loco #2 backwards pressurizes the boiler, which I've already played with long enough to flip the engine over a rev or two. ;D

I wanted to try the first one before I made two. Well, three, really, if you count yesterday's mistake. ;D
 
Not much progress today.

Made another little dome, this one for "my" Loco, no polished finish, and no steam line cutout, this will cover the fill valve in the forward port. I probably I made the boiler ports too close to each other to use the large dome... I think Shred mentioned moving the fittings further apart in his thread, too. Oops. Maybe I can make it look good anyway.

Also, I tried the oven-blackening of the extra 12L14 wheelset, they didn't come out much darker than with the chemical tool black, but the finish does seem more durable, so I added a white stripe, and I'll "test fit" them later to see if I like the look.

wheels010.jpg


Lastly, I started on the burners. Sort of a combination of the tube burner Shred drew up, and a drilled stainless burner I found online somewhere. I used stainless tube and a staggered hole pattern, and I'll make the tube and holder to Shred's dimensions.
I hope it works. Right now they have no air hole and are too long to burn properly... but they look neat, does that count for anything? ;D
burner027.jpg


I'll cut them to length later.

The plug in the end is a Stainless 5/16 socket head capscrew, threaded in about .250", with the head ground down to the bottom of the hex hole.
 
Back
Top