Yeah, angle stock and square tubing stock are real handy for engine bases, crankcases, etc. Saves you milling away lots of stock and/or drilling and threading for bolts. I try to use this stuff a lot on my engines.
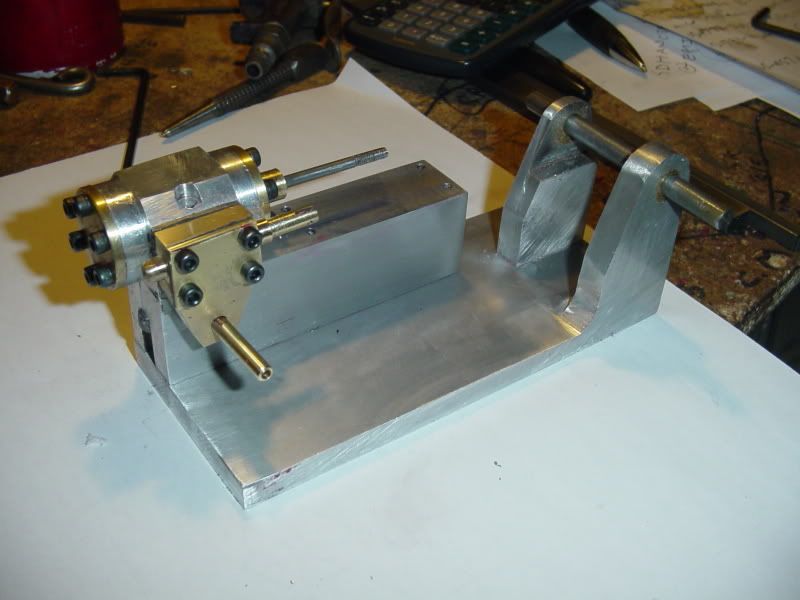
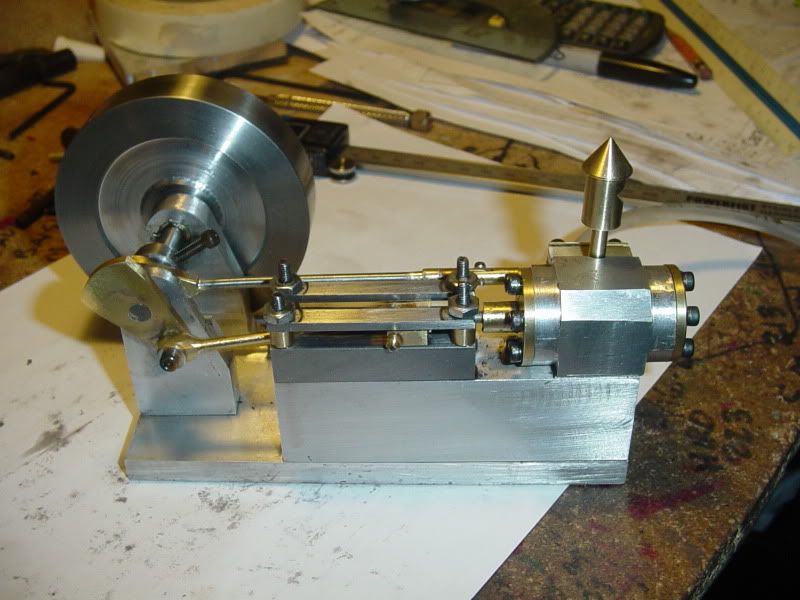
So far, so good----This will all have to be blown apart for "finishing", but it is going together as I had planned. It will start to get exciting when I get the crank finished and some connecting rods in there.
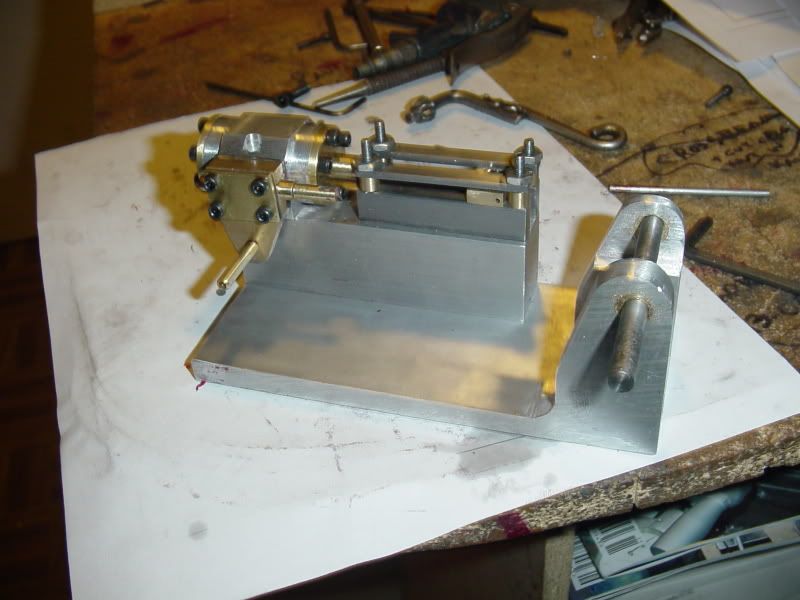
I don't even want to talk about the work involved in the cross head and guides----Making them is one thing, Getting everything to fit and still slide freely is a whole different story. The local nut and bolt store didn't have any #5-40 x 1" long socket head capscrews, so I resorted to making some ugly studs untill they get some in for me.--But---WE ARE PROGRESSING!!!
Yup. Getting the cylinder, piston, head, guide and slide all working together was one of the tough parts of the build for me. You are moving along nicely. Everything is looking really good.
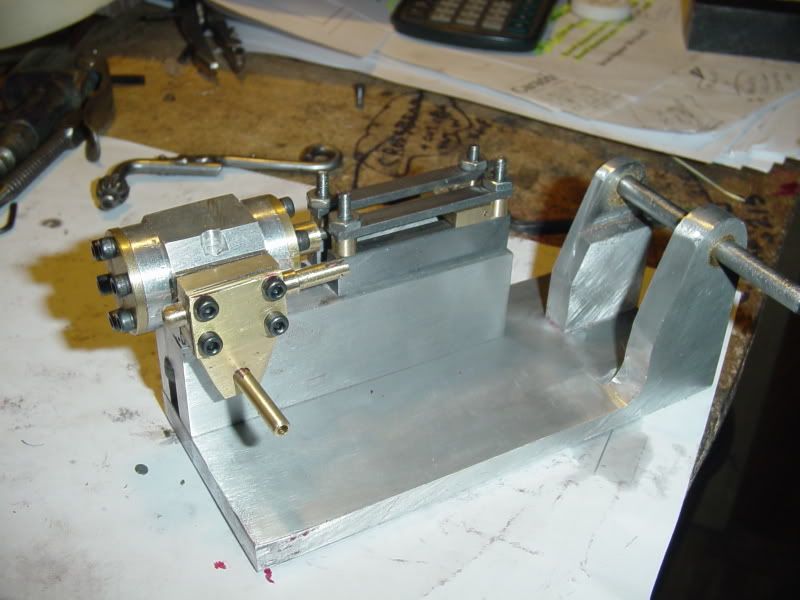
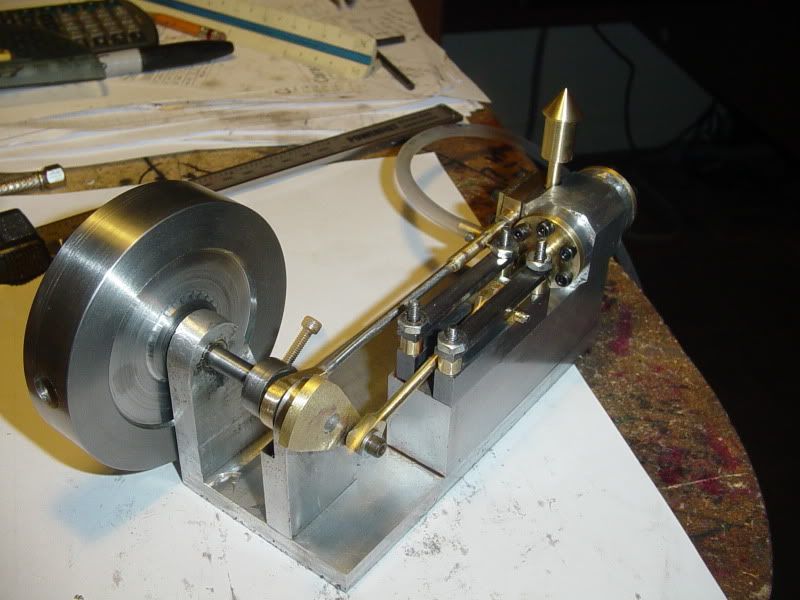
Bit by bit we struggle on----Todays efforts produced a crankshaft and connecting rod.--And after much friggin' about, it turns over without too much binding.
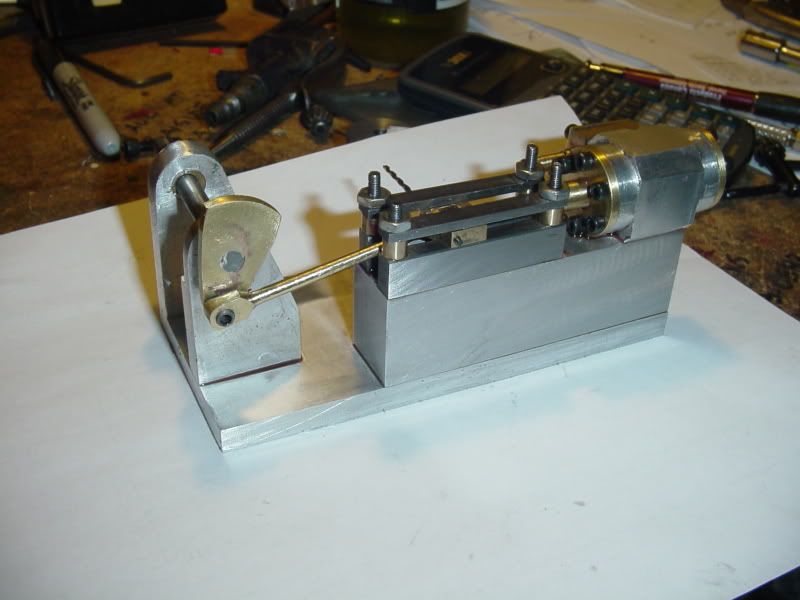
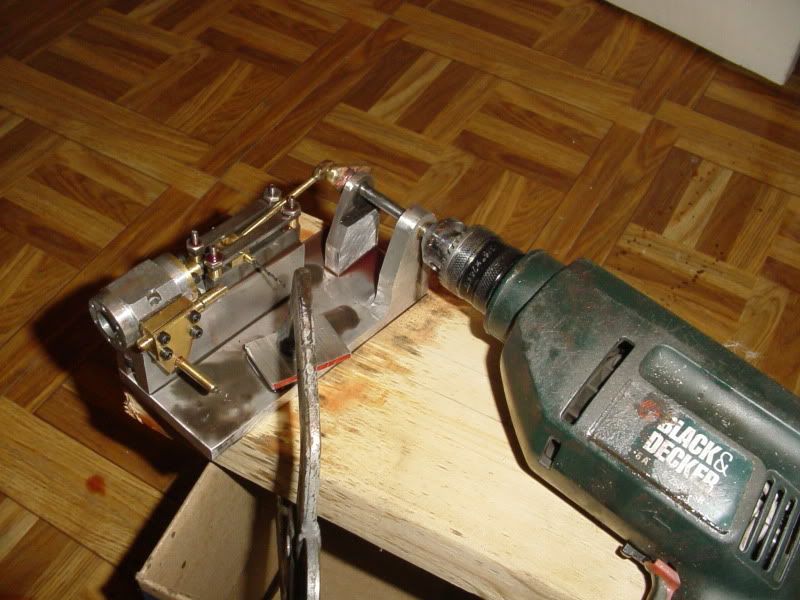
Here we in 'Run-in" mode. The flash freezes the motion, but trust me, its wailing around there at about 300 RPM, everything soaked in oil. After 20 minutes of this it will turn so freely that there will be practically no friction in the system. I have removed the outbaord cylinder cap, because I wanted to make certain that there was no interferance between it and the piston.--There is actually about 0.040" clearance.
I am jumping with joy a lot of progress, long hours and some wear and it going to be smooth running look great, very nice project when you are done it will copy and paste all drawing, pictures and comments, thanks, looking forward to seeing it running,thanks again for sharing with us, Lathe Nut
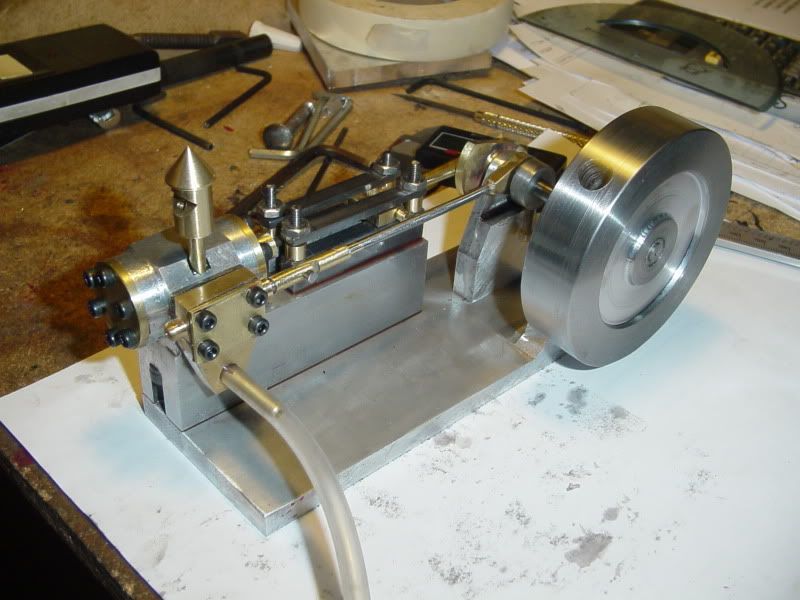
All things must come to an end, and today marks the end of this build. I have learned a great deal of insight into how this type of valve works, and I think I can now go ahead and design my own based on what I have learned. Thank you Elmer Verburg, and thank you, readers for following my build. Later this week I will upgrade all the drawings and post a download link for anybody who wants to build this engine.
Yes that is severally awful nice, it looks good and runs great, great work as you always do, love the exhaust that is cute, yes looking forward to the plans, thanks again for what you share, Lathe Nut