Back to Steam

Home Model Engine Machinist Forum

Help Support Home Model Engine Machinist Forum:

This site may earn a commission from merchant affiliate links, including eBay, Amazon, and others.
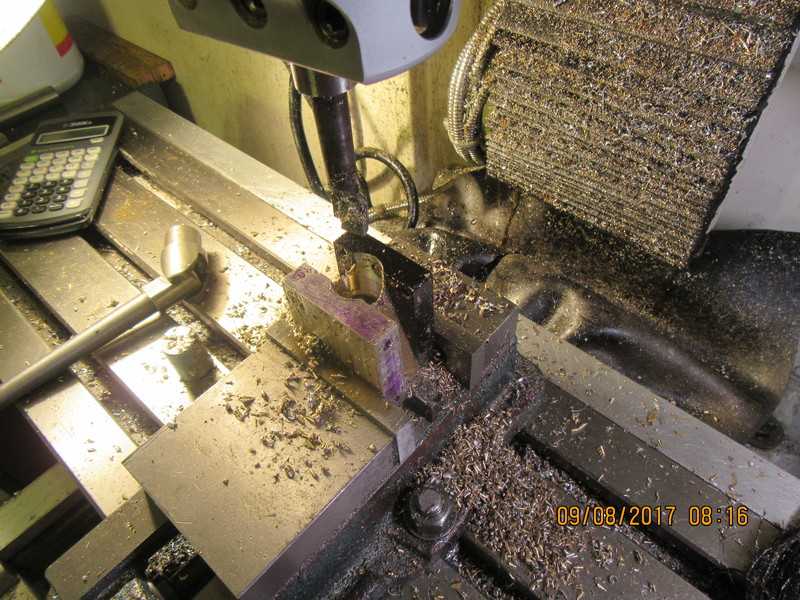
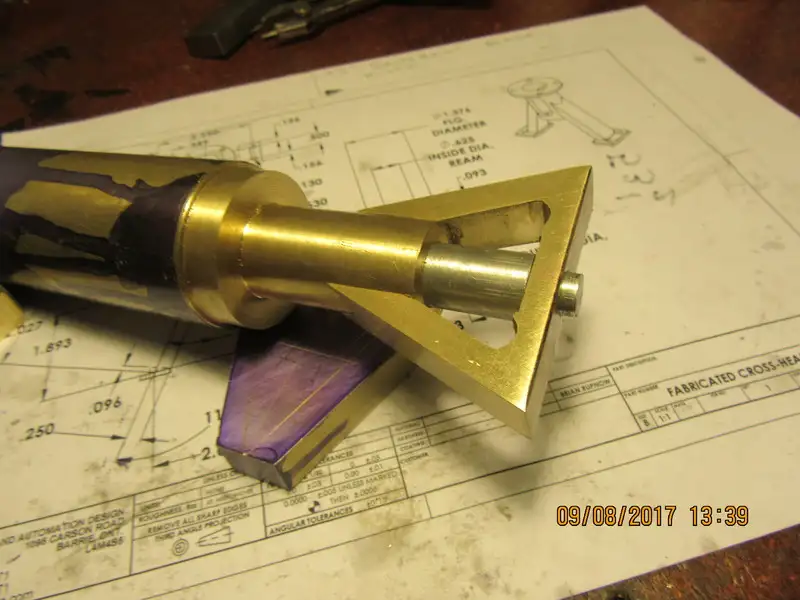
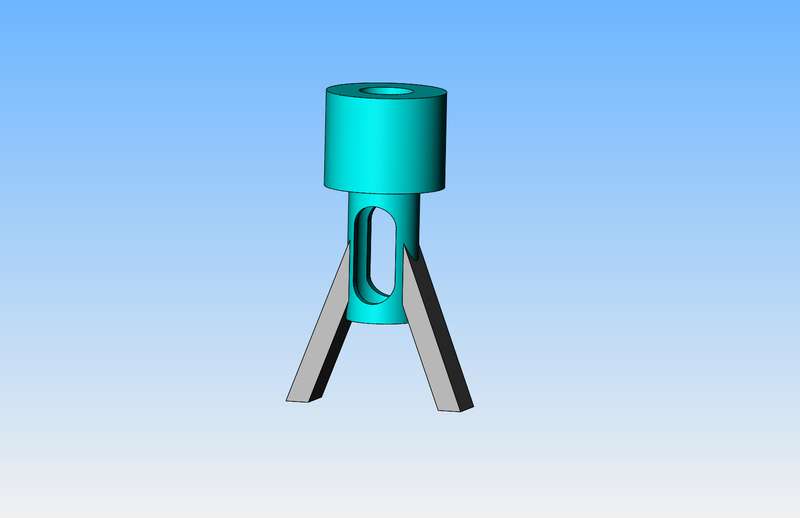
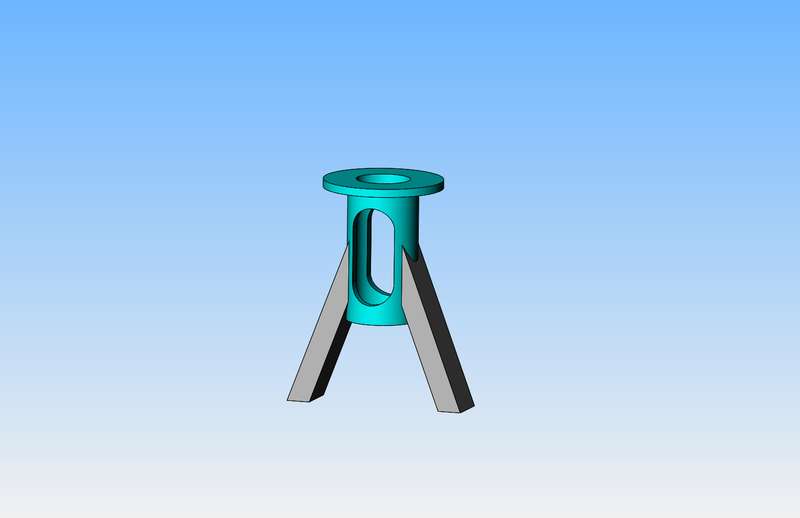
Stick it in the mill vice with a piece of aluminum packing on both sides and drill then bore the 13/16" diameter hole as shown. The aluminum packing on both sides protects the jaws of my mill vice, and more importantly, prevents ripping at the top of the legs where they become a sharp corner.
6EdfMt.jpg
 
I turn the cylindrical portion to the correct finish diameter and the turned down section is at finished length. The larger diameter is left about 1" longer than it will end up so I can chuck it in the lathe. I will probably make a holding fixture to hold both parts in the correct relationship to each other, and do my silver soldering at this stage.
G2rhyX.jpg
 
Immediately after silver soldering the parts together and letting them cool, I will mill away the center portion of the flatbar, so that I am left with the two legs, soldered firmly (we hope) in place. I will probably then put the large diameter of the guide into the lathe chuck and take a very light cut to "true up" the ends of the legs.
CBFydw.jpg
 
At this stage, I will drill and ream the center hole to finished size in the lathe, then over to my chuck on my rotary table to machine the slot in.
lwSDNW.jpg
 
And now its back into the lathe and parted off to the correct length. The feet on the bottom of the legs will be silver soldered on as separate pieces.
IlMY79.jpg
 
I paid $43 this morning on the way to my temporary "office job" for a piece of 2" x 1/2" x 6" long brass flatbar and a piece of round brass 1 1/2" diameter x 6" long.:eek: 
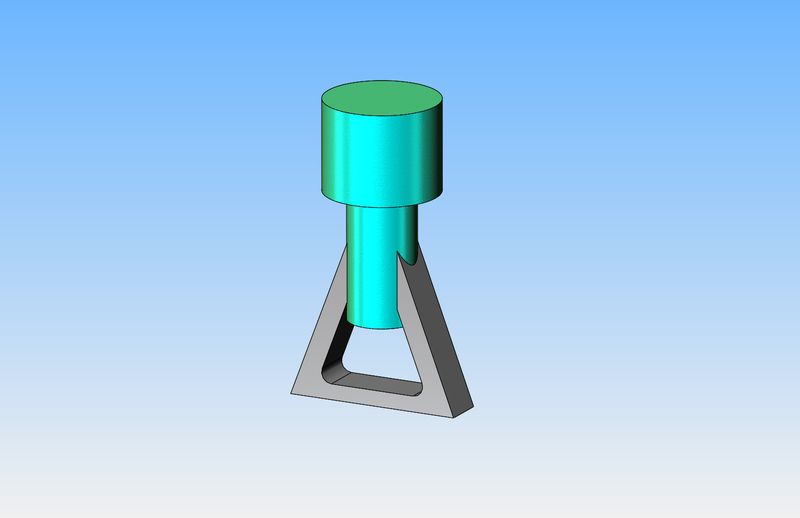
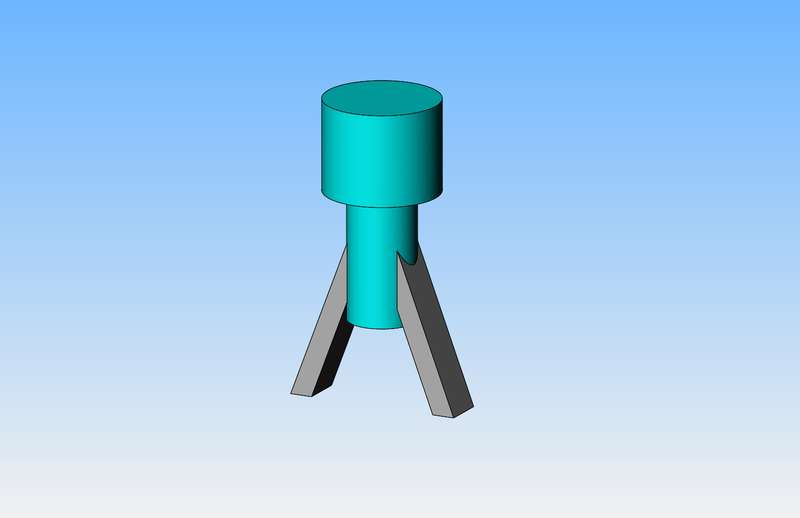
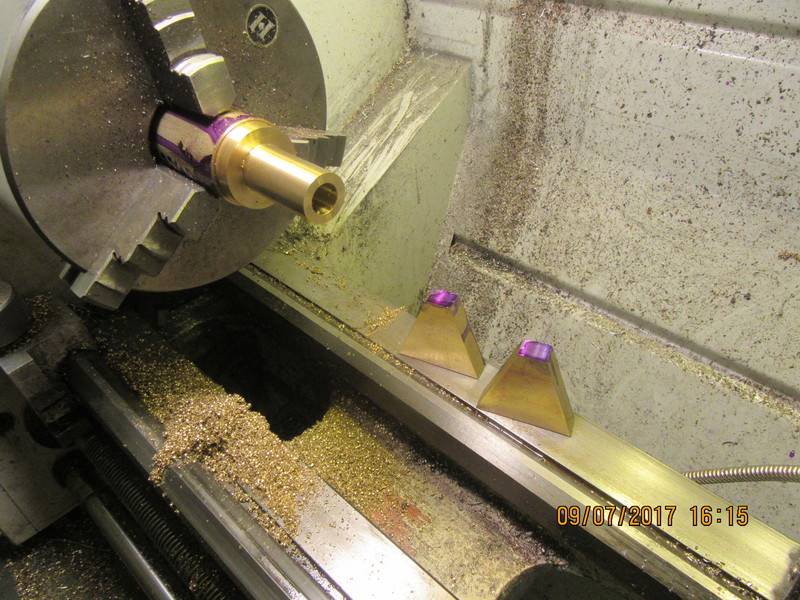
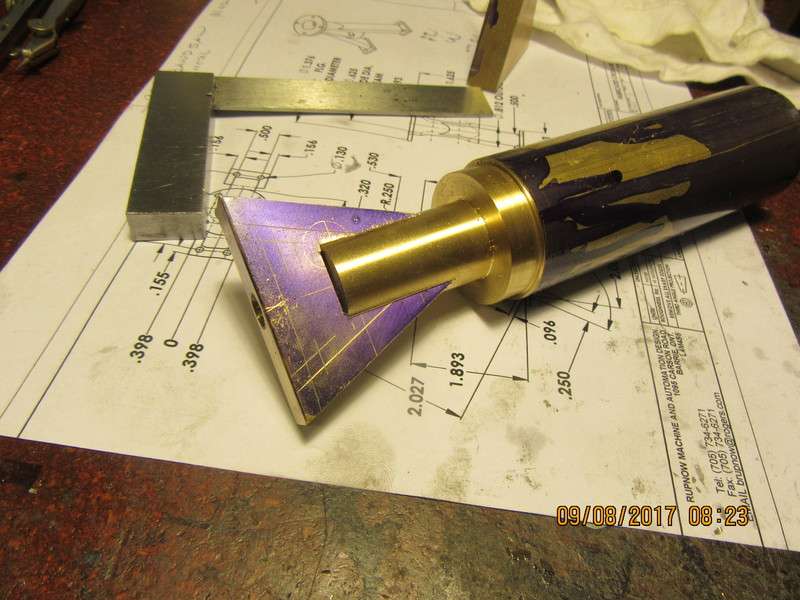
I ran out of design work at noon, so I came home and played in my shop this afternoon. I have the two pieces cut from flatbar to finished size (setting on the lathe way) and one end of the round bar turned to 1 3/8" diameter and 13/16" diameter on one end. The finished bore of the round bar will be 5/8". I decided to drill and ream to 1/2" diameter full length of the turned section while it was still in the lathe to give good concentricity, and to #1--take away some of the mass where I will be silver soldering and #2--to give me a "sized hole" to act as a good register for an improvised fixture which will hold the pieces together in the correct relationship while I solder them.
10pzyn.jpg
 
Okay---we are ready for silver soldering. The alignment rod is turned from a bit of scrap aluminum. My original thought was to make it from steel, but there is too much chance of soldering the alignment rod to everything else.
Tx2PUI.jpg
 
How do I get the guide rod out? Well, in a perfect world, I would have just pulled it out. In my world, today anyways, it refused to budge so I drilled it out. The bore in the round part was purposely left 1/8" undersize in case this happened. All in all, other than some very lumpy silver soldering, things went pretty good. I drilled out the guide rod, then drilled to 21/32" full depth, then reamed with a 5/8" reamer full length. Then I dressed the ends of the legs to make them equal---just a light .005" cut while spinning in the lathe. When I go to do the second one, I'll put a bigger tip on my acetylene torch to get a bit more heat into things.
GThVUc.jpg
 
So, here we are, with the first soldered assembly 99% finished. I still have to drill 4 holes in the top flange, and probably some counterbores in the end of the legs where they reach the foot plate so a #5 shcs can fit flush with the top side of the foot plate. I have to go over everything with a scotchbrite pad to take the filing/sanding marks out. Who can recomend a good pickling solution available in Ontario that I can soak this thing in to get rid of the black "pits" that are marginally below the surface, so can't really be sanded out.---Brian
78OWHd.jpg
 
I have used one part hydrogen peroxide with two parts white vinegar with success some time ago. Only takes a few minutes.
 
I have a jar of pickling solution on the shelf that is just citric acid and water in a strong mix. For the life of me I can't remember what I made it/used it for, but I carefully labelled it "Citric acid - for brass" so I assume it did the job I wanted it to...
 
I asked on all 3 forums I post in, for pickling formulas. I have been advised to use sulphuric acid, also muriatic acid, and also citric acid. Sulphuric and Muriatic acid scare me a bit, whereas citric acid seems safe enough to work with, but takes longer. Up I went to the Bulk food store and bought a bottle of citric acid powder for $5. I mixed six heaping teaspoons with a pint of hot water, and dropped in the part I made yesterday. It didn't explode nor create a bunch of fizzing bubbles (I was kind of disappointed actually). I will leave the part submerged for 24 hours and then let you know what the results were.
OSdjJ0.jpg
 
Oh my God--It really does work!!! The part has been soaking in my citric acid solution for an hour. I couldn't see any visual changes in the dark areas. (these dark areas were below the main surface of the parts, and could not be removed by sanding nor wire brushing.) I reached down into the container with my scribing tool and scratched a little at one of the dark areas, and was immediately rewarded with the sight of clean brass. This encouraged me to remove the part from the citric acid bath and scrub it under running water with a little brass bristled brush I have that looks almost exactly like a toothbrush. All of the black areas are gone completely. I am totally impressed!!!
9lBkUb.jpg
 

Latest posts

Back
Top