Hi Chuck,
I've been following your fuel mixer adventures. Interesting and it sure runs well on your pipe fitting engine.
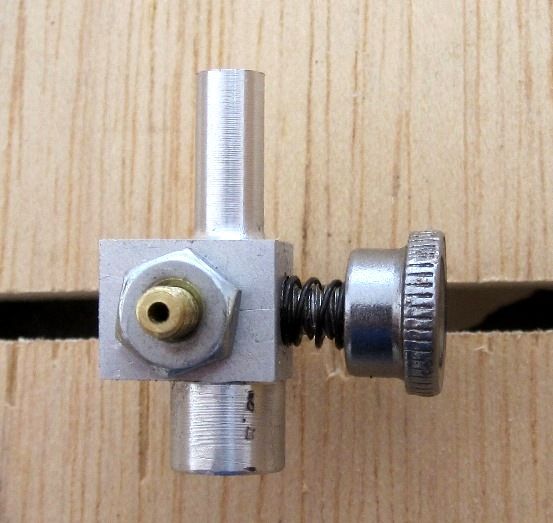
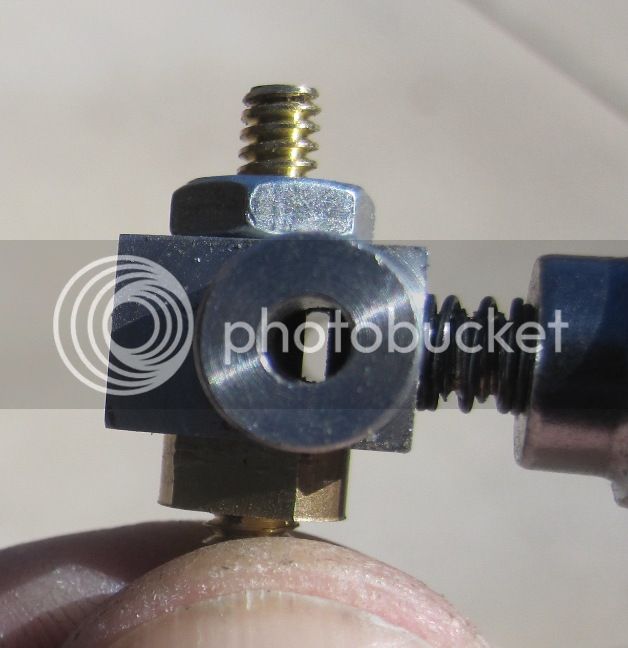
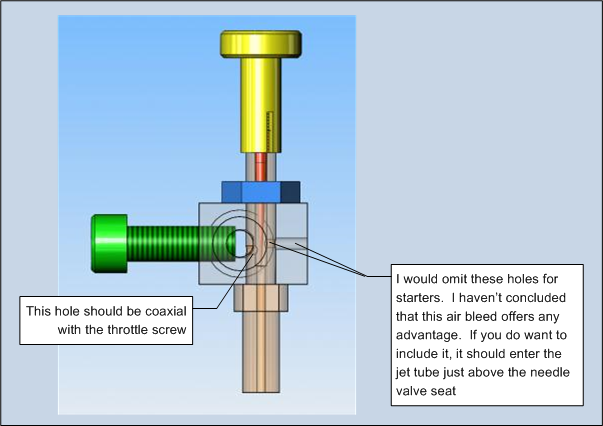
Just to make sure I understand, the only path for the bleed air is directly into the fuel inlet/needle valve tube where it mixes with the fuel?
Also, when you are running with the main air control pretty well open, does blocking the bleed hole cause any change in engine operation?
Regards,
Chuck


")