- Joined
- Aug 25, 2007
- Messages
- 3,890
- Reaction score
- 715
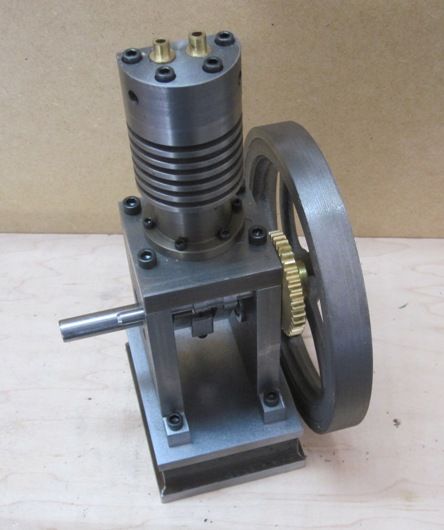
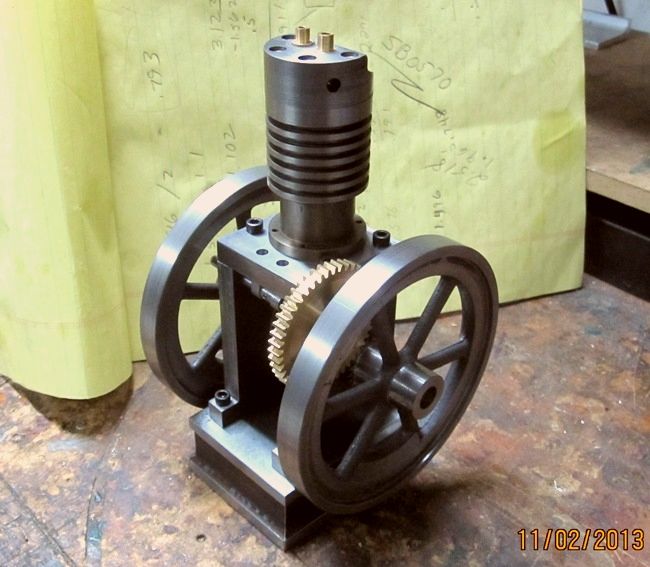
great work Chuck
how do you manage to put text in between pictures on the same posting
thanks
Luc
Thanks, Luc. To put text between pictures, I position the cursor at the end of the image line and hit the enter key which inserts a line after the image.
Chuck