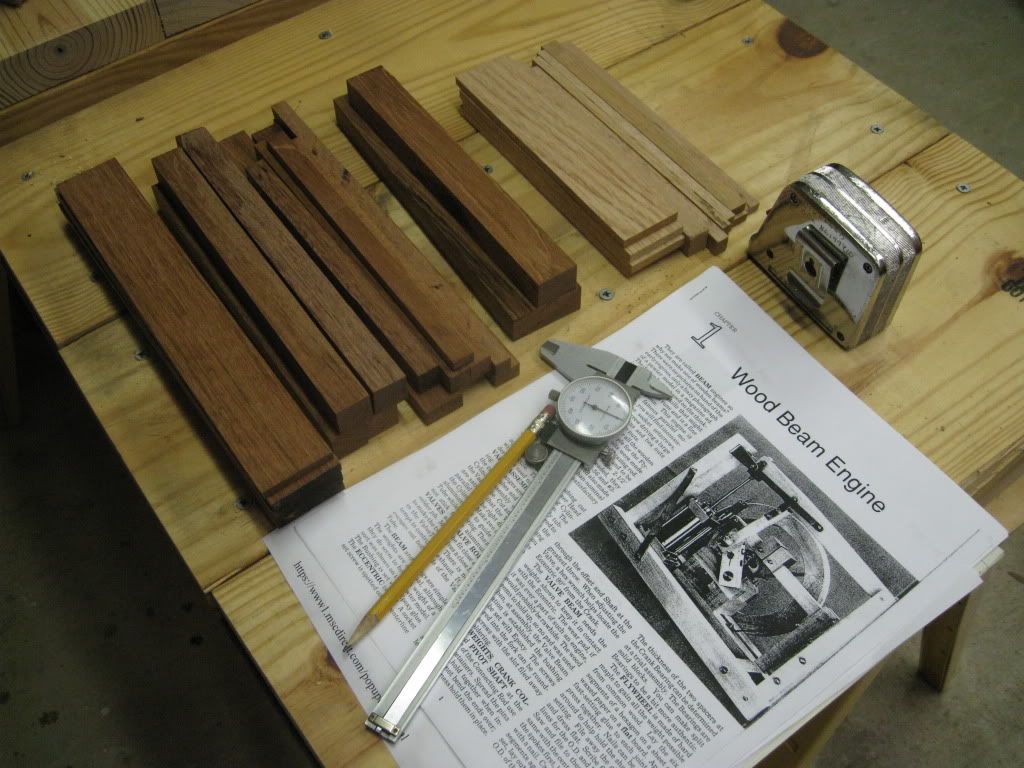
I finally decided that Elmer's #1 Wood Beam Engine would be my next project.
I'm using some unknown species of dark hardwood which my FIL picked up from the scrap pile of a floor installation and some white oak left over from the stair case in his house.
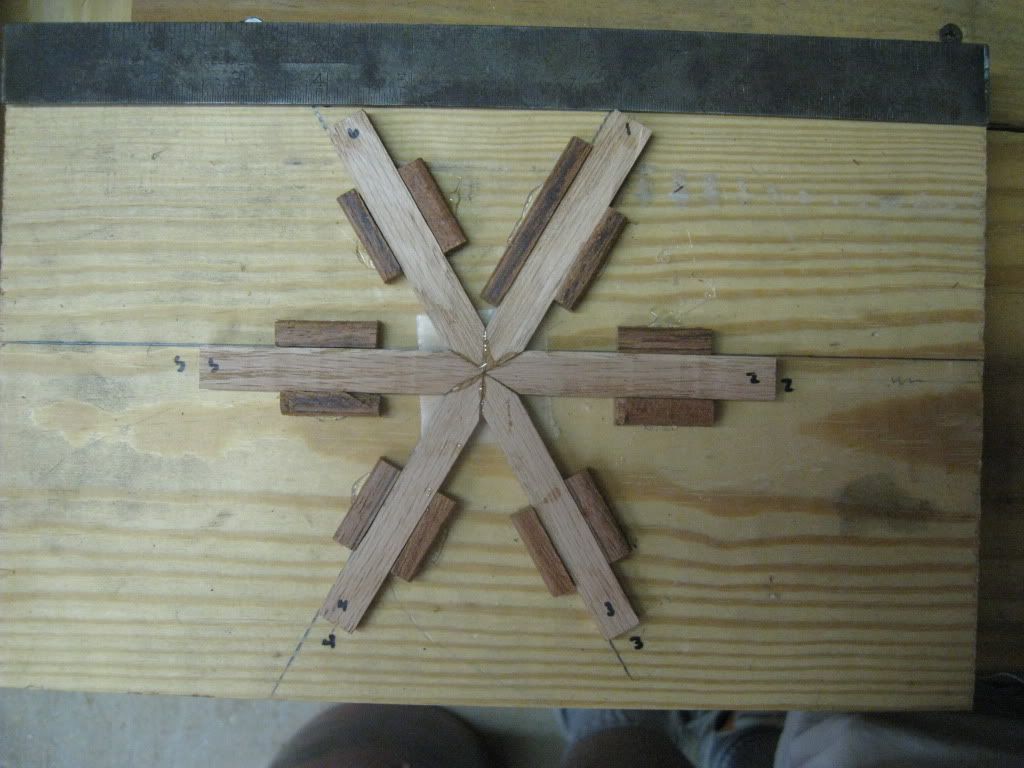
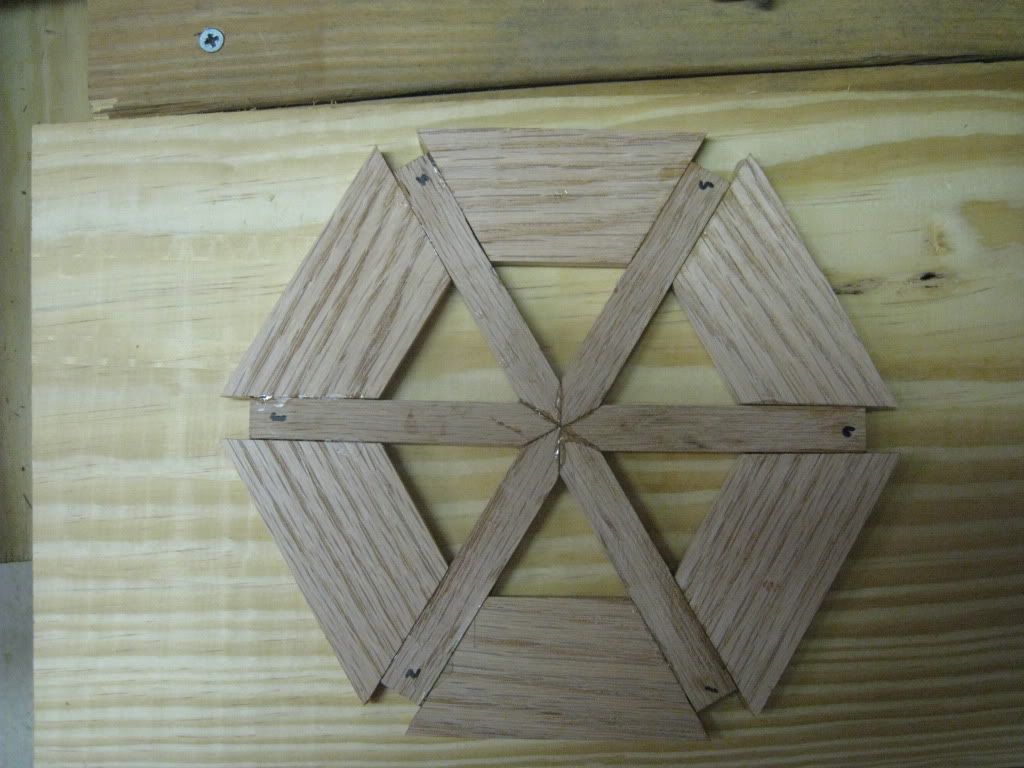
I went through the drawings and made my material and cutting list. There sure are a lot of small pieces of wood used in this engine.
I consider myself to be well versed (as a hobbyist) in the use of table saw (except when cutting very small pieces of wood) and other woodworking tools and have the scars to prove it. Yesterday, I added a new scar which will take a couple of weeks to complete. I split my thumb open on the table saw. :wall: A visit to the local Emergency room, some stitches and I'm good to go.
What do you think of my new surface plate that I built yesterday? ;D
I still need to cut the wood to length and do all of the joinery. Many hours will be required to complete the woodwork.
After getting blood all over the place I figured out a safer way to cut these small pieces.
First I run the piece through the saw standing on edge, like you would when cutting a tenion. :idea:
[Photo removed to protect the innocent.]
Then I run the piece through on its side.
[Photo removed to protect the innocent.]
Much safer.
Why is it that your brain starts working better after a loss of blood. ???
More to follow.
SAM
Warning, using tools can be dangerous. My way of doing things may not be the way you should do it. Remember that you are responsible for your own safety.
I'm using some unknown species of dark hardwood which my FIL picked up from the scrap pile of a floor installation and some white oak left over from the stair case in his house.
I went through the drawings and made my material and cutting list. There sure are a lot of small pieces of wood used in this engine.
I consider myself to be well versed (as a hobbyist) in the use of table saw (except when cutting very small pieces of wood) and other woodworking tools and have the scars to prove it. Yesterday, I added a new scar which will take a couple of weeks to complete. I split my thumb open on the table saw. :wall: A visit to the local Emergency room, some stitches and I'm good to go.
What do you think of my new surface plate that I built yesterday? ;D
I still need to cut the wood to length and do all of the joinery. Many hours will be required to complete the woodwork.
After getting blood all over the place I figured out a safer way to cut these small pieces.
First I run the piece through the saw standing on edge, like you would when cutting a tenion. :idea:
[Photo removed to protect the innocent.]
Then I run the piece through on its side.
[Photo removed to protect the innocent.]
Much safer.
Why is it that your brain starts working better after a loss of blood. ???
More to follow.
SAM
Warning, using tools can be dangerous. My way of doing things may not be the way you should do it. Remember that you are responsible for your own safety.
") Interesting engine, our ancestors sure knew how to combine wood and metal.
Interesting engine, our ancestors sure knew how to combine wood and metal.