


Moving along since my last post, I have swapped the 4 jaw chuck out for my 3 jaw.
I cut the eccentric and crank arm off of the bar stock.
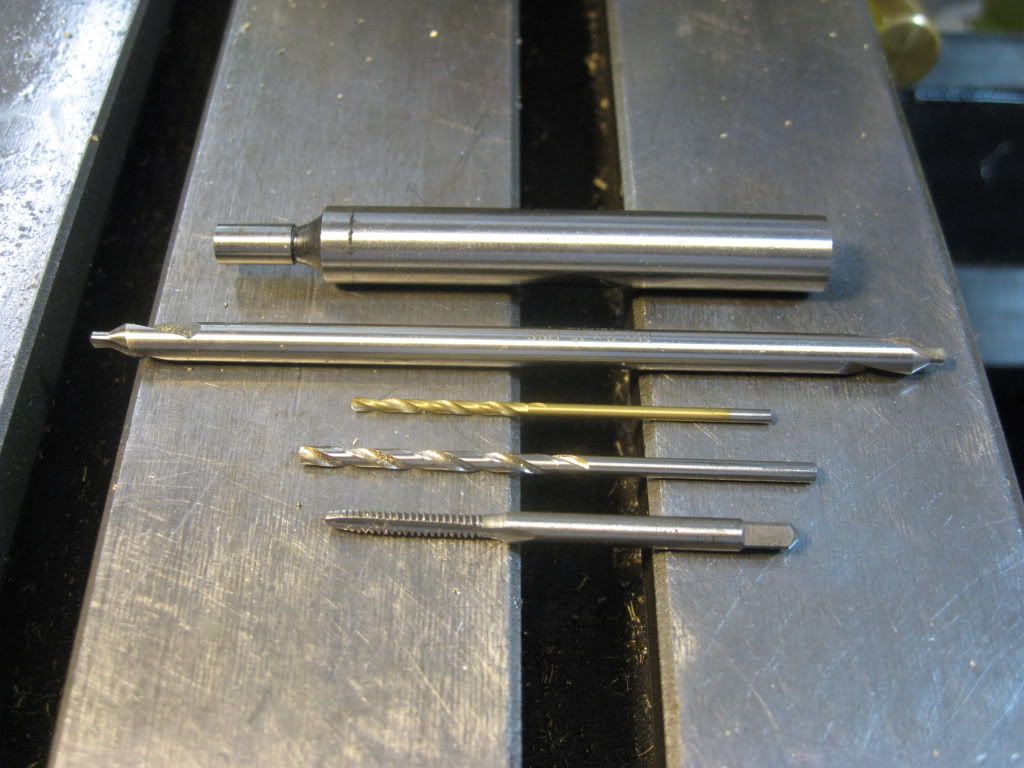
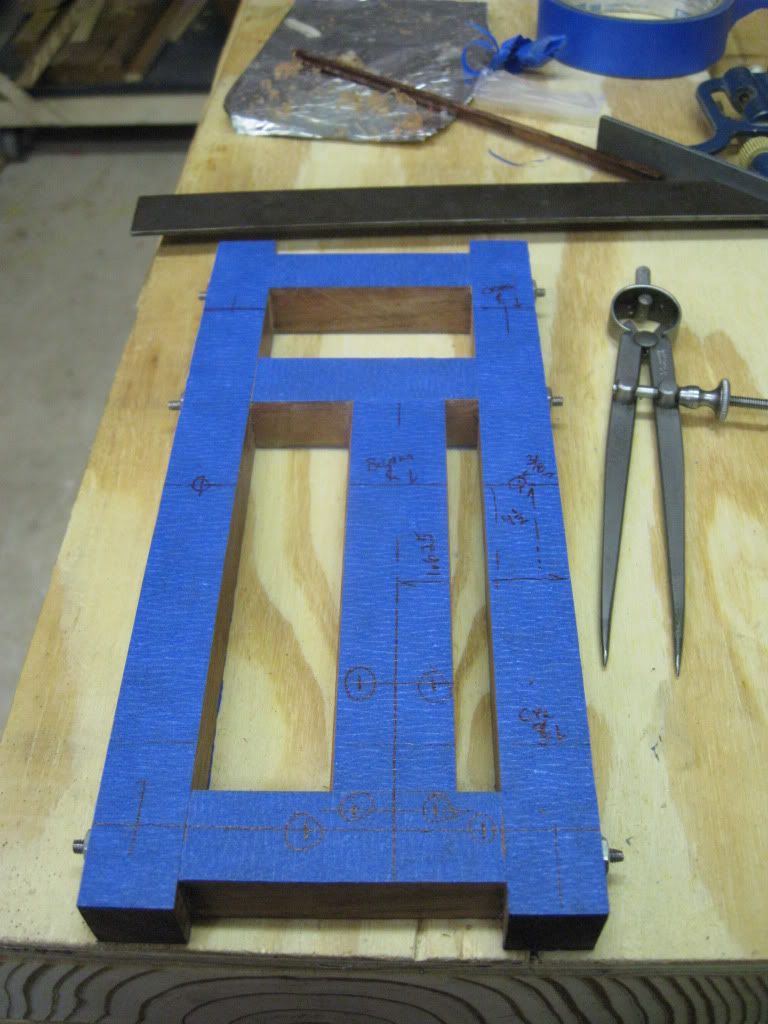
These are the tools that I will need for this operation. Getting all the tools out first helps me to make sure that I have planned the entire work process required.
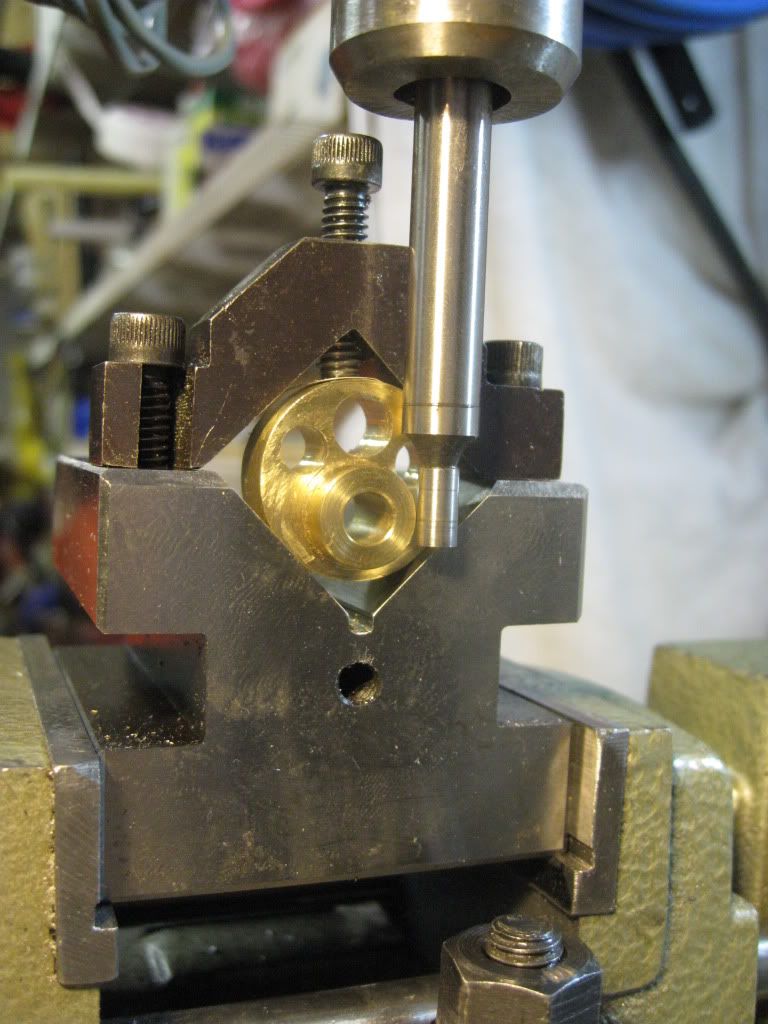
I used my edge finder to determine the proper location for the setscrew on the eccentric.
I'm sure glad I purchased an extra long center drill.
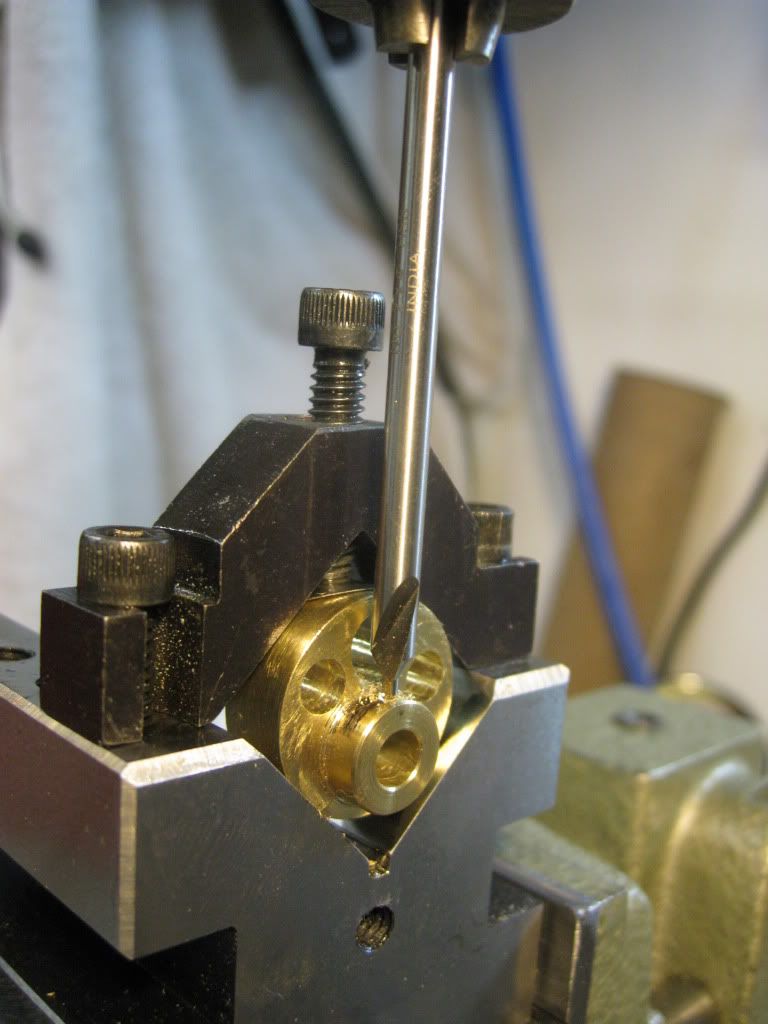
I drilled a #43 hole so I could tap the hole 4-40.
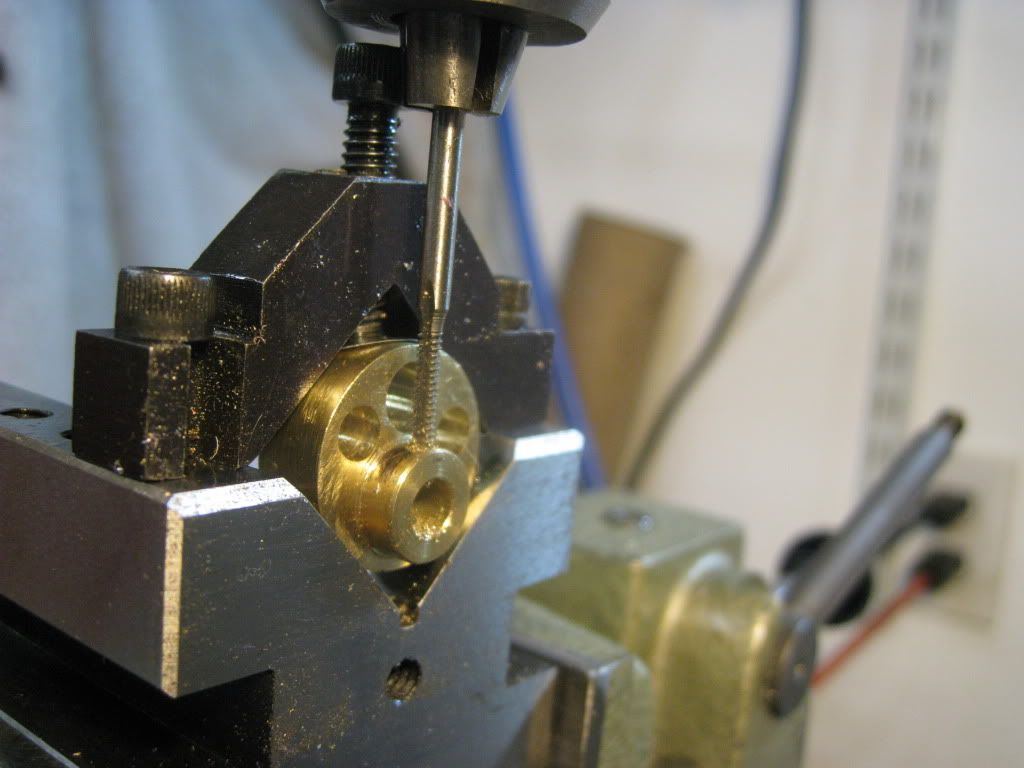
Holding the tap in the drill chuck, then rotating it by hand sure makes it easy to tap a small hole.
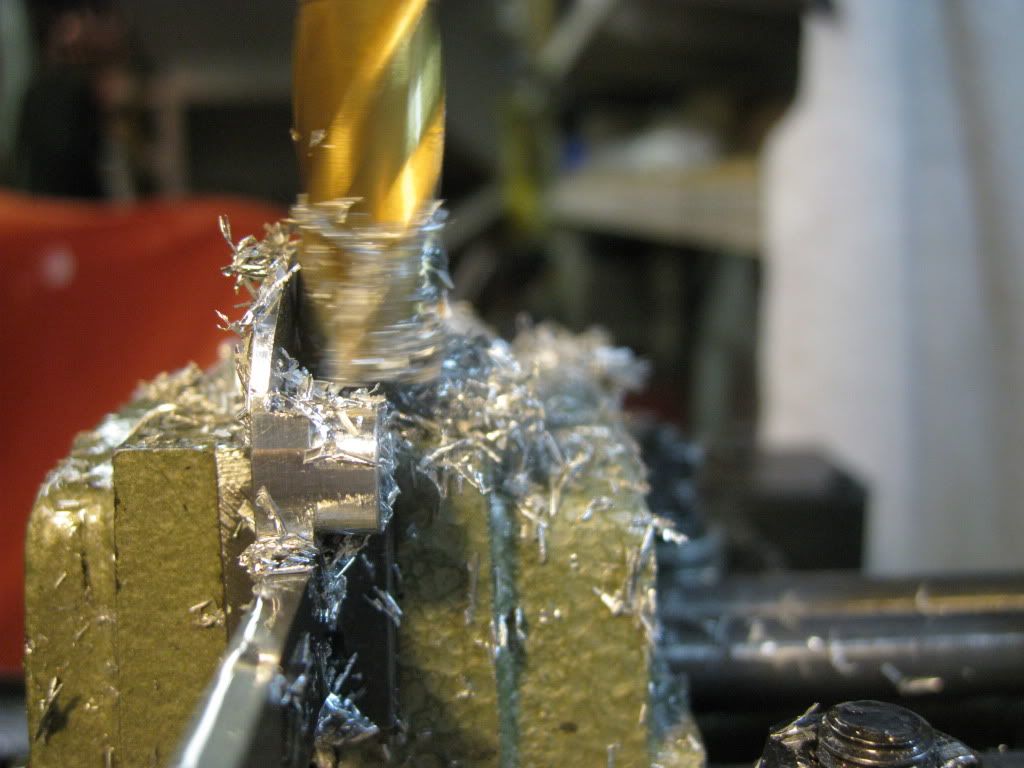
Next up is milling the excess material off of the sides on the crank arm.
Using some drill rod, or as my brothers on the eastern side of the Atlantic say, silver steel, I turned some file buttons. The buttons for the large end are 0.400" OD and 0.250 ID and on the small end 0.286 OD and 0.125 ID. I heated the buttons to cherry red then quenched in water to harden them. By clamping the crank between the buttons in my bench vice, I was able to file the radius and taper between each end..
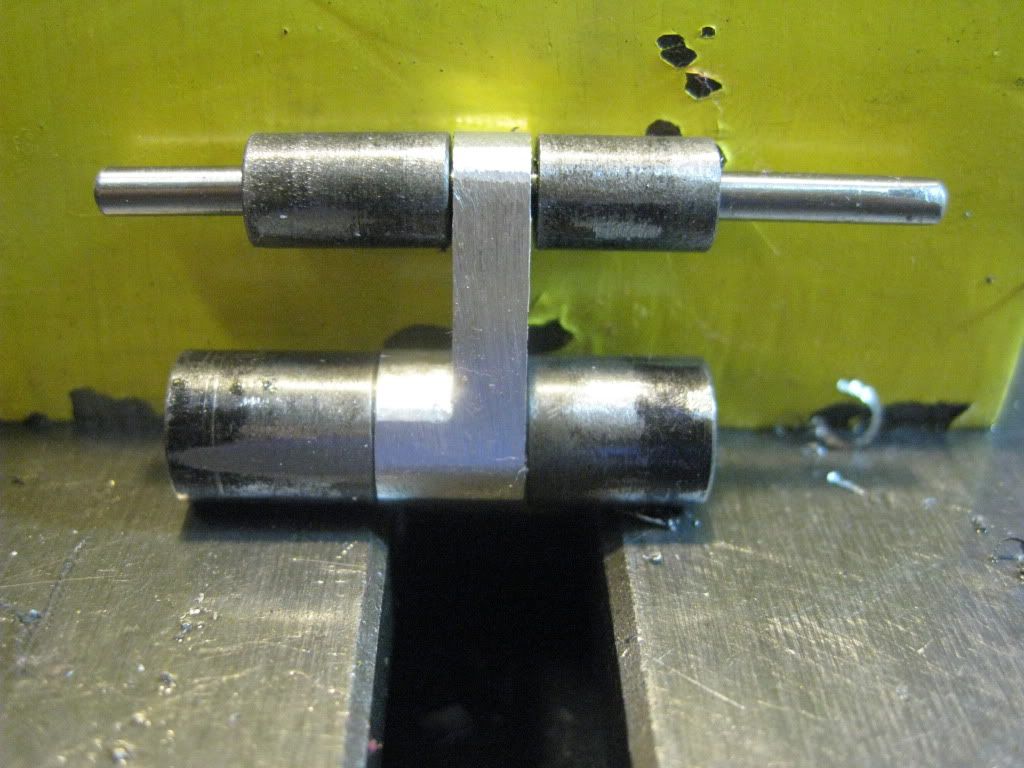
This photo shows the buttons mounted on short pieces of drill rod on the crank arm.
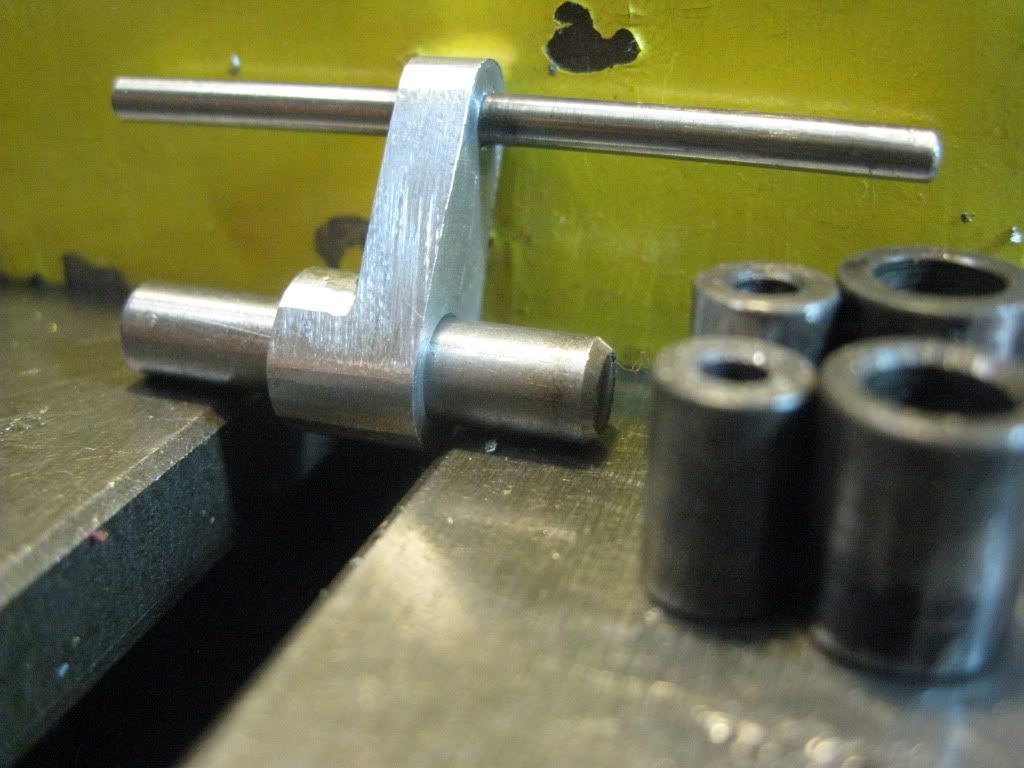
This photo shows the file buttons and the crank arm with the short pieces of drill rod going through it.
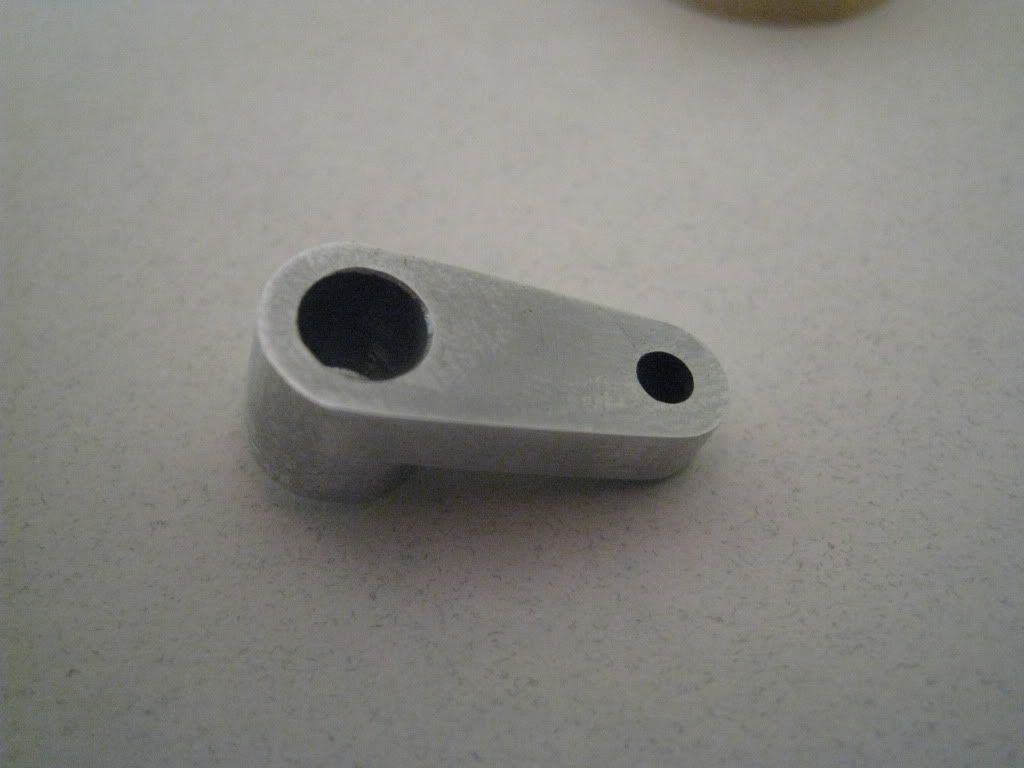
This is the finished crank arm.
And this is the finished eccentric.

Once the engine is up and running, I'll decide on what level of polishing, or perhaps coloring, will be used on each component.
Thanks for stopping by.
SAM
I changed the description from "crank" to "crank arm".
I cut the eccentric and crank arm off of the bar stock.
These are the tools that I will need for this operation. Getting all the tools out first helps me to make sure that I have planned the entire work process required.
I used my edge finder to determine the proper location for the setscrew on the eccentric.
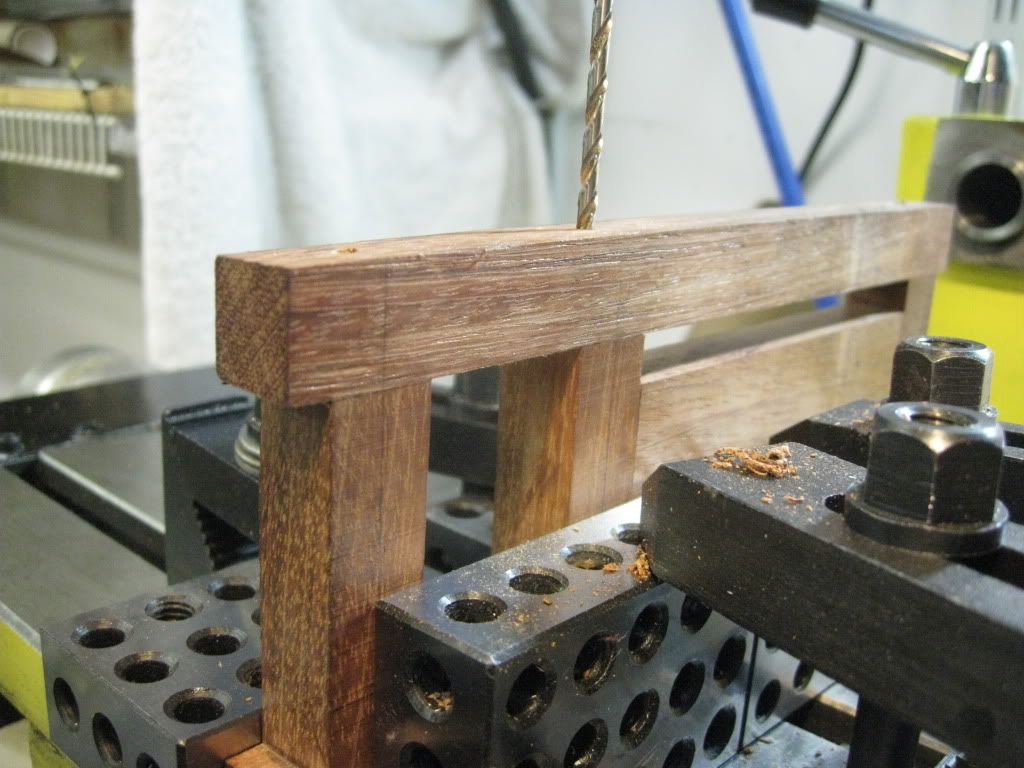
I'm sure glad I purchased an extra long center drill.
I drilled a #43 hole so I could tap the hole 4-40.
Holding the tap in the drill chuck, then rotating it by hand sure makes it easy to tap a small hole.
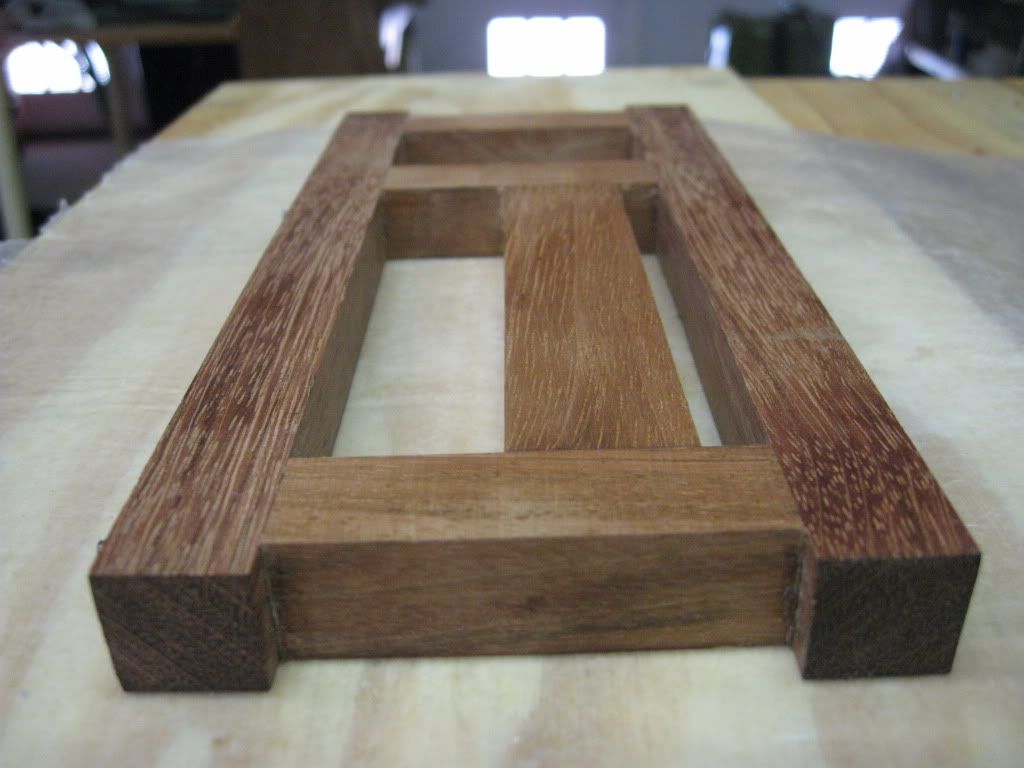
Next up is milling the excess material off of the sides on the crank arm.
Using some drill rod, or as my brothers on the eastern side of the Atlantic say, silver steel, I turned some file buttons. The buttons for the large end are 0.400" OD and 0.250 ID and on the small end 0.286 OD and 0.125 ID. I heated the buttons to cherry red then quenched in water to harden them. By clamping the crank between the buttons in my bench vice, I was able to file the radius and taper between each end..
This photo shows the buttons mounted on short pieces of drill rod on the crank arm.
This photo shows the file buttons and the crank arm with the short pieces of drill rod going through it.
This is the finished crank arm.
And this is the finished eccentric.
Once the engine is up and running, I'll decide on what level of polishing, or perhaps coloring, will be used on each component.
Thanks for stopping by.
SAM
I changed the description from "crank" to "crank arm".


")