Wood Beam Engine fabricated by SAM

Home Model Engine Machinist Forum

Help Support Home Model Engine Machinist Forum:

This site may earn a commission from merchant affiliate links, including eBay, Amazon, and others.
That wheel came out a beauty, Sam.
Too bad you had to get brown stuff on your lathe, but it was worth it!

Dean
 
I just wish I had the knowledge and skills to make stuff like that, but it has always eluded me.

That is a very nice flywheel indeed, and I suppose when it is completely finished, it will look stunning. I can't wait to see what the rest will turn out like.


Bogs
 
Great looking flywheel Sam this will be a very nice engine.

Sorry about your loss of blood hope its healing up well:- Table saws scare the c**p out of me.

Have fun

Stew
 
bearcar1 said:
Square headed bolts and square nuts would be in order for fasteners. Square pegs doweling the pieces together wold also be of that time period. As for any 'weathering' or 'aging', have a look at Micro Mark, they carry a range of solutions widely used by model railroaders for achieving that look to their rolling stock. Parkerizing of the metal pieces would go a long way as well.

BC1
Jim

Jim, I like the idea of using square nuts and weathering the wood and metal. I will explore those options after it runs. (If it runs)

SAM
 
Foozer said:
Looking good so far.

No blood spilt is always a plus

Robert

Robert, Thanks. The blood stains on the floor are a reminder to me to make sure I am being safe while working. th_rulze

SAM
 
sbwhart said:
Great looking flywheel Sam this will be a very nice engine.

Sorry about your loss of blood hope its healing up well:- Table saws scare the c**p out of me.

Have fun

Stew

Stew,

Thanks. My thumb should heal up just fine. Powered wood tools deserve respect, just as machine tools should. Usually with wood tools you are either moving the wood by hand or moving the flaying meat chopper by hand. With machine tools, the work is secured in a vice or chuck and you move the tools with levers and hand wheels. (there are exceptions)
 
Bogstandard said:
I just wish I had the knowledge and skills to make stuff like that, but it has always eluded me.

That is a very nice flywheel indeed, and I suppose when it is completely finished, it will look stunning. I can't wait to see what the rest will turn out like.


Bogs

Bogs,

Thanks. I wish that I had the skill and knowledge to make the things that you have.

SAM
 
kcmillin said:
Ouch, a table saw. Jeeeeeez. your lucky you still have a finger. You do still have a finger, Right?

This looks like a neat engine, nice change from metal, eh.

Kel


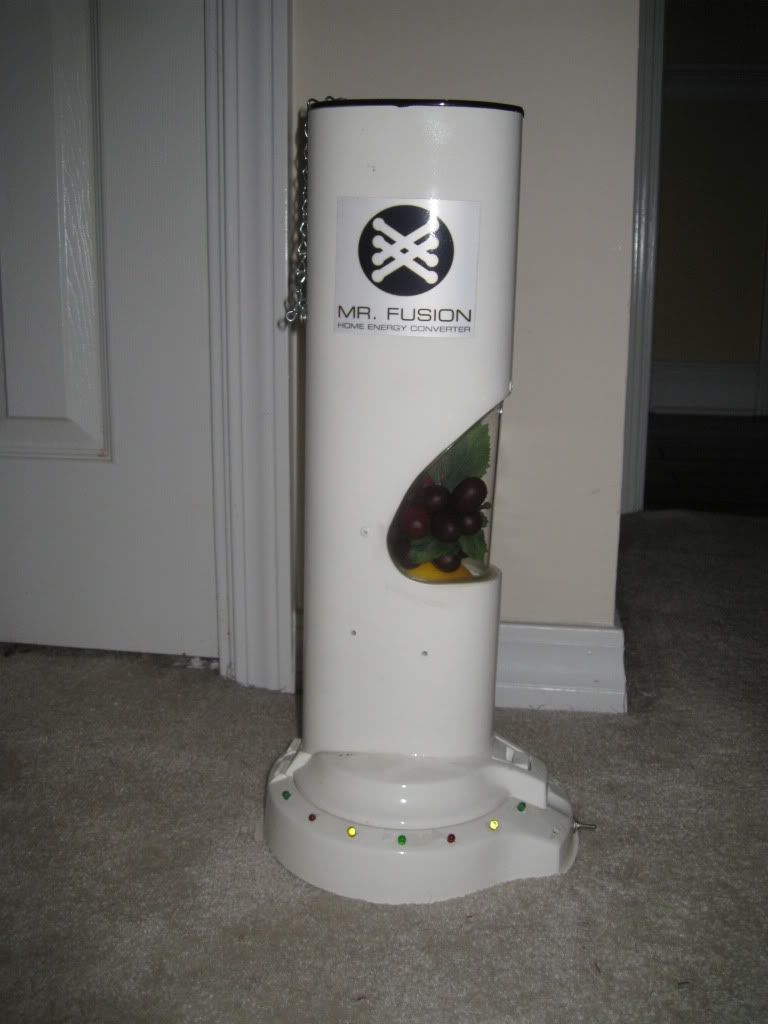
PS. In your Avatar, Is that Doc Brown Showing Marty McFly how to work the flux capacitor. ;D :big: ;D :big:

Kel,

My Flux Capacitor isn't working right now.

My Mr. Fusion still works.

MrFusion004.jpg


MrFusion001.jpg


SAM
 
Thats Awesome. Way too Cool!!!

Gotta get that car goin!

Kel
 
Today I only managed to drill and tap 6 holes through the hub, flywheel and flange.

I set up my rotary table. Earlier, I had made up a stub that fits in the center hole of the rotary table. By grabbing the stub in the drill chuck or a collet, I can easily center the rotary table to the mill centerline.

WoodProject006.jpg


WoodProject003.jpg


I then used a spot of superglue to hold the flange and hub together and clamped both to the table. I offset the table 0.406" and drilled my #33 holes for the 4-40 threads.

WoodProject008.jpg


WoodProject010.jpg


WoodProject011.jpg


Here is the finished product.

WoodProject018.jpg


I will replace the screws with studs and square nuts or rivets after it is running.

Thanks for looking in.

SAM
 
Very Nice Sam. Congratulations on getting those pesky step clamps on such a small area.

What did you use to center the hub on the rotary table? With those step clamps it would seem a dial indicator would not work.

Kel
 
kcmillin said:
Very Nice Sam. Congratulations on getting those pesky step clamps on such a small area.

What did you use to center the hub on the rotary table? With those step clamps it would seem a dial indicator would not work.

Kel

Kel,

The boss on the hub was very close in diameter to the hole in the rotary table. I wrapped a .005" shim around it so it was a snug fit.

SAM
 
Today I didn't make much progress.

Using my 4 jaw chuck, I turned two pieces that have offset bosses on them.

Both pieces will be chucked in my 3 jaw and cut off to length.

The brass piece will be eccentric to operate the valve.

WoodProject006-1.jpg


The hole was drilled 15/64" and reamed to 1/4".

The Aluminium piece will be part of the crank shaft.

Ready to be cutoff in my 3 jaw.

WoodProject017.jpg


Thanks for looking in.

SAM

 
Good progress, Sam, even if it seems like less to you. We just get to see the end results and it looks like it's coming along at a good pace.
The brass hub on the wooden wheel sure looks nice.

Dean
 
Good going Sam Thm: - I hope your injury's feeling a bit better.

Your build might just yet convince me to have a go at the "brown stuff" for modeling ;D - While I can and do work with wood when needed, building kitchen cupboards and such are nowhere near model engineering on the "fun" scale.

Kind regards, Arnold
 
Back
Top