Upshur's opposed twin engine

Home Model Engine Machinist Forum

Help Support Home Model Engine Machinist Forum:

This site may earn a commission from merchant affiliate links, including eBay, Amazon, and others.
I quite agree.
I looked at some of Brian's projects and it seemed like the tolerances were too tight in the parts that needed to move, it was really a problem with small sized parts.
As I said before, Brian, you need to standardize how you build engines, compression standards, tolerances.... That will help a lot
Both projects are the same if you cannot find and solve the exact problem.
Be careful saying too much about Brain’s methods! You might get a “bite me” from him!!
However, I agree 100% with your assessment.
 
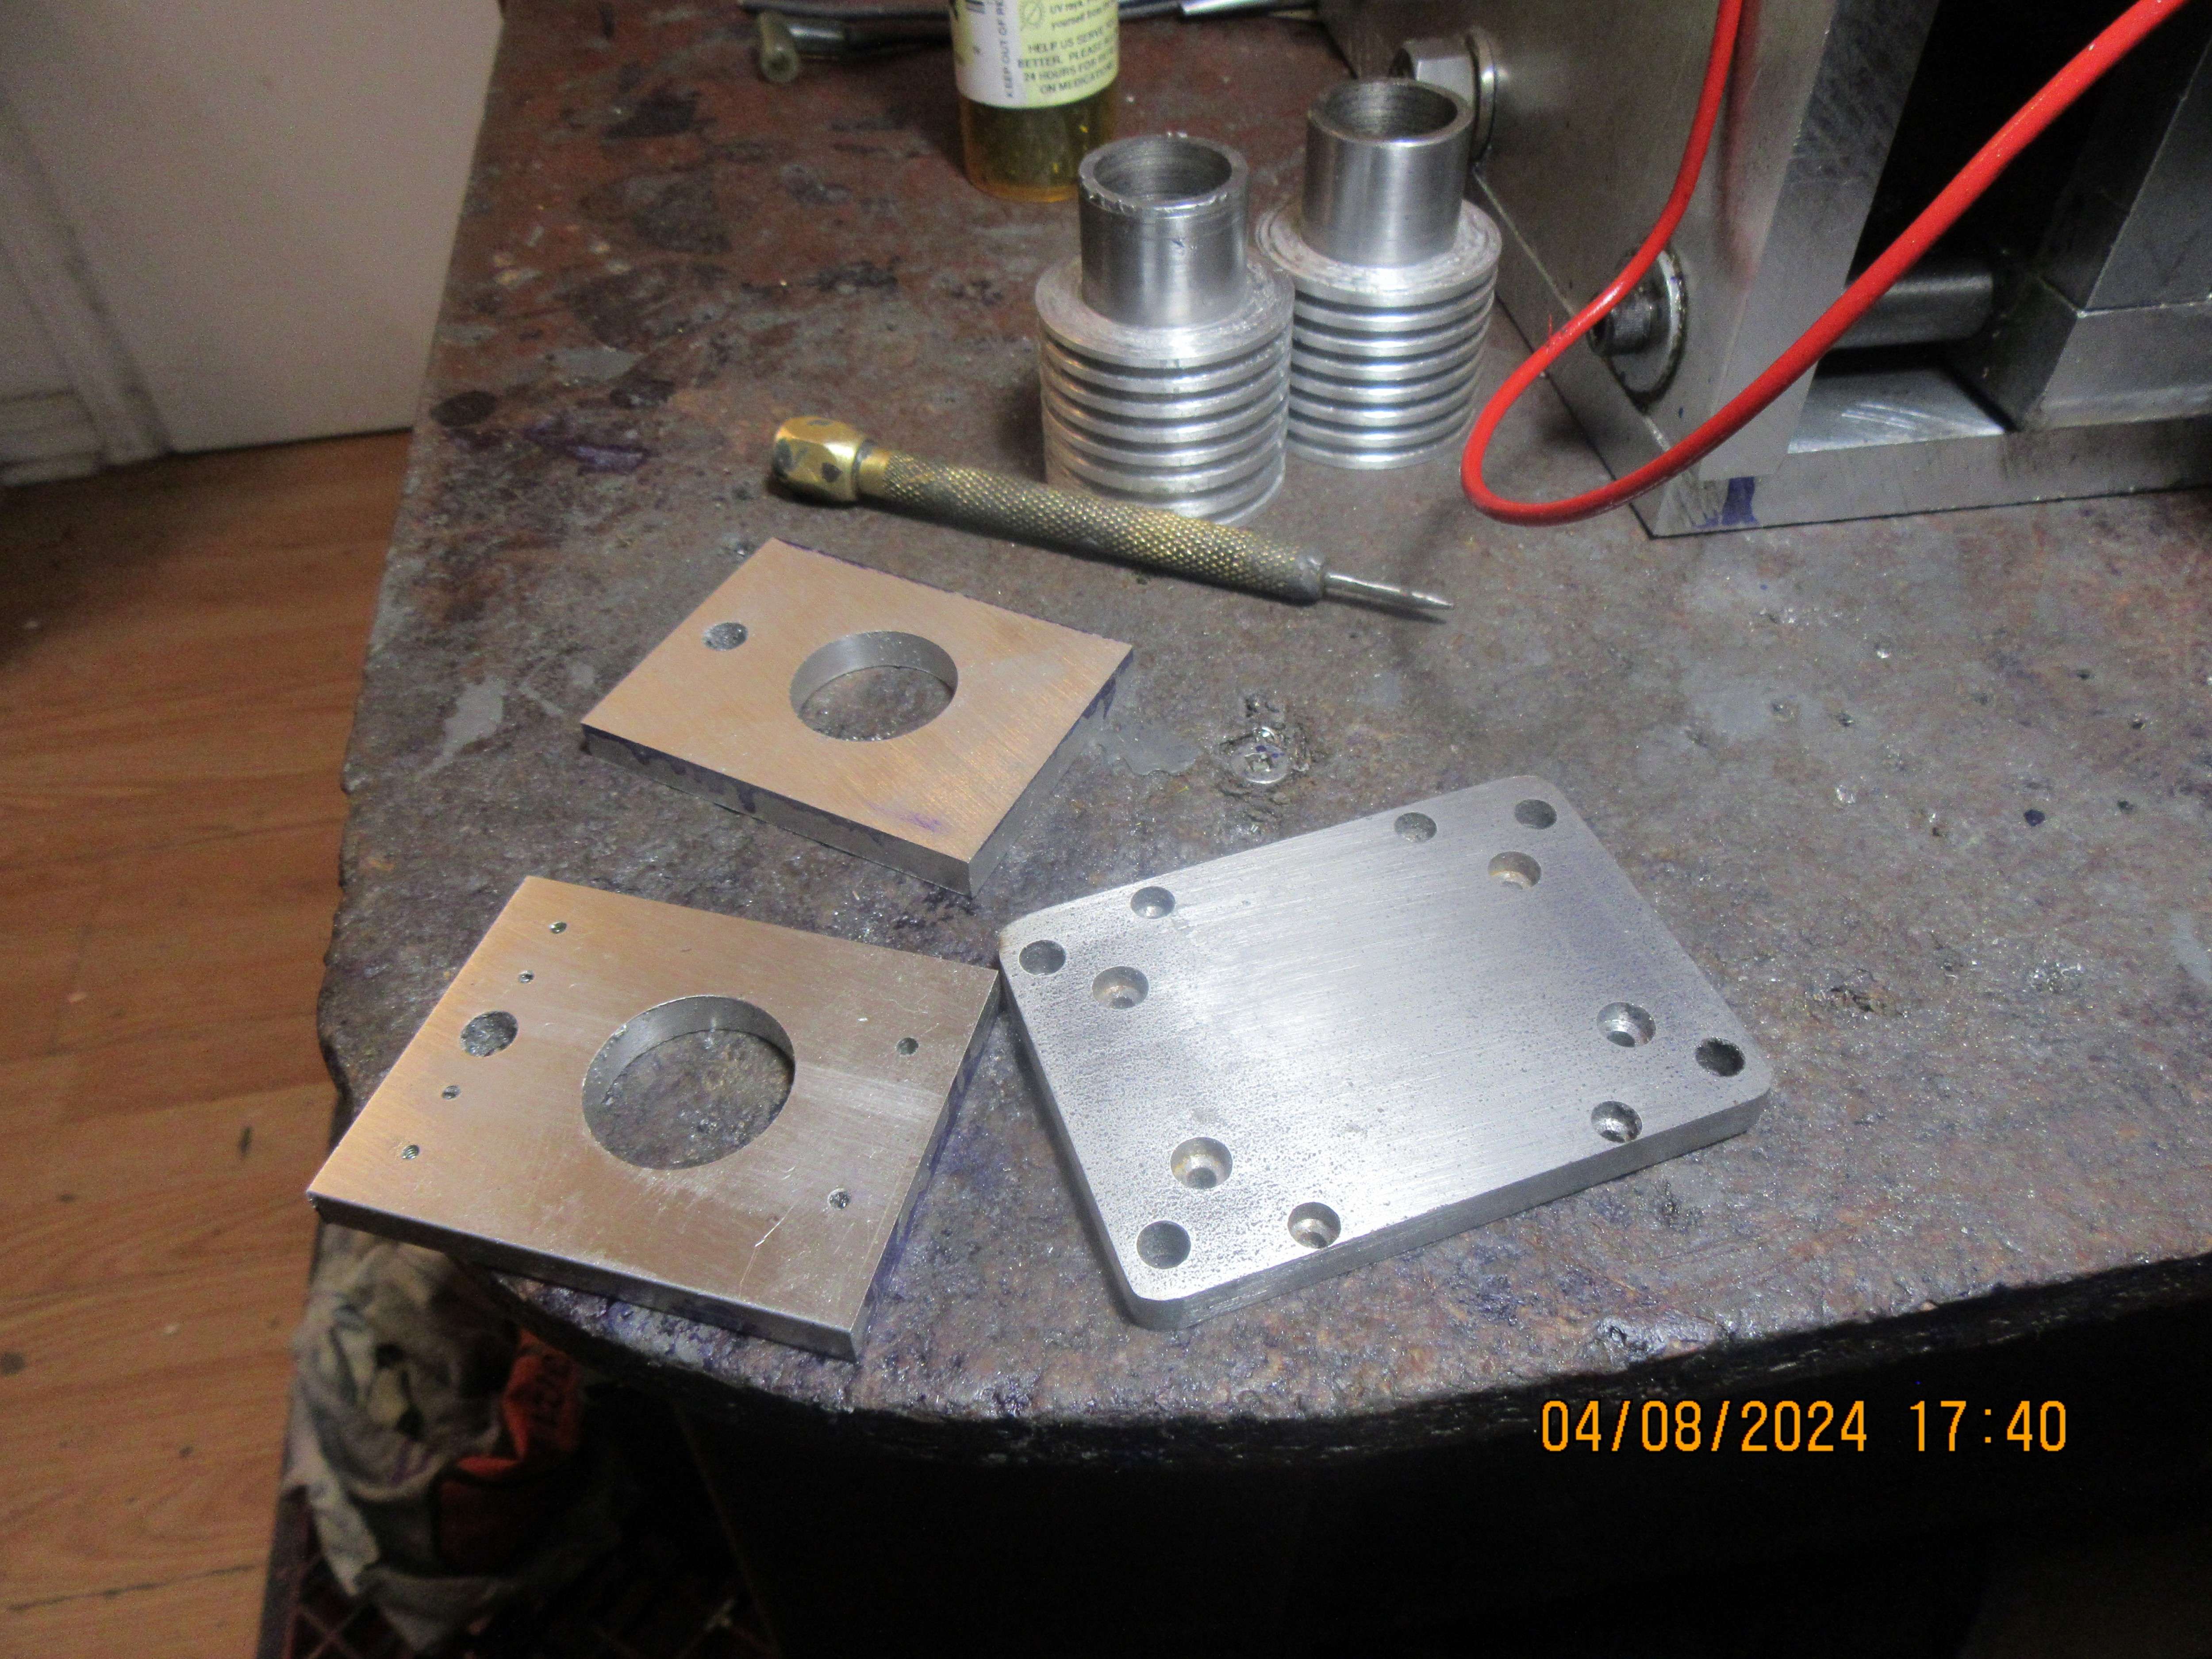
Worked hard all day and didn't get much done!!---Some days are like that. I went across town today and bought some material---If you need any 5/16" drill rod, don't come to Canada to buy it. 36$ for a three foot length of it. I completely finished the baseplate, and half finished the front and rear plates today. I had enough 1/4" steel plate to make the front and rear plates from, but considering the price of #4-40 taps versus the cost of a bit of aluminum flatbar, I decided that it would be smarter to buy the aluminum. Tomorrow I'm off to a steam show with a friend of mine.
H5M4s5.jpg
 
A drill blank will be HSS, Drill rod, silver steel is ground carbon steel

In Europe it will be DIN 1.2210 or 115CrV3

UK £13GBP for 39" of 5/16" or £12GBP for 1m of 8mm
 
Just got back from the steam museum at Puslinch, Ontario. A friend who I had done some machining for took me down for a tour. Many amazing large machines from a different era, very impressive to see. It was nice to get away from home for a day and do something different.
 
Does anybody know where to buy 1/4"-32 sparkplugs in Ontario, Canada? I like the Rimfire VR2 series sparkplug and I'd like to buy a pair of sparkplug boots as well.---Brian
 
Oldengineguy--I can't really tell you. I know it is south of Milton about 30 miles. I wasn't driving, but we went in a long gravel driveway thru a big stand of cedar trees to get to it. Try googling "Ontario Steam Heritage Museum".---Brian
 
Worked hard all day and didn't get much done!!---Some days are like that. I went across town today and bought some material---If you need any 5/16" drill rod, don't come to Canada to buy it. 36$ for a three foot length of it. I completely finished the baseplate, and half finished the front and rear plates today. I had enough 1/4" steel plate to make the front and rear plates from, but considering the price of #4-40 taps versus the cost of a bit of aluminum flatbar, I decided that it would be smarter to buy the aluminum. Tomorrow I'm off to a steam show with a friend of mine.
H5M4s5.jpg

on the top plates where the cylinder solders to, on mine i used some bronze bushings like what might be used in an excavator or back hoe boom. someone gave me a plastic jug full of them. i sawed them long ways and then heated / pried them out and once i got them started opening up enough i was able to put them in my press and press them into flat plate. heating them up several times. came out flat as a pancake and solder adheared to them really well. i used the safety solder not silver solder like my plans called for.
 
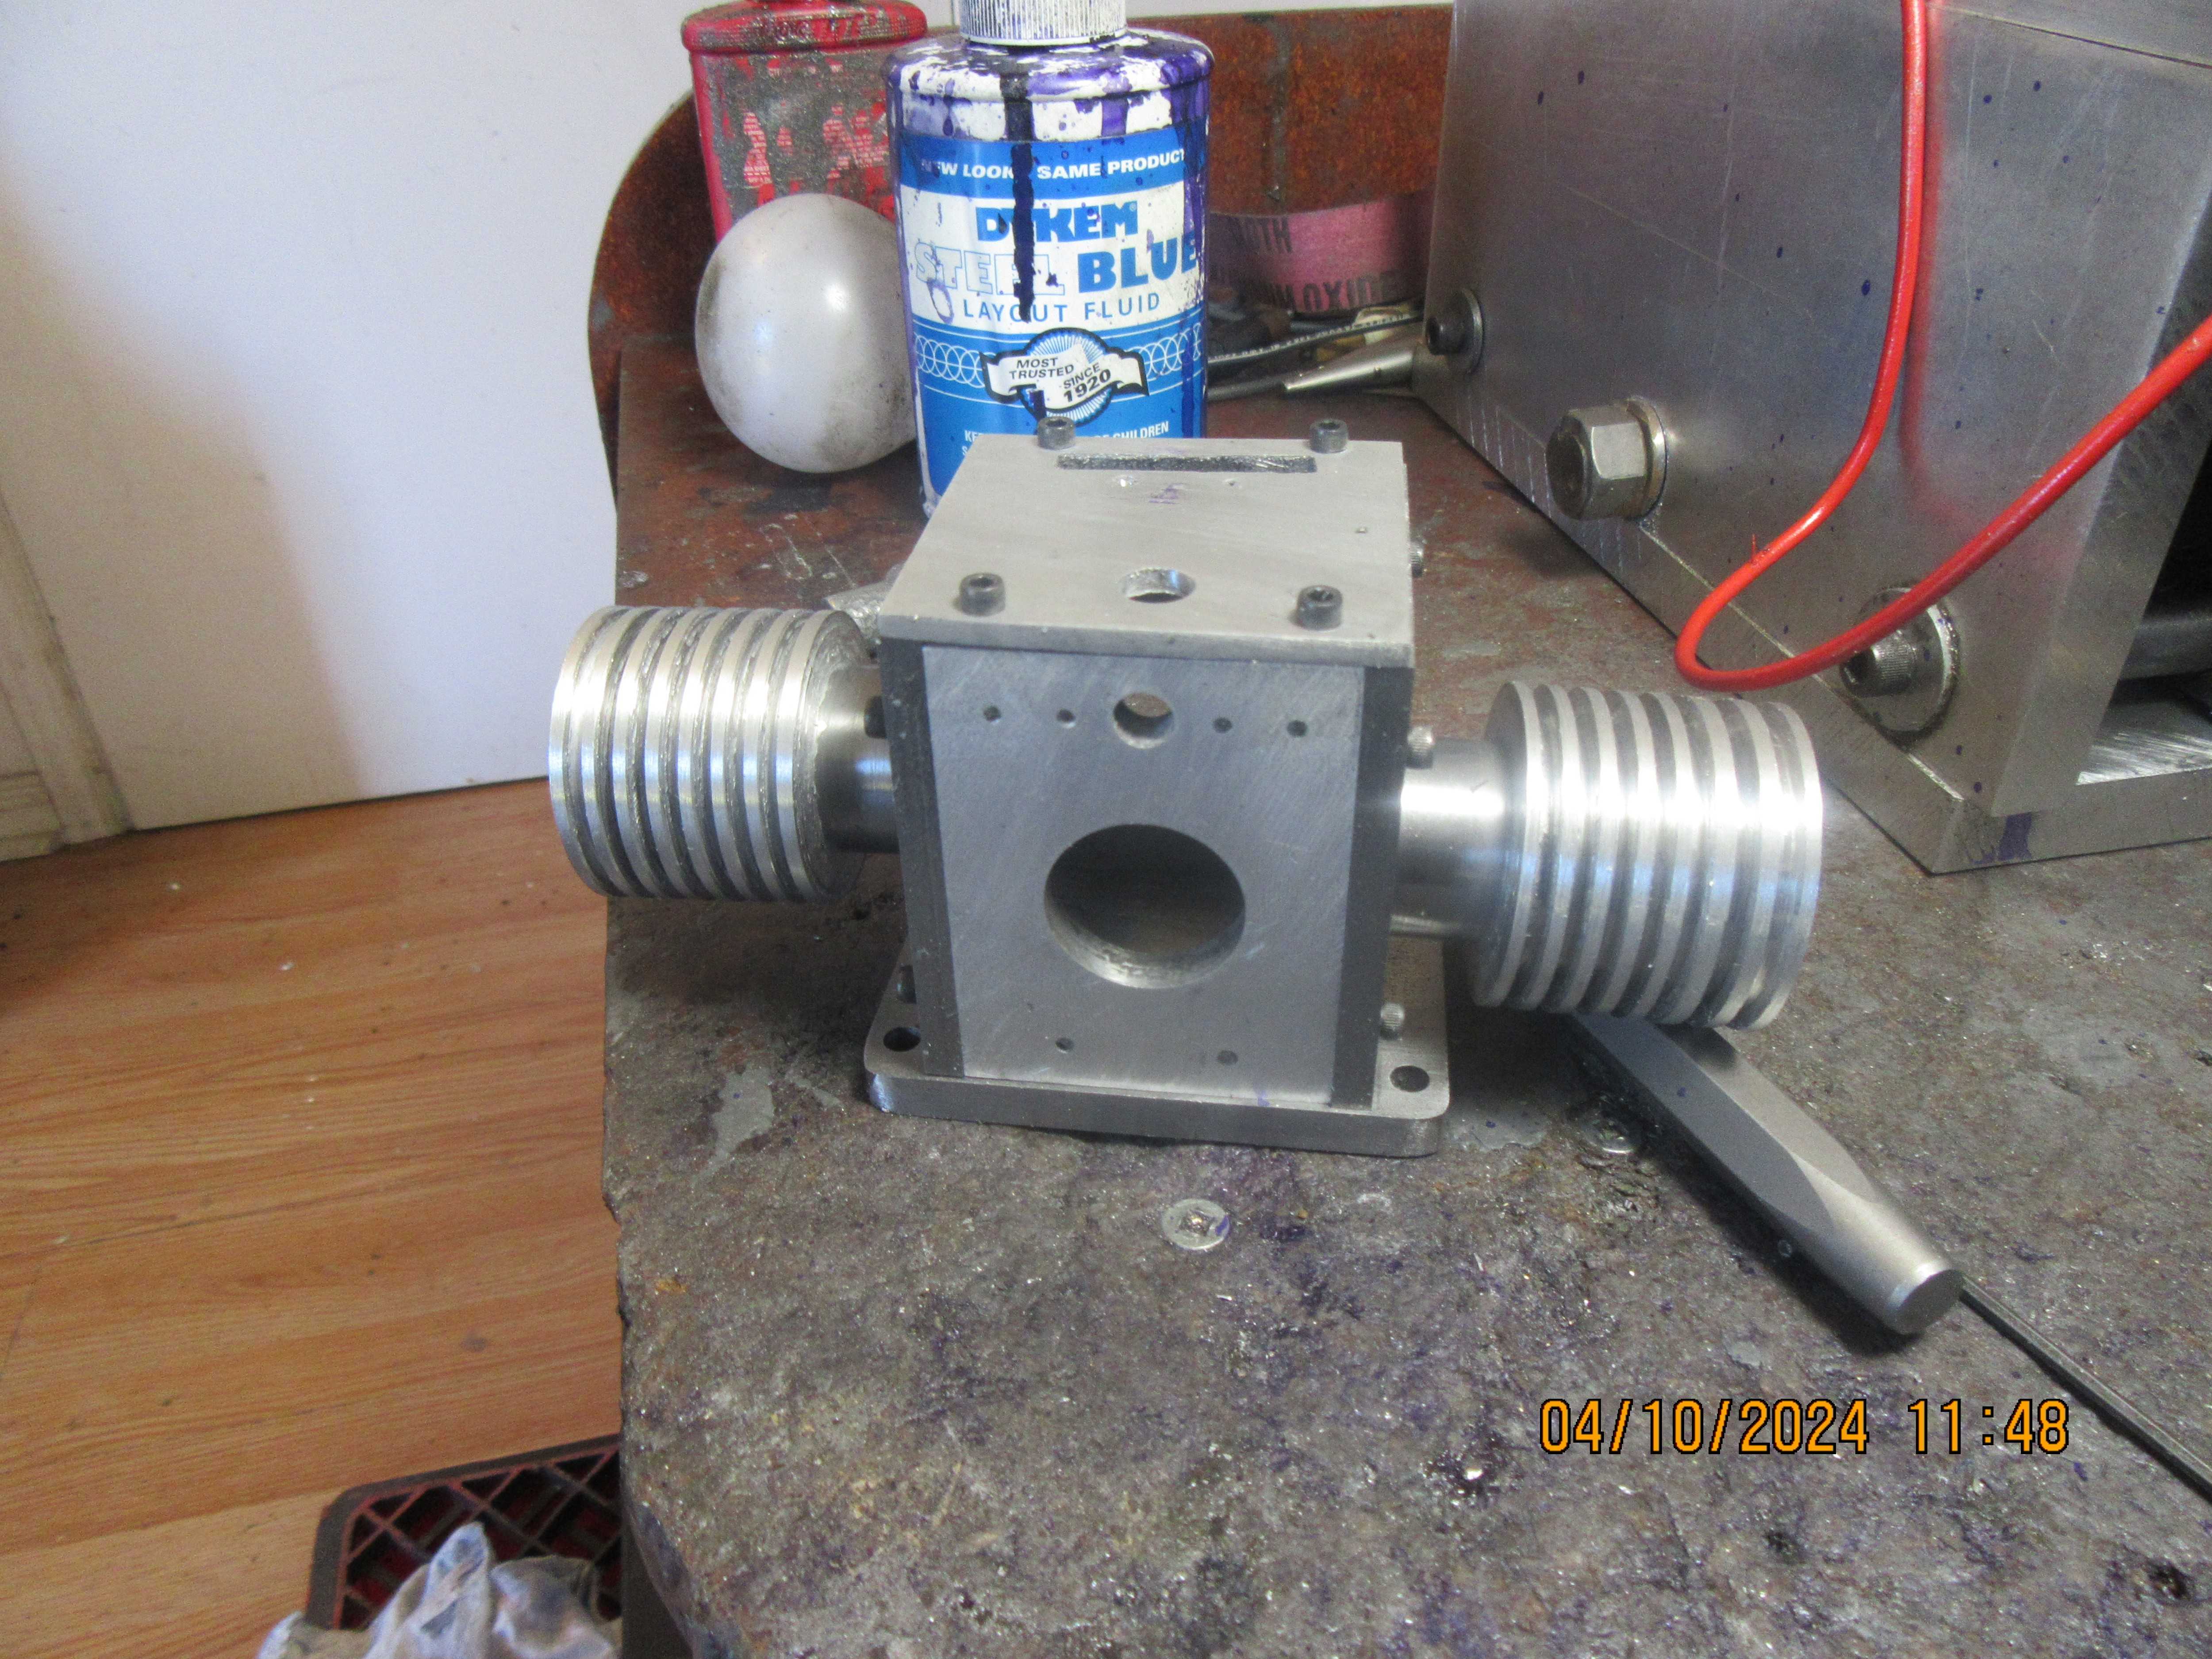
After what seemed like an awful lot of drilling and tapping, I was able to assemble the crankcase body and "pose" the two cylinder assemblies in it. They are not soldered yet. ---I have to go across town and pick up some ball bearings and try to hunt down the silver solder that the plans call for.
Ssu1dp.jpg
 
Should not be too hard to find as it is the common mix for "Lead Free" soft solder 4% Silver and 96% Tin
 
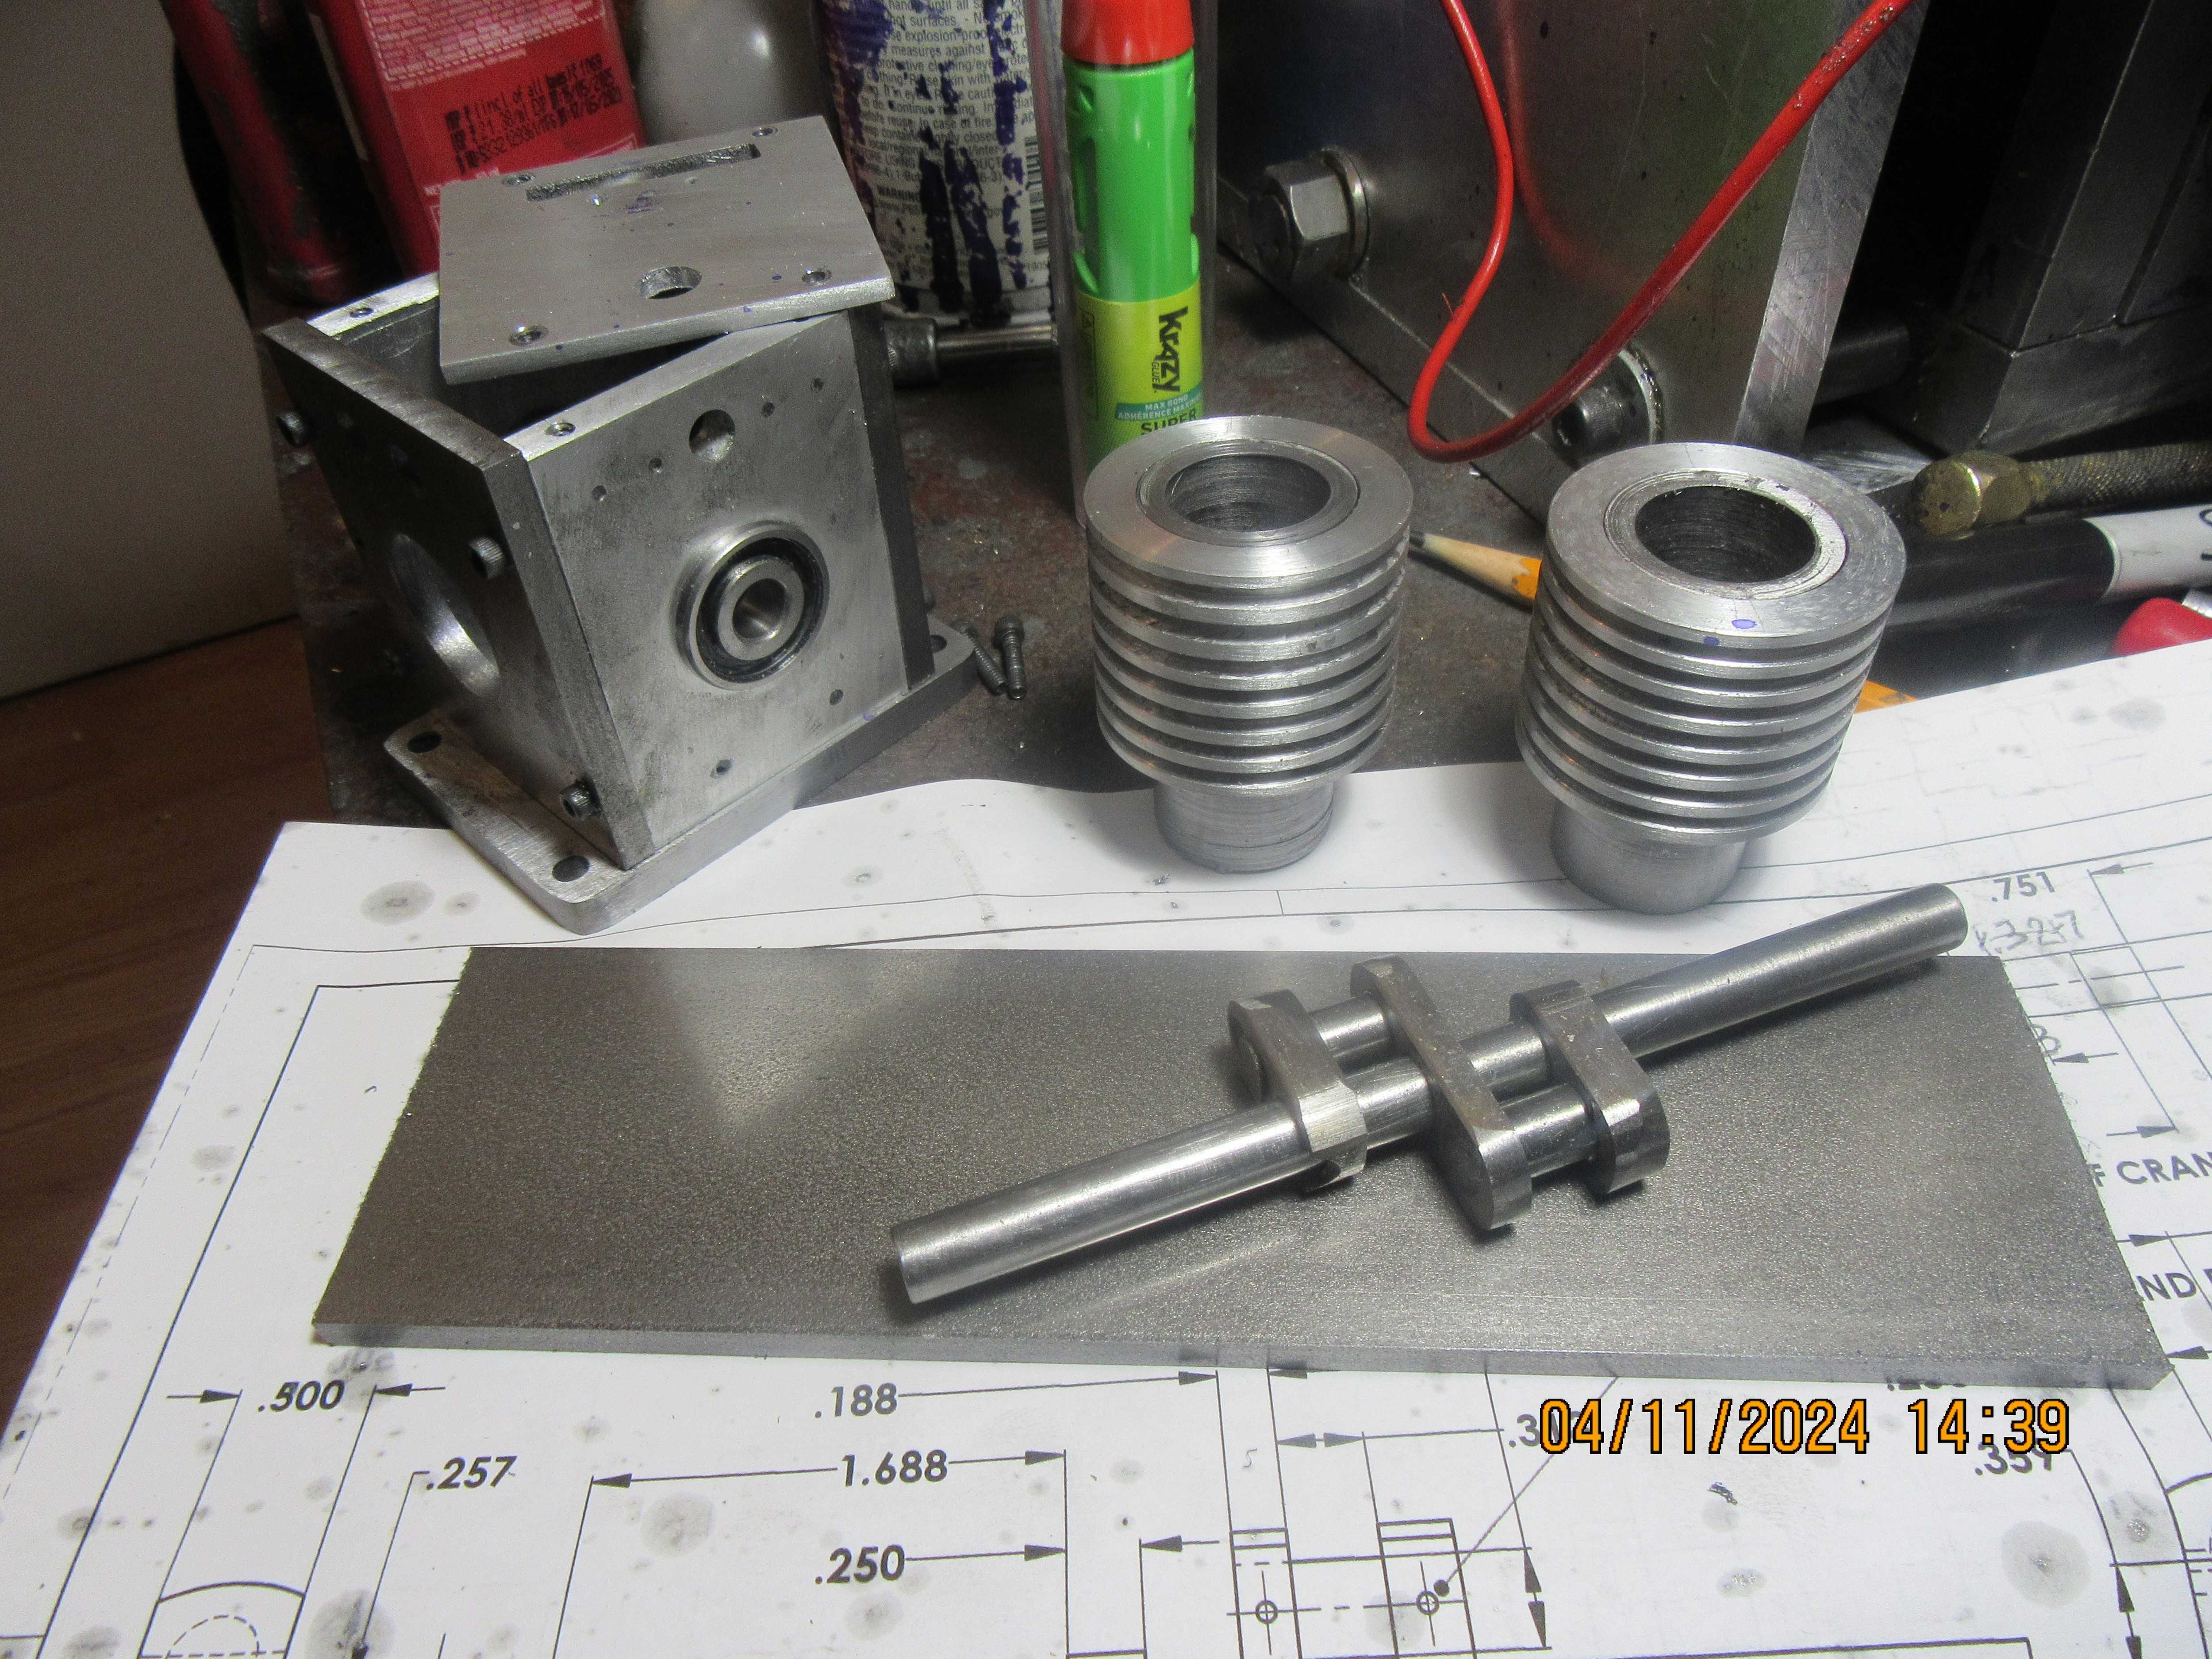
I checked thru one of my boxes of "Keep forever chit" and found three 1/4-32 sparkplugs. Good on me. I picked up my ball bearings for the crankshaft, fitted them with a piece of the 5/16" drill rod thru both bearings , and Loctited them into the crankshaft plates.--Also found a store that sells the special blend of silver solder that is called out in the plans, along with a small bottle of flux and an application brush. Tomorrow I will attempt to silver solder the cylinders to the appropriate crankcase plates.
 
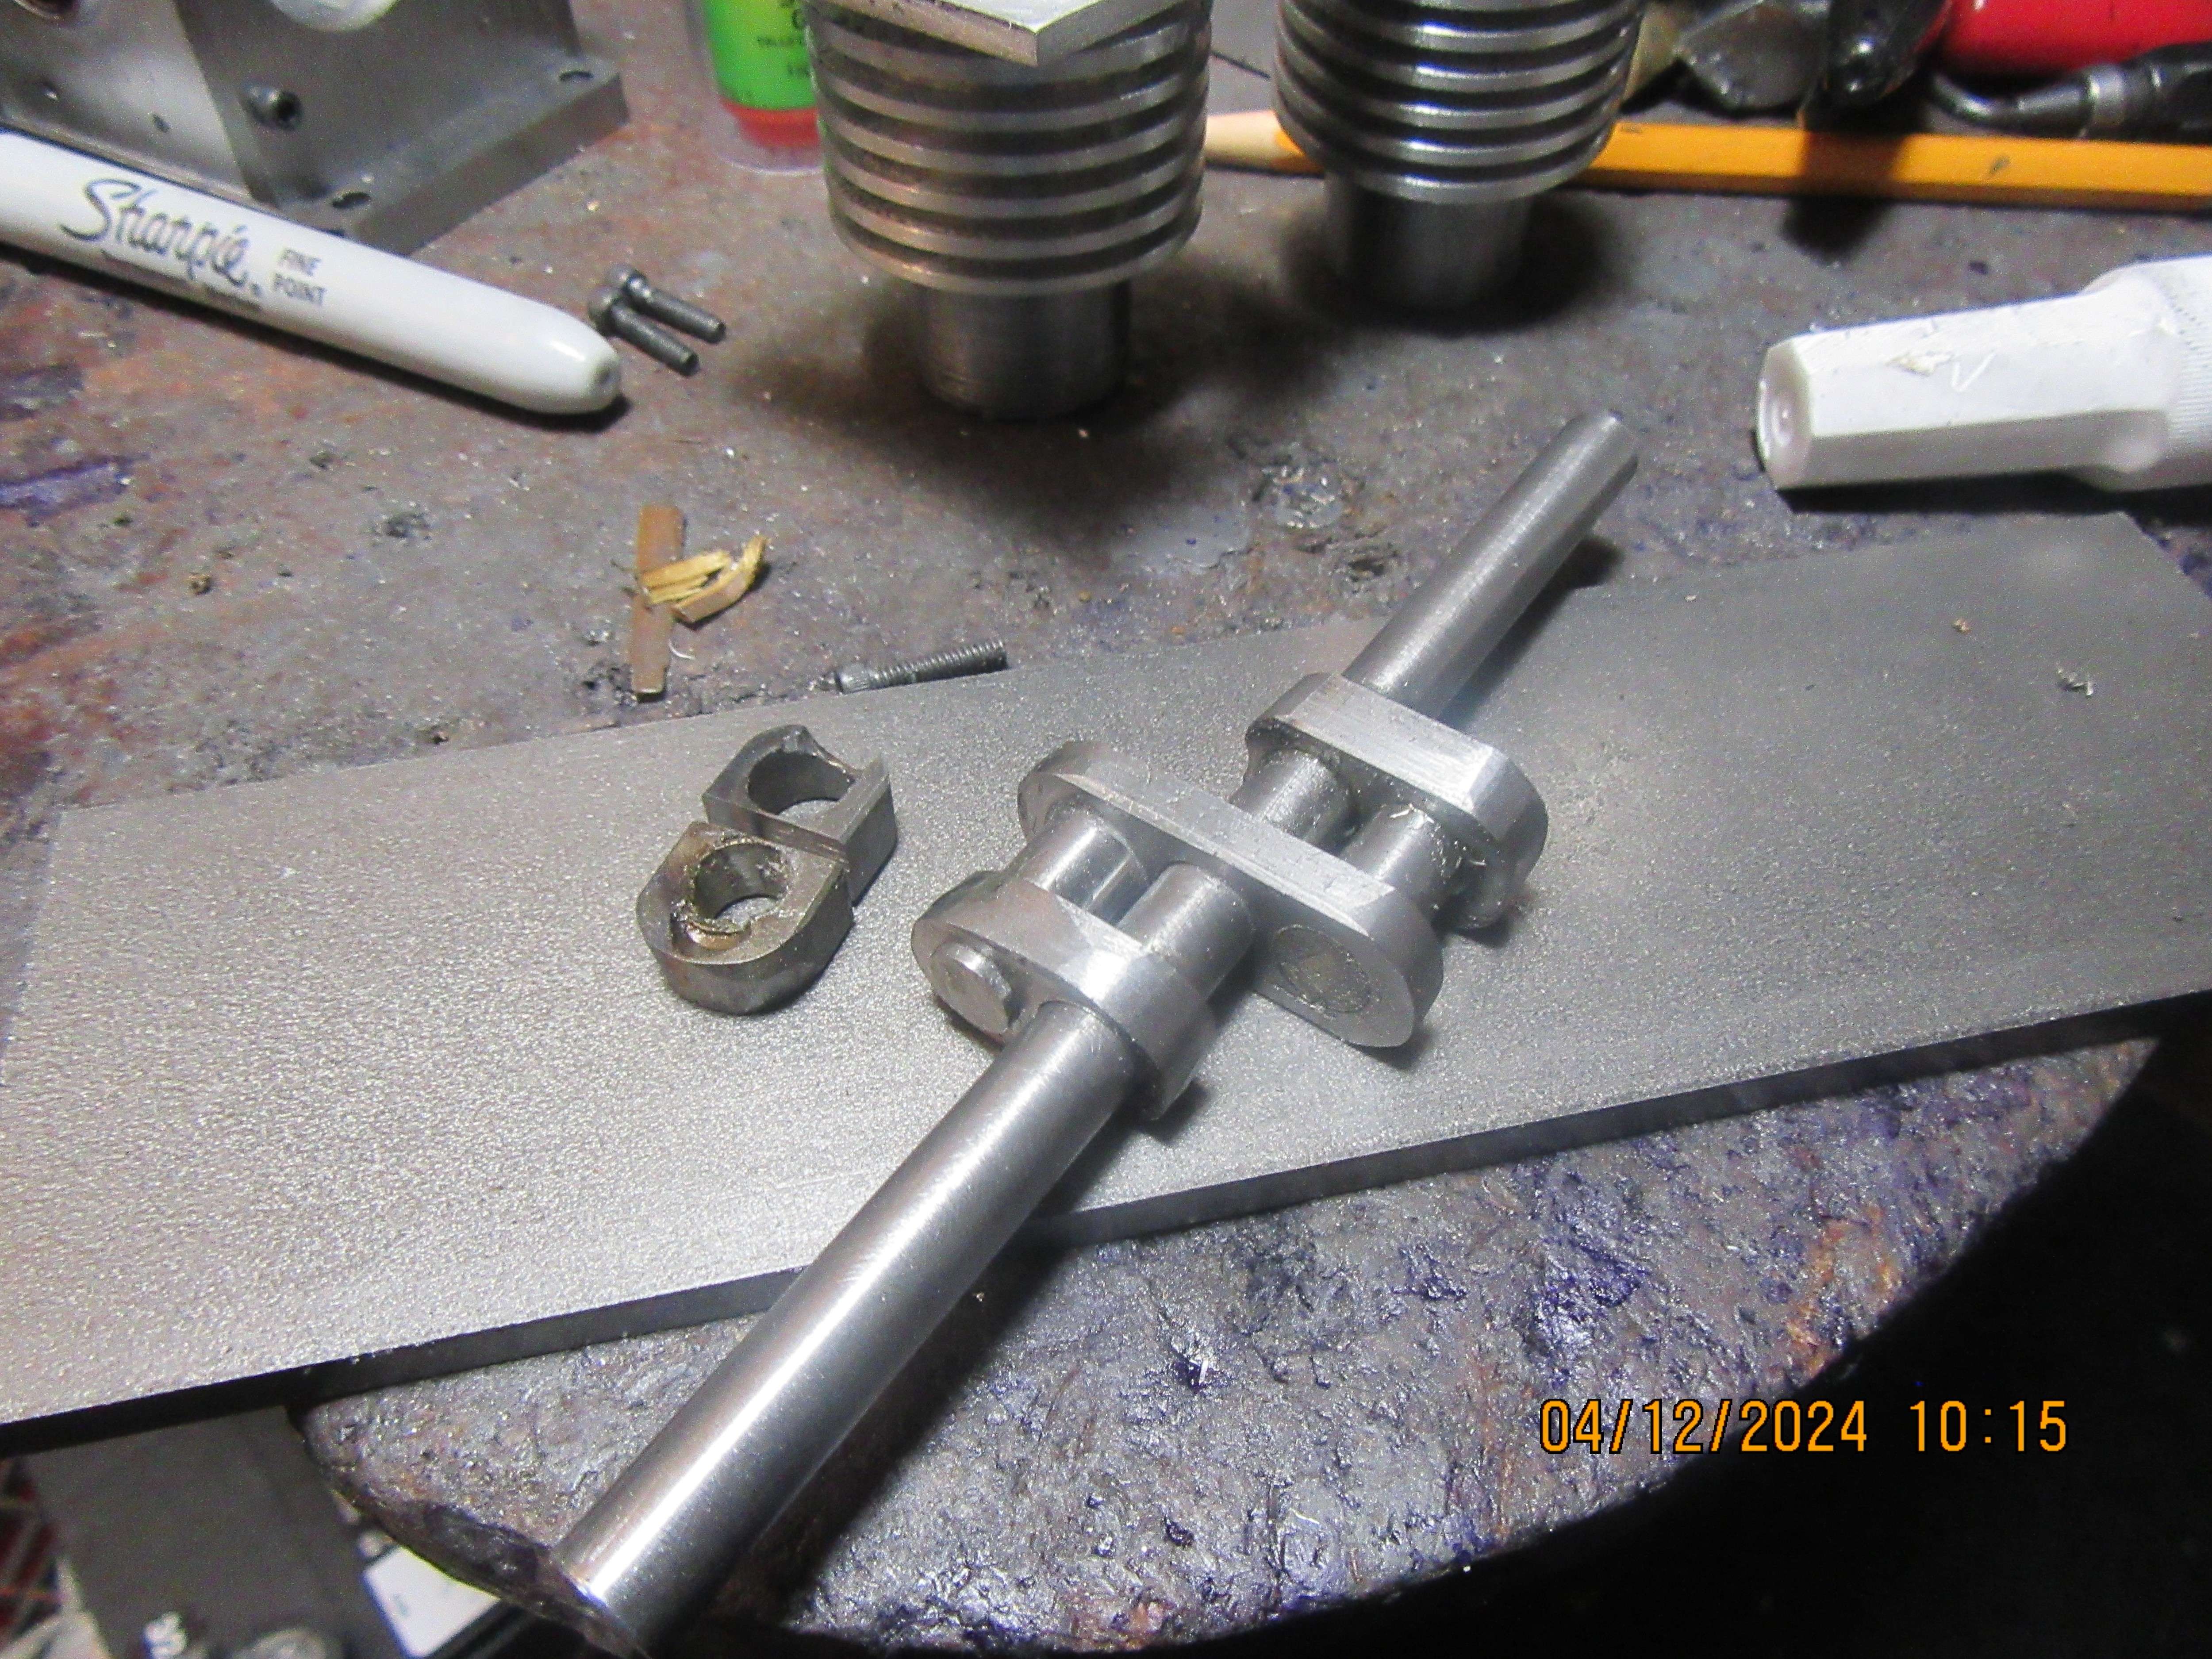
So--Today I built a crankshaft. I crazy glued the three plate sections together before drilling and reaming, but as is my usual luck with crazy glue, they came apart while in the vice being drilled. I was able to make a save however, and things worked out okay. Right now everything is in place, and I will wait 24 hours for the Loctite 638 to set up good before I drill and pin them. After the drilling and pinning is finished, I will cut out the pieces of the main crankshaft from between the webs.
hN1M78.jpg
Is that a chunk missing out of the left most crank cheek, on the bottom?? How is that going to be secure?
Why not remake it instead of finding out later that it’s giving you issues?
 
It is indeed a part missing. Not enough to compromise the crankshaft when running the engine under no load conditions. I'll see how I feel about it tomorrow. Not a big deal to replace that part now, but would be a bugger to replace later on.
 
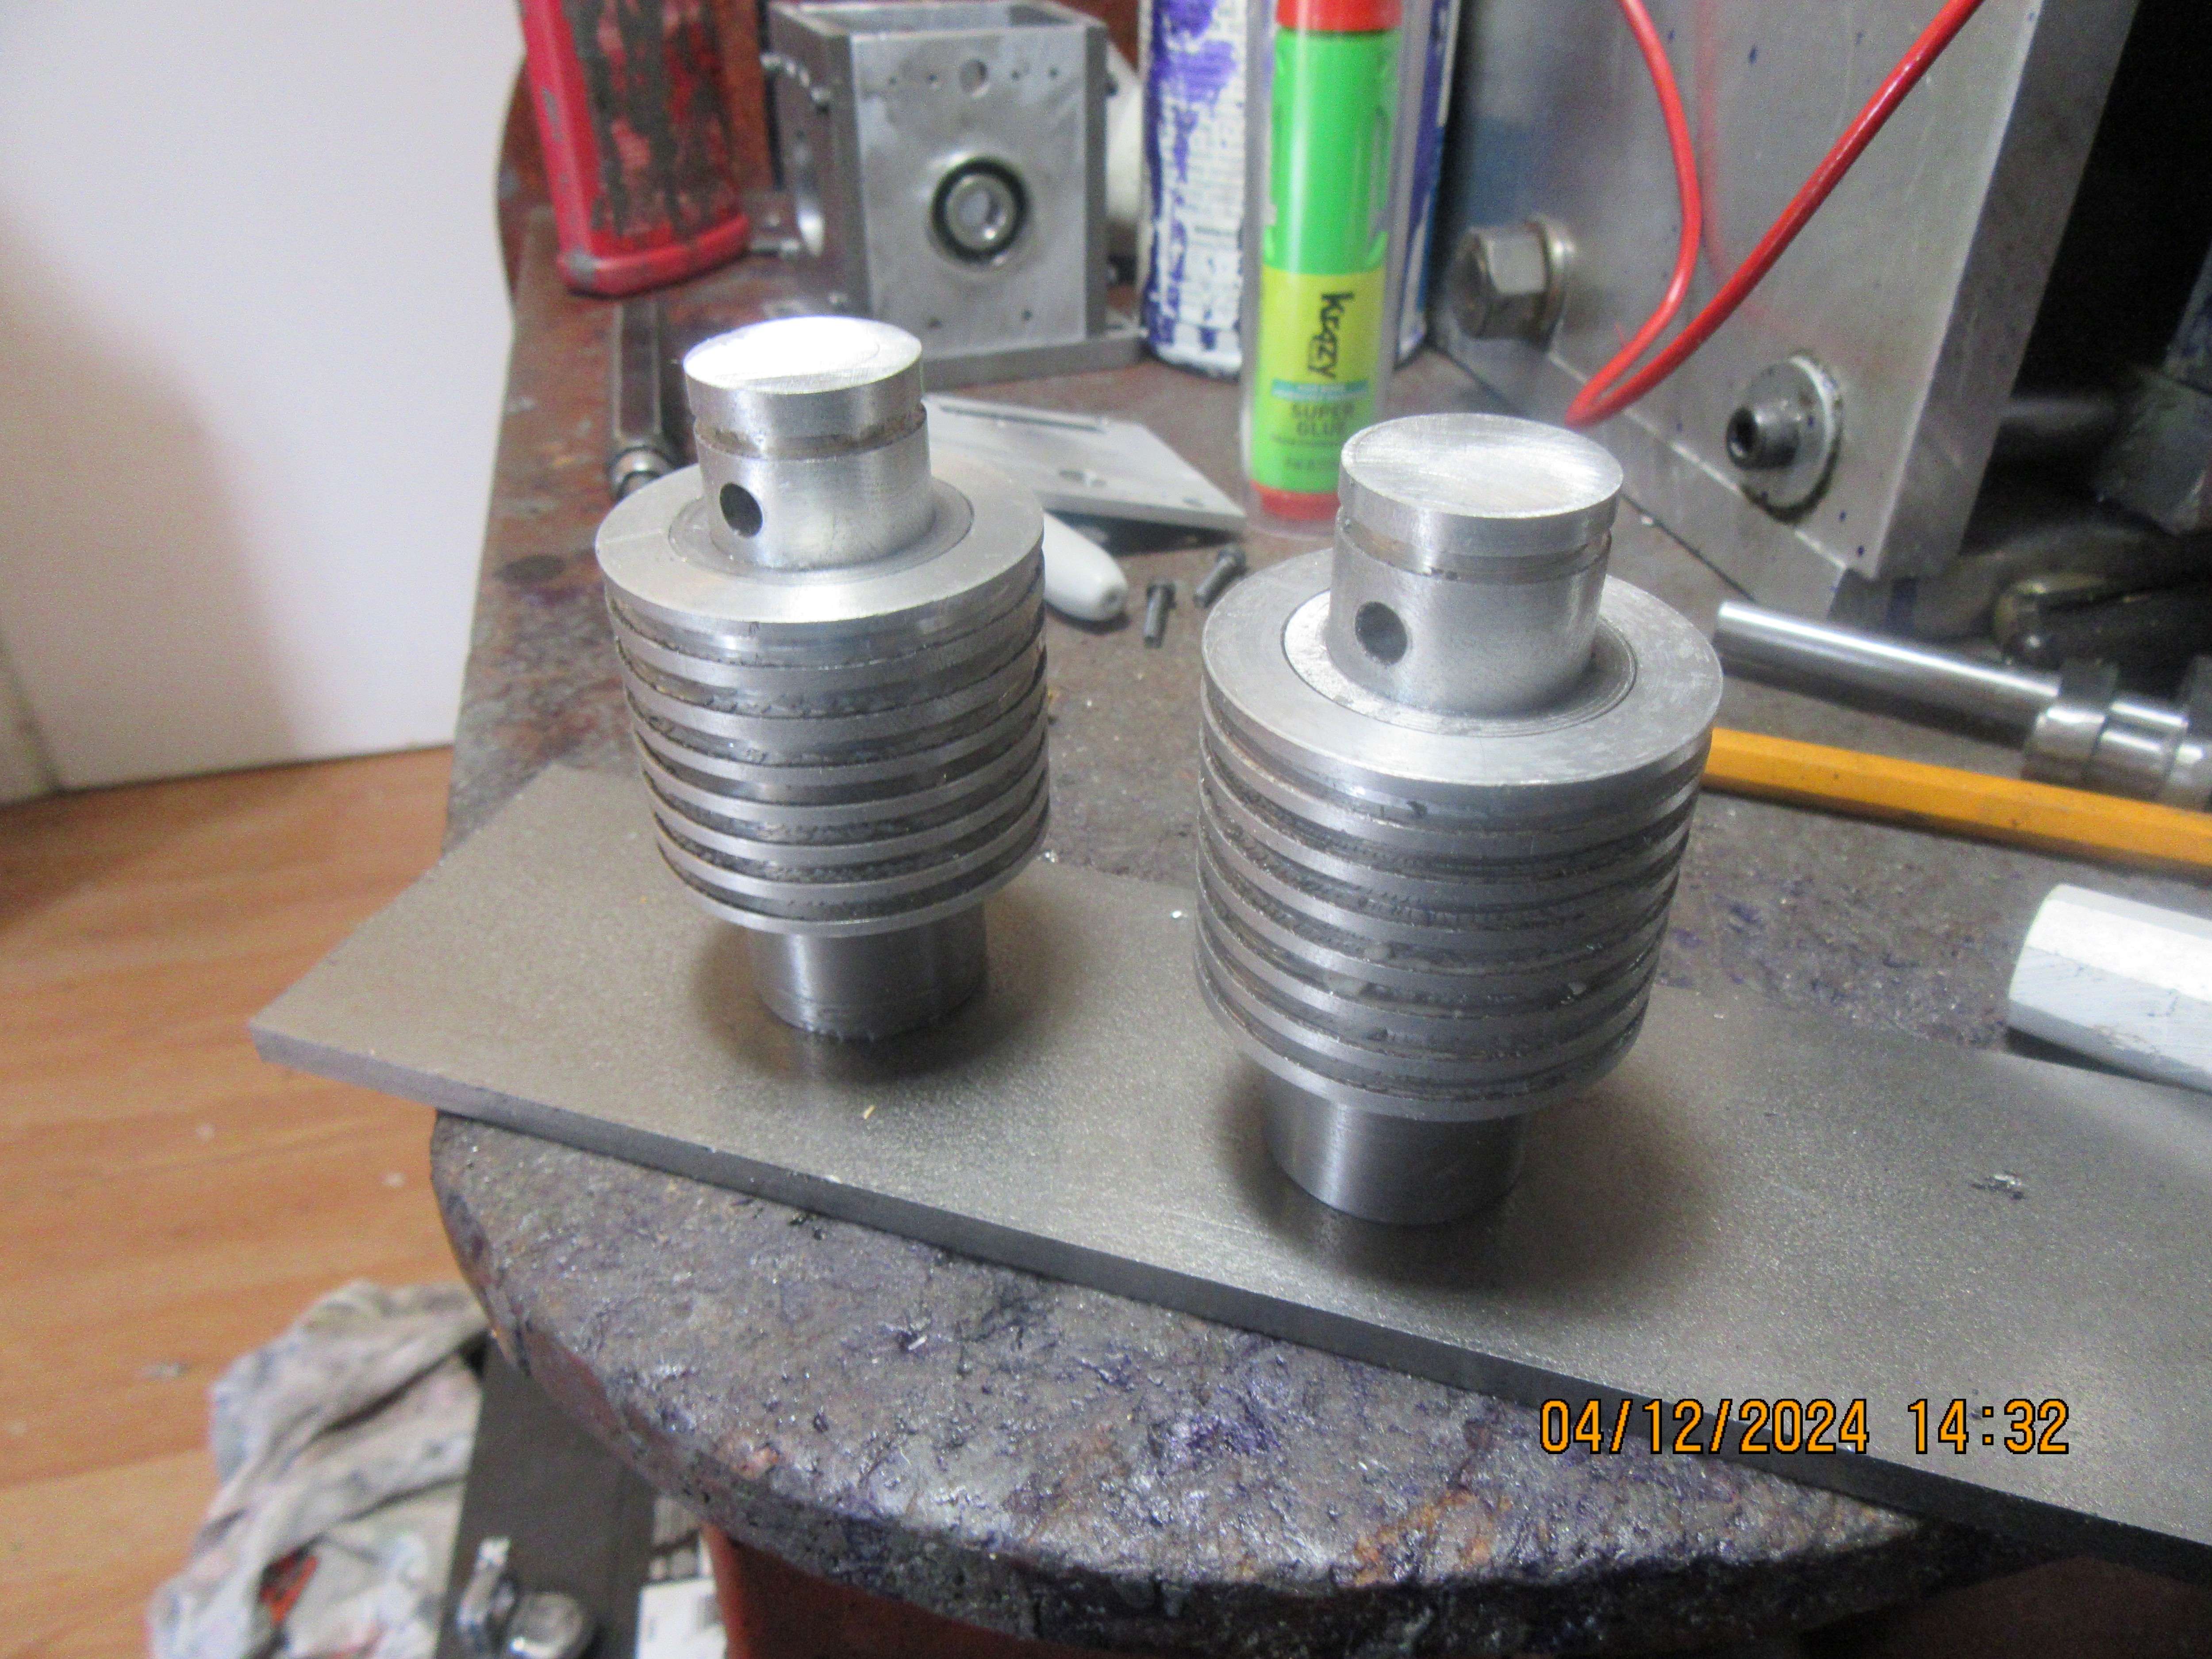
So, my main work today was to make a couple of pretty pistons. All turned out well, I used up some more "shorts" out of my "extra material bin". There are a lot of set ups to making pistons. Nothing scary, just a lot of set ups. Good wife has just appeared and given me a list of things to do, so that's it for today.
dUK9Fo.jpg
.
 
Back
Top