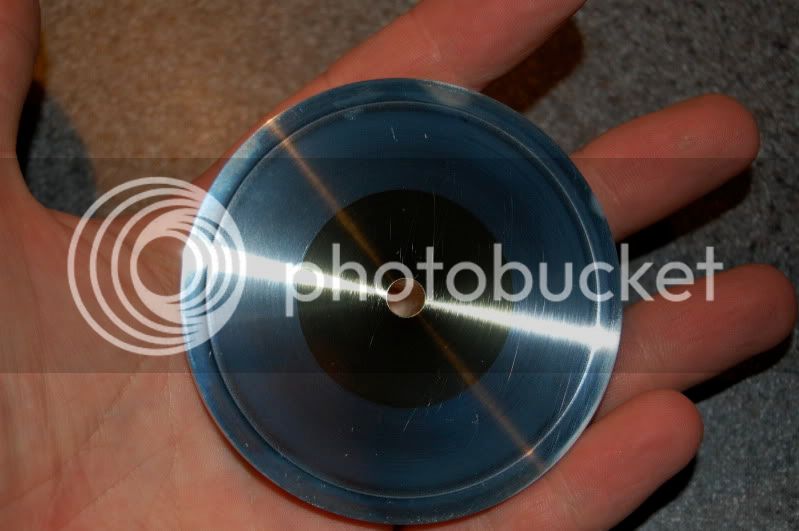
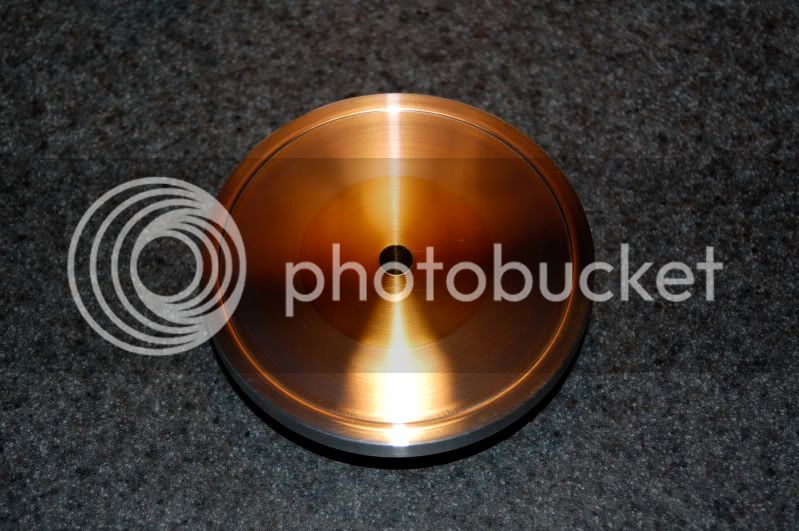
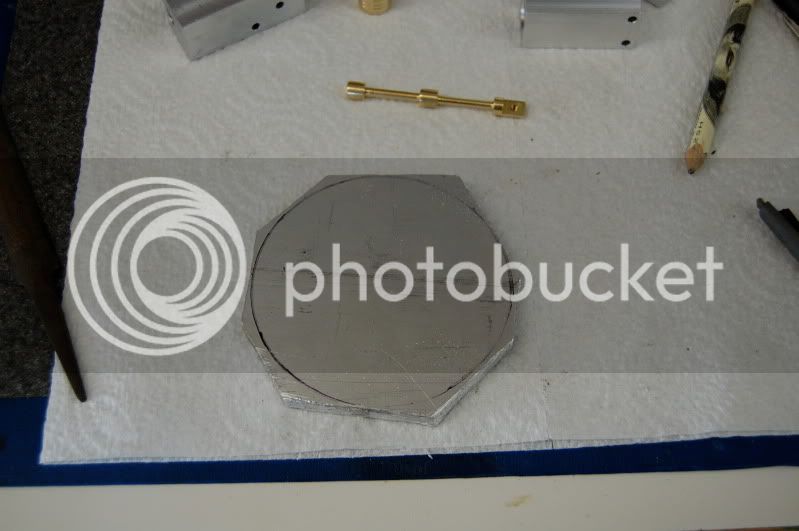
Another nice looking part. The flywheel can look nice in several materials. Weight is not a big issue because you can always go a little thicker with lighter materials. I did my EZ flywheel very plain but have done several others with hubs, spokes, or holes just for looks. You might want to try something you have not yet done to get some new skills / experience. I like to pick engines that will teach me something in the process and I have plenty to learn.
I expect we will be seeing a runner soon.


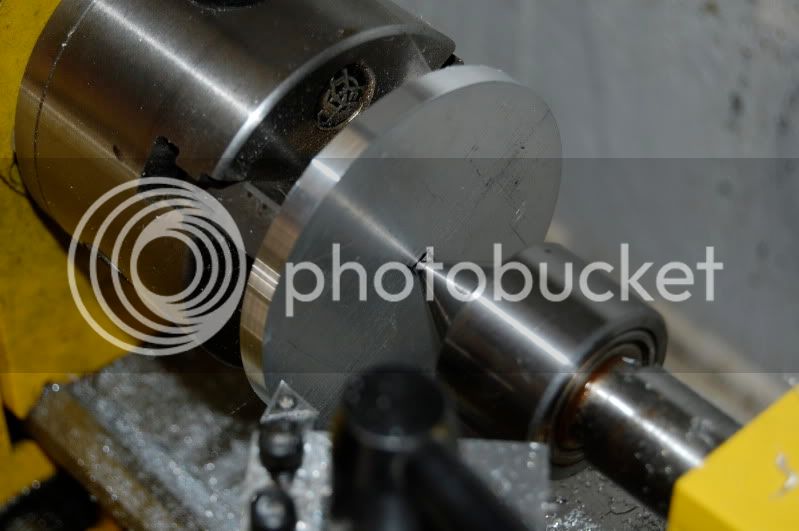
 I see that the gib under the front of the carriage is loose. But to tighten it looks hard to get at. Its a 7x12 mini lathe. Does anyone know if I have to take the front part of the carriage off to tighten the gib?