OK poison curls, today I got some more done on the exhaust manifold. It needs a 90° flanged branch, 1/2" long, so I thought I'd go into a bit of detail with it, in case someone ever needs to do something similar.
First, a bit of 1/2" brass is centred and spotted near the end

Then drilled thru 1/4"

Now we move to the lathe, and take a skim to establish the length of the 'pipe' section, which in this case is 7/16" from the inner edge of the hole

Next we centre drill the end, and pop a drill thru so it spots the other side of the hole - makes things a bit easier after.

Then turn down the 'pipe' section to 1/4" diameter - which, of course, means the outer end of the bar goes away somewhere

Now it is an easy matter to drill out the piece to the required 5/64" diameter and part off

Reverse the piece in the chuck and face off to thickness and the piece is made

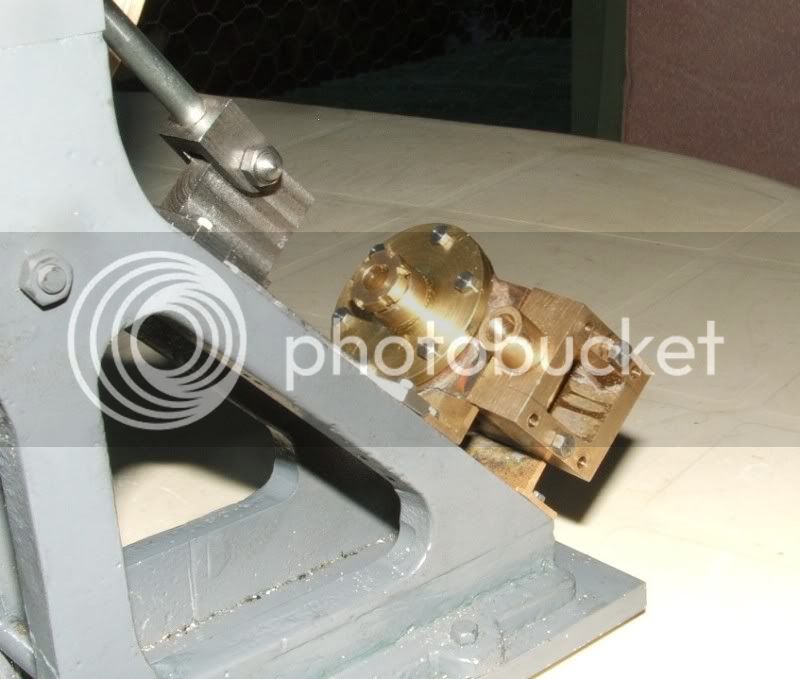
A dry trial fit. Hopefully tomorrow we'll get the flanges drilled and tapped, and the branch silver soldered into place.

Watch this space!


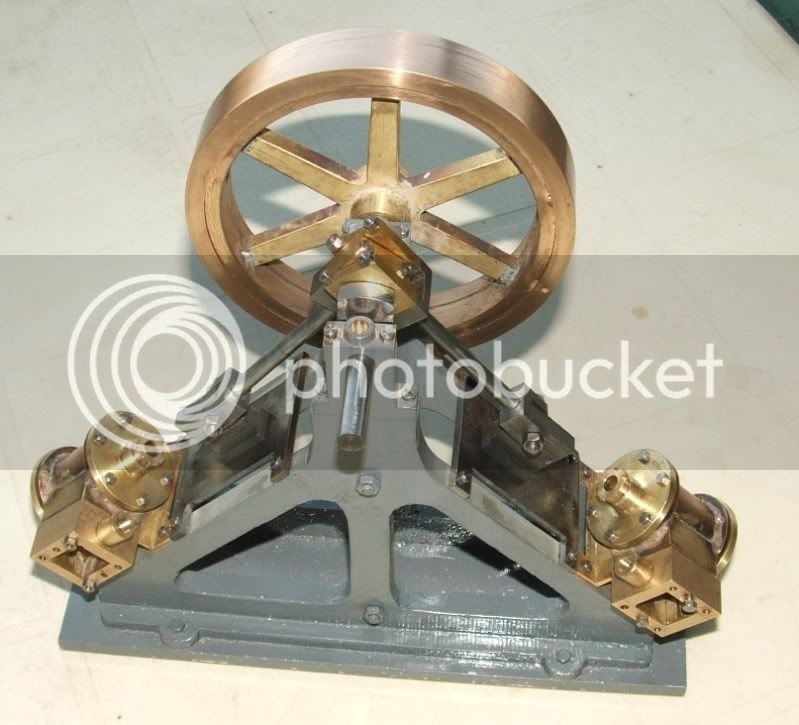
 ) engine.