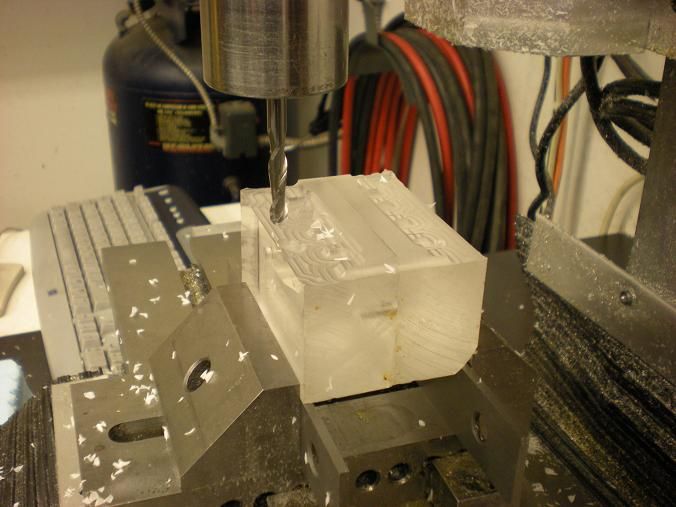
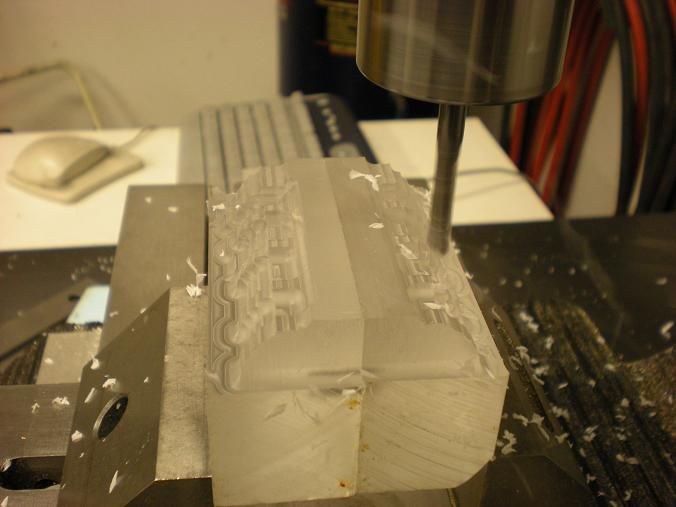
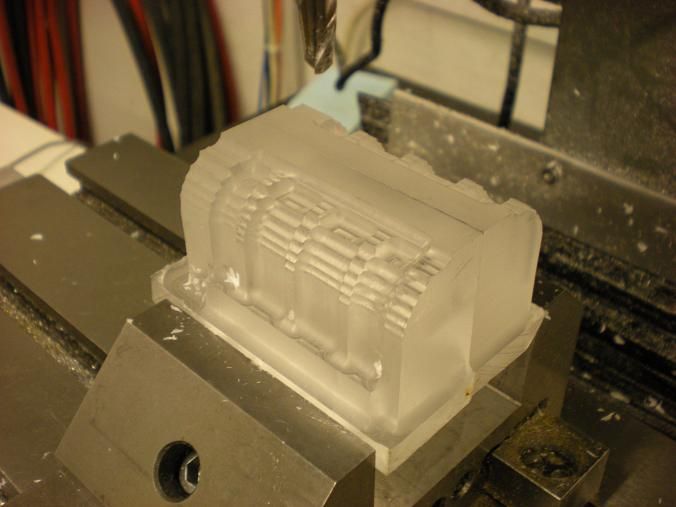
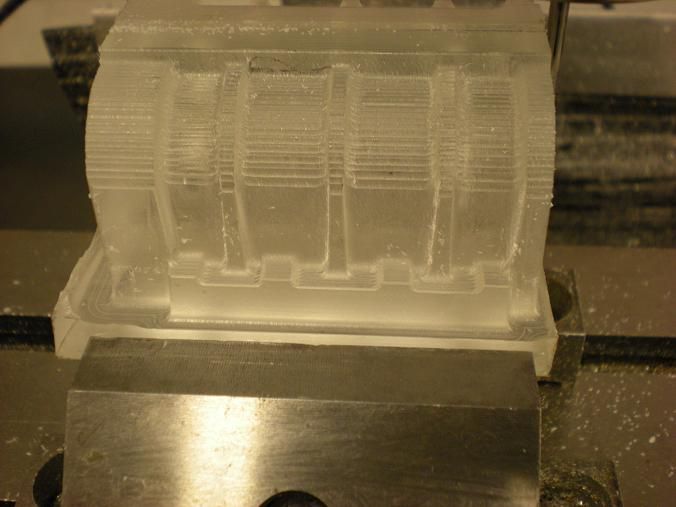
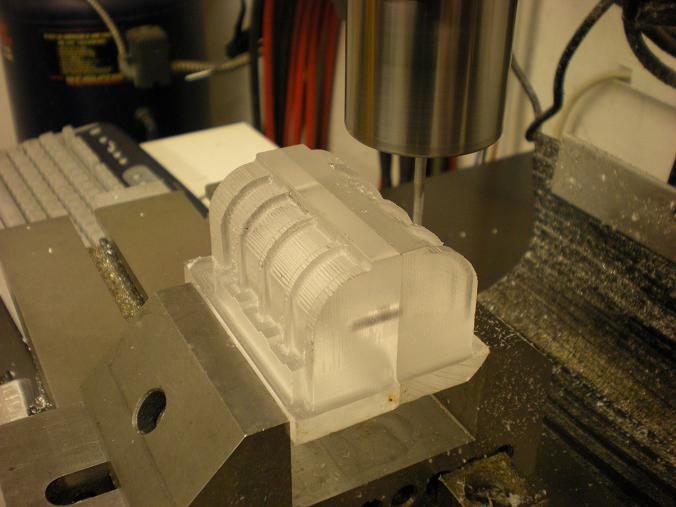
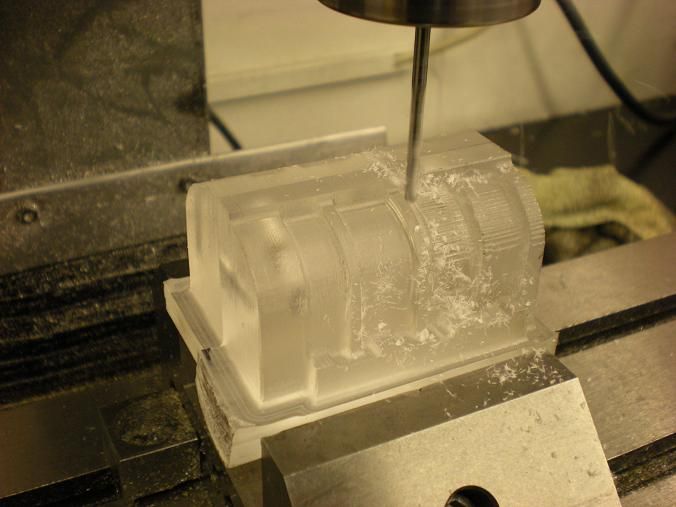
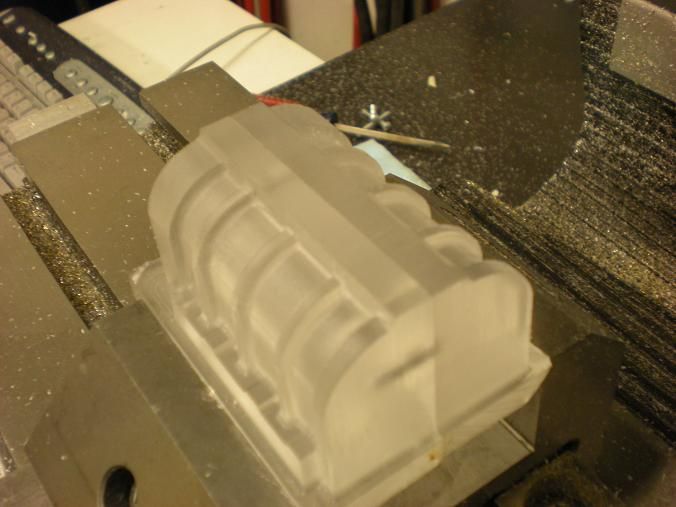
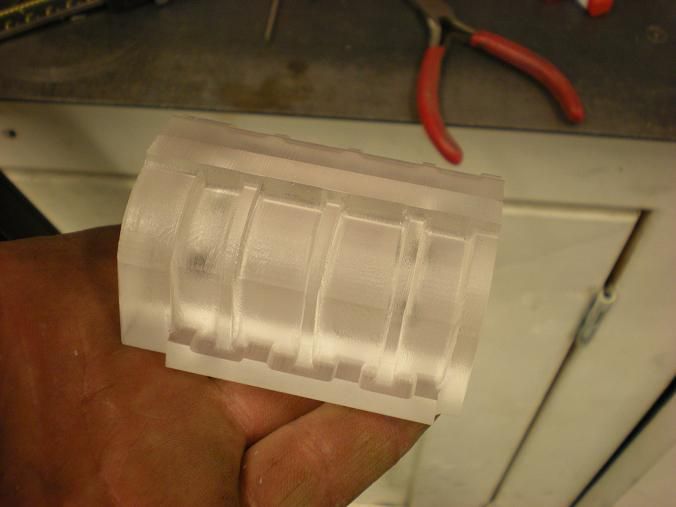
That blower is a pretty cute idea. How come you're casting it? Seems like you've almost got it done in plastic. Had that been aluminum it'd be done. I've casted a lot of aluminum. The trouble I've had is trying to end up with aluminum that was machinable after it was cast. I always used scrap in the melt and that most likely didn't help. Seemed the casting was always soft and gummy. It didn't lend itself to machining. We used some kind of flux in the melt too to float the dross. Without the flux I just had a mess of pits and slag. And the temperature of the melt was important. I poured about 1300 F. If I got it too hot the melt was ruined, too cold and it wouldn't run. Shrink was an issue too. You need to use large gates so the cavity has a ready supply of molten metal. For sand I used Pextobond I think. It worked well but finding small quantities might be troublesome. Have fun.
Guys that can crank out good castings one after another know what they're doing.