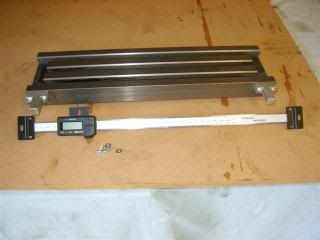
If there is some misalignment of the beam (DRO) relative to the movement of the table or head or whatever you mount it to, then you get cosine errors because now there is an angle (vector) to take into consideration. No doubt this has to be a substantial misalignment for it to make a detectable difference with the resolutions we're dealing with in this hobby, plus, I'm thinking the DRO readout will probably bind on the beam if it is too far out of alignment.
-Trout


")