First Engine Elmer's #29

Home Model Engine Machinist Forum

Help Support Home Model Engine Machinist Forum:

This site may earn a commission from merchant affiliate links, including eBay, Amazon, and others.
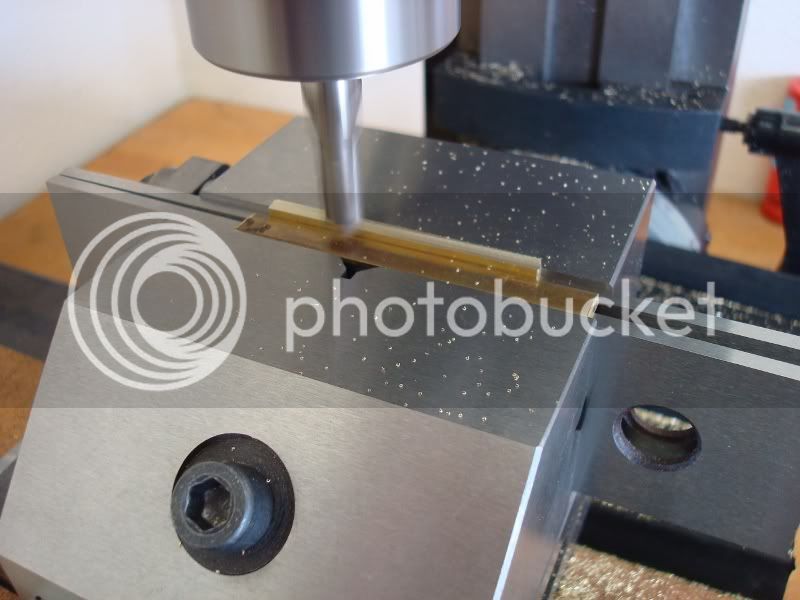
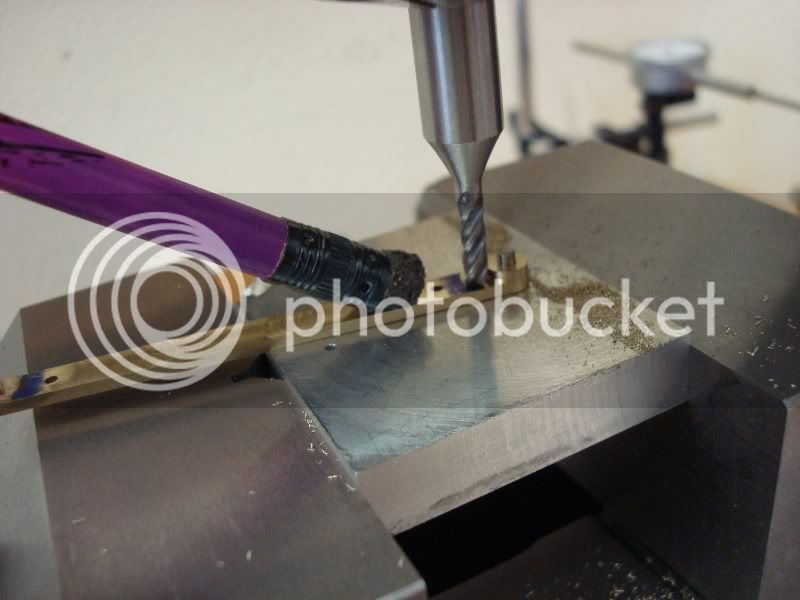
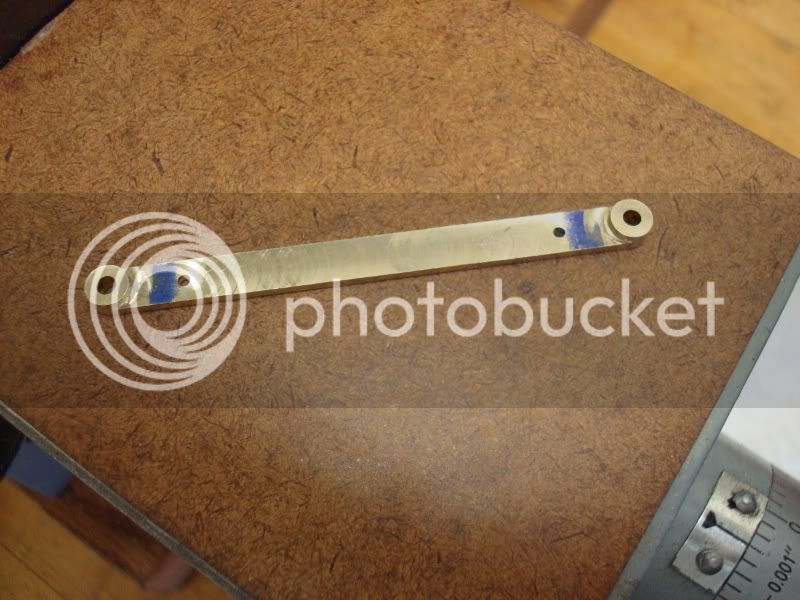
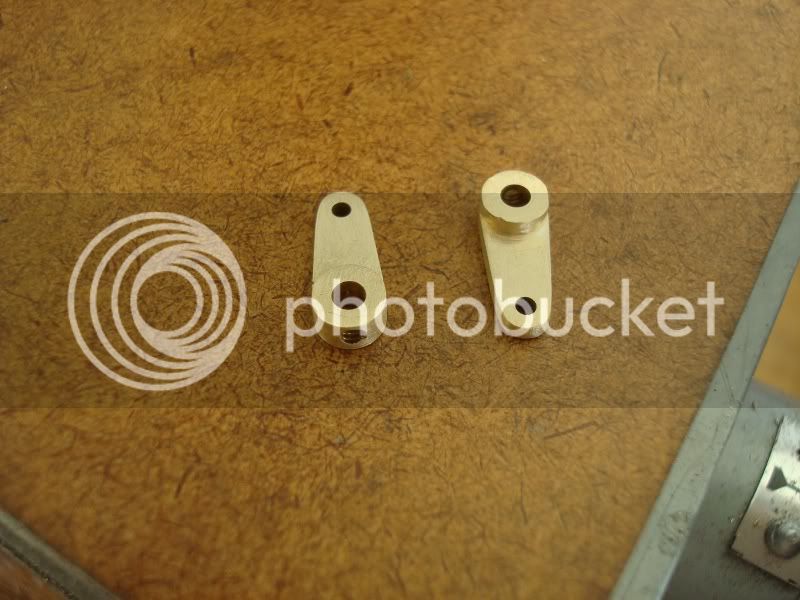
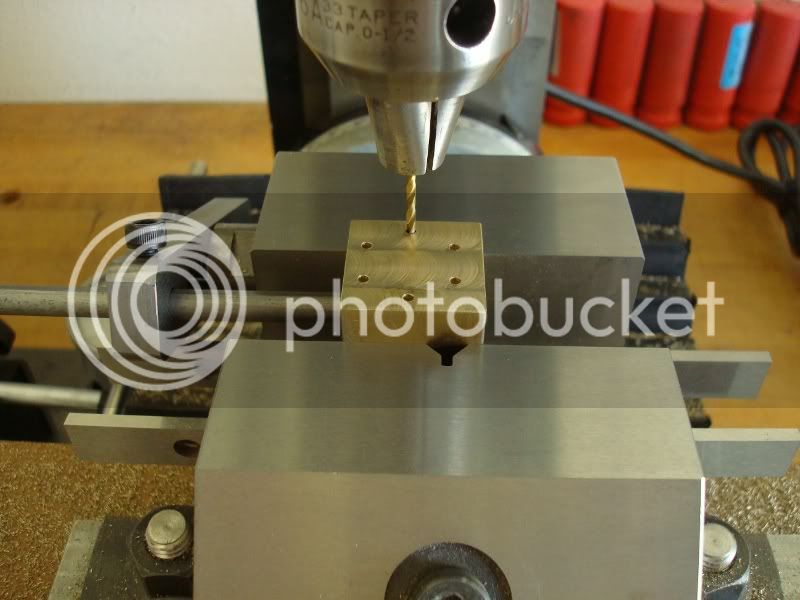
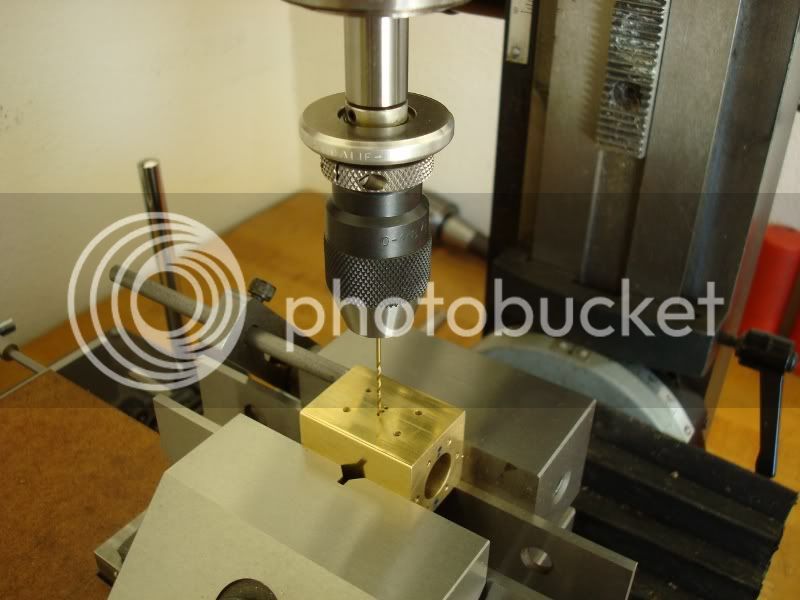
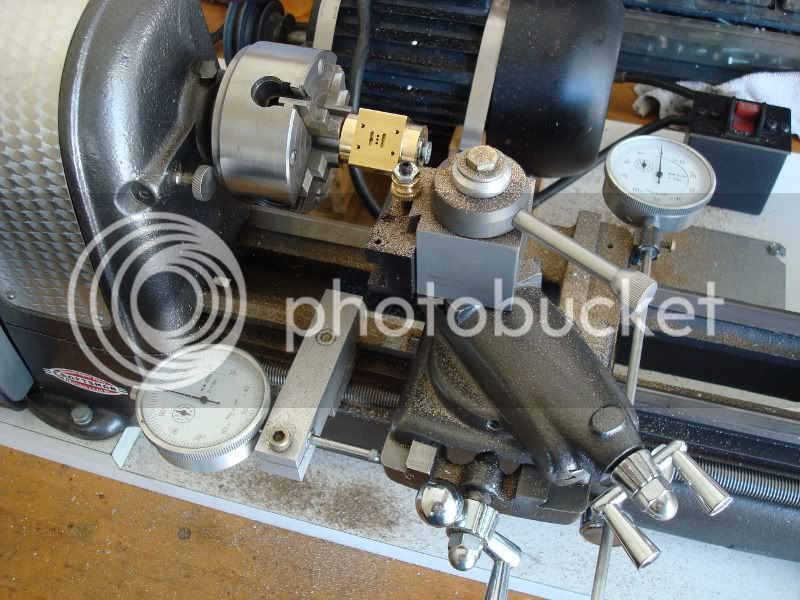
I made the small link for the rocker shaft (9/16" long) the first try was a failure, I tried making it with too small of a piece of brass. The second try I used a larger piece of brass with success.

12.jpg


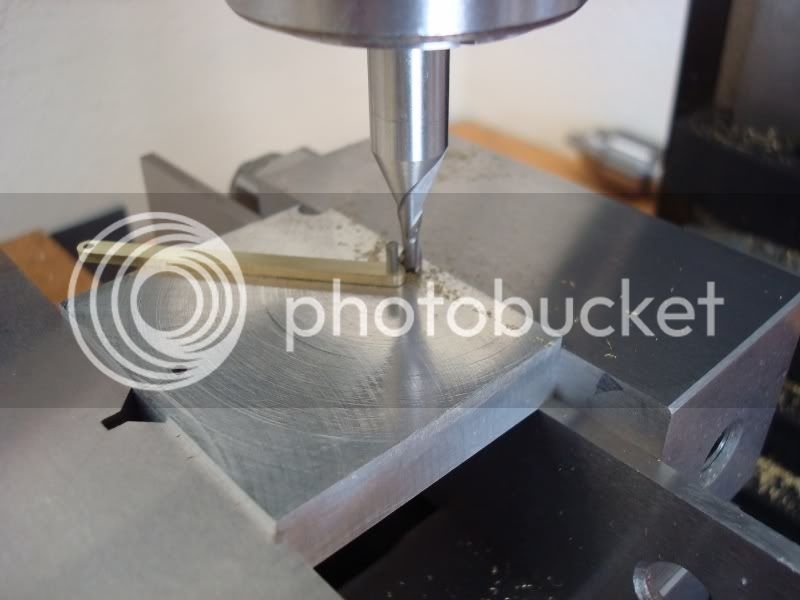
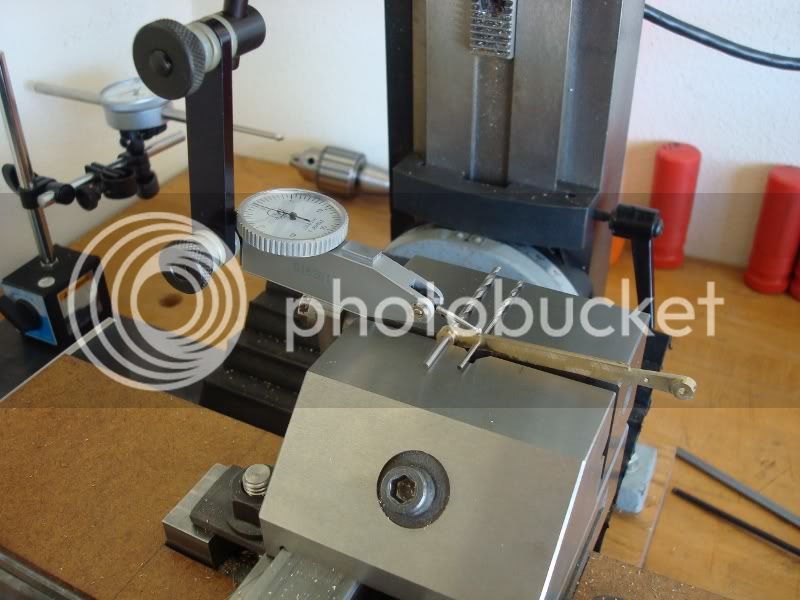
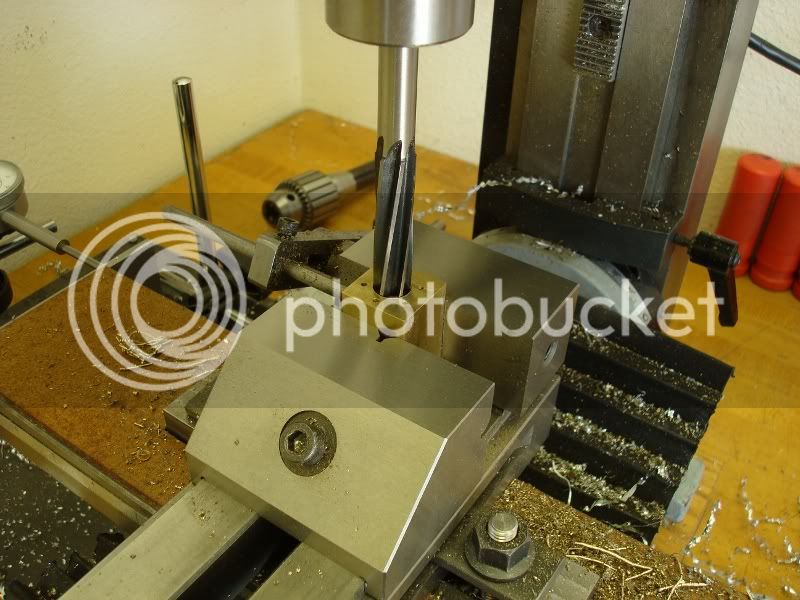
To cut the tapered profile on the link, I used the drill bit to hold the piece down on the vice and set the test indicator over it to 0.

10.jpg


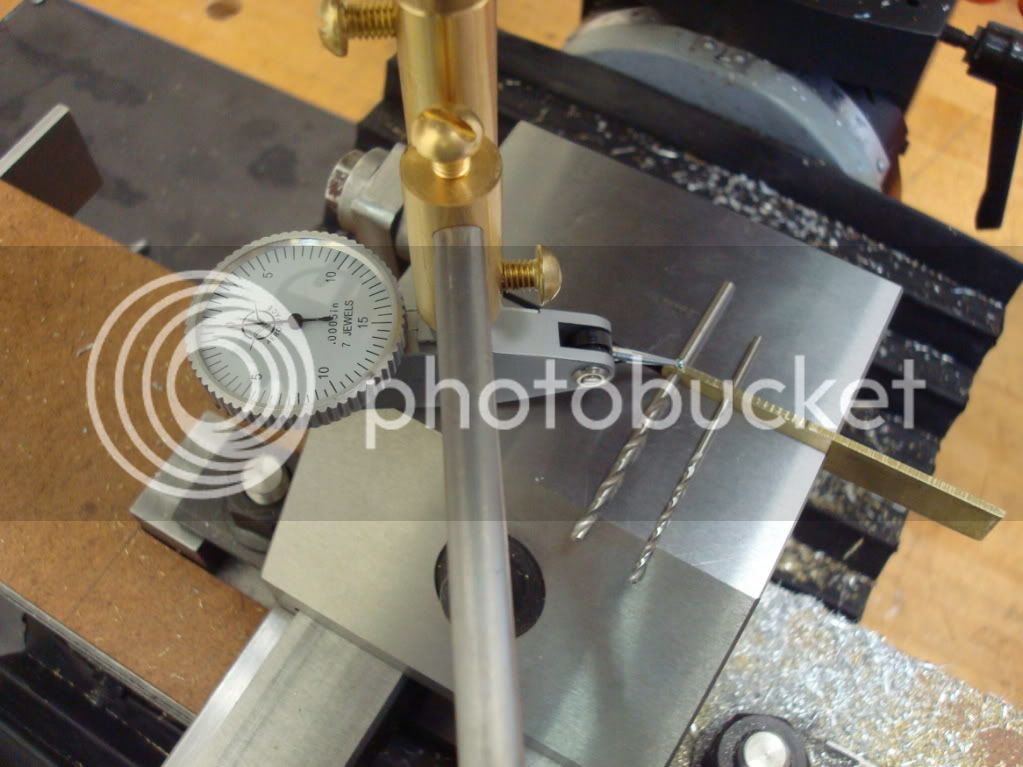
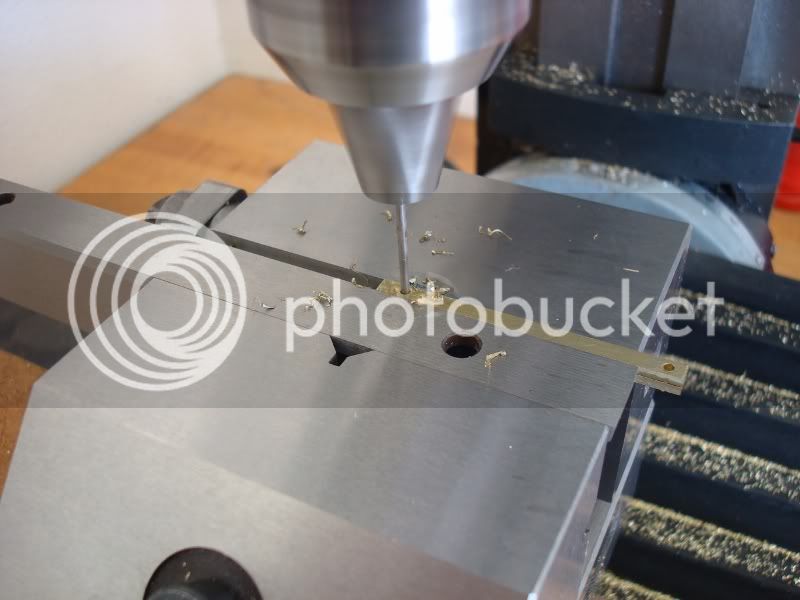
Then I moved the test indicator over the smaller hole (using the drill bit to center the indicator) and raised it .015, There should be .030 between the two ends.

11.jpg


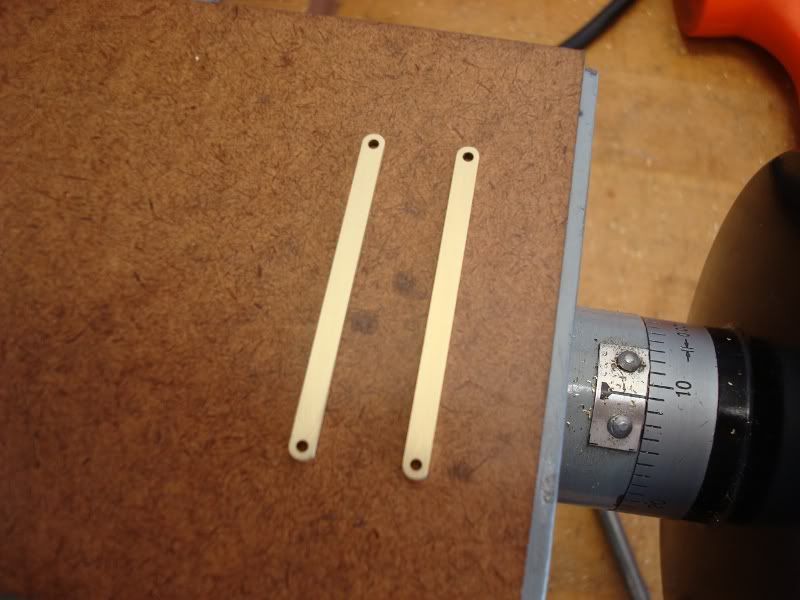
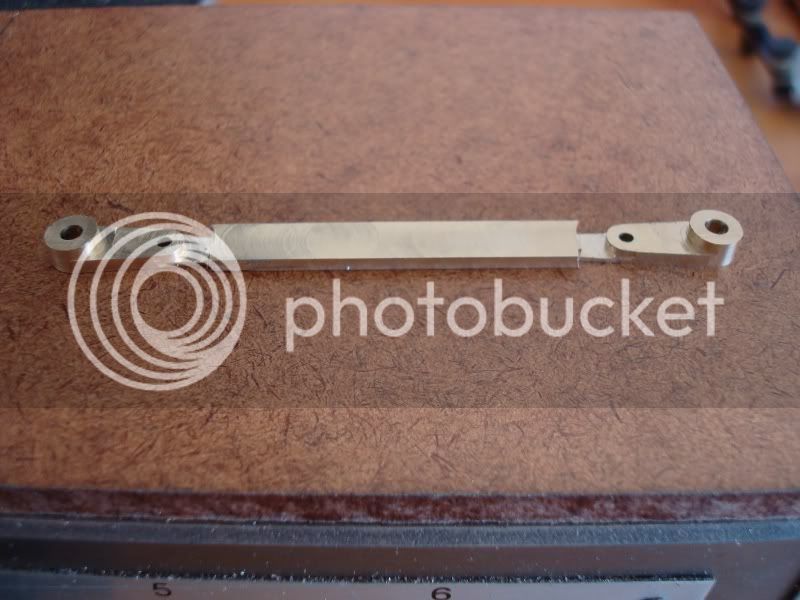
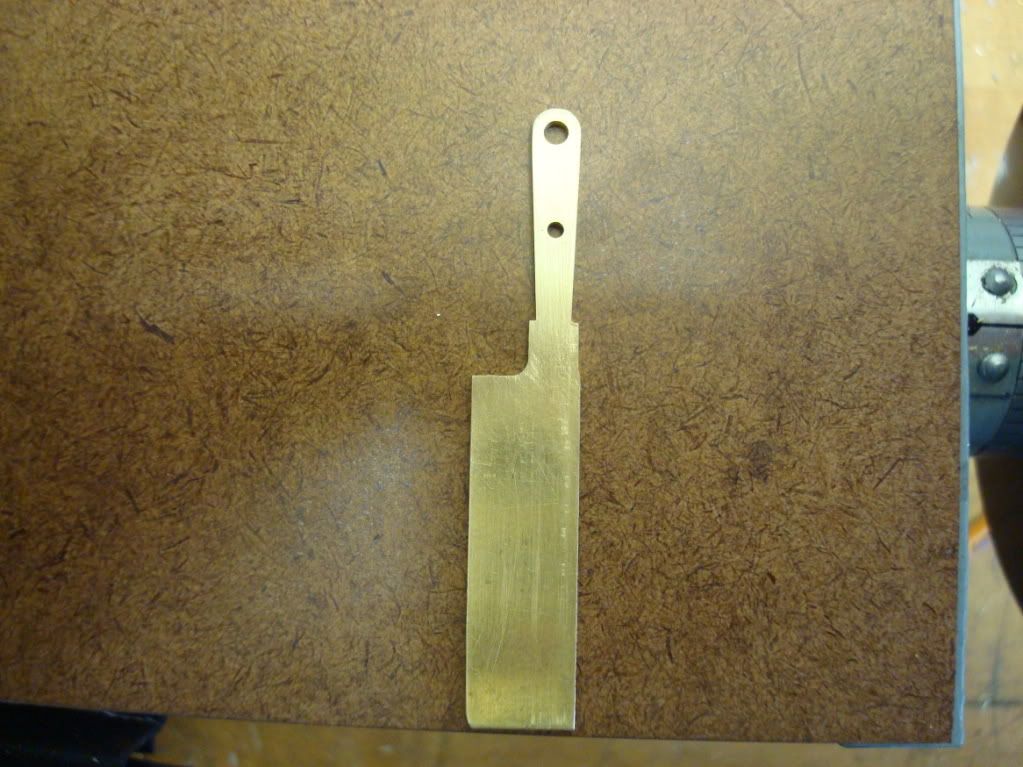
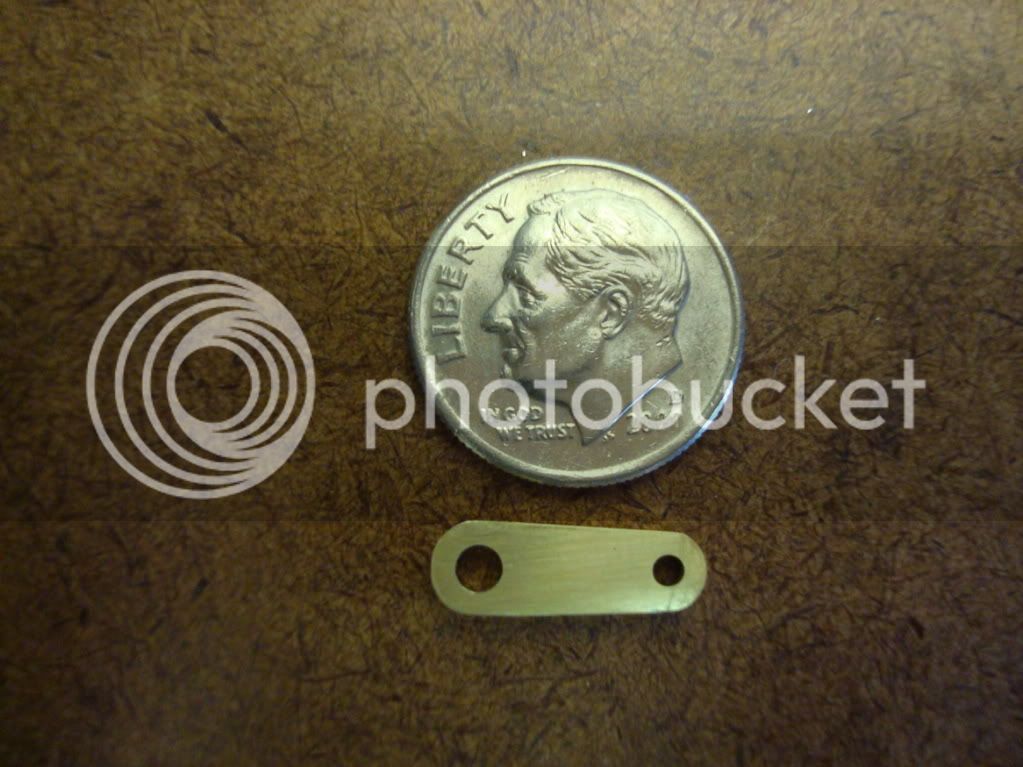
Her is the final results, ready to be silver soldered to the shaft.
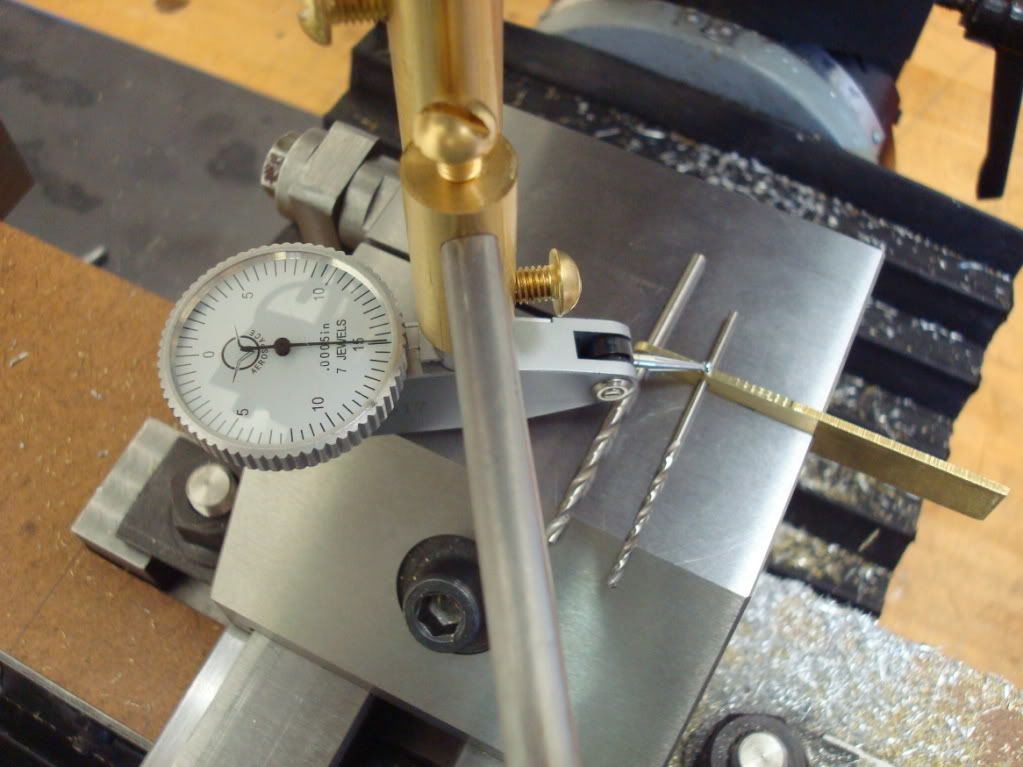
13.jpg
 
That drill bit trick is clever. I'll have to remember that one :)

Thanks you for doing this log. You introduced me to the #29 which is now a must-build for me. I really wanted to do an IC engine next, but I think I may wait until I do this one.

I am impressed with the finish you got using the table saw. I have heard about people cutting aluminum with a table saw for years, but have never tried it. The thought scares the heck out of me!
 
Brian,

This was the first time I cut metal on the table saw, I felt uneasy doing it but it worked out OK. The finish is not as good as the milling machine but the parts will be sanded and painted. I would recommend making a jig to clamp the piece you are cutting.

Do a search on this site for Elmer's #29, there are several good builds to look at. Bogstandard and Metal Butcher come to mind, I am sure there are more but can't recall the names.

Ed
 
Just a quick model of the engine with a few little personal touches.
Hope you don't mind the post here on your thread. :)

ISOMETRIC.jpg


LH ISO.jpg
 
Ed, that came out very well....still following along on this one and I must say the picture quality is superb too!!!

Bill
 
ausdier,

I don't mind you posting the pictures, I have been searching and saving pictures of the #29 engine for reference. The pictures look like digital pictures.

Bill,

Thanks for your comment. It will be a while before I get back to the build, I messed up my back and it looks like I will be taking it easy for a few weeks.

Ed
 
Ed,
Sorry to hear about the back...hope you will be back in the saddle soon. Maybe in the meantime you can sit back and relax and just keep up with HMEM :)

Bill
 
Thanks Ed.
Also sorry to hear about your back.
If you want any closeup pictures of any part of the engine or indervidual parts or anything like that it is all too easy.
This is modeled in Inventor so even if you want to make your own changes and wonder what they might look like, just let me know and I can model them and then send them to you. :)
 
I hope the back gets better soon Ed. I'll be following along when you get back to it. I have fallen in love with this engine, and will probably build my own next so I am quite interested in your build.
 
ausdier,

Thank you for the offer, but I want to follow the plans to see if I can build this engine.

Brian,

I should have started with a small simple project since I have never done this type of work before. But when I was looking for a project I ran across the #29 and I had to build it. The only thing I don't like about this engine is that some of the links are held on with a piece of thin copper wire. I would like to find an alternative to that.

Ed
 
Elmer used the wire technique a lot. I used .025 bendable stainless steel wire from McMaster on my Grasshopper. It has worked just fine.
Best
Stan
 
Today I made 2 small links, nothing exciting for you guys but new to me.
I cut some stock from a sheet of 1/16 brass.
Then milled it to 1/8" wide.

14.jpg

 
I kept the two links together and drilled the 1/16" holes.

15.jpg
 
Nice to see you back at it Ed...hope the back is better now!!

Bill
 
End result, 2 tiny links and a lot more parts to make.
Thanks Bill, yes my back is starting to get better.

17.jpg


Ed,

nothing exciting for you guys but new to me.

That is the learning curve, and hopefully by the time you have finished this engine, you will be further up the slope.

The more time you spend learning on the way up, the better you will be when you reach the top.

Everything else is then downhill and easier.

Coming along very well indeed.


John

 
The rocker arms are completed. I started with a 3" piece that was milled to the correct size. All the holes were drilled and the ends were finished with a 2-56 tap. The last time I rounded the ends of some links I felt my finger was too close to the end mill. This time I used a pencil with a hard eraser to hold down on the metal, it felt safer and worked OK. This picture shows the outside ends rounded then the piece was moved to round the inside.

18.jpg


Starting to look like a rocker arm.


19.jpg


I tapered the arms next.


20.jpg


Next I rounded the small end of the rocker arms. I cut a little more than half way through. Then I part it off and file it down.


21.jpg


The completed rocker arms. They still need some sanding and polishing.


22.jpg
 
After seeing how (arnoldb) made the steam cylinder on his Elmer's #32 build I decided to attempt to make my steam cylinder using his setup. I am beginning to feel comfortable with my milling machine. The first time I used the bolt circle program I spot drilled, drilled, then taped a single hole, then repeated for the next hole. Lots of time and tool changes. This time I spot drilled all 6 holes at one time, went back and drilled the 6 holes then went back and taped all 6 holes. Then flipped the cylinder over against the stop and repeated the to drill and tap the other side.

23.jpg


24.jpg


Next I used multiple drills to drill up to 31/64" then reamed it out with a 1/2" reamer.

25.jpg


This next step I am using my new Albrecht sensitive pin drill chuck. Last week a retired machinist (tool maker) was having a garage sale and I picked up the brand new never used Albrecht drill chuck, a pair of SPI 1-2-3- blocks, a matched set of Vee-blocks and a pair of Brown & sharp tool makers parallel clamps. It was my lucky day.

I forgot to take a picture of drilling the 16 1/2 degree hole, but I used the same procedure that arnoldb used. He scribed a line 16 1/2 degrees and lined it up with the side of the vice.

26.jpg


I made a mandrel to mount the cylinder then rounded one end to 15/16", then I loosened the screw removed cylinder and installed it back on the mandrel and turned the other end.

27.jpg


We are going on a 2 week vacation this weekend to Nevada, Idaho, Oregon, Washington and back to California. I will finish the cylinder when I return.

Ed

 
You're doing very well indeed Ed Thm:

Enjoy your vacation :)

Kind regards, Arnold
 

Latest posts

Back
Top