PhiberOptix
Well-Known Member
- Joined
- Jul 29, 2009
- Messages
- 146
- Reaction score
- 1
Firstly I Would like to thank 90LX_NOTCH for pointing me in the right direction for the plans, as i didn't even know what this engine was called, i saw his profile pic, and when i noticed the 1/2 size one he made (smaller than a 1 cent piece) my jaw dropped, i just had to start making one, well been a busy day here so only managed to get 3 bits done, nothing special just standard turning
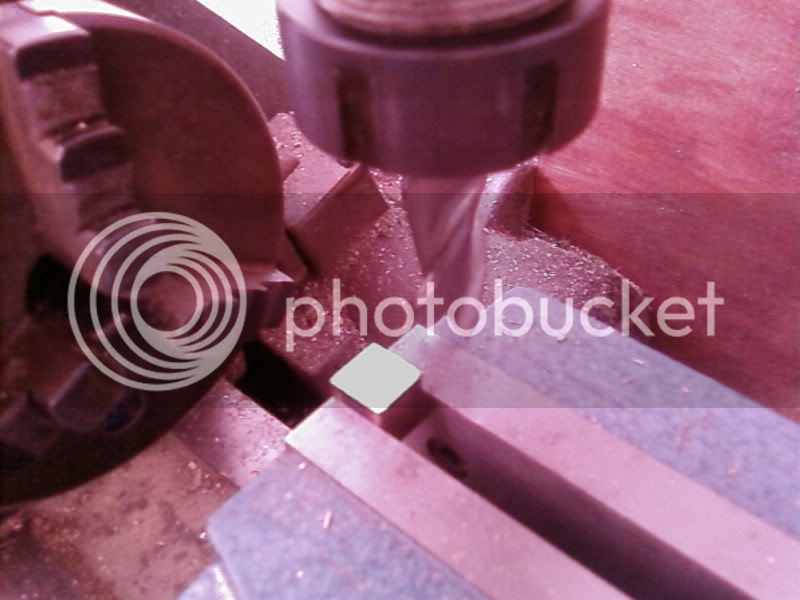
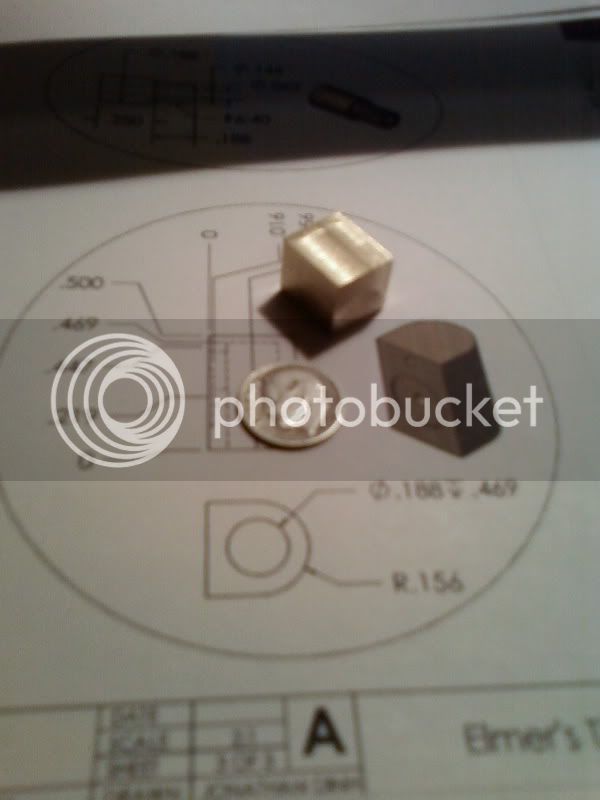
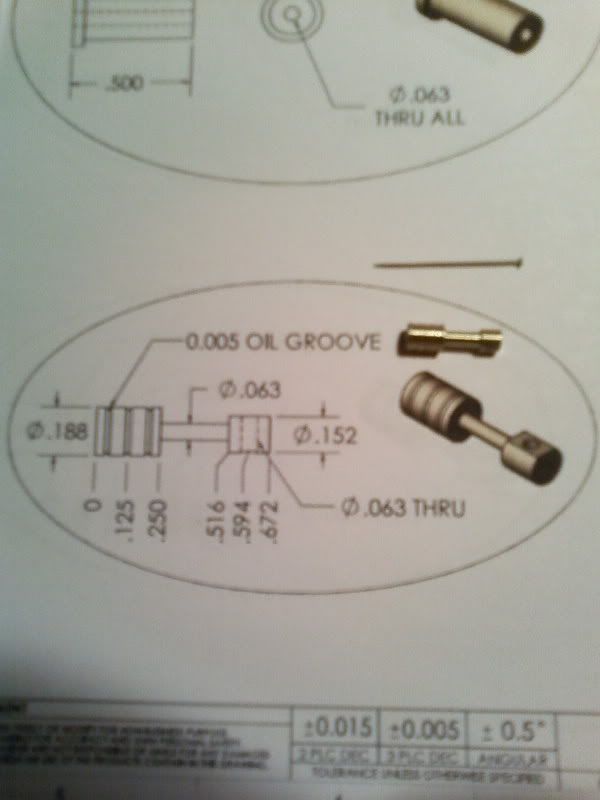
The Flywheel - just facing off the back down to size
now ready for the rapid indexer
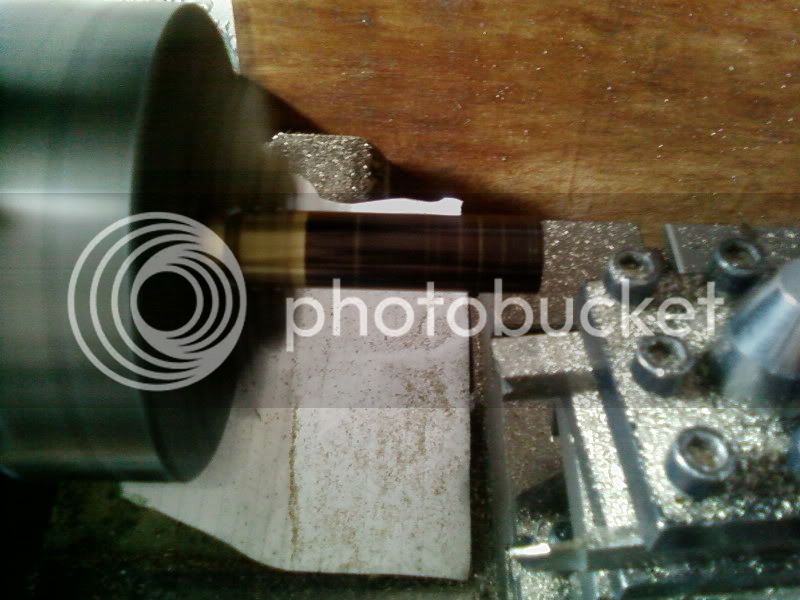
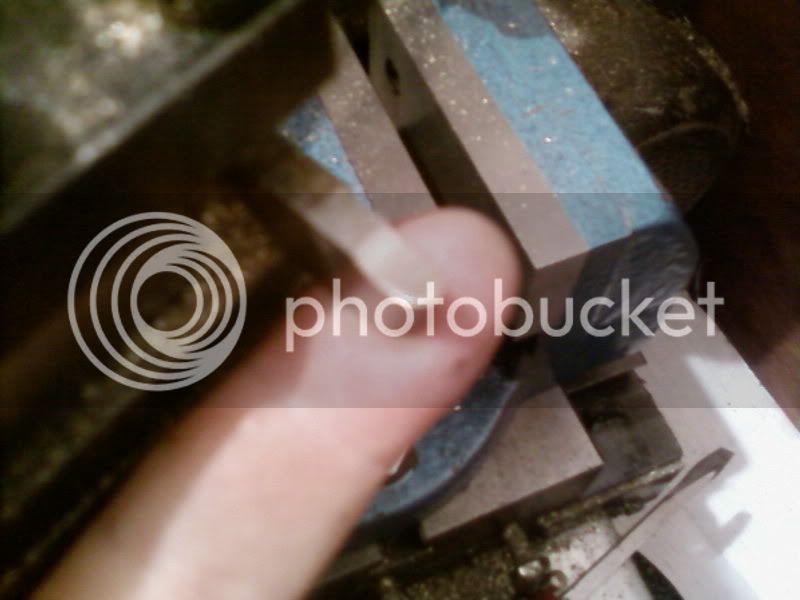
The Piston Rod - just starting the marking out
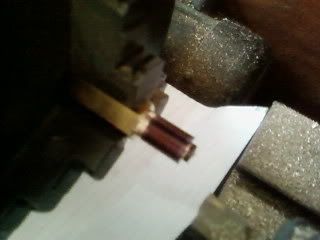
just waiting for the final hole to be drilled
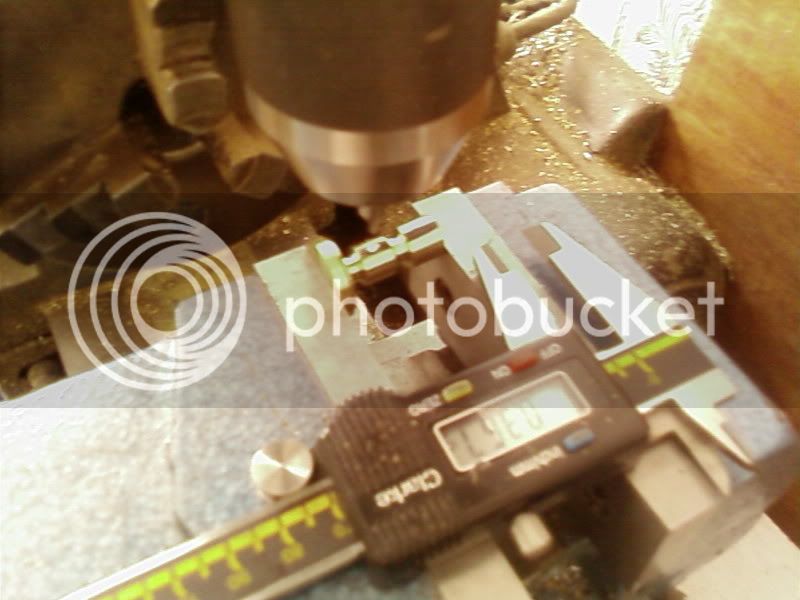
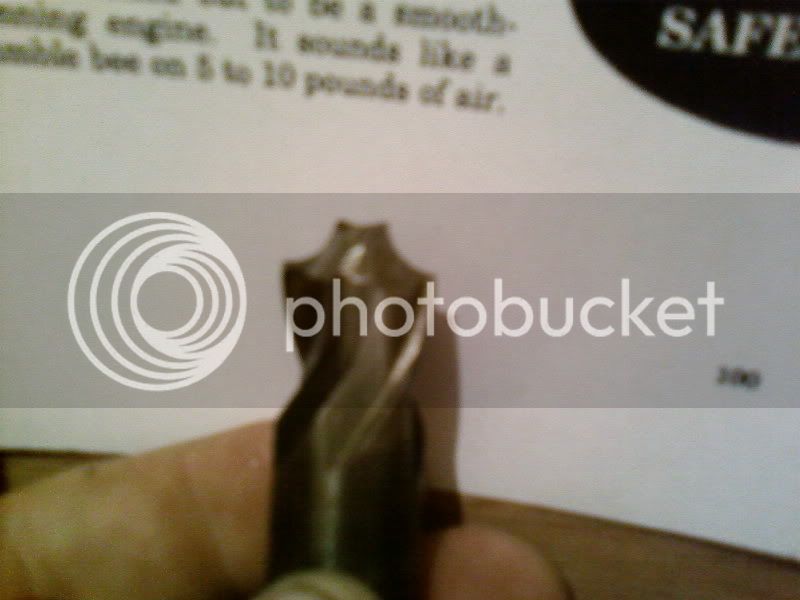
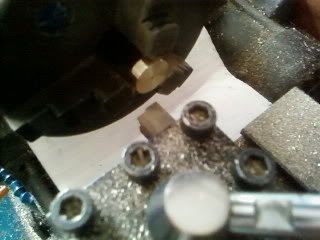
The Bearing - Center drilling the end before drilling
Drilled and done
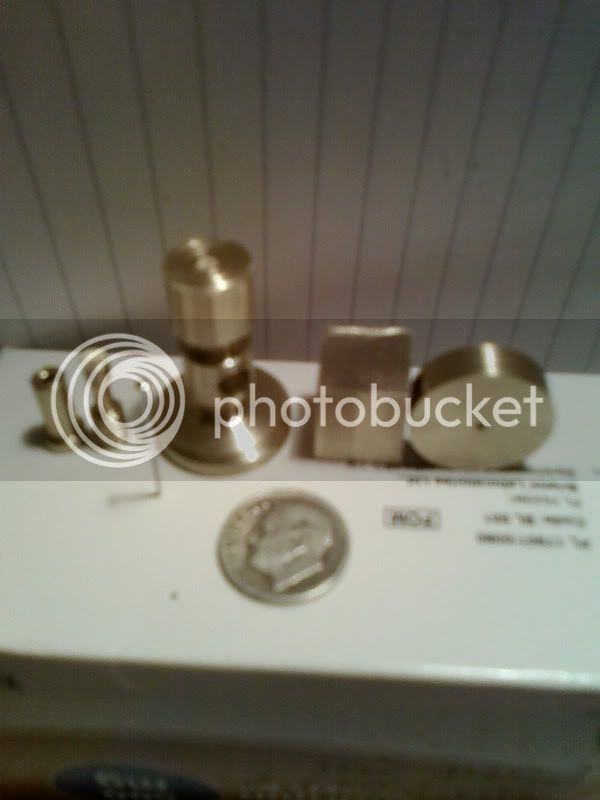
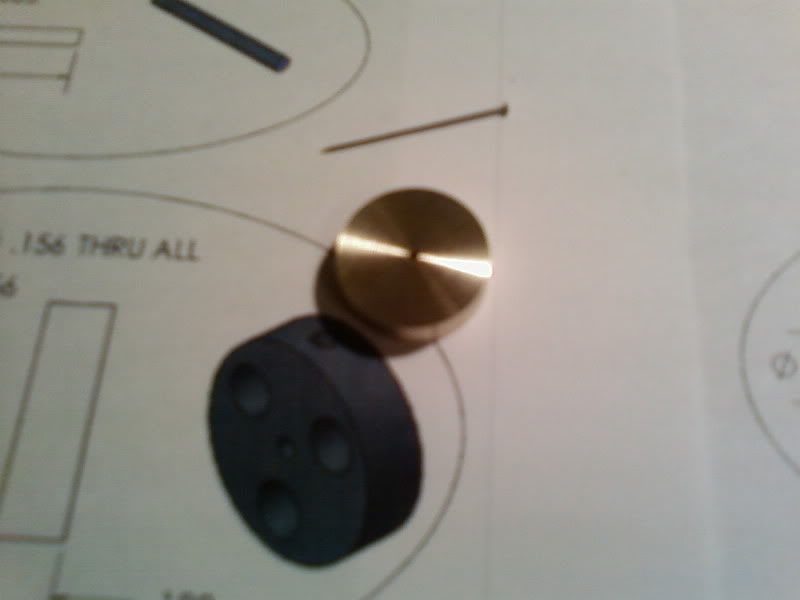
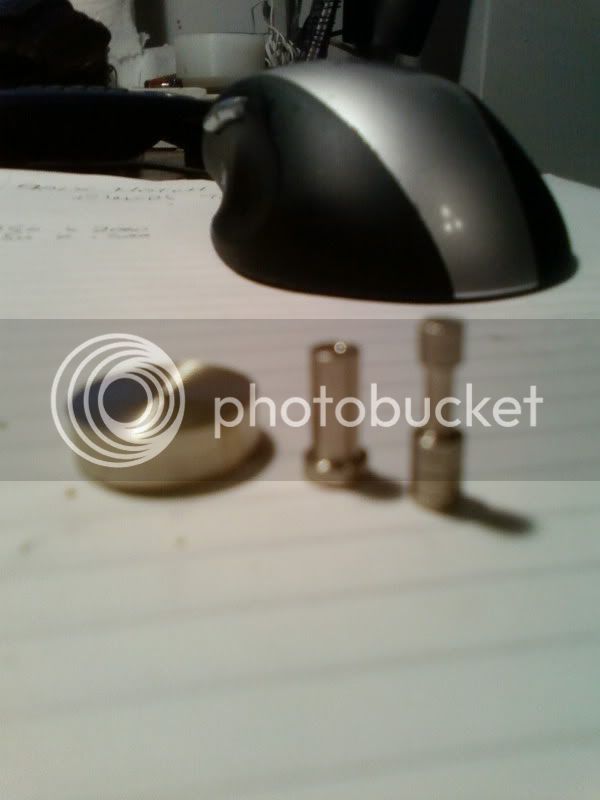
So, thus far
Hopefully I will get some time tomorrow to get some more done, if I do I will add more pics
This is my first attempt at this particular model and also at writing/filming a stage by stage,
hope it is good enough [nervous grin]
The Flywheel - just facing off the back down to size
now ready for the rapid indexer
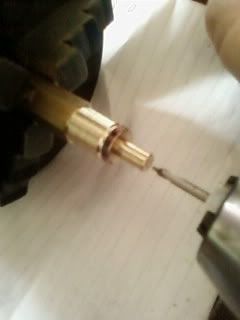
The Piston Rod - just starting the marking out
just waiting for the final hole to be drilled
The Bearing - Center drilling the end before drilling
Drilled and done
So, thus far
Hopefully I will get some time tomorrow to get some more done, if I do I will add more pics
This is my first attempt at this particular model and also at writing/filming a stage by stage,
hope it is good enough [nervous grin]
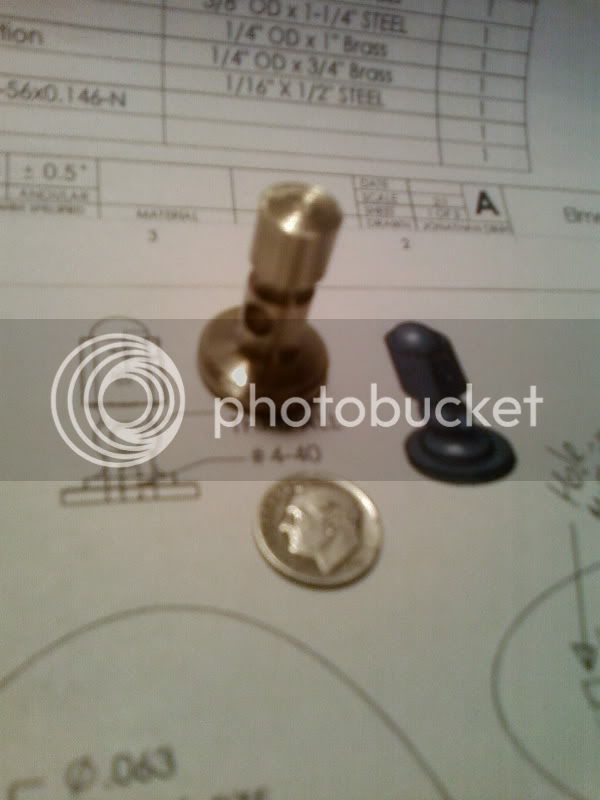
") .......... just a suggestion, if you put something in the picture, like a coin, it helps folk judge the size of your parts (pardon the expression :
.......... just a suggestion, if you put something in the picture, like a coin, it helps folk judge the size of your parts (pardon the expression :