Casting Engine Components For a Twin

Home Model Engine Machinist Forum

Help Support Home Model Engine Machinist Forum:

This site may earn a commission from merchant affiliate links, including eBay, Amazon, and others.
Great thread Artie! :bow:

My only hands on experience with metal casting was in 1973.
In 8th grade metal shop each of us made aluminum castings to make
mountain pie irons. We made our own sand molds, but the shop teacher
did the actual pouring. At the ripe old age of 13 we were sure he was being
overprotective. ???

I'm looking forward to seeing more of your casting pictures and videos!

Rick
 
Thanks Rick, its a really simple (black?) art, anyone here could do it given the opportunity. I think I had best start a build thread on the engine soon.

Cheers

Rob
 
Artie,

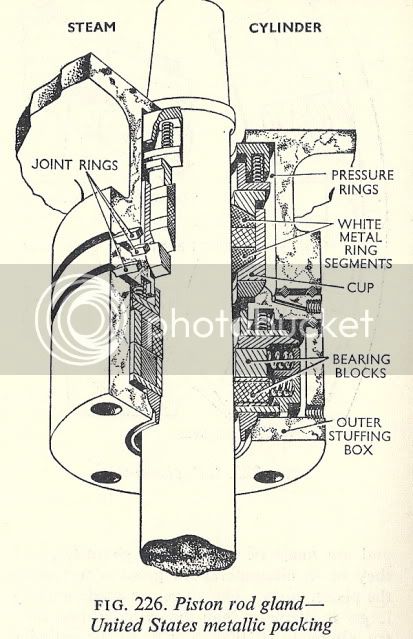
Have to agree, this is a great thread. My casting experience, (if you can call it that), is confined to pouring whitemetal to make segmented seals for US Metallic Packing on piston and valve rods of 1':12" steam engines; and a few big ends on some vintage conrods. The conrods being cast steel were much more of a challenge than the bronze backed packing segments in terms of adhesion before machining.

It's pretty disconcerting when you offer up the boring bar and the whole of the whitemetal starts to spin in the housing. :mad:

Conrod - 1, Bob - 0.

Best Regards
Bob
 
Gday Bob, sorry to be so slow replying, have been away for work. I have another office 600kms away from my home and I work out of there 1 week per month, I think I need a miniature workshop set up I can fit into the boot.... Anyway back at home base, lawns are a foot high, had to make a new gate as puppy has decided she can jump the old one etc etc etc..... on it goes....

I had a small play with white metal many many years ago, in fact still have a few scrapers somewhere... thats an artform! Todays engine rebuilders really do have it easy in comparison ;) But you mention machining... did you not use the bearing blue and scrapers?

Hope you are both settled into the new home, I think Its time you had that container moved a little closer... My shop is 3ks away and I find that to be a pain. I have a shared arrangement, 2 of us own the equipment and we share the running costs and consumables. Works well.

Hope to get the other brass parts cast today and perhaps the pedestals all roughed into shape. Also have to repair a broken housing on the horizontal mill, halfway through that one.

Updates later, cheers all.
 
Artie said:
I had a small play with white metal many many years ago, in fact still have a few scrapers somewhere... thats an artform! Todays engine rebuilders really do have it easy in comparison ;) But you mention machining... did you not use the bearing blue and scrapers?

On vintage automotive conrods and US Metallic Packing segments - no.

The process was, IIRC.

1. Bolt the two halves together.

2. Preheat the assembly and centre plug jig, till they spit back at you.

3. Pour the whitemetal.

5. File off the oversplash on each side of the big end then clock the big end boss true in the lathe using a 4 jaw/faceplate.

6. Bore to size, (journal size + 0.002" per 1" journal dia).

7. Using a V shaped tool in the boring bar mounted at 90 deg, nick through the whitemetal at the 2 half joins of top to bottom.
8. Undo the bolts and clean up the nicks when broken apart.

For US Metallic Packing segments I made a machining jig which held the 2 bronze backed segments true for machining. On the solid whitemetal 3 segment packings, they were machined as a solid ring then split at 120 deg. The size of the splits determining the clearance to grip the rod.

USMP.jpg


Scrapers and blue were always used on plain bronze bearings and on bearings with wear shims fitted.

Best Regards
Bob
 
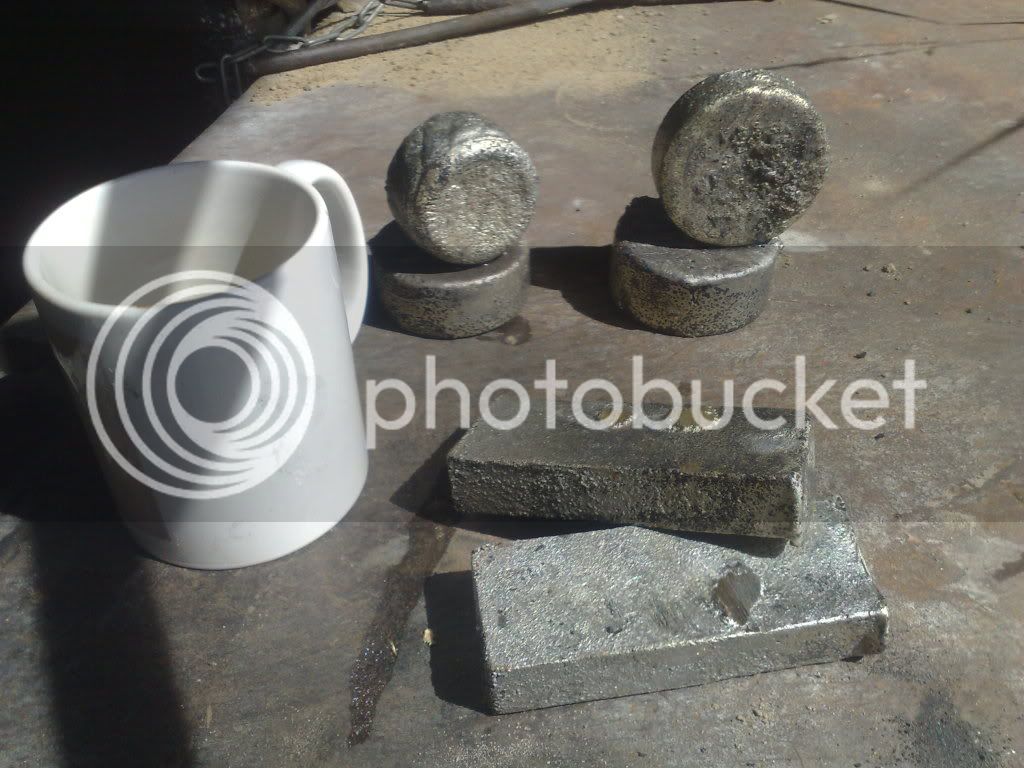
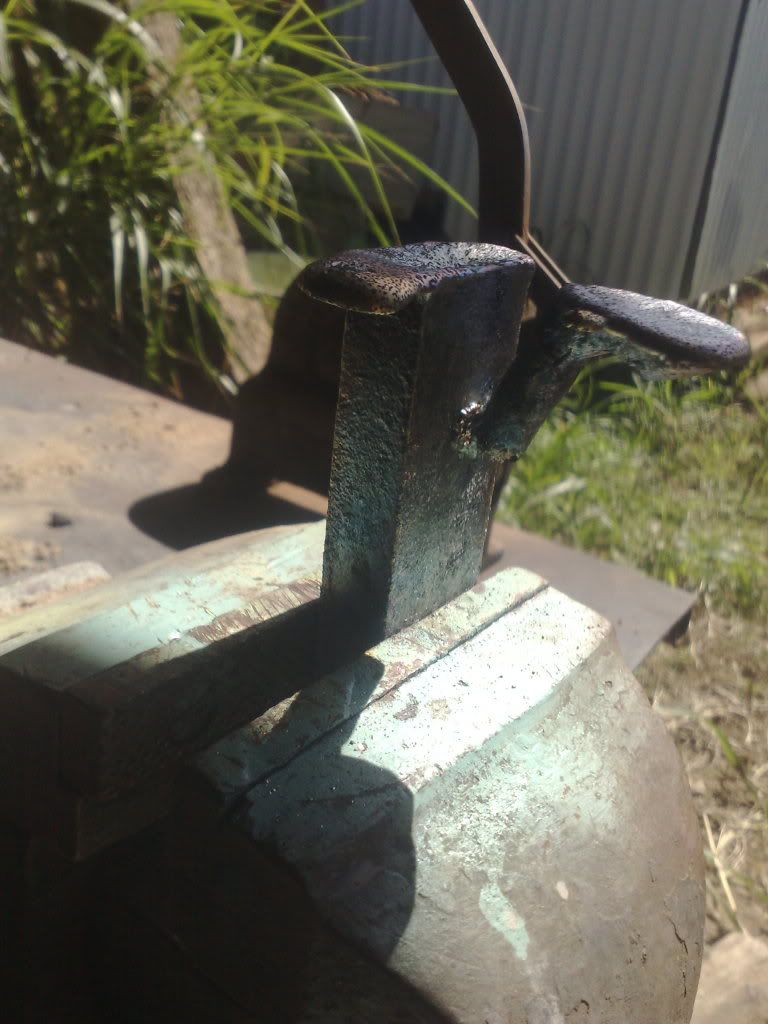
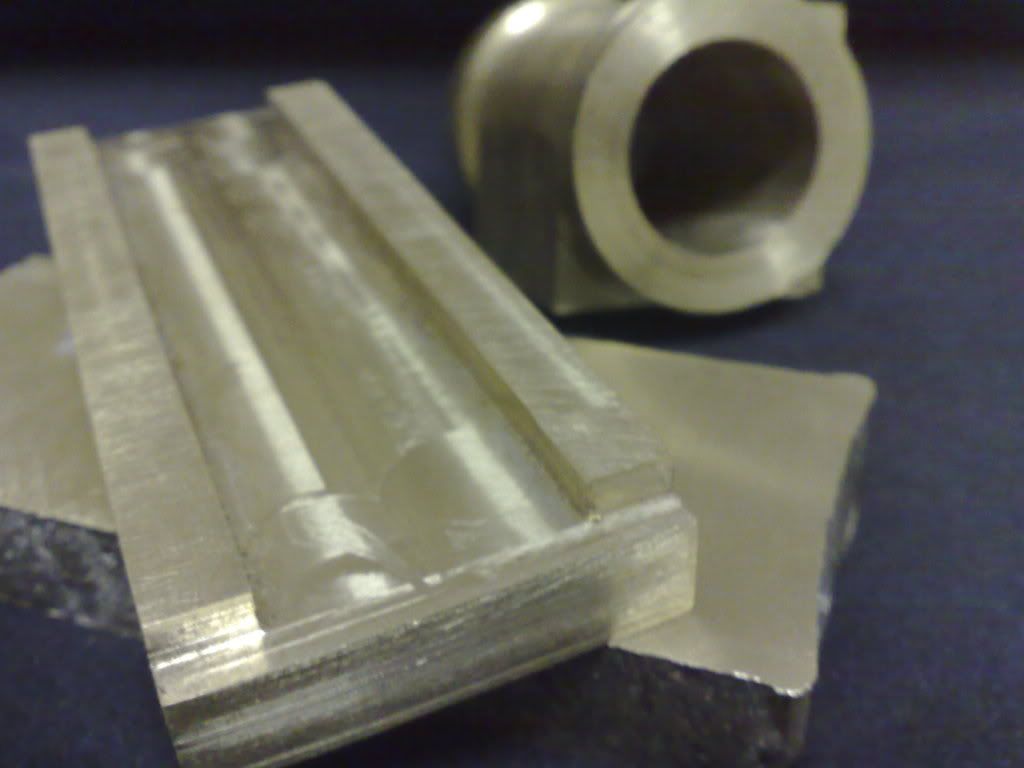
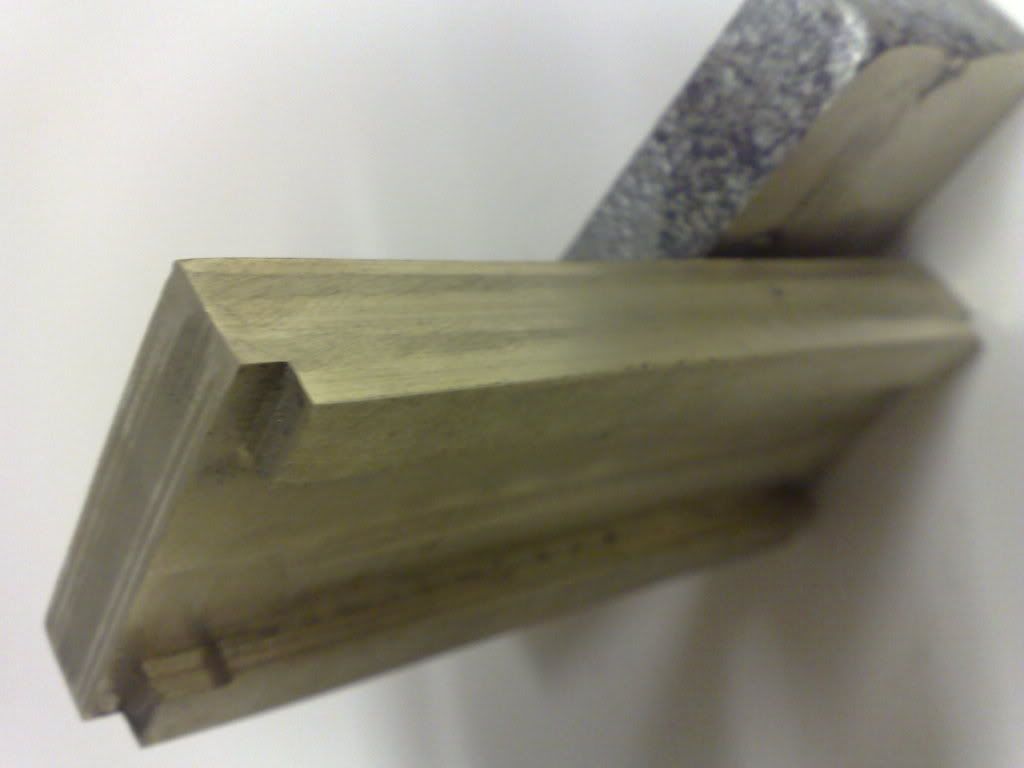
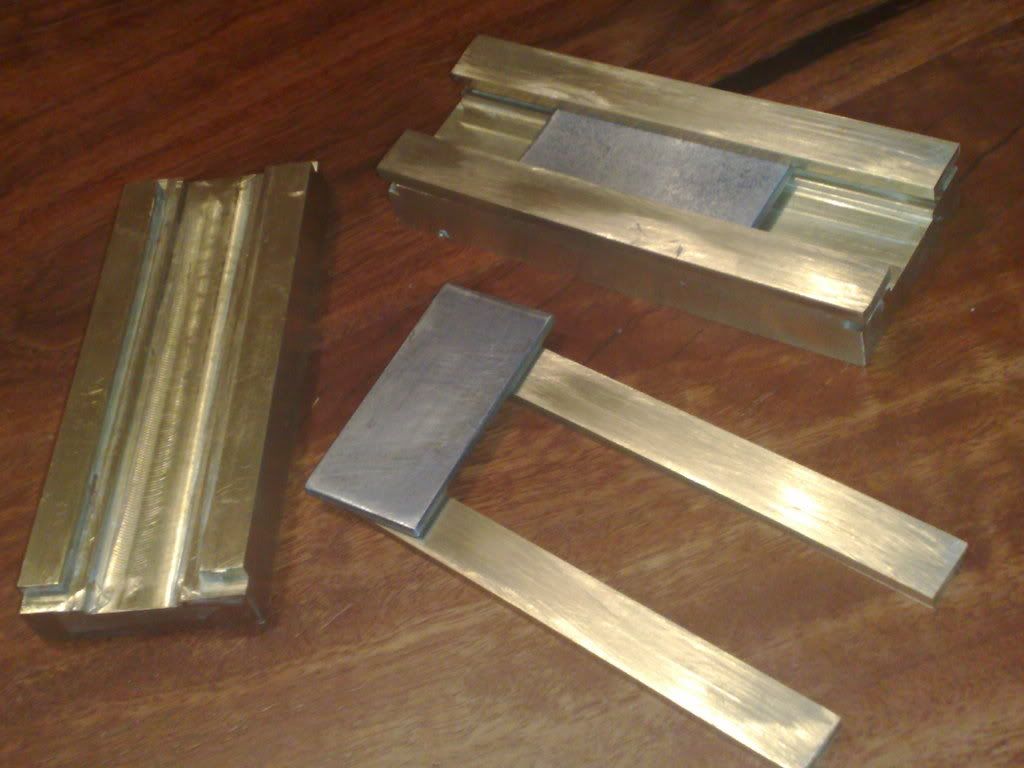
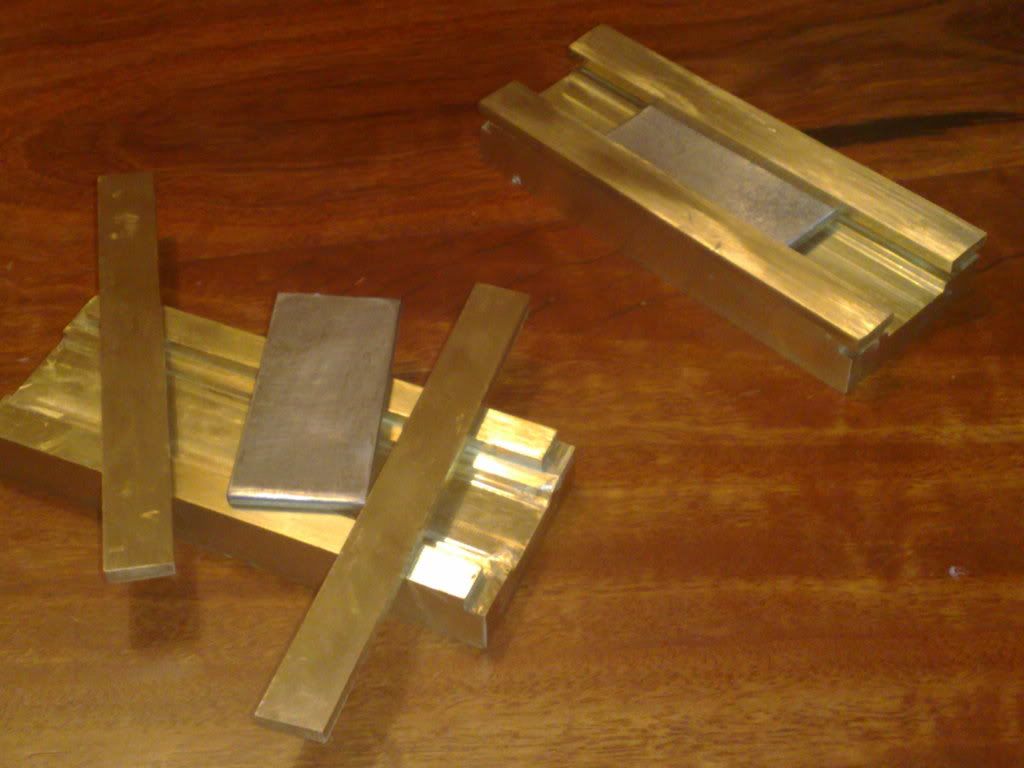
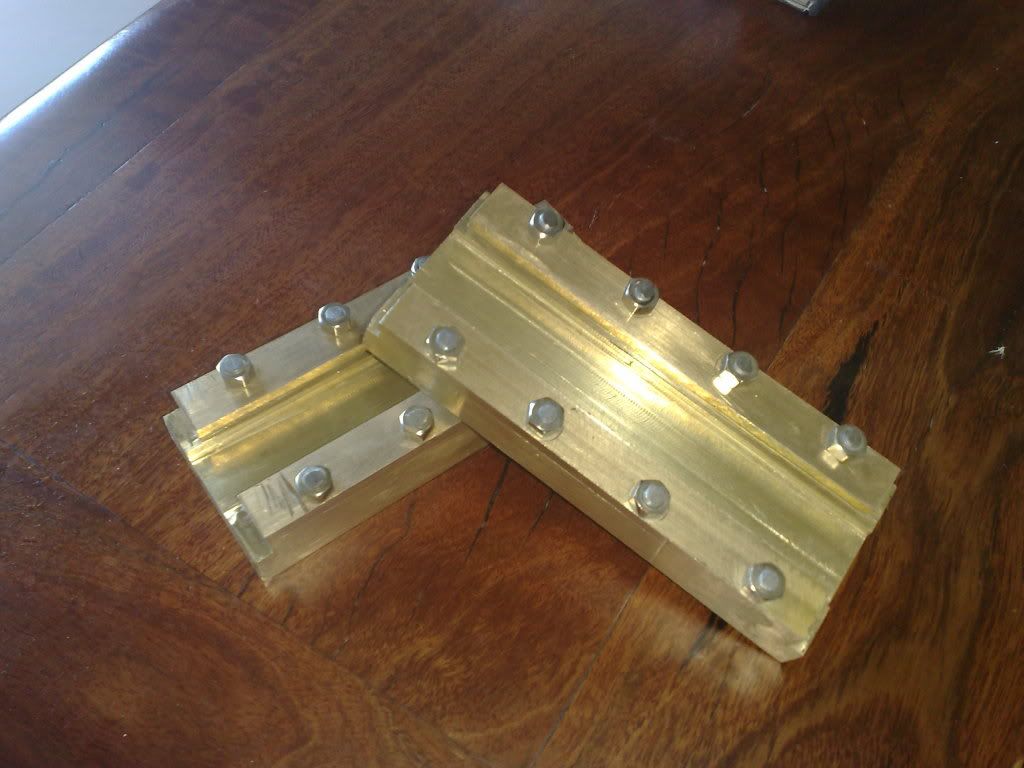
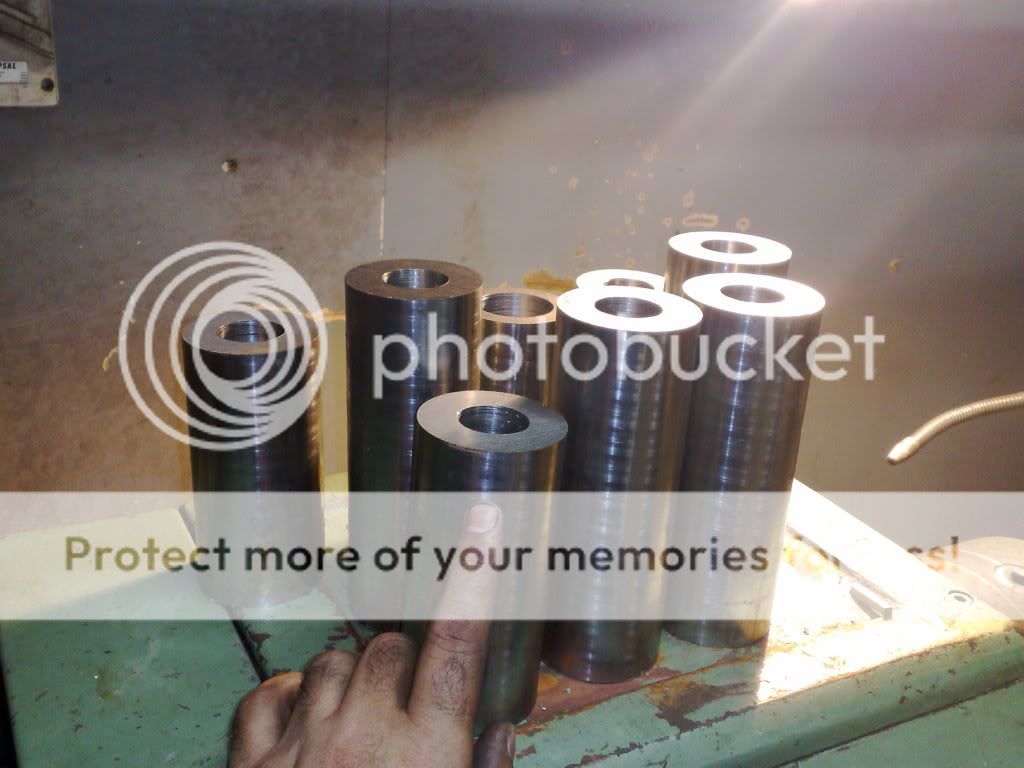
A couple of bits to show. It was mentioned earlier about this aspect of casting, here's an example, I need some flat brass bar for the cross head beds, I could build it up from seperate pieces or I could buy a piece of brass bar 19mm x 45mm x 110mm. I need two pieces, I have no idea what that would cost and Im pretty certain no one near here would carry it and if they got it in it wouldnt be cheap. The round pieces are 65mm by (approx) 25mm. The pieces you see here cost about $3 in gas and about an enjoyable hour of messing about.

14032010076.jpg


14032010071.jpg
 
Oh...and if I cock up the machining process...... ill just cast up some more.. ;D (thats on the cards!)
 
Artie said:
Oh...and if I cock up the machining process...... ill just cast up some more.. ;D (thats on the cards!)

Correct - Been There, Done That - slow learner ;D

Best Regards
Bob
 
Firstly I wish to apologise for the fuzzy pics, the camera in my fone has stopped focussing and has an incredibly shallow depth of field. Its insured for such crap and the new one should be here tomorrow. In the mean time...crap pics!

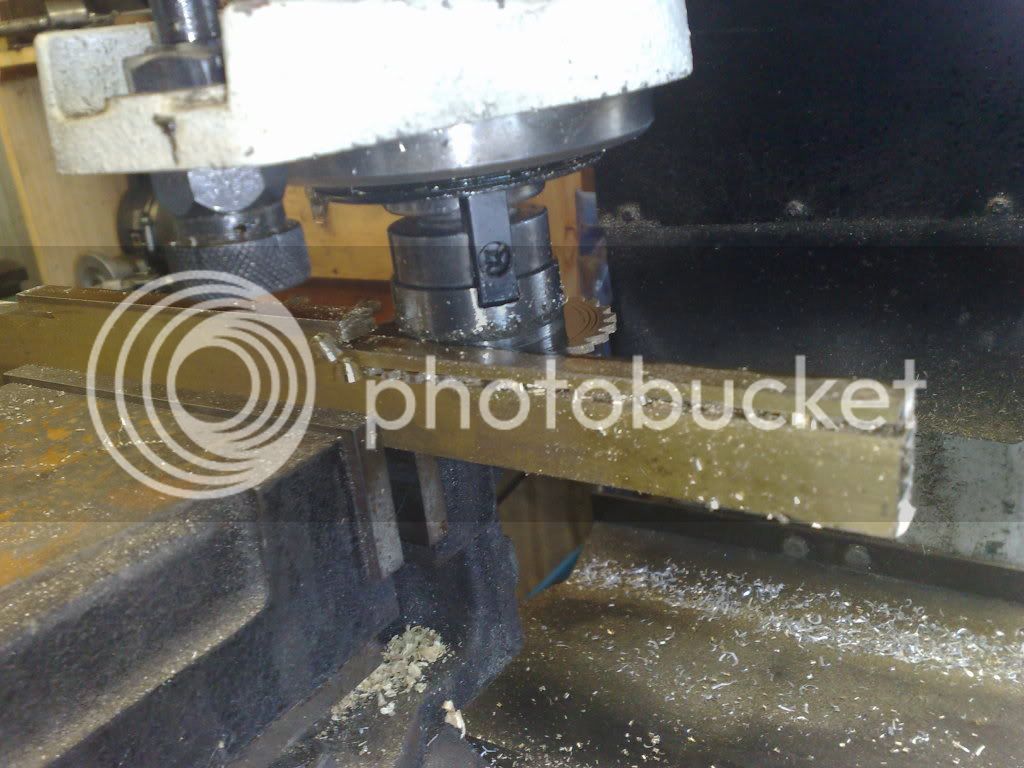
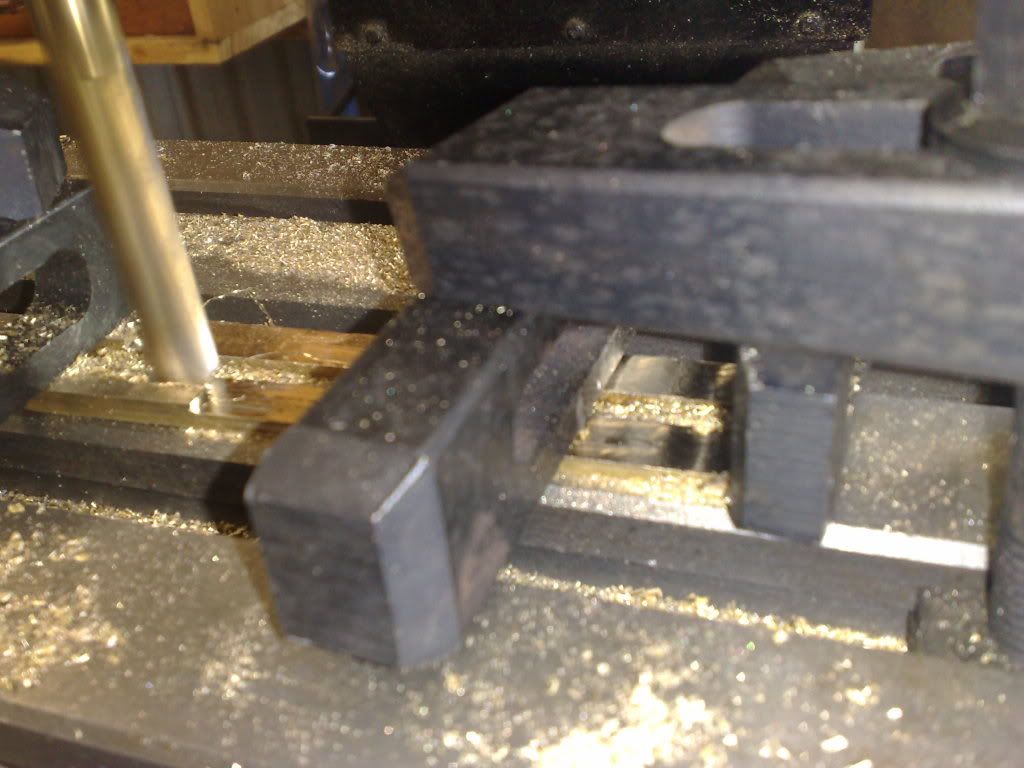
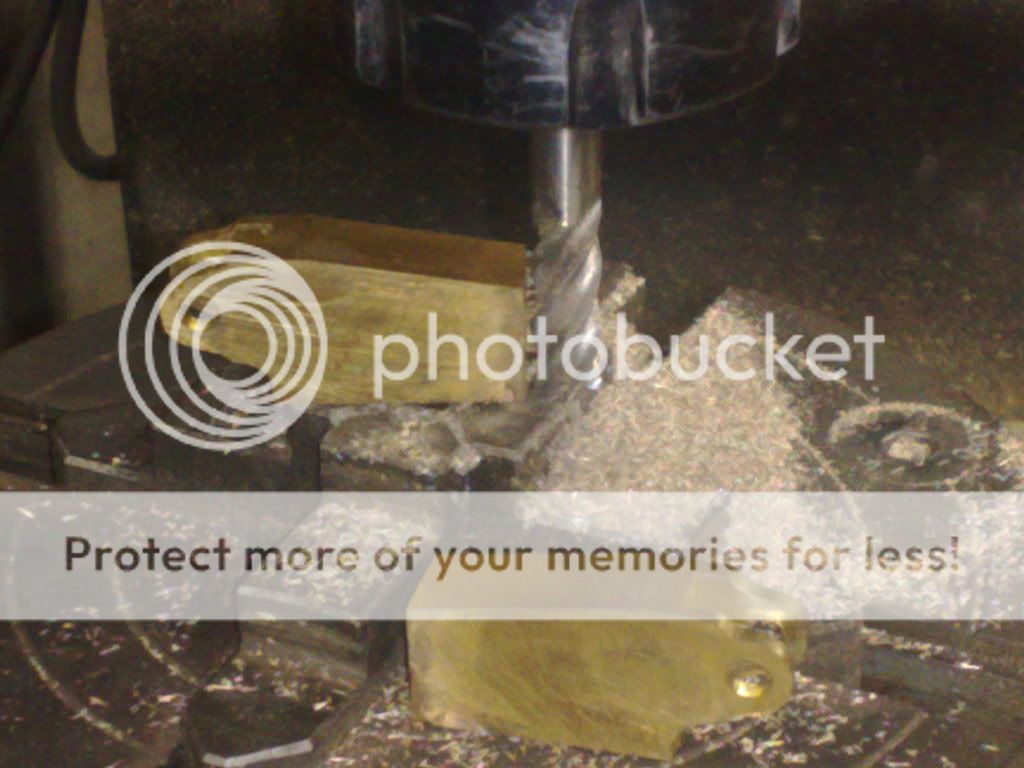
Got a short shop session in tonight, got one cross head bed almost done and one roughly sized. Amazing how much time simple operations can soak up. Having a brain fade and trying to use a blunt fly cutter didnt help, soon as I sharpened it I whizzed along, someone smack me on the back of the head please...

15032010013.jpg


15032010010.jpg


And if anyone is interested, a native Australian, her name is Isis and shes a Centralian Python, luckily shes just had a feed of rodent or I may have been in danger (she lives in the kitchen... and always looks hungry). Isis belongs to my daughter who has just moved back home.... what can I say?

15032010017.jpg
 
Howdy guys, cameras back on line (finally) and I have a little progress to report. I did say alittle progress. Seems that work keeps getting in the way of late...

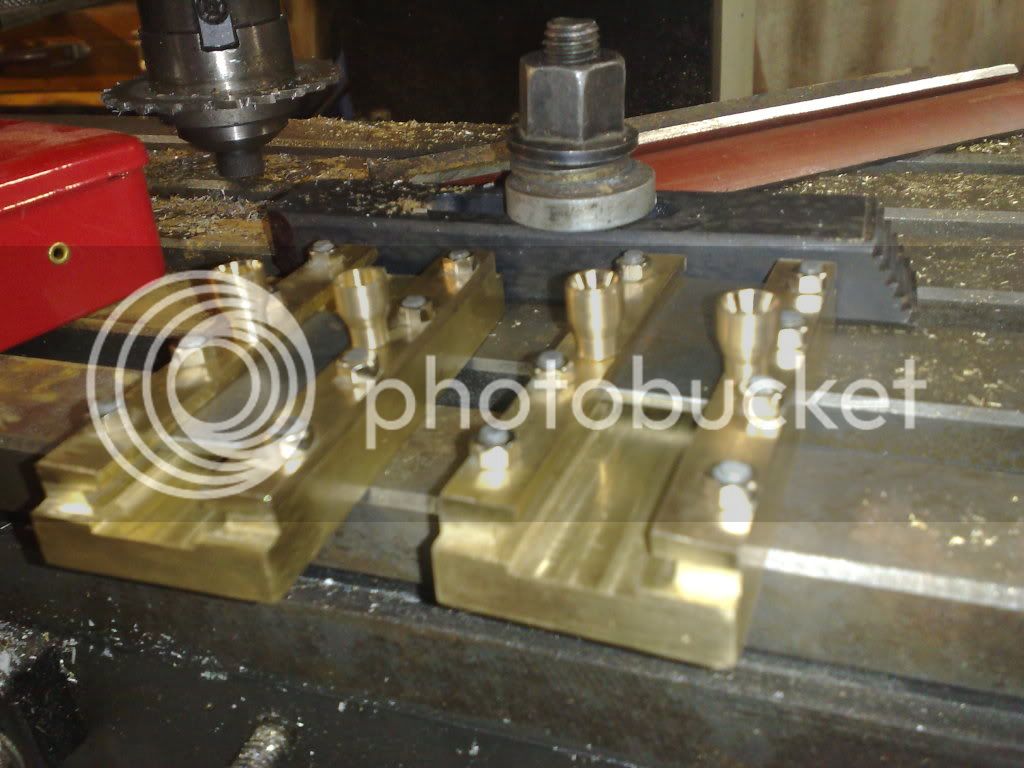
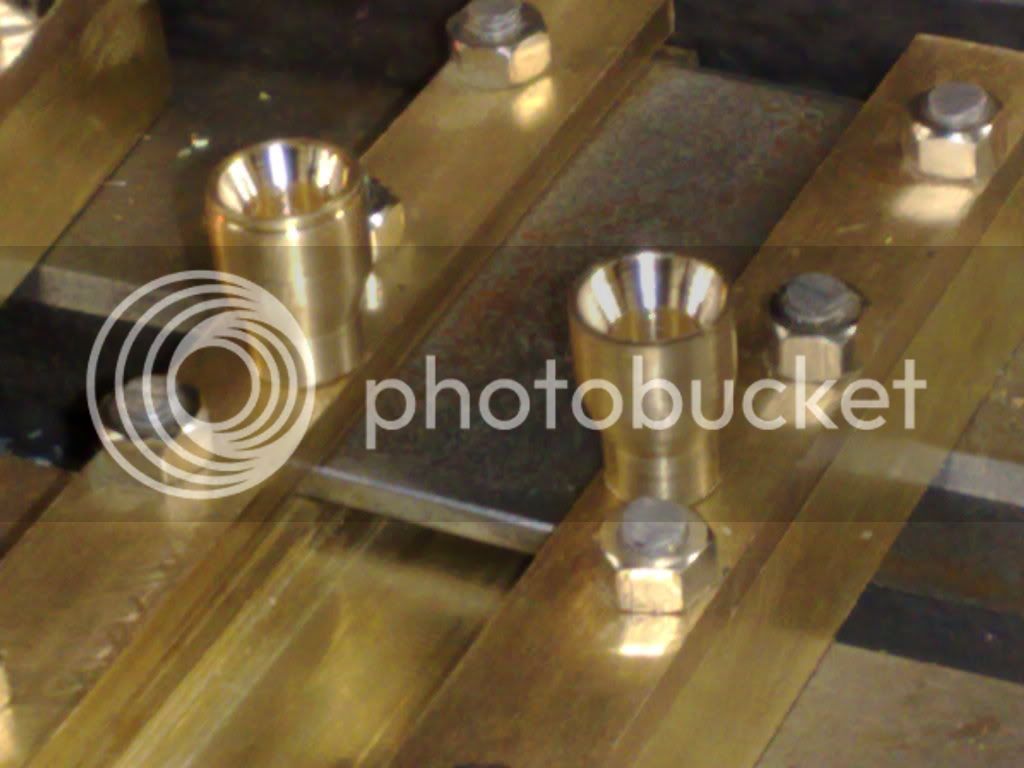
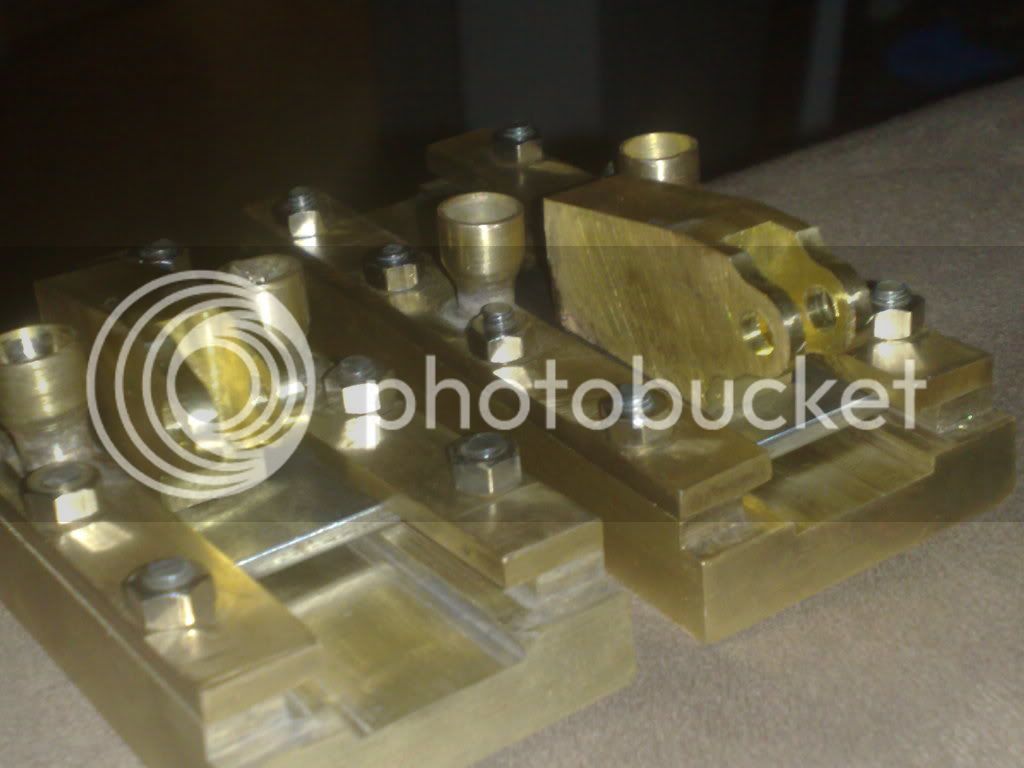
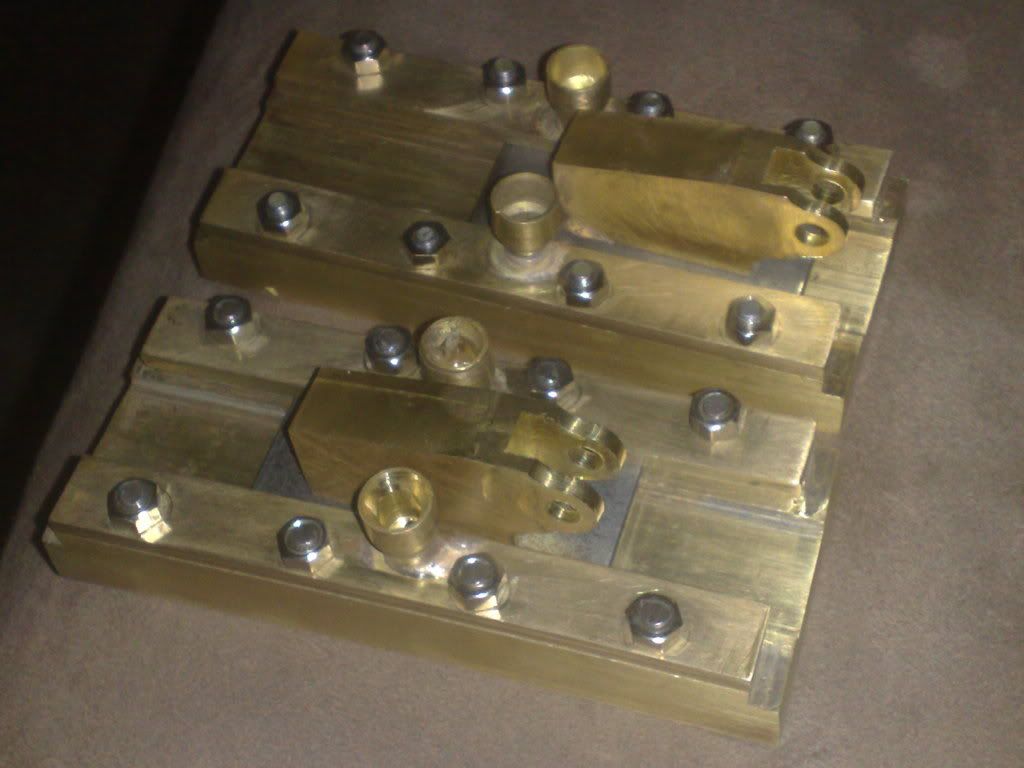
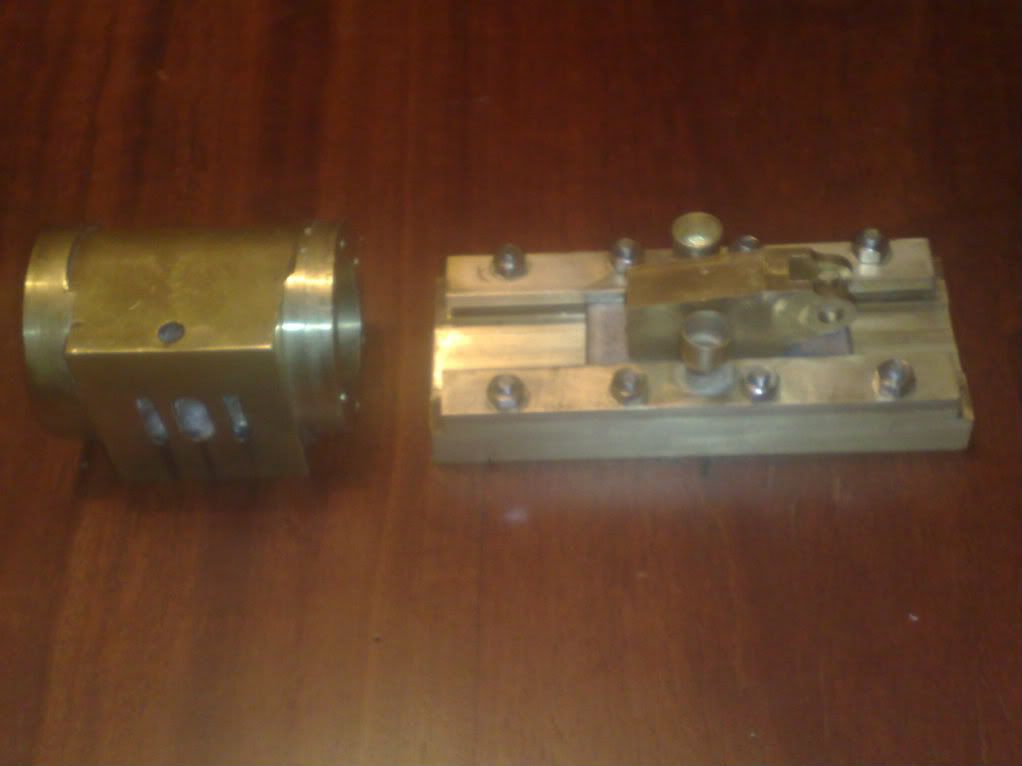
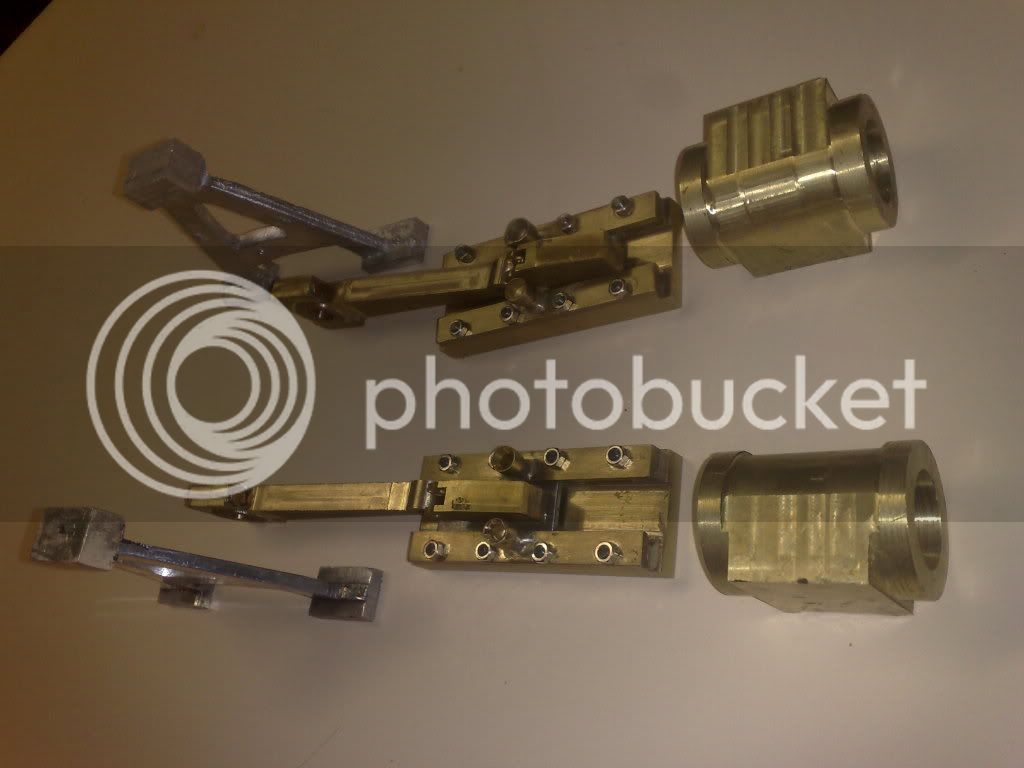
The last pics showed the crosshead beds in rough form, these are now almost finished with the studs to be drilled and fitted and the oiler cups to be made. Also have the bosses to make and silver solder to the slide plates for the piston rod and conrod little end.

Studs and nuts (4BA) where ordered last week but still havent arrived as yet. Ill put these aside til they do and move onto the cylinder end plates

27032010155.jpg


27032010154.jpg


You may remember these being these not so long ago...

14032010071.jpg


You ever have one of those days? Went to the shelf to grab the strips to retain the slider. These are 10mm by 3mm strapping. Cant find it...anywhere. I dont think I used it for anything. Ok zip down to the hardware store where I bought it as the shops are still open.... nada... out of stock. Only one thing for it....


03272010148.jpg


03272010150.jpg


Damn... did that take some time....

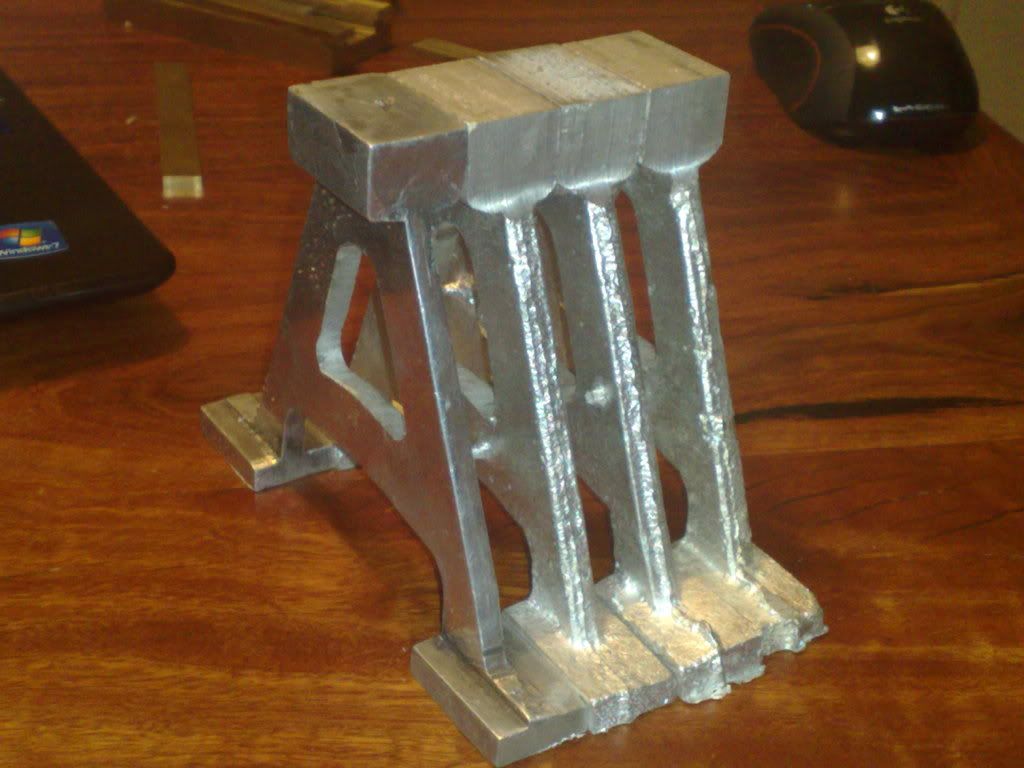
Also got the pedestals roughed up, all critical sizes are done, now just got to 'pretty' them up :doh:

27032010156.jpg


Thaz it fer now.... until the nex instalment.. Cheers Artie
 
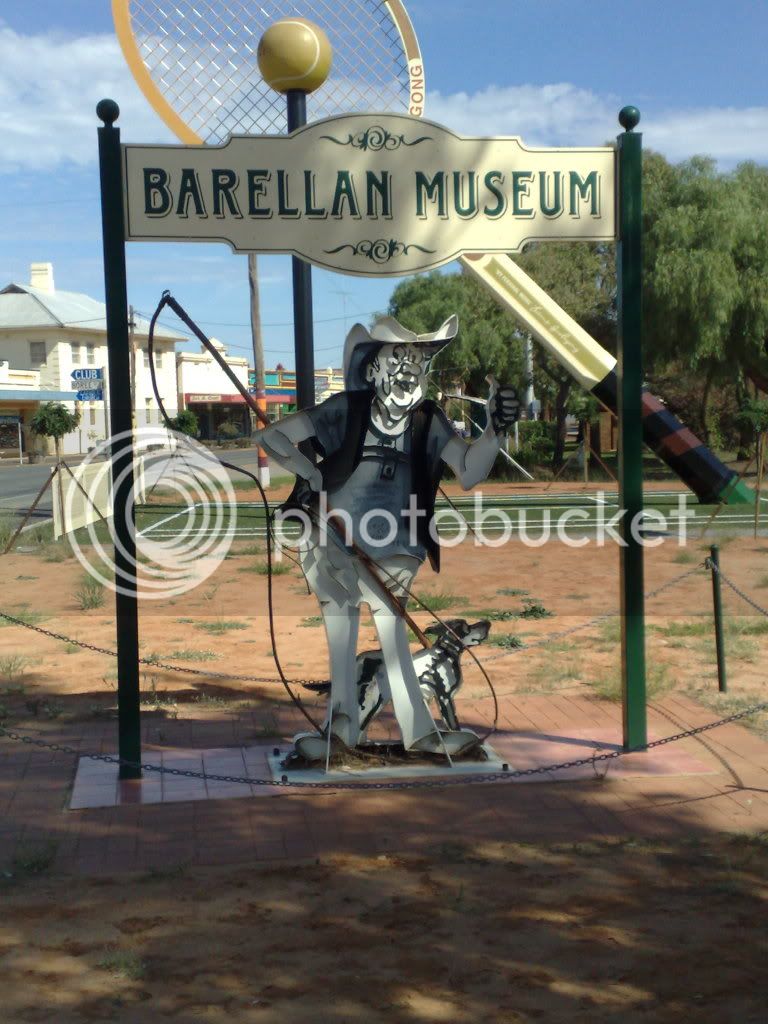
Went to a swap meet this morning (Sunday) and as we were leaving I ran onto this guy..... anyone identify him?

28032010158.jpg


Yes that IS a giant tennis racket in the background... can anyone tell us why this small town has this feature? Prolly more appropriate for Aussies but if you google the towns name and tennis you will be in the know.....
 
Dad - Alias Tel

Look at the photo and you find gong

All you need to do is add Yvonne Goola = Goolagong.

Best Regards
Bob
 
Lots of holes drilled and tapped (no breakages!!)

01042010163.jpg


another piece down.... dozens to go..... ;D
 
It needed oilers! So it got em....

01042010164.jpg


01042010165.jpg


Got another job, this is a little adapter set for a hoist, for higher cars like 4 wheel drives. A short set and a longer set....

01042010166.jpg


01042010167.jpg


01042010168.jpg
 
Theres probably not much casting left to do and I should probably start a new thread but.... Ill keep going in here unless someone has an objection :mad:......

Basically I am feeling my way forward as I go, Im hugely impressed with the pace of some of the builds carried out on this forum (particularly my ol' mate Tel), and as I said on Kvoms thread im envious!

However, my pace is my pace and its the best I can do.....

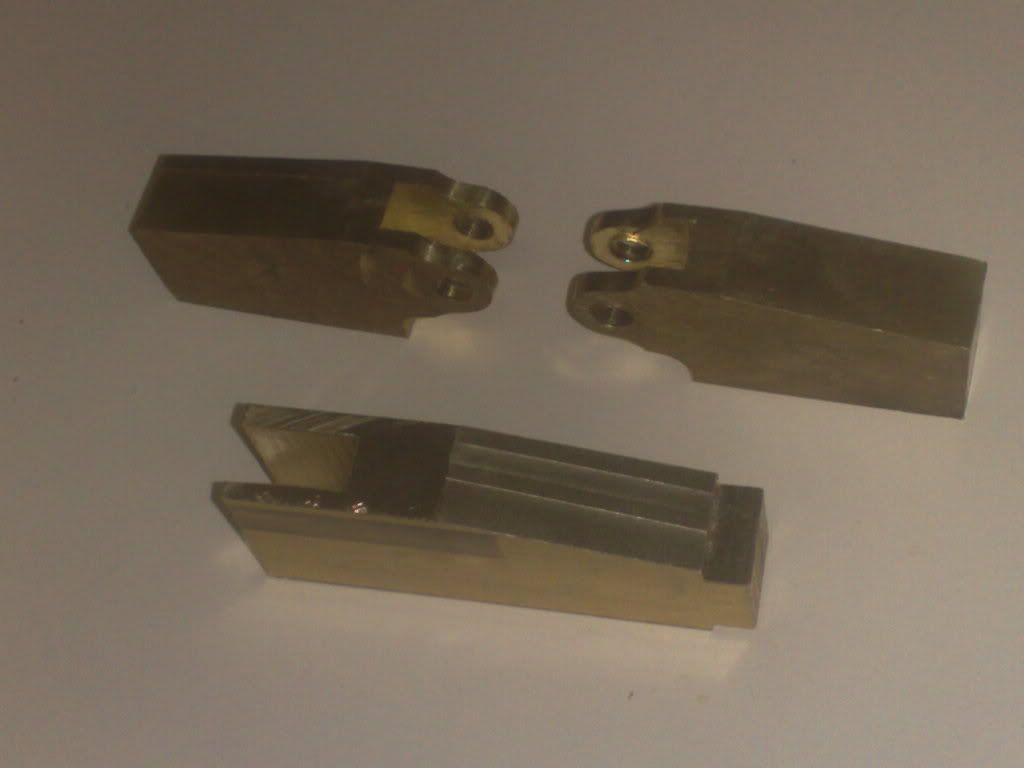
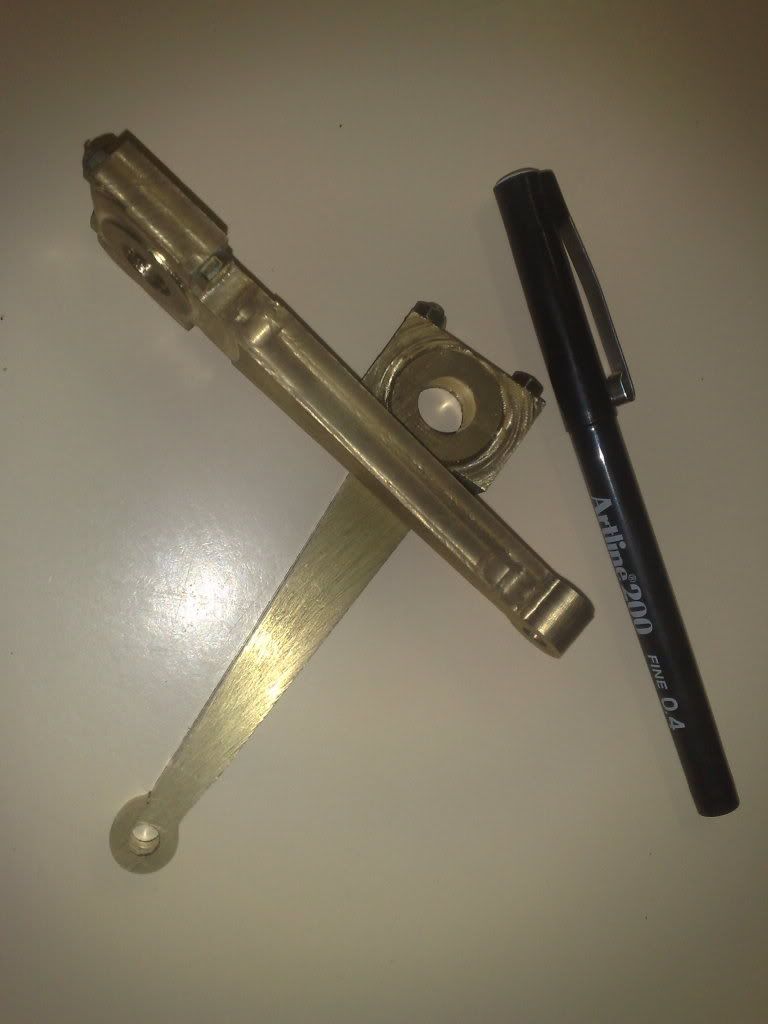
So, tonights offerings.... part of my problem is my own need to 'prove' a part before I start production. Youve seen this with a set of ali cylinders cast up, that was worthwhile (imo) and tonight is no different. The mounts for the conrod/piston rods. Prototype and finished items (almost)

16042010222.jpg


16042010210.jpg


16042010211.jpg


16042010216.jpg


16042010218.jpg


16042010224-1.jpg


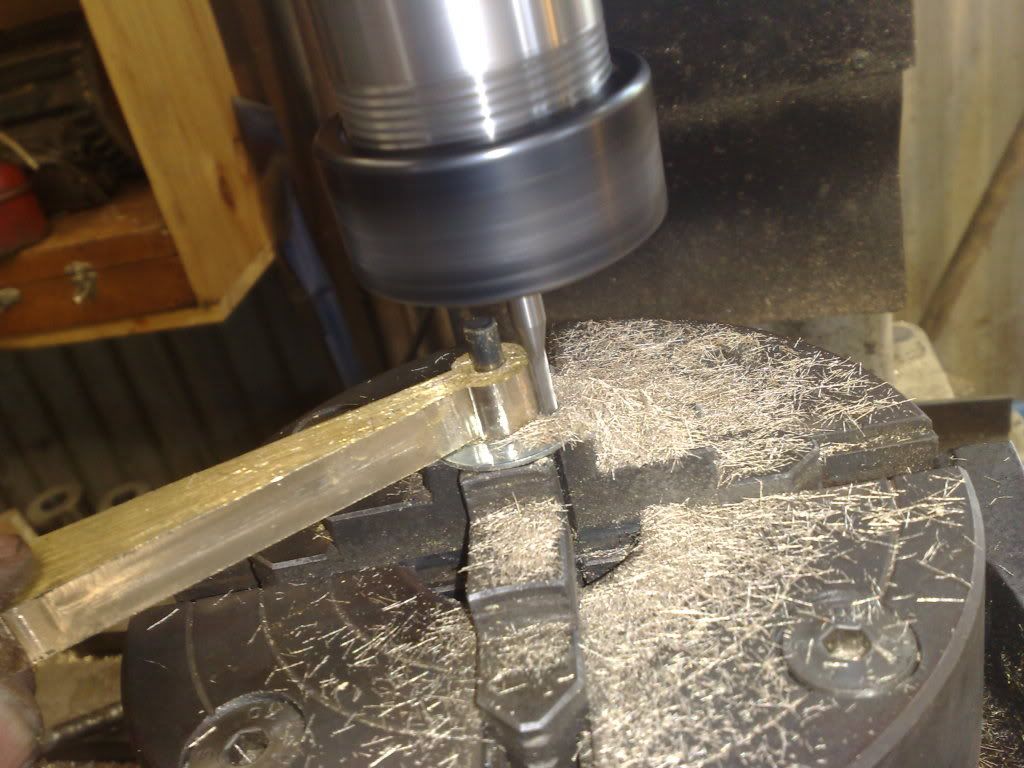
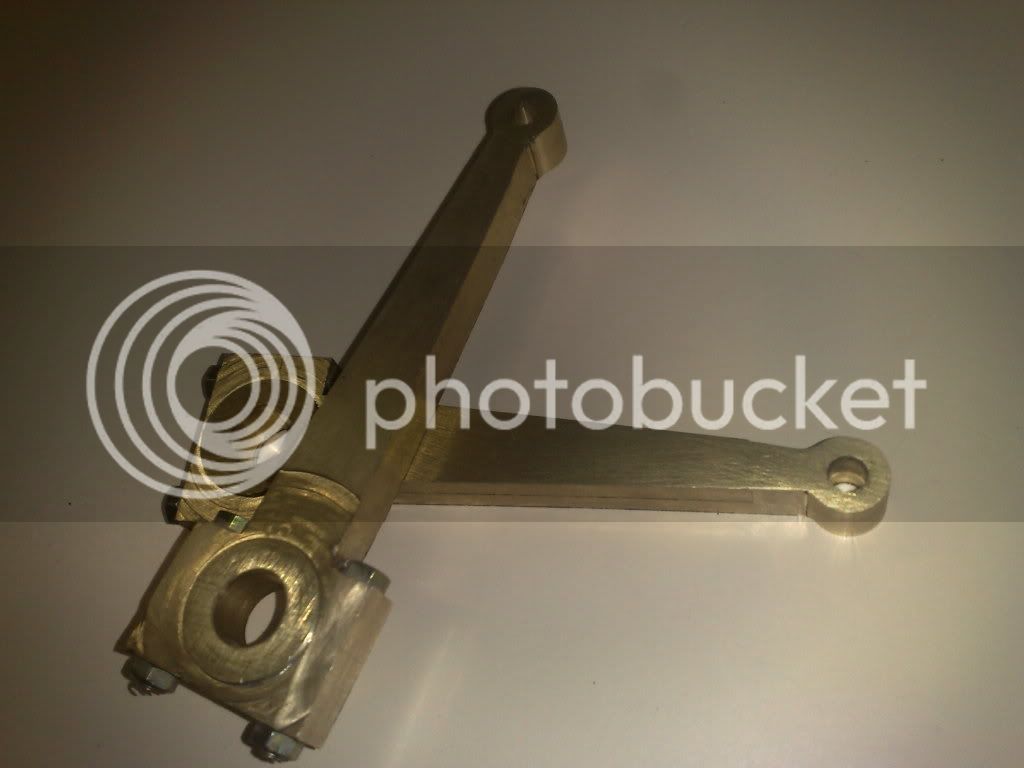
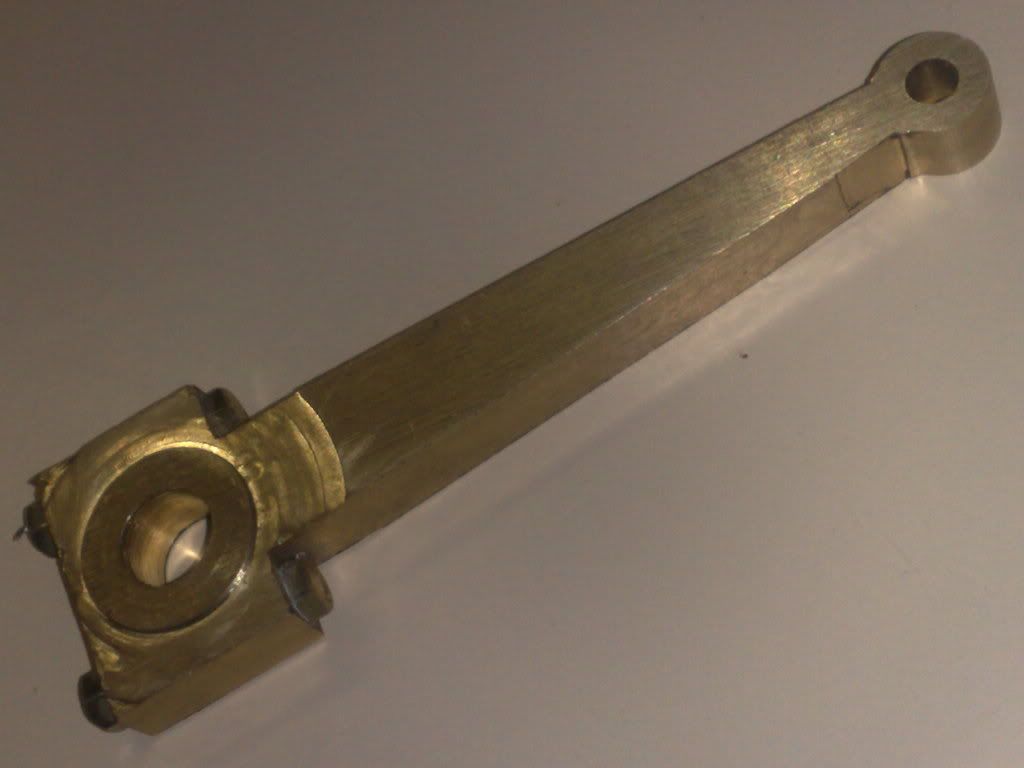
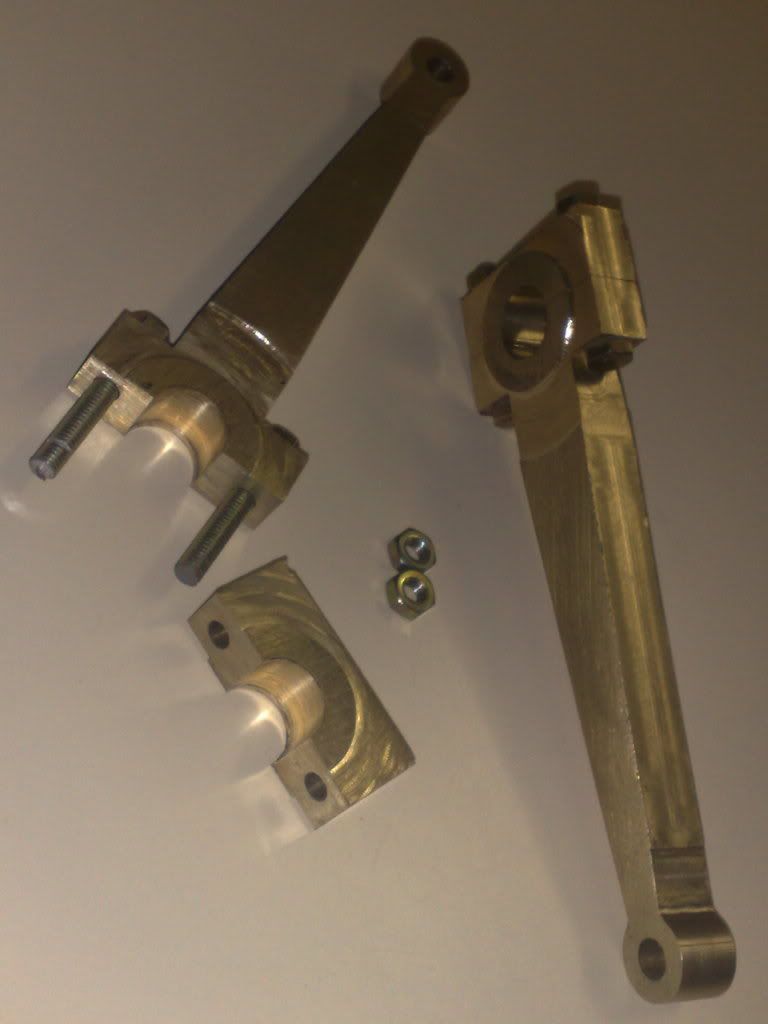
Today had a good go at making more progress... conrods was the main focus and Im surprised that I got as far as I did. Im waiting for a 3mm ball nose end mill which should arrive mid week and this will allow me to finish the rods off.

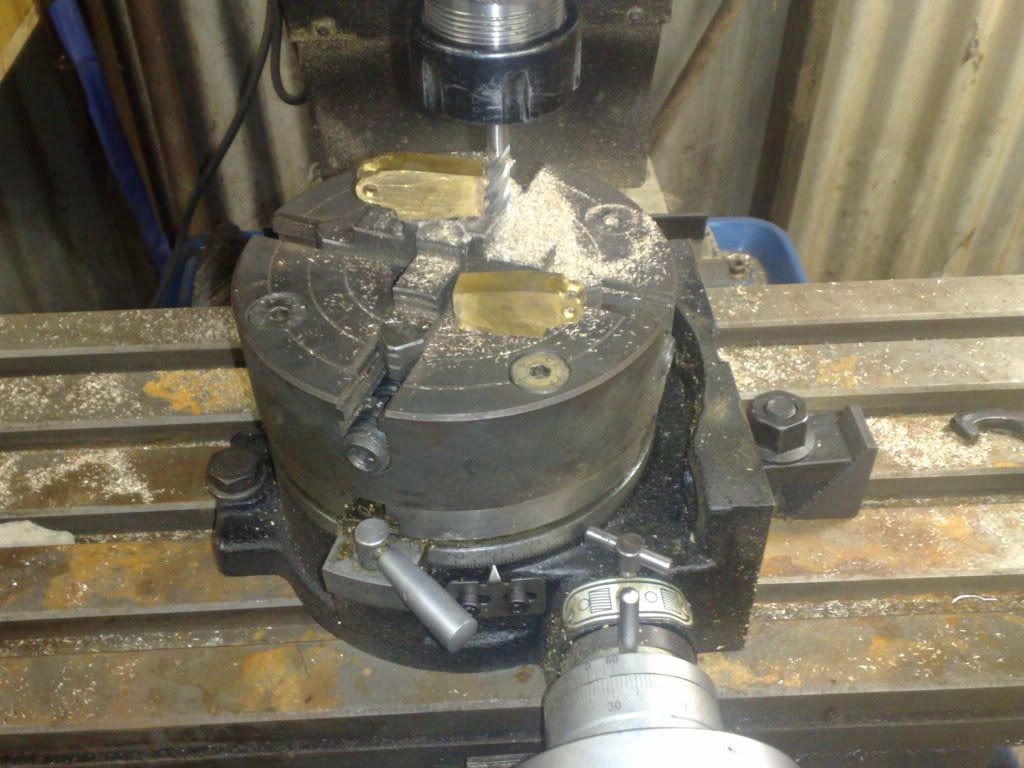
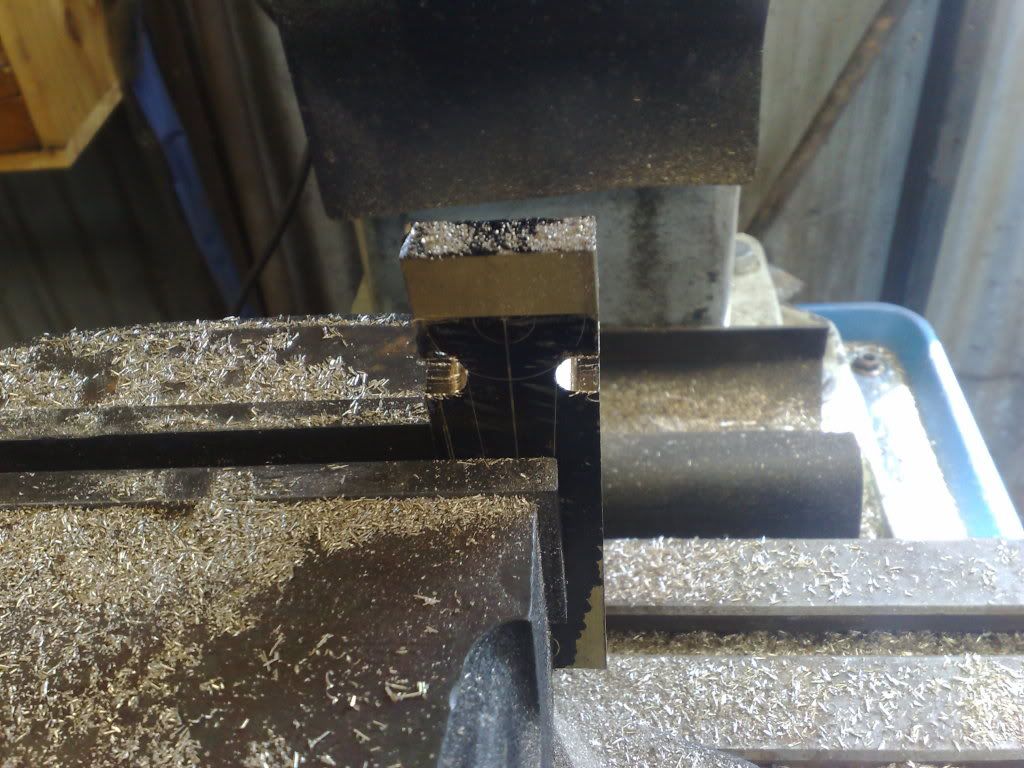
Pics, as per usual. Any questions.... please fire away..... the offcuts I mention in another thread are put to good use...

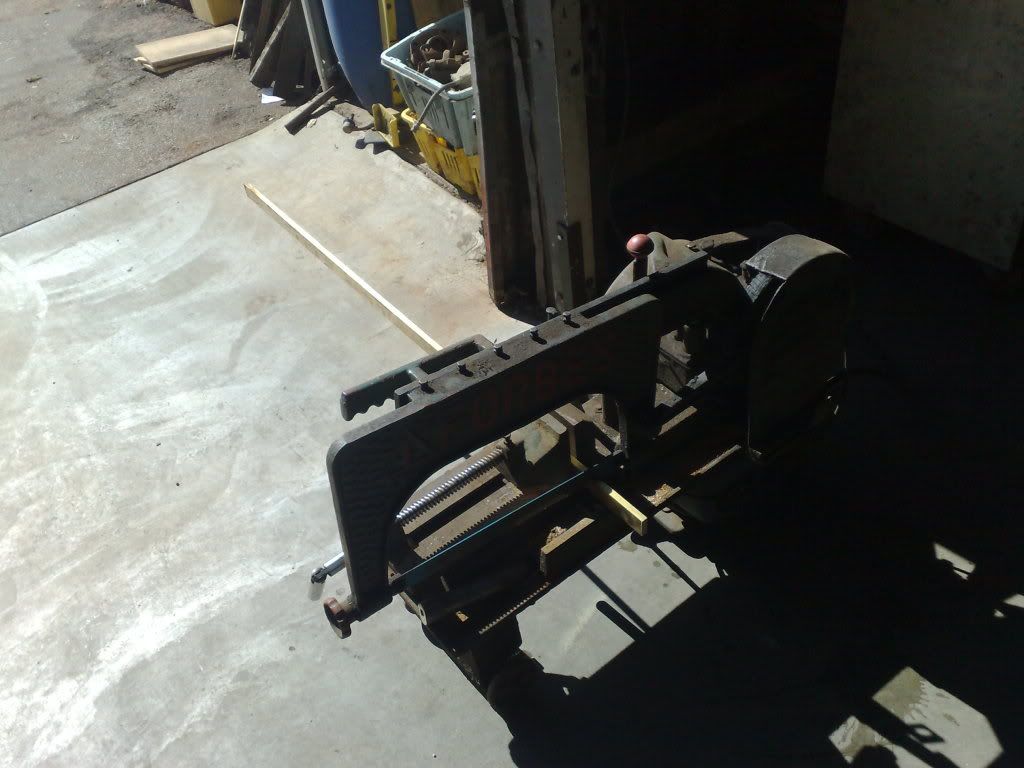
saw.jpg


17042010230.jpg


2 pieces 110 mm are freed from the length..... marked out and the cutting begins..

17042010231.jpg


17042010236.jpg


17042010234.jpg


17042010239.jpg


17042010245.jpg


17042010232.jpg


The rods arent finished, they have to be milled down to 6 mm in width etc but only a small amount of work required, really happy with them. My first set of conrods.. sort of a virgin... or was.... :big:
 
Coming along nicely Artie
 
Hiya Tel, yep I finally feel like I made some real progress today, thoroughly enjoyed the few hours I got in.

Me too Zee, it feels like a 'real' conrod. Its possible to do it this way due to the scale. Compared to some others this is a large engine which is due to live in a large model.

Incidentally, in the boat all this will be largely unseen so its designed as a modular unit. 6 nyloc nuts, the 2 drive shafts and the engine module will lift out so it can live on (working) display. epoxied into the fibreglass hull will be the 6 bolts, the superstructure will lift off and out it comes after undoing 2 copper unions (propane and water).

Shortly Ill be detailing the shaft unions that allow the disconnection of the drive shafts and the casting and making of the flywheels which will allow it to run as a display unit.

NO WAY AM I GONNA HIDE THIS AWAY AFTER SO MUCH WORK......... :big:

A question for you all. Due to the sizes allowed under the miniature boiler codes (long and thin) I have to build a dummy boiler to cover the real thing. To this dummy will mount the cylinders and cross heads. I want scale like detail and therefore fire doors etc and lots of rivets ala the real thing.

Has anyone devised a way of simulating rivets without actually drilling and riveting? From my RC days this was easy, a hypodermic syringe and dollops of white glue. I think the heat from the boiler inside the cover would be a porblem for this method..ideas?

Cheers guys

Rob
 

Latest posts

Back
Top