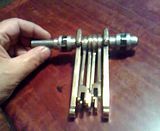
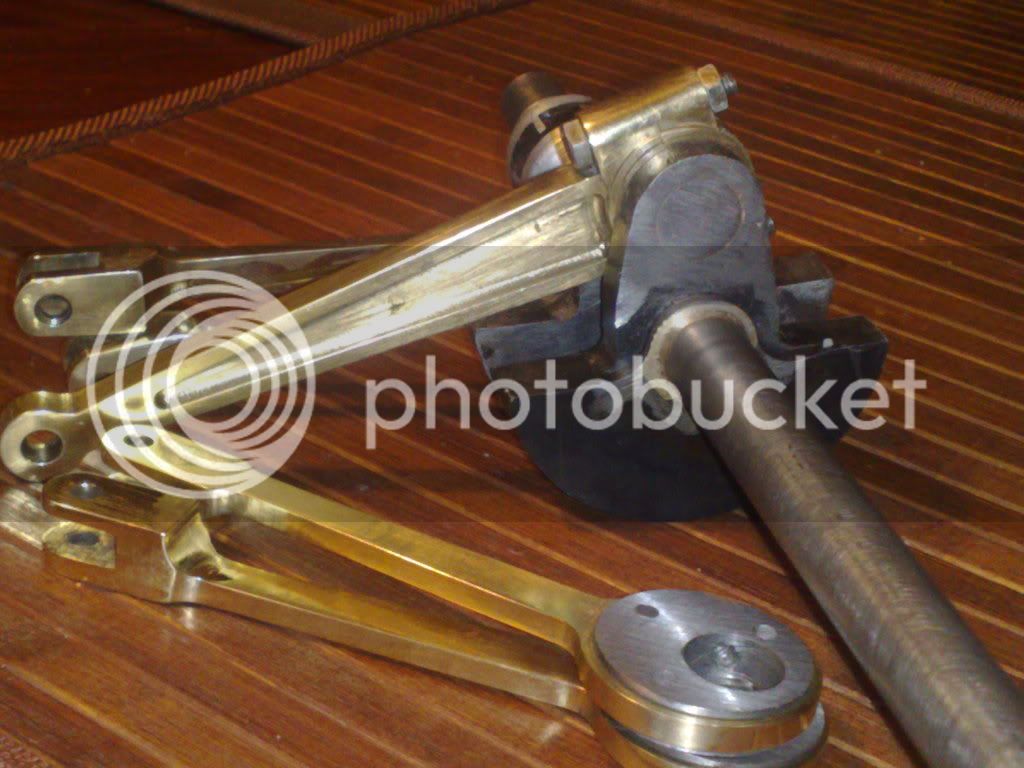
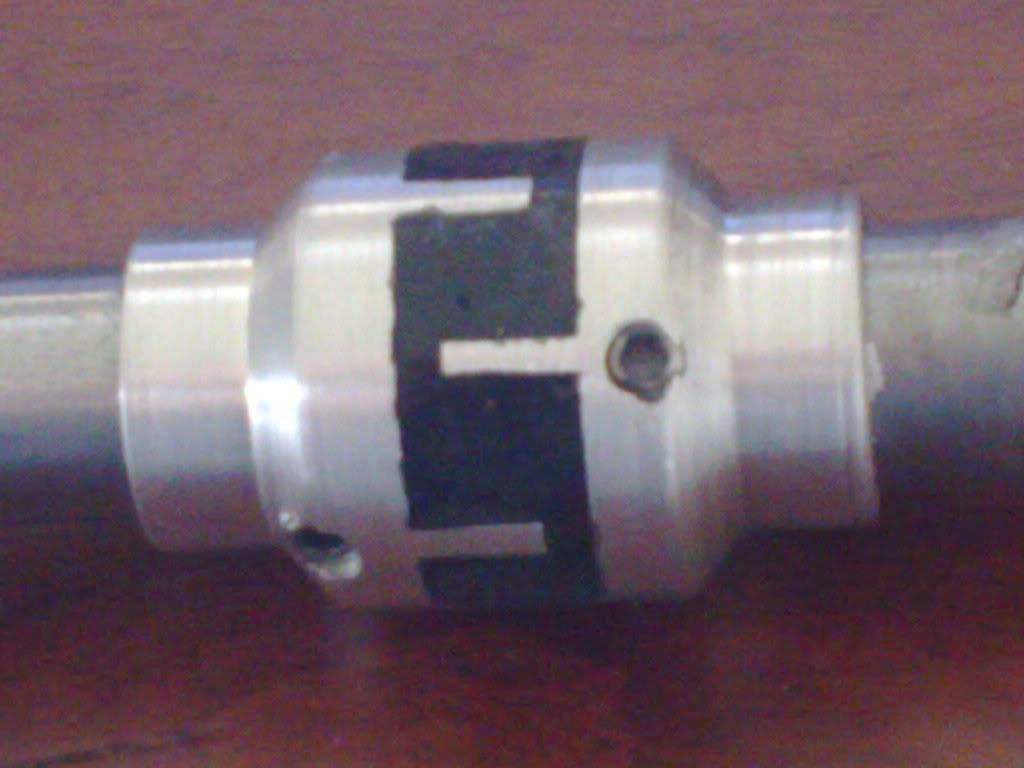
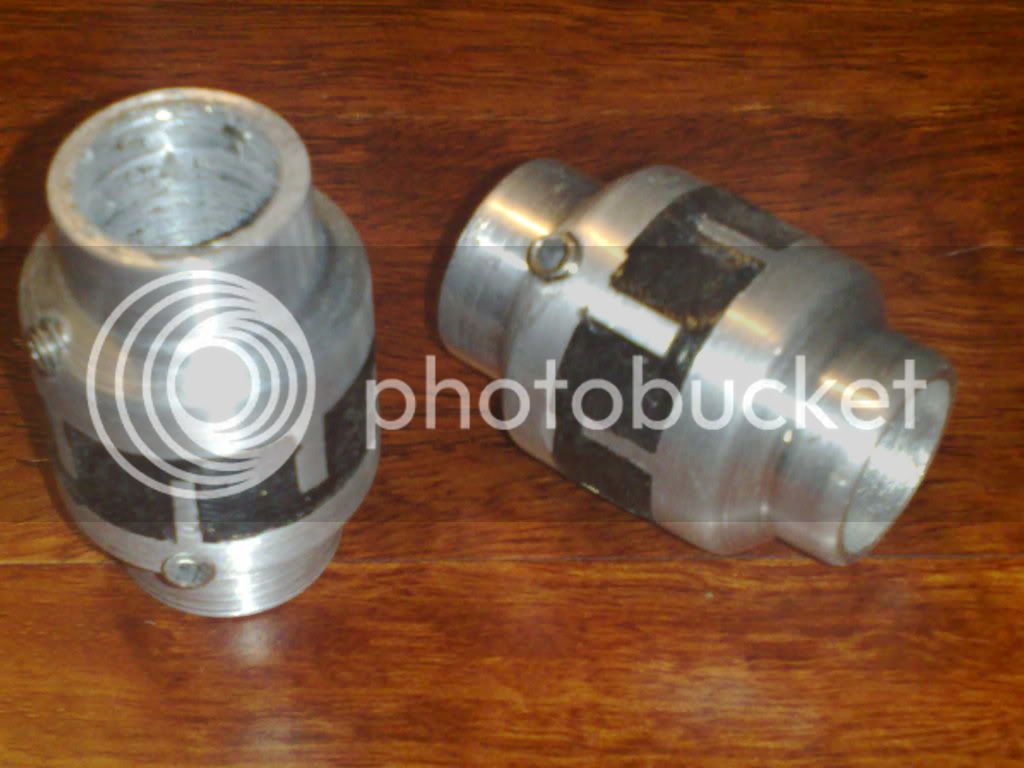
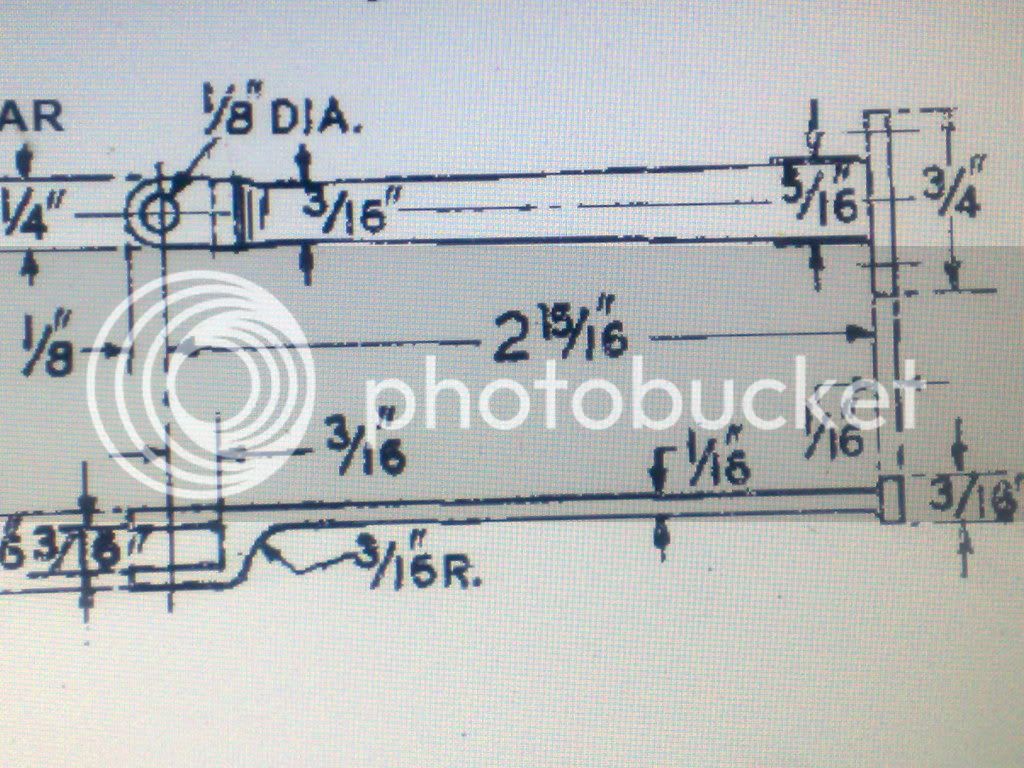
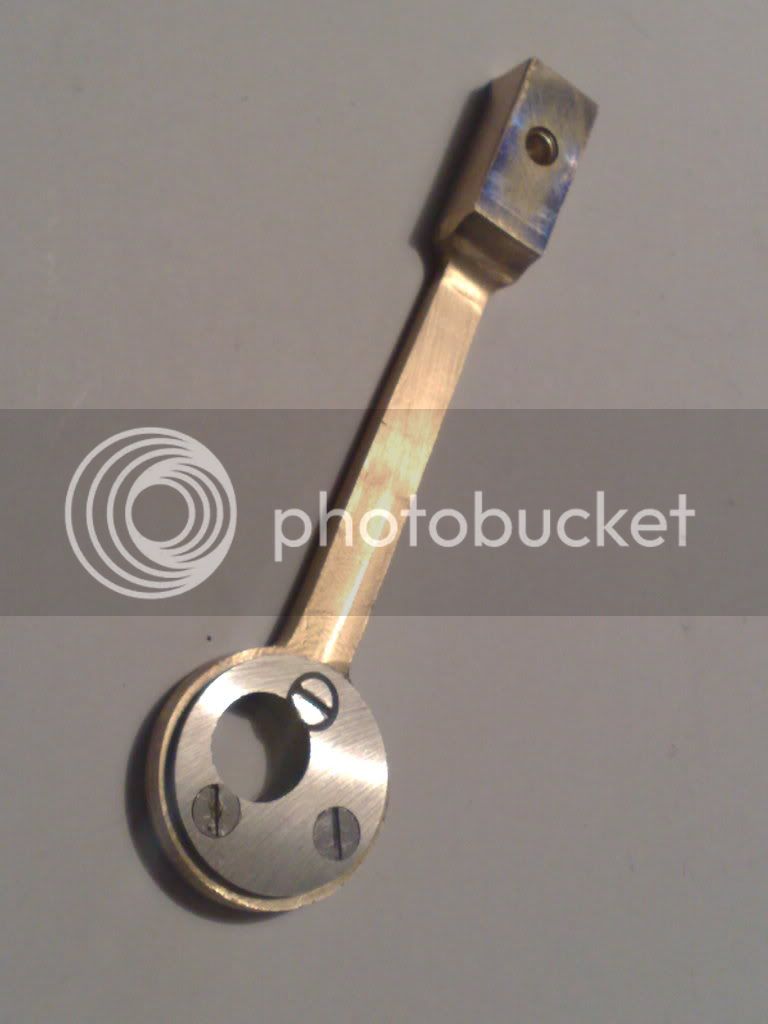
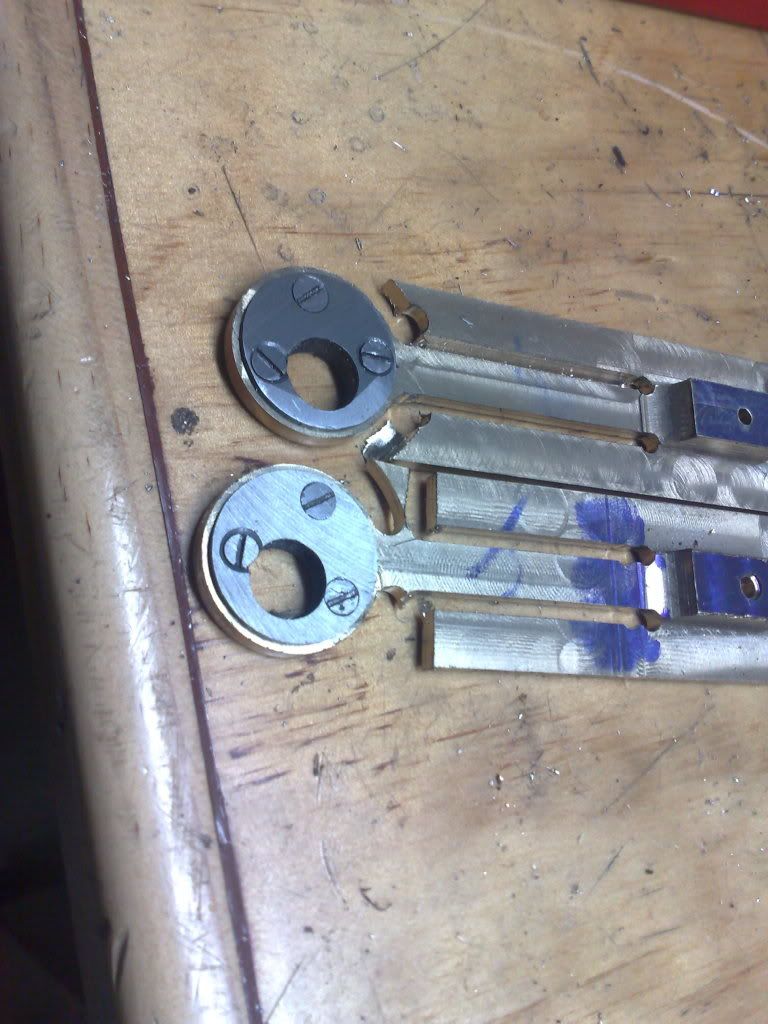
The finished item.

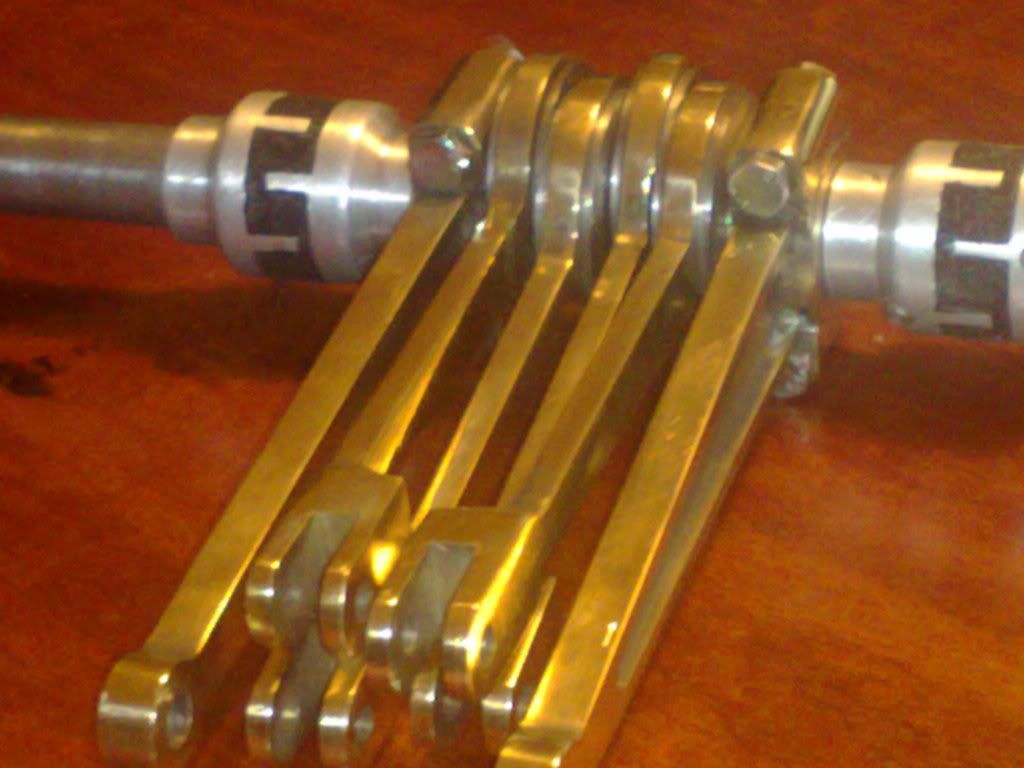
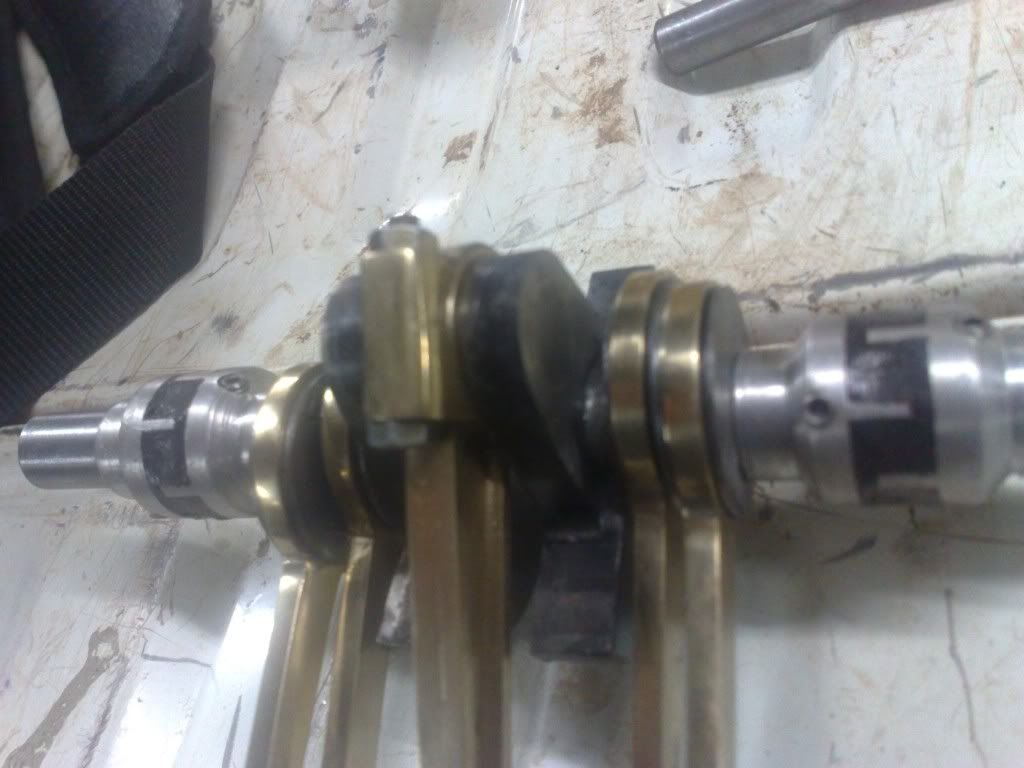
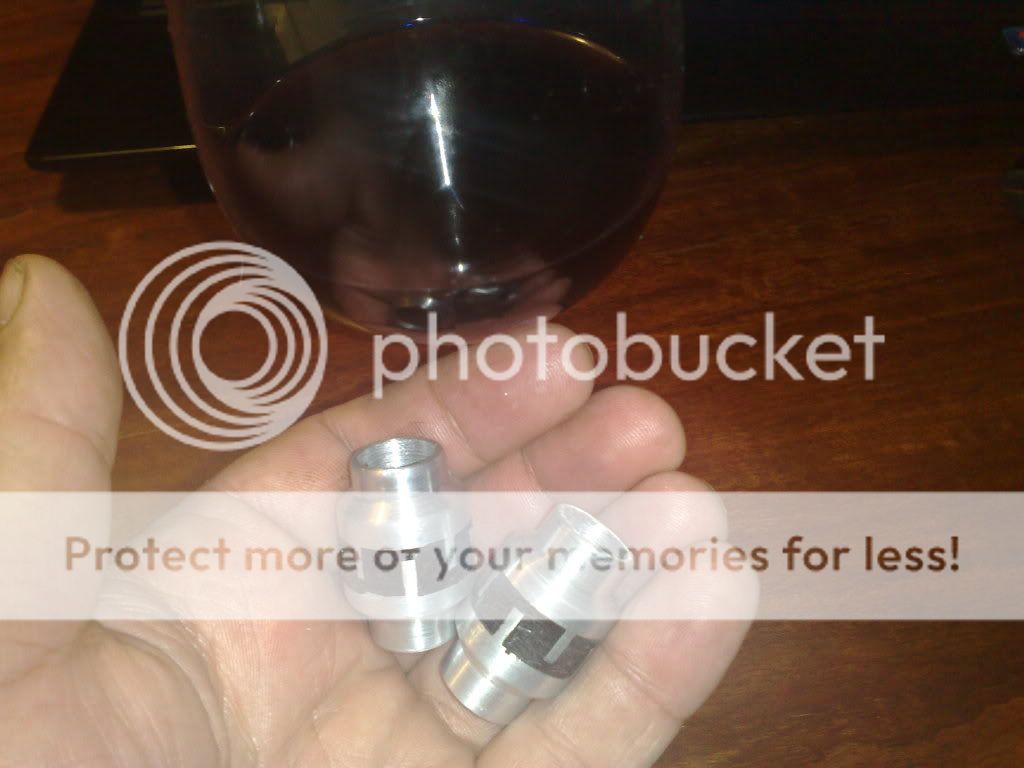
I degreased the entire set with brake cleaning fluid and then waxed the assy shaft so the silicone wont adhere. Then I placed the halves together and cinched them up lightly. Once happy I squeezed silicone into teh gaps until they were full. I wet my finger and smoothed it all out and am waiting for it to set.
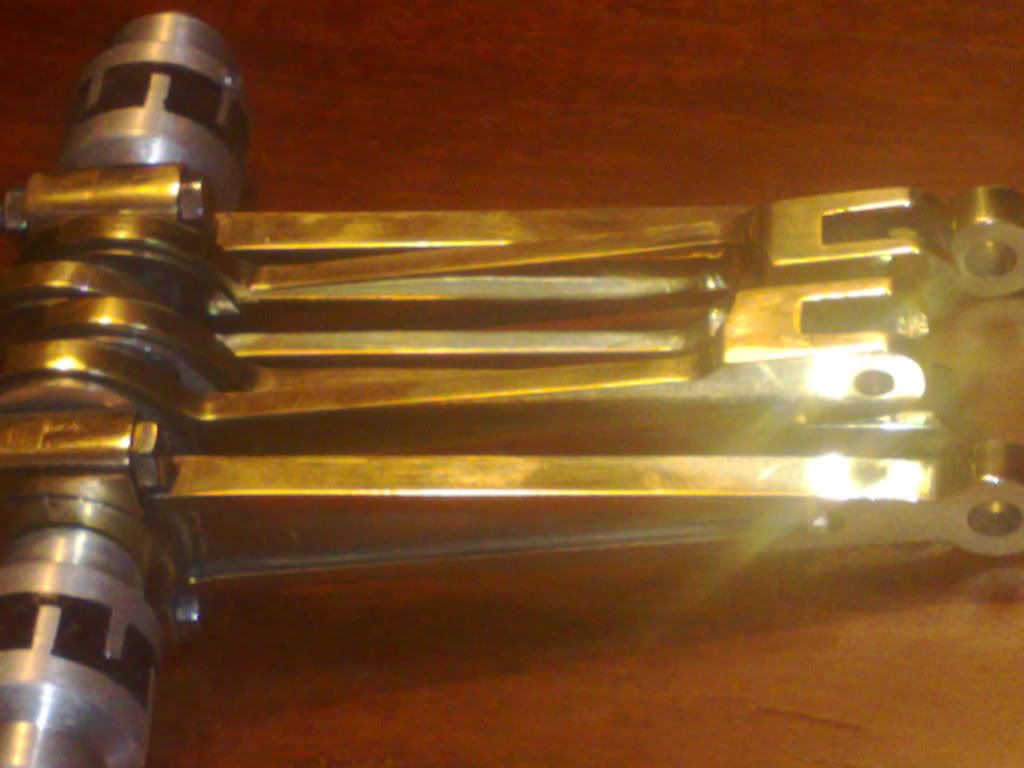
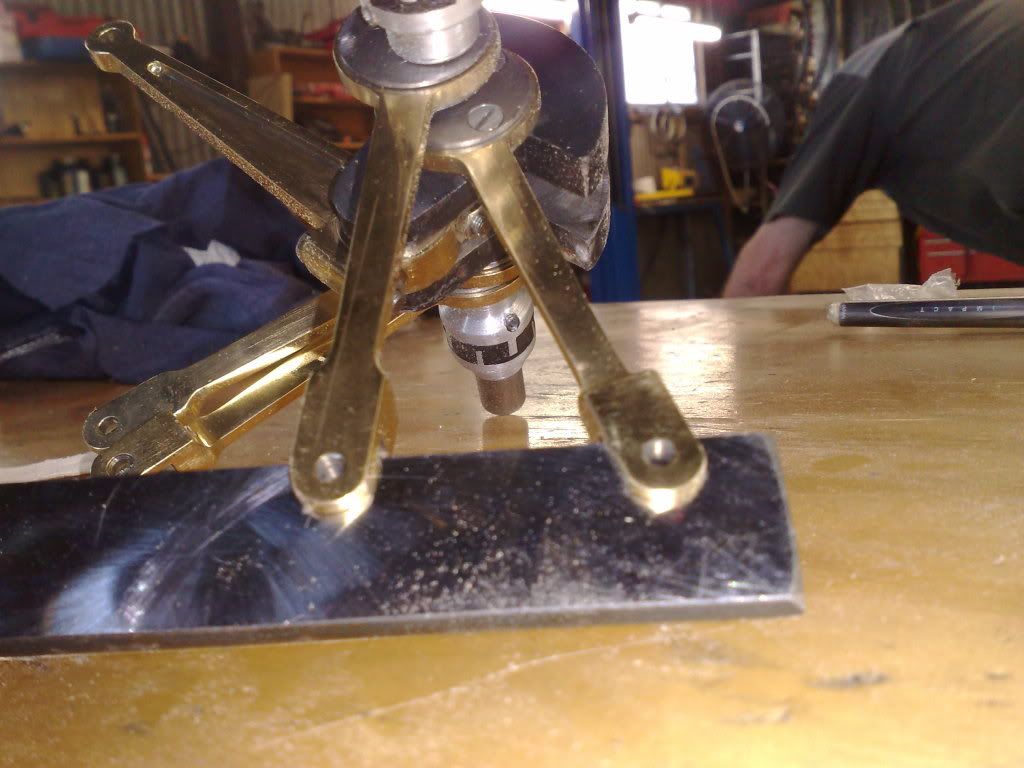
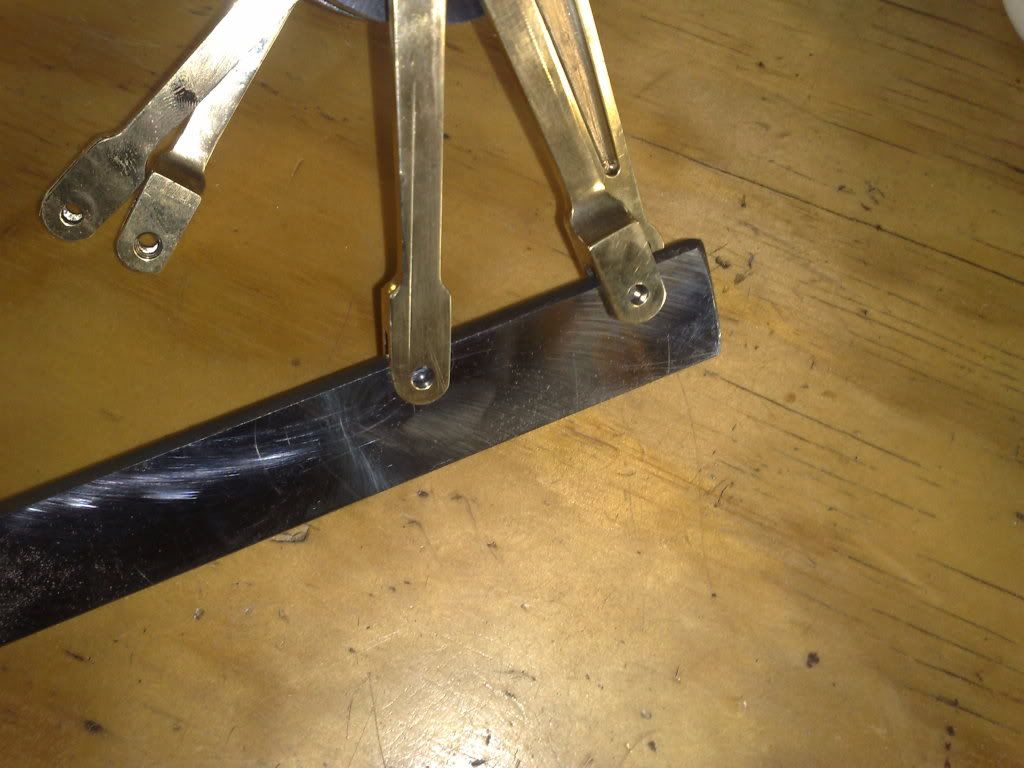
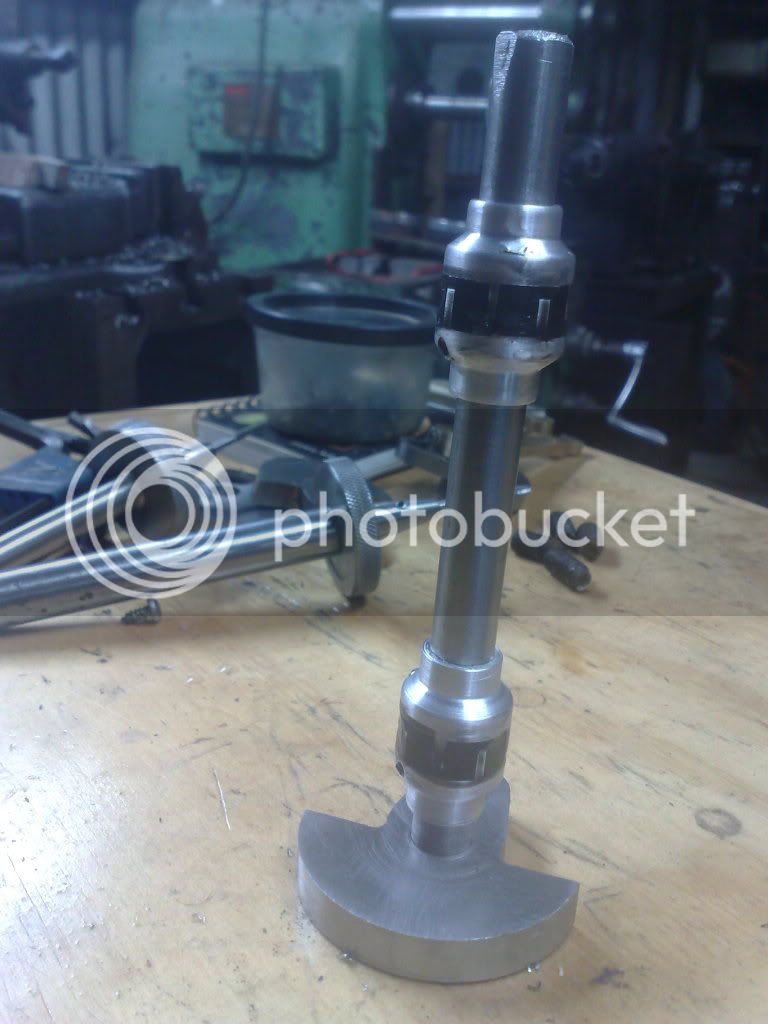
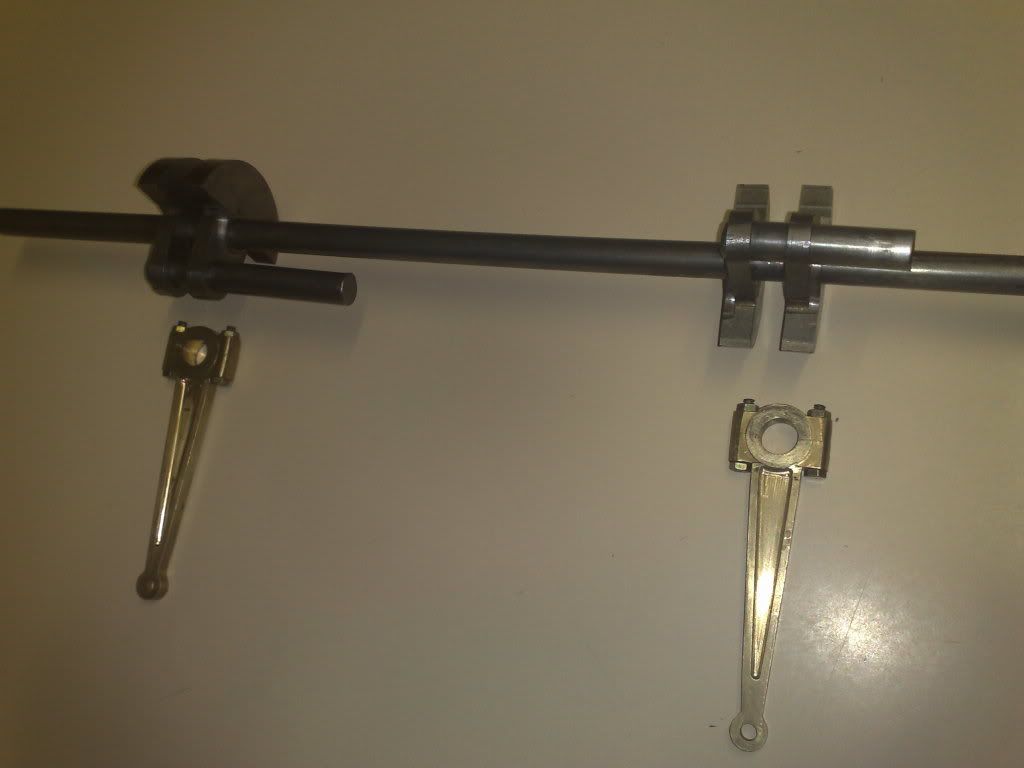
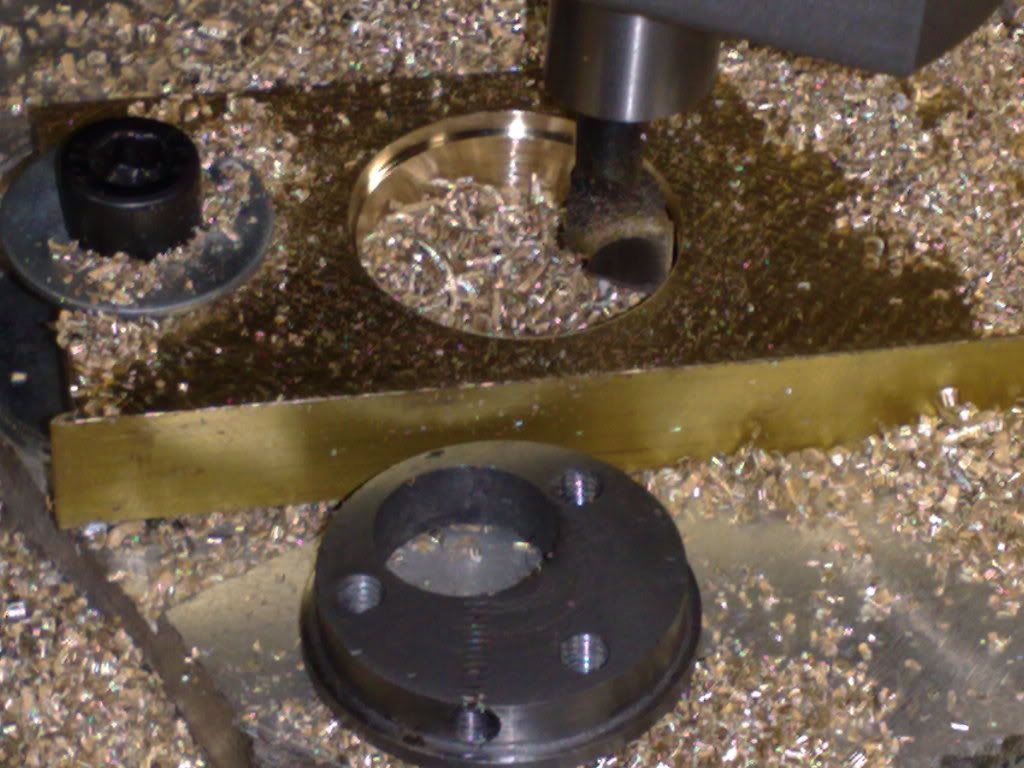
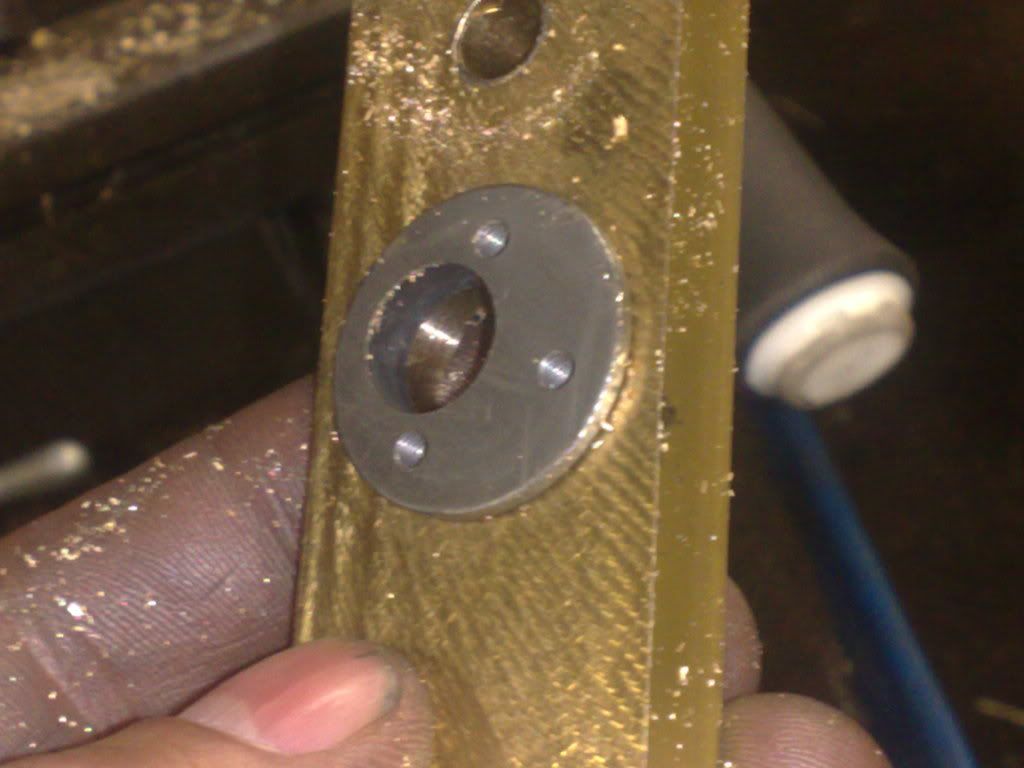
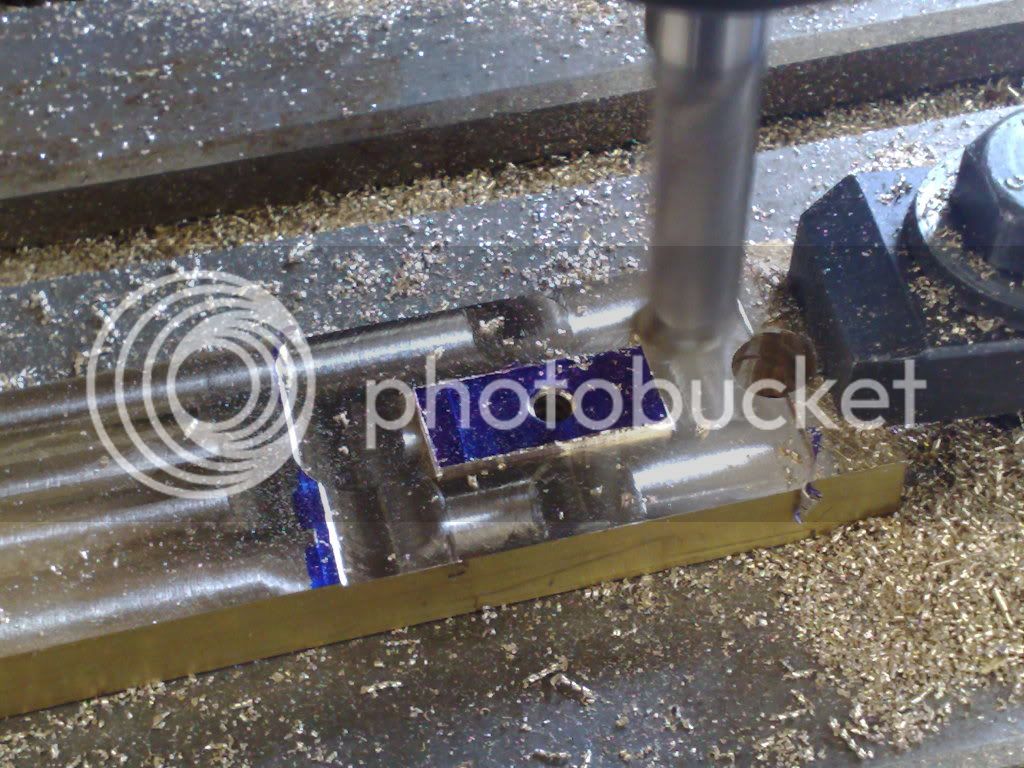
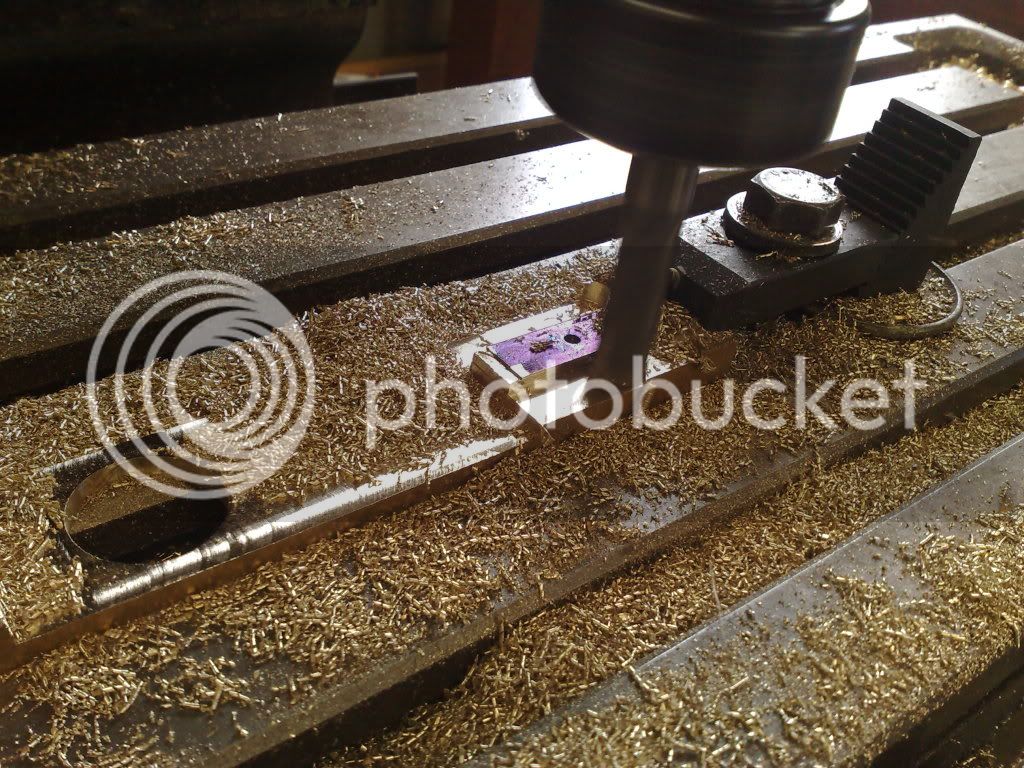
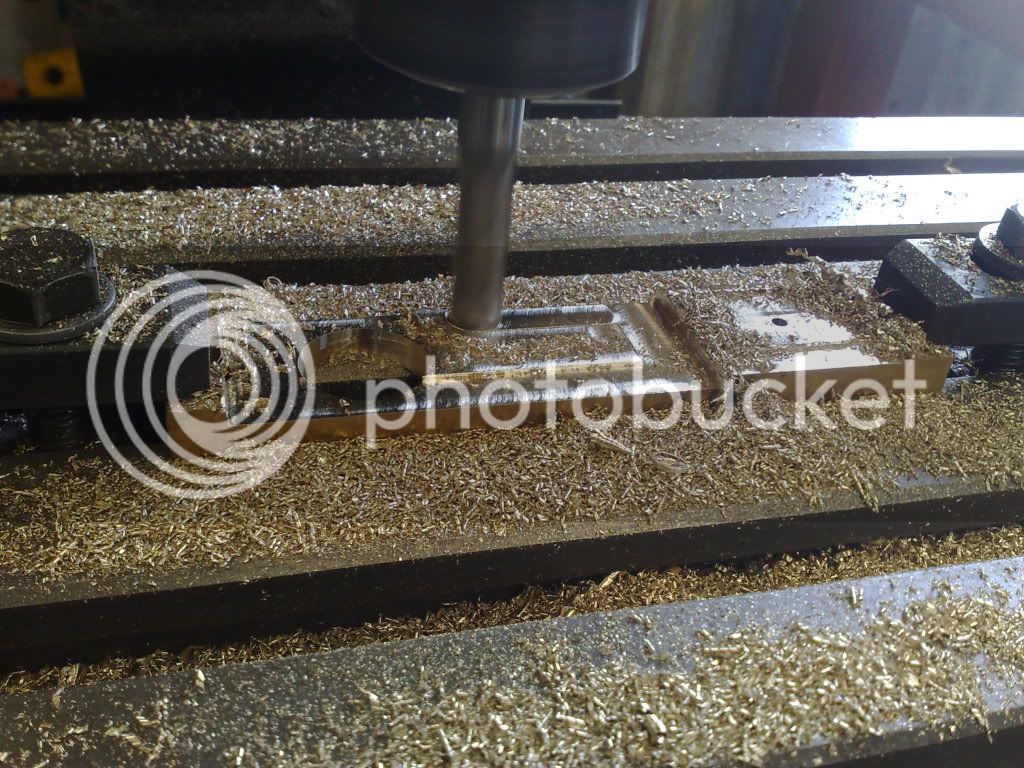
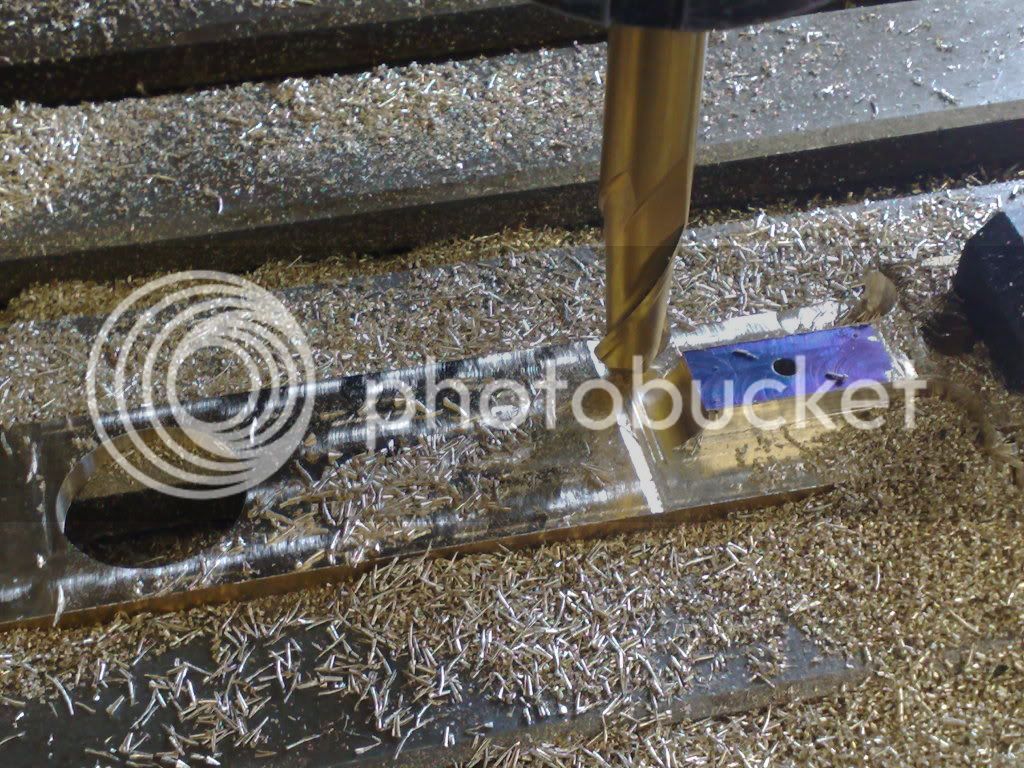
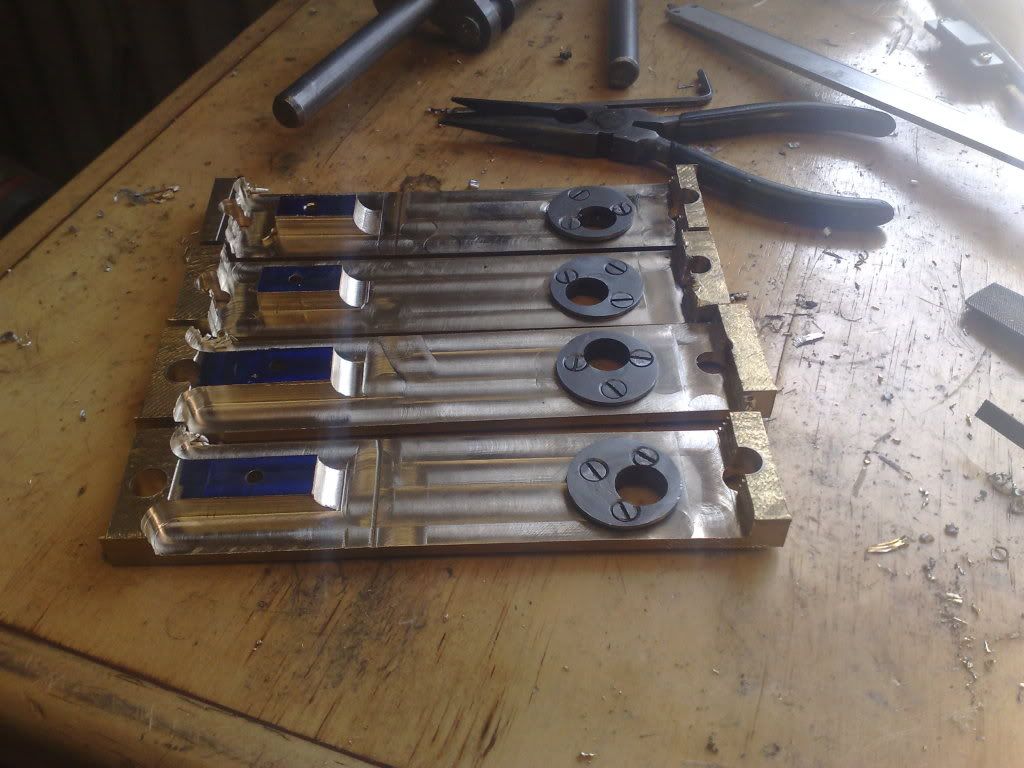
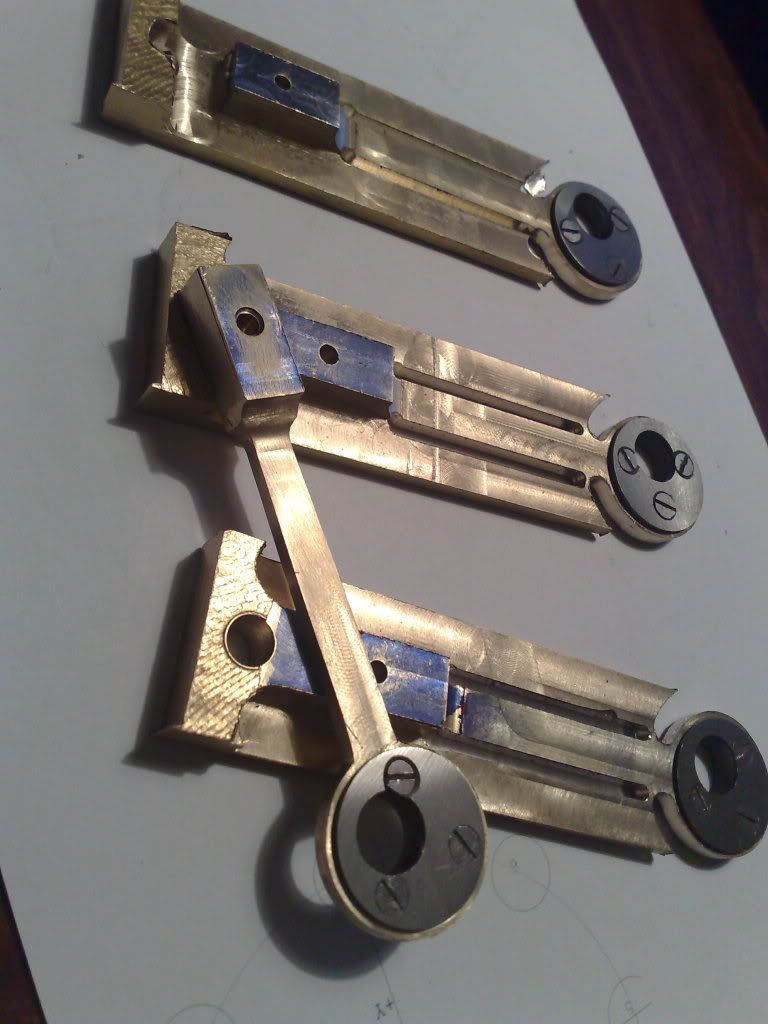
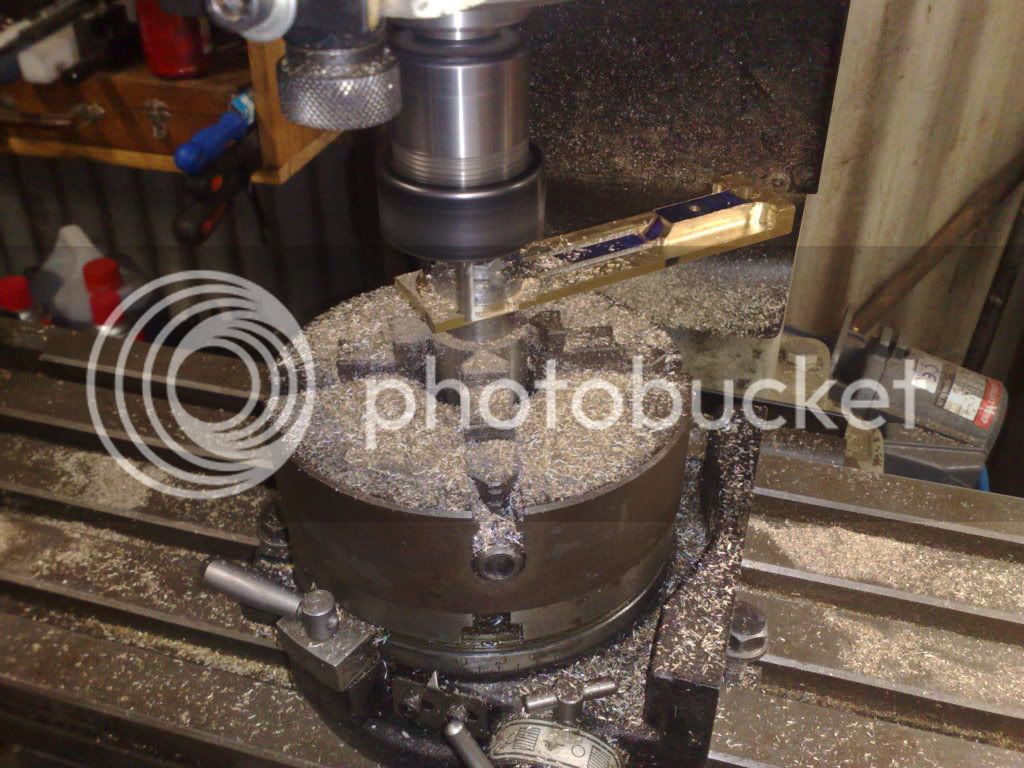
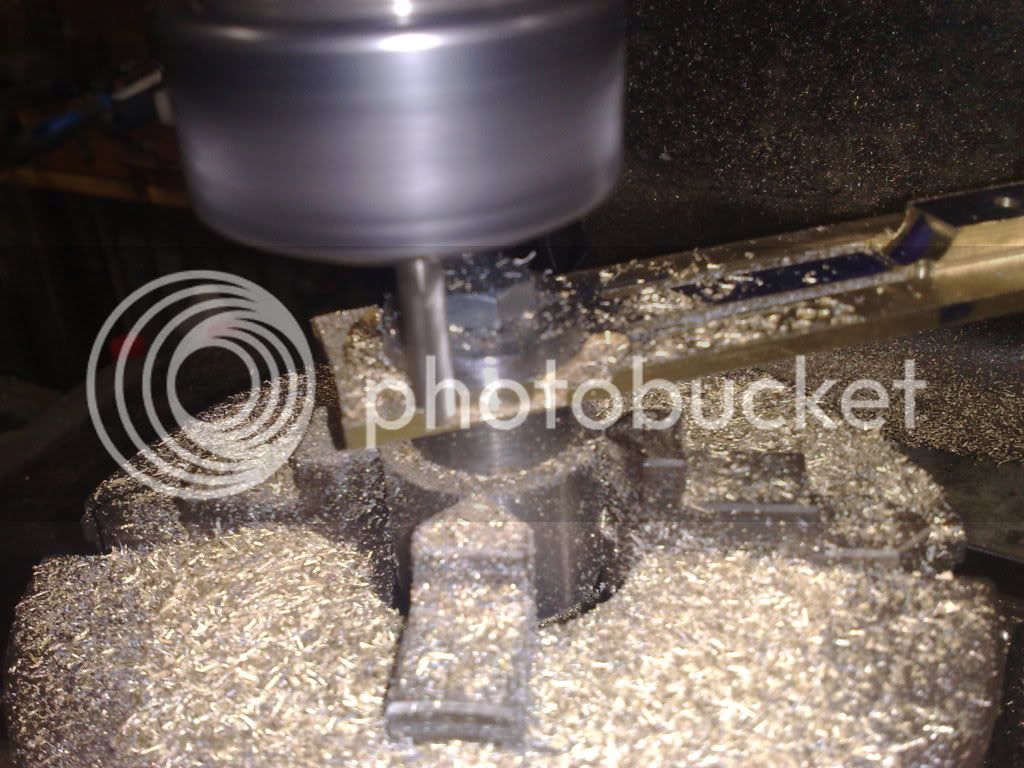
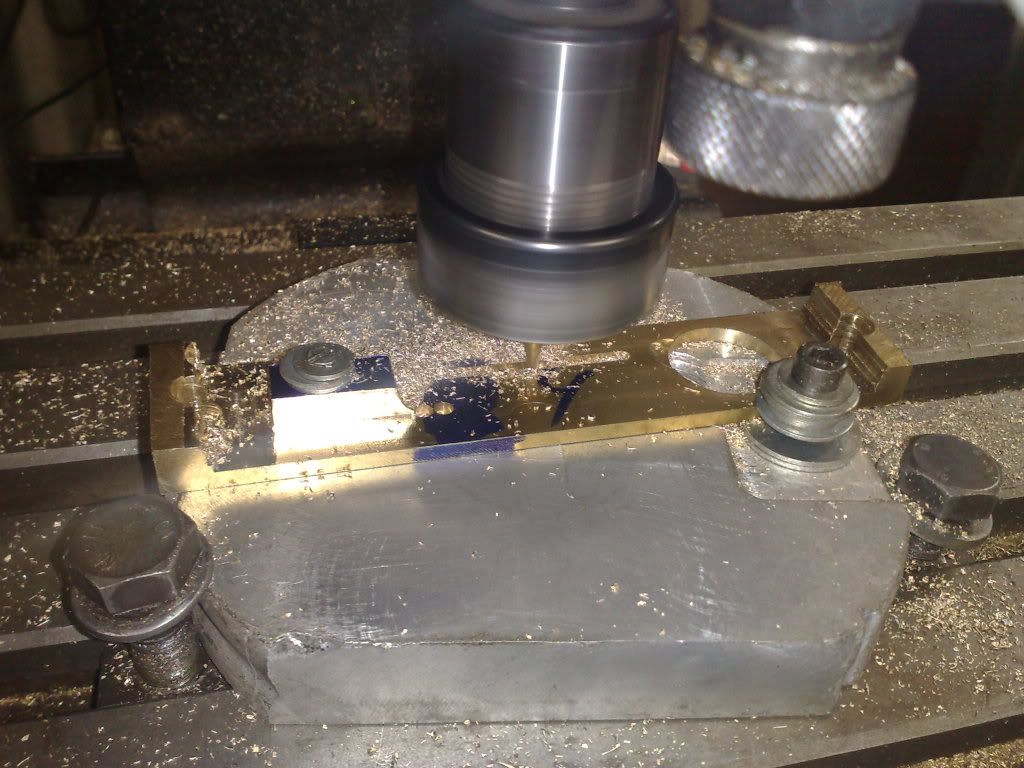
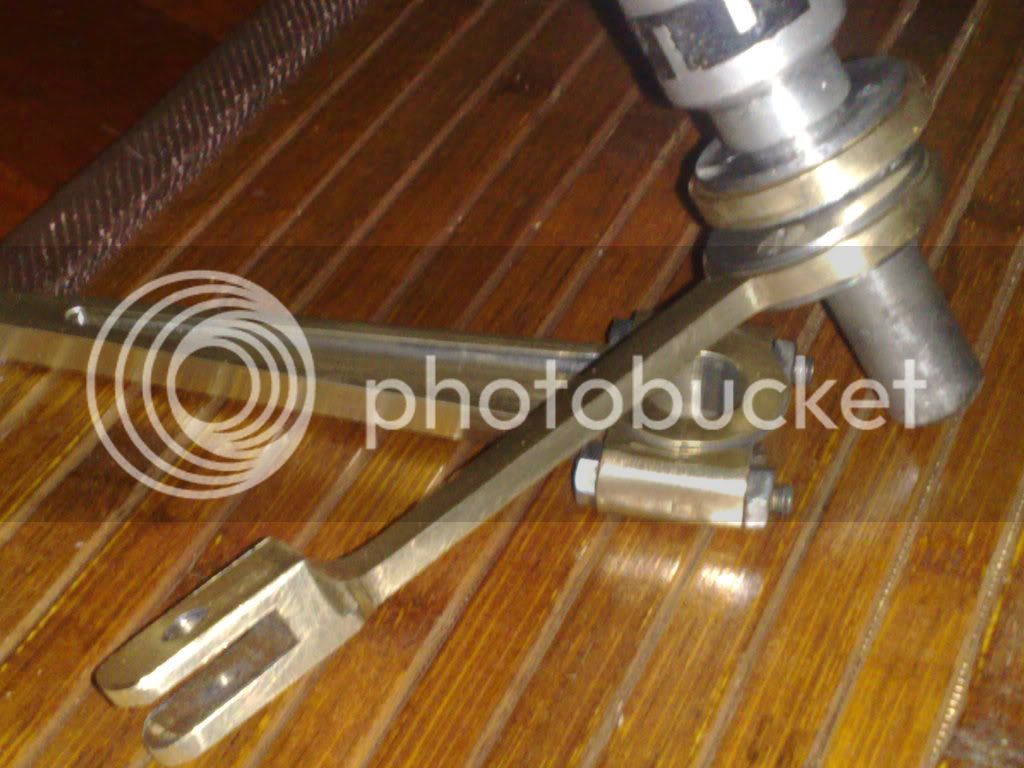
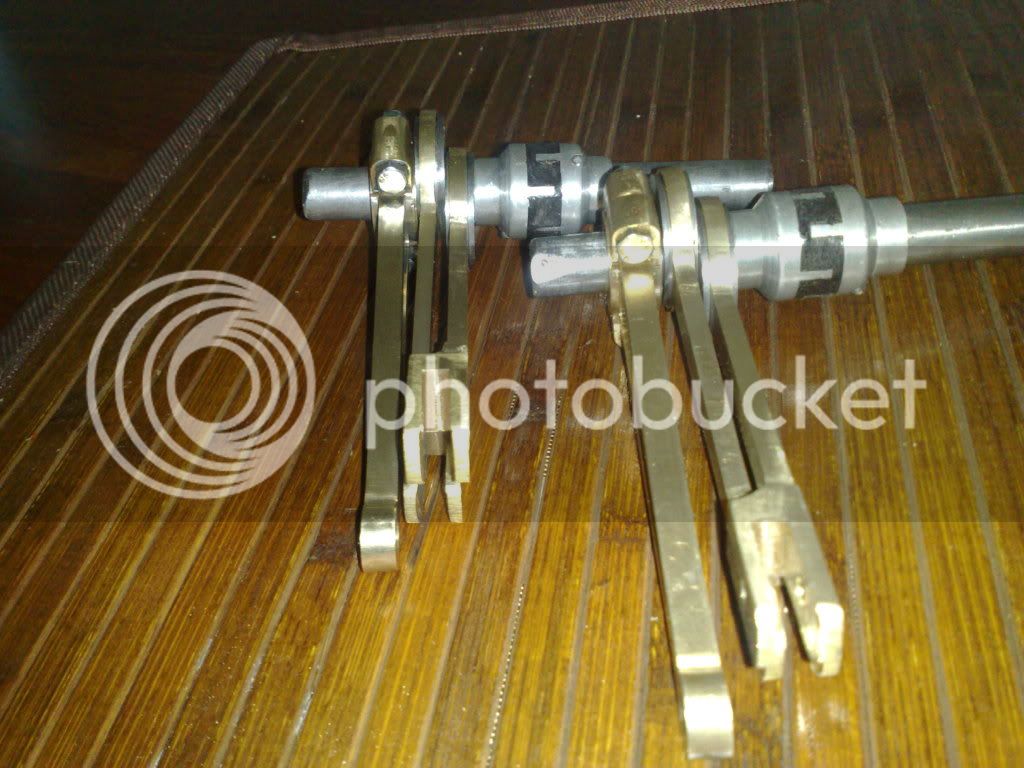
Crank webs make great holding jigs.
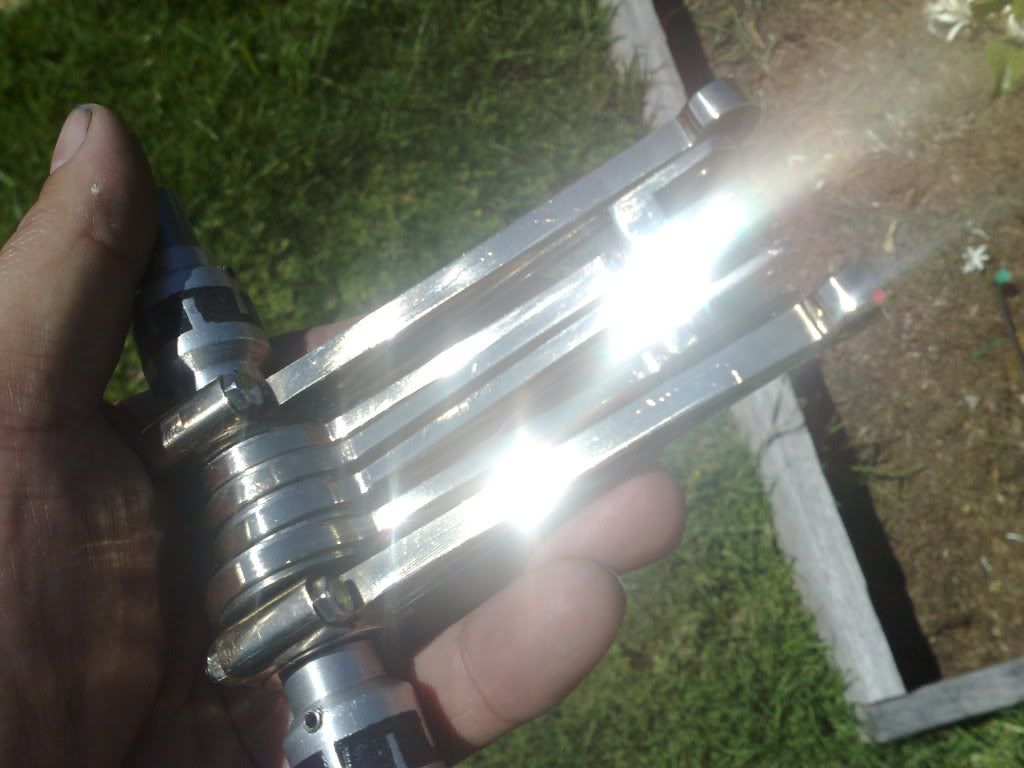
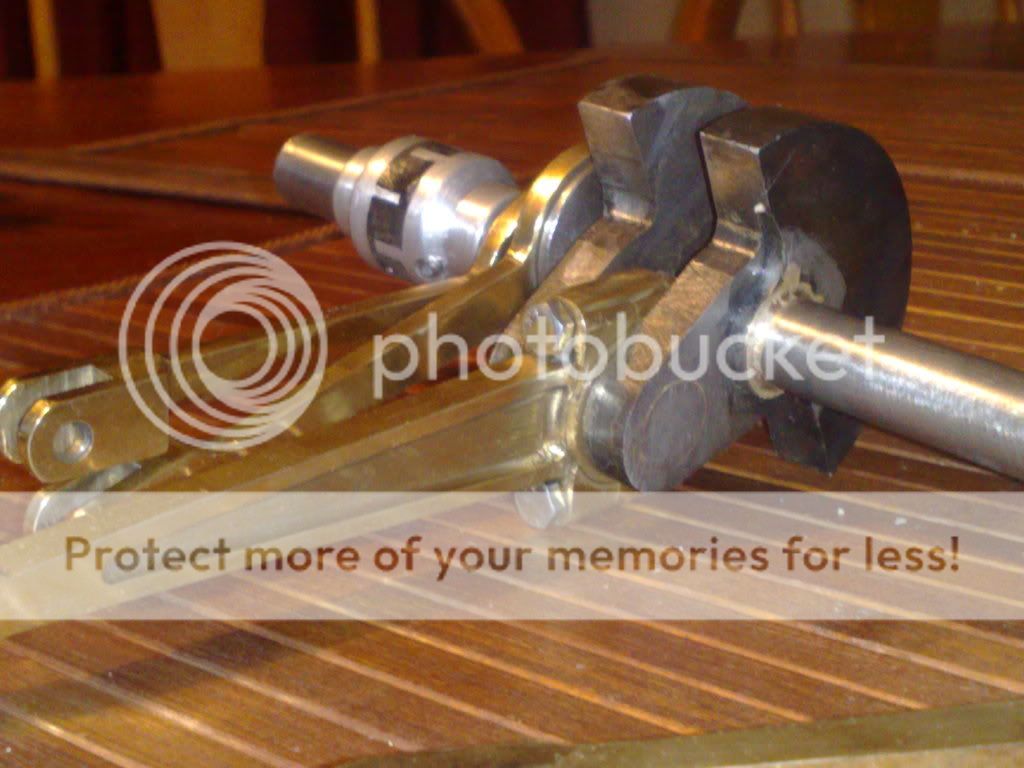
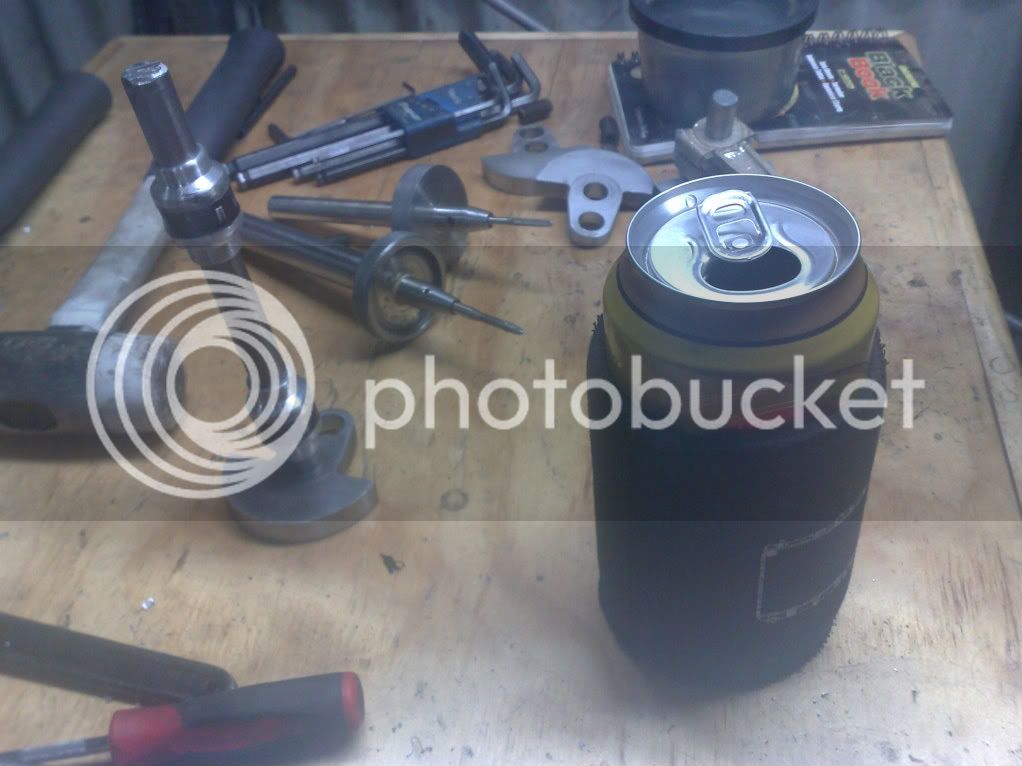
Of course once all is done and machines cleaned up.......
Thats all for tonight....
Cheers all
Rob t
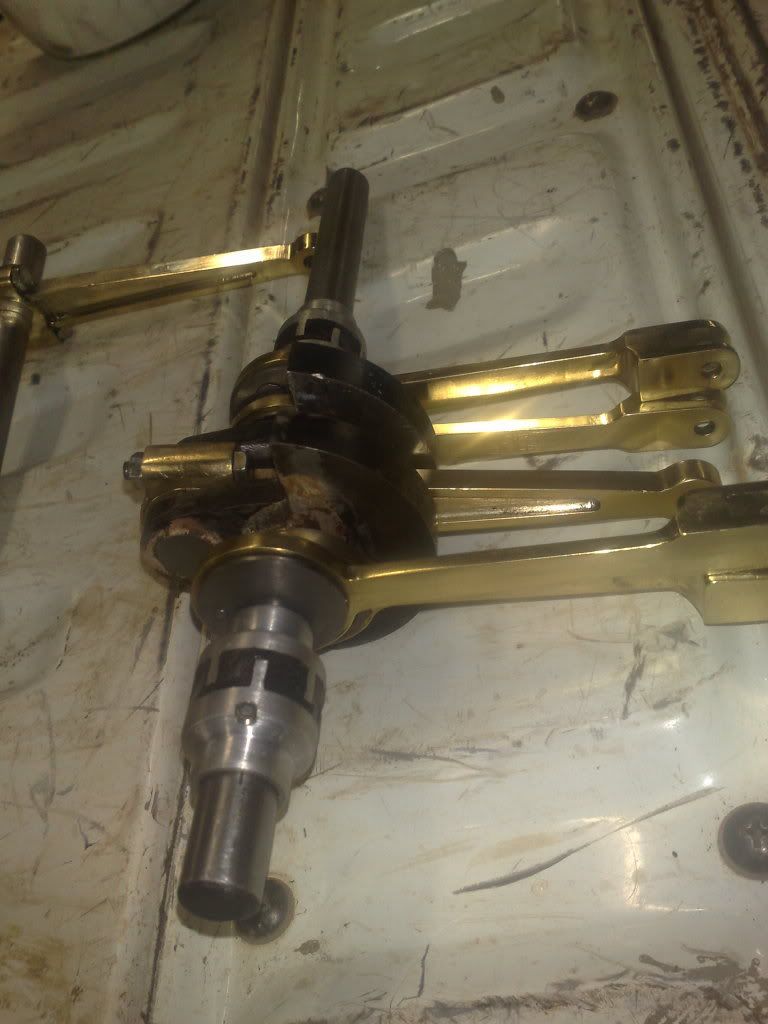
I degreased the entire set with brake cleaning fluid and then waxed the assy shaft so the silicone wont adhere. Then I placed the halves together and cinched them up lightly. Once happy I squeezed silicone into teh gaps until they were full. I wet my finger and smoothed it all out and am waiting for it to set.
Crank webs make great holding jigs.
Of course once all is done and machines cleaned up.......
Thats all for tonight....
Cheers all
Rob t


")