Casting Engine Components For a Twin

Home Model Engine Machinist Forum

Help Support Home Model Engine Machinist Forum:

This site may earn a commission from merchant affiliate links, including eBay, Amazon, and others.
For those who are interested, Vespa is an Aussie Terrier/Silky Terrier cross..... and has a very high opinion of herself.... SHE rules the barnyard around here.......
 
Sooooo, what happened to the 'roll' I was on....??

I was going to achieve BIG things last weekend....

Well, reality happened actually....

I was all set up to knock out a couple of these...

28102010247-1.jpg

Simple enough huh? Looked like it to me ... had the plate all sized up re: thickness.....

If you take the time to think about it, this ISNT a simple part, radiuses/pivots etc... I followed Mr Westbury's example (to a degree) and found that rigidity wouldnt allow a smooth cut...

A Jig was needed! (as bloody always....) making the jig took 2 hours, making the first part took 15 mins.... damn this hobby IS an exercise in patience....

28102010236.jpg


28102010235.jpg


28102010237.jpg


In this pic you can see the original 'aborted' attempt....

28102010238.jpg


28102010240.jpg


And then using the rotary table to make the raduius... worked a treat....

28102010241.jpg


28102010242.jpg


Machines turned off... time for a beer.....

28102010244.jpg


BUT.... even with the DRO's, I made a miscalculation and ended up with the curved 'face' only 1.5mm thick when the plans call for 3mm. Will it carry the load? Well, I think it will with the plate being 5mm wide...

So do I remake the part? Or do I make another one the same for the pair that are needed?

Im thinking that it IS strong enough and intend to make another the same... thoughts are welcome at this point... (any point for that matter...).

28102010249.jpg


28102010251.jpg


And finally, I dont see why this needs the ends of the slot to be squared off, Ill make the slider with radiused ends to suit and it will do the same job...

Anyway, time tocall it a night...

Cheers all.

Rob
 

A Jig was needed! (as bloody always....) making the jig took 2 hours, making the first part took 15 mins.... damn this hobby IS an exercise in patience....

That is the thing with this game Rob, it is all the little jigs and fixtures that take the time, and of course, if you haven't got the patience to do such things, bodging ensues and usually quality suffers. As you have found out, it sometimes takes many many hours to make a holding fixture, and a couple of mintes to do the job. But that is all part of the 'enjoyment'.

You can usually tell an engine if the person building it has no patience, the engine usually looks cobbled together, with lots of mistakes and unnecessary changes to what it should really look like, with the excuse they were making it look unique.


This build is really coming along nicely now, and with reference to your question. The part you have made takes very little load, so if I was you, stick with what you have.


John
 
Looking good! Curved parts are always scary.


Bogstandard said:
You can usually tell an engine if the person building it has no patience, the engine usually looks cobbled together, with lots of mistakes and unnecessary changes to what it should really look like, with the excuse they were making it look unique.
Guilty, with the exception of I make no excuses. One of the attractive things about this hobby is the chance to grow personally in that respect. So we fail, learn, and try to do better next time.
 
Some of the lowliest, simple looking pieces are the hardest to fabricate. Usually involves curves.

Chuck
 
Thanks John, thats my intention, if it does cause issues at a later date I can re do it (after ..I do have a jig for the part now... ::))

Lakc, yeah can be...I must say that I wasnt at all intimidated by the thing...just underestimated the clamping forces required... Edgar used a lathe with a flat plate to give the required radius, I tried something similar on the mil and was told to "go away lil boy..." by the chattering cutter... poor finish.

As has been mentioned, it all in the fixtures and jogs... I guess the majority of my milling time is actually INSIDE my head... just thinking about how Im going to do this or that......

Incidentally Ive built up quite stock of jigs etc made to do a particular job... rarely do I get to use one twice without some mods... :-X :mad:

Chuck, spot on... this 'looked' simple so I approached it that way.... after I realised that this wasnt the case I stopped and thought about it for a couple of days.

Probably wont be much happening for a couple of weeks, about to go of on my working road trip again...

Cheers all

Rob T
 
A small step forward tonight...made the second reversing linkage plate and started the final fit out of them both...pics tell the story.... not finished, using filing buttons to ensure accuracy....

Second unit finished and then plate reversed in jig/fixture. to allow access for filing...
04112010252.jpg


04112010254.jpg


04112010256.jpg


This is a heap of stuff a workshop gave me. Aluminium 25mm x 19mm 135mm and some 25x 35x 135. Thye didnt want it as the components they fitted were no longer sold..did I want them?.... yeah maybe.....

04112010255.jpg


Some grinding done.. filing to follow...

04112010264.jpg


04112010262.jpg


Notice anything about the fastener??

04112010265.jpg


Out with the Mig and spot welded together...

04112010257.jpg


Marked out, clamped up and the drilling begins....

04112010260.jpg


04112010262.jpg


And thats it for tonight, very tired and have leanrt to stop afore I wreck anything.... might get some done this weekend.... like a base plate casting..maybe....

Cheers all

Rob T
 
Hmmm ..... blue hands, one of the Sou-Western Druids?

Coming along nicely mate.
 
Us Sou-Western Druids have always held you mountain Druids in high esteem........ Gday Tel, thanks bloke, feeling like its starting to become something... yes Lakc, its alive... or at least I think so....

This post is a combination of a few days works so its a little bit all over the shop... so bear with me....

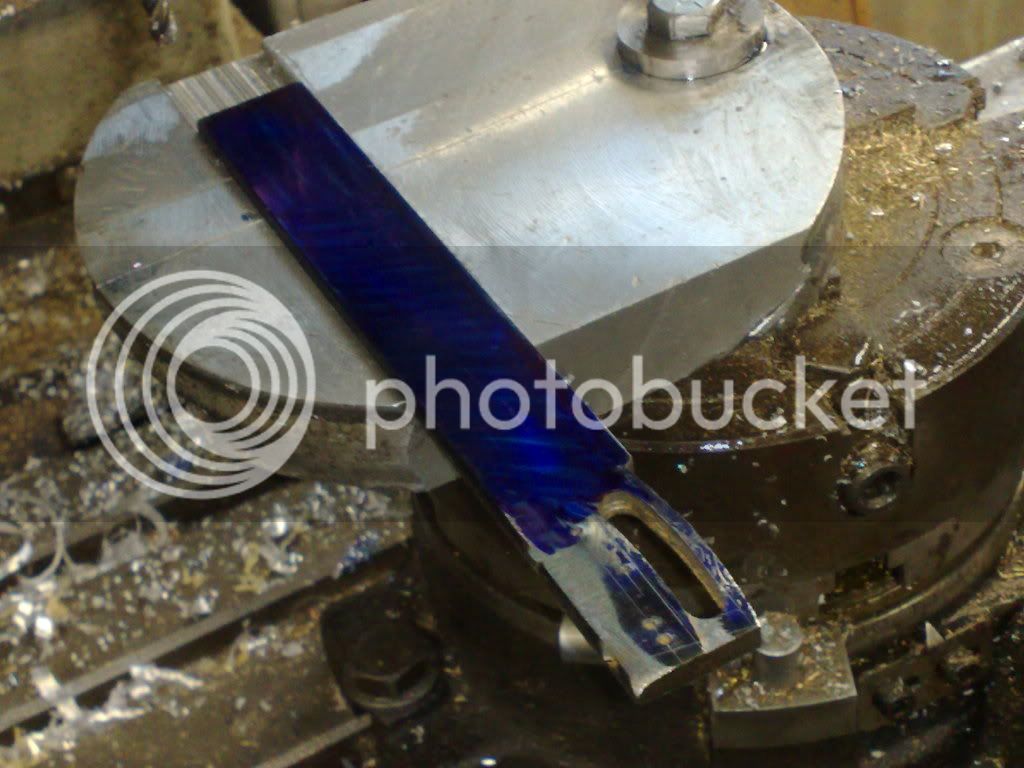
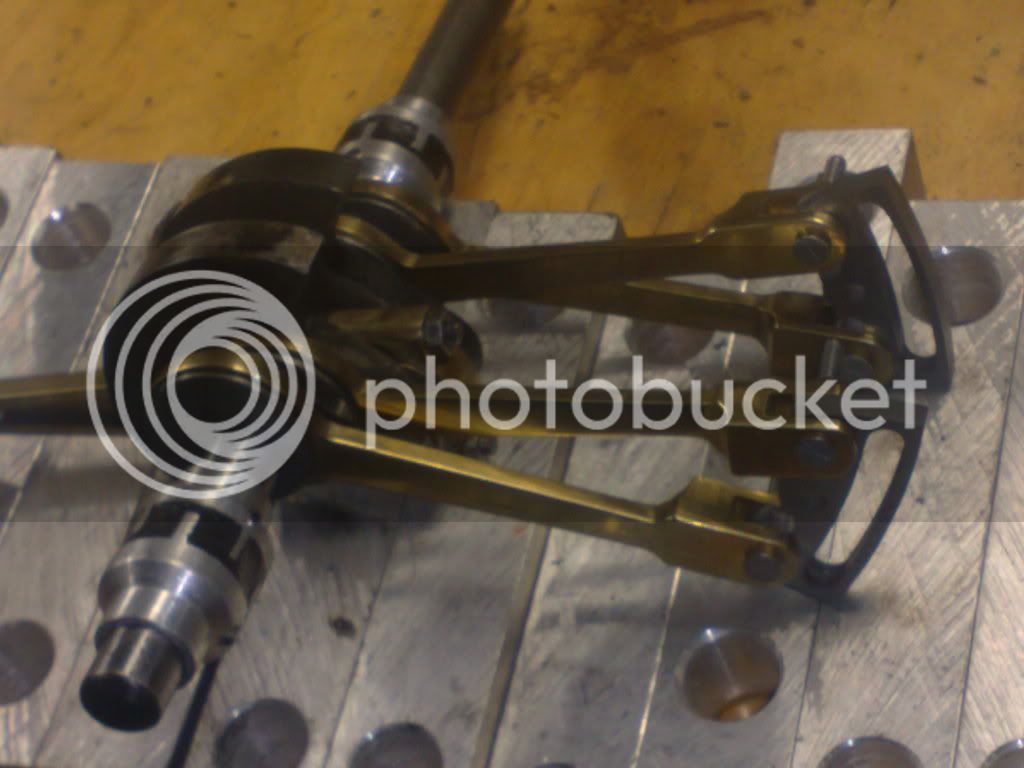
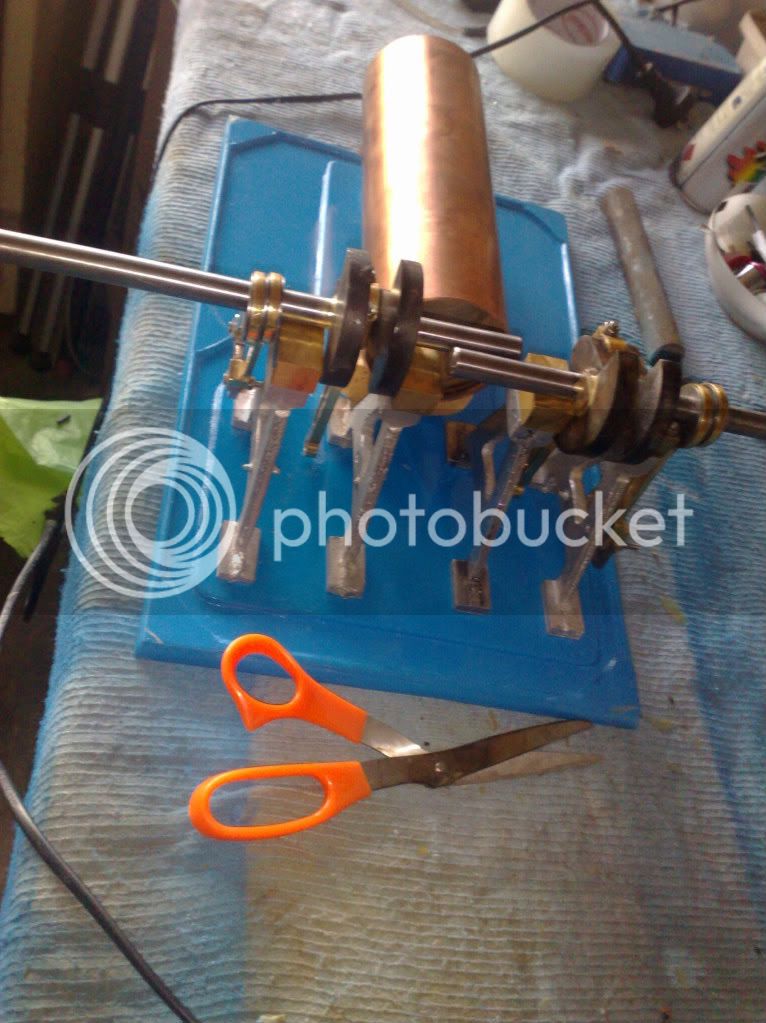
Firstly I finished the second crank half.... I have to admit right here that I wasnt happy with the first half. The alignment wasnt what I wanted and its because of this that I took time off from it to mull it over in my noggin... how could I ensure alignment even while being heated for silver brazing? Well, heres how.....

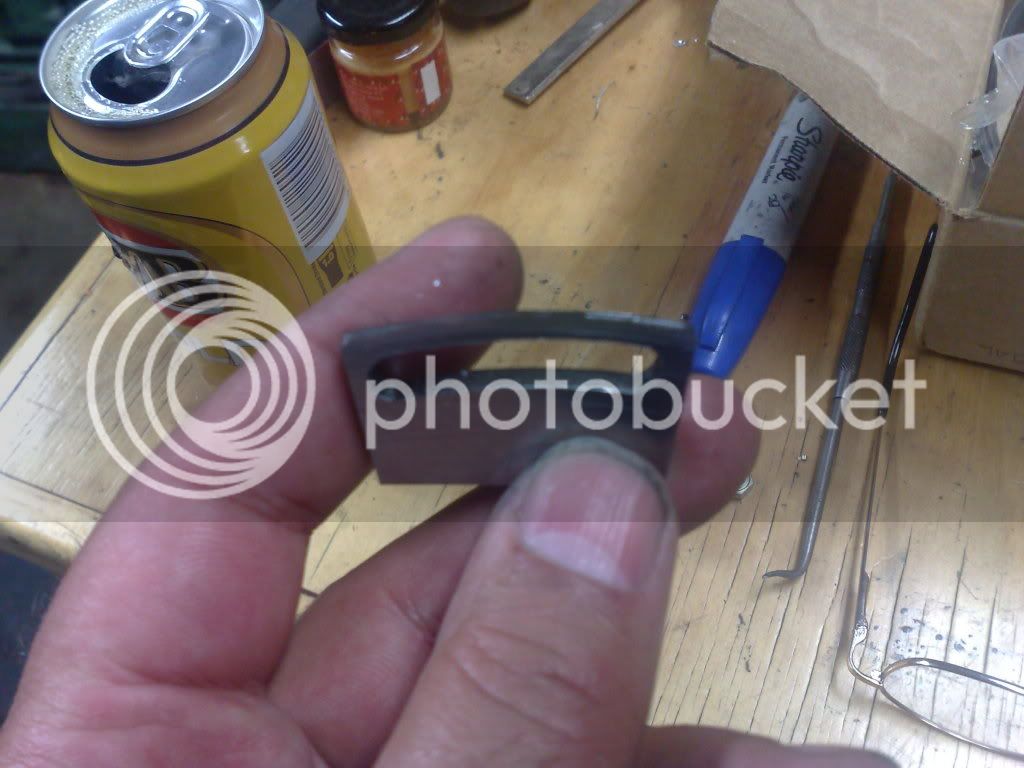
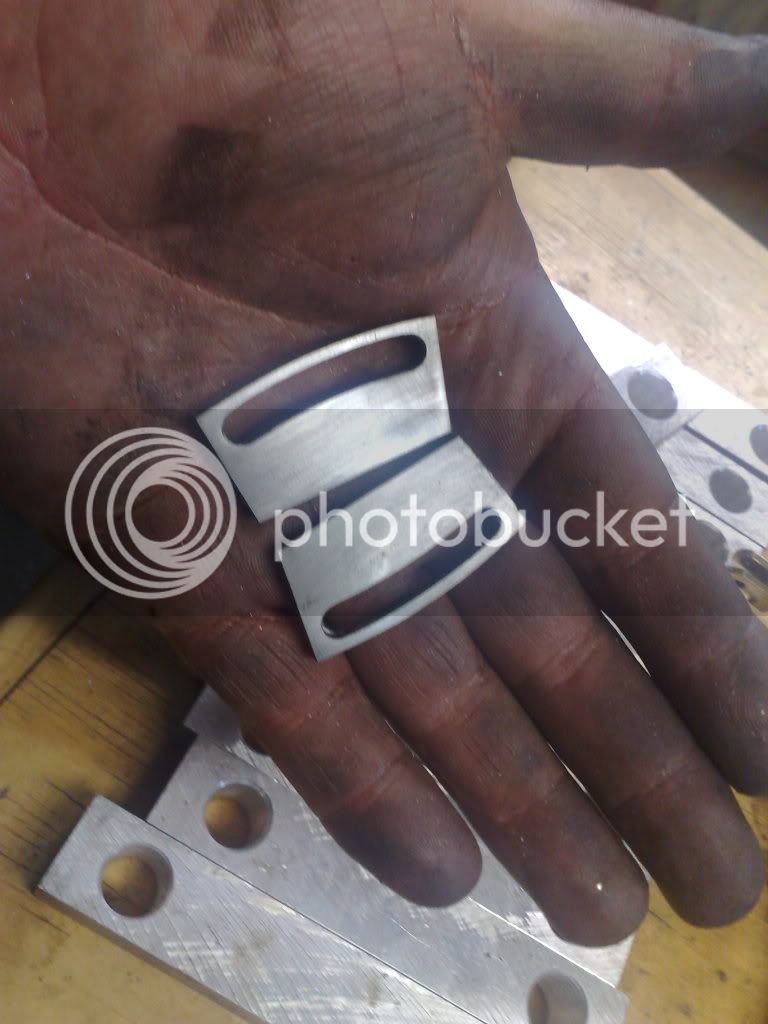
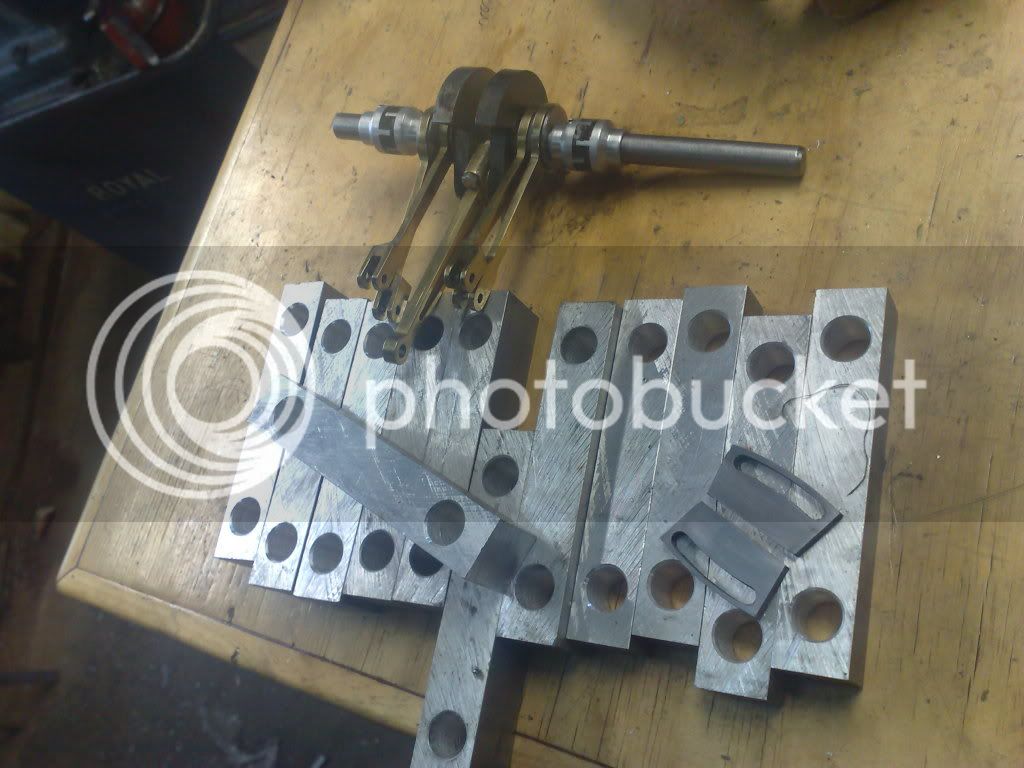
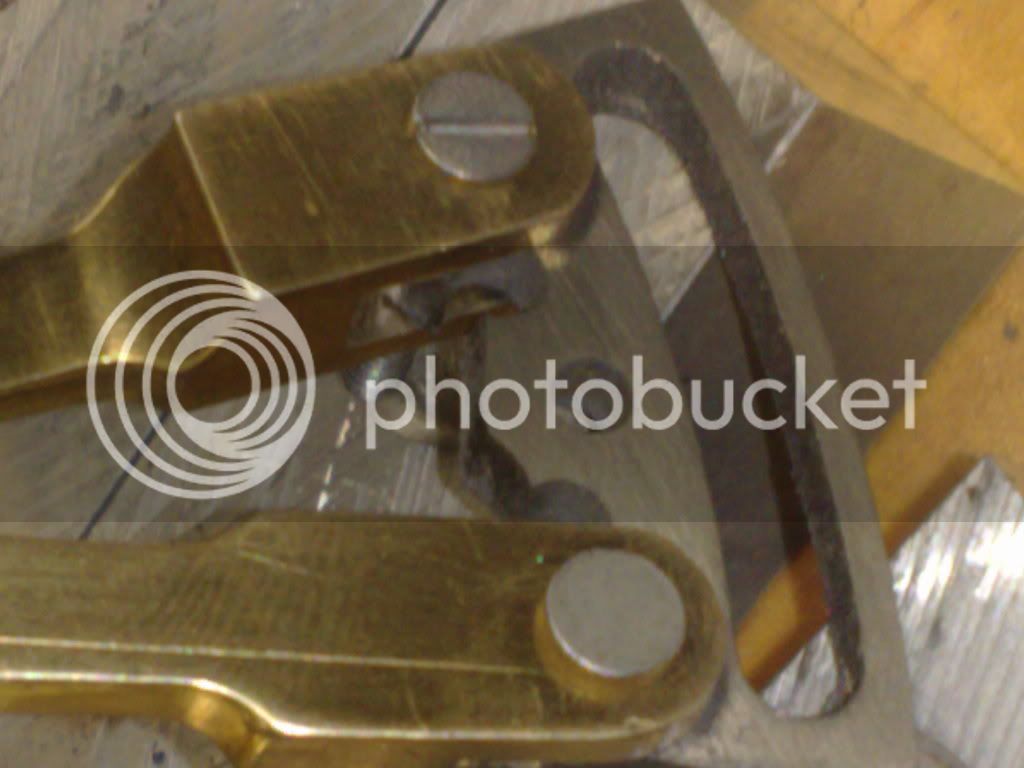
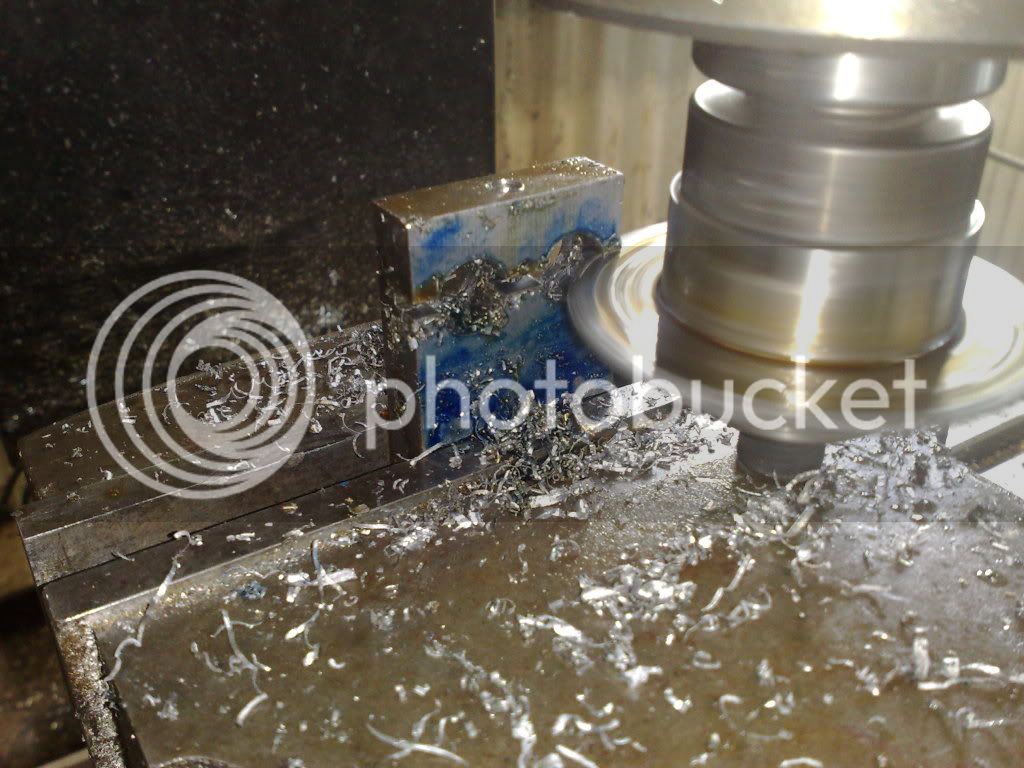
I measured the big end and main shaft gap and drilled a plate with the correct size holes using this gap.. then I split this apart so I had to half holes with identical spacing....

06112010274.jpg


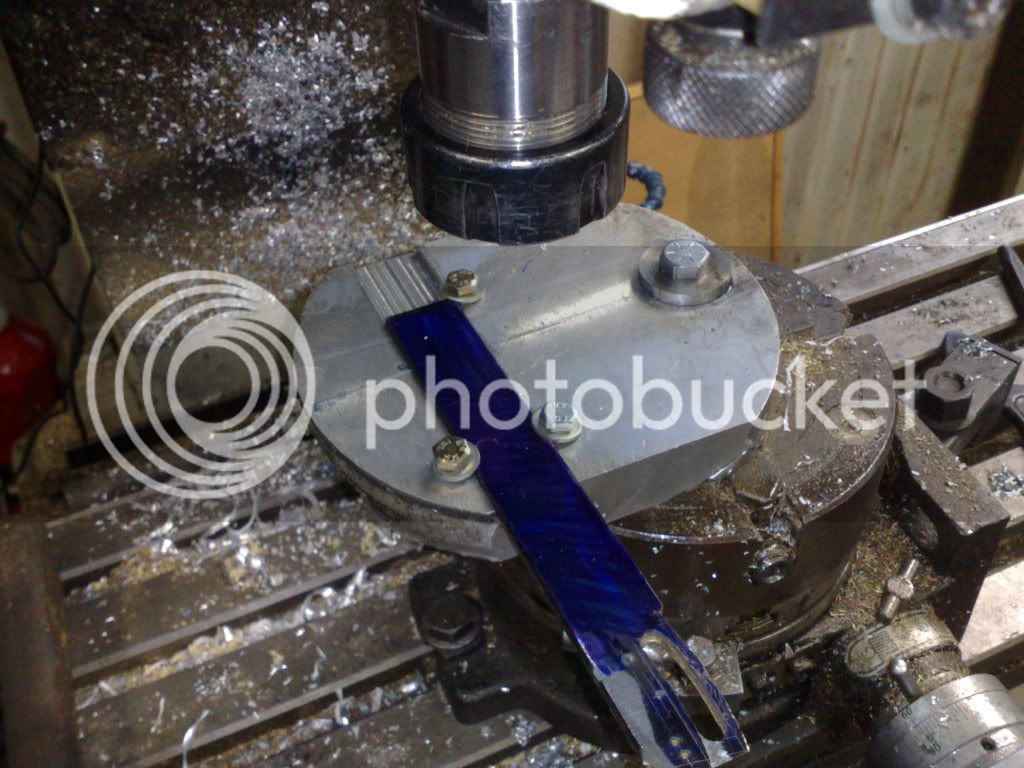
These plates I had already drilled with a clamping hole (see top of plate in prev pic) and when seperated, I tapped this with a 6 x 1mm thread and then added clamping plates....

06112010276.jpg


Now you only have to worry about twist but as I had left both shafts way long, this was easy to eye ball. I also reamed the holes in the crank cheeks a tad looser to allow a little 'moverment'.

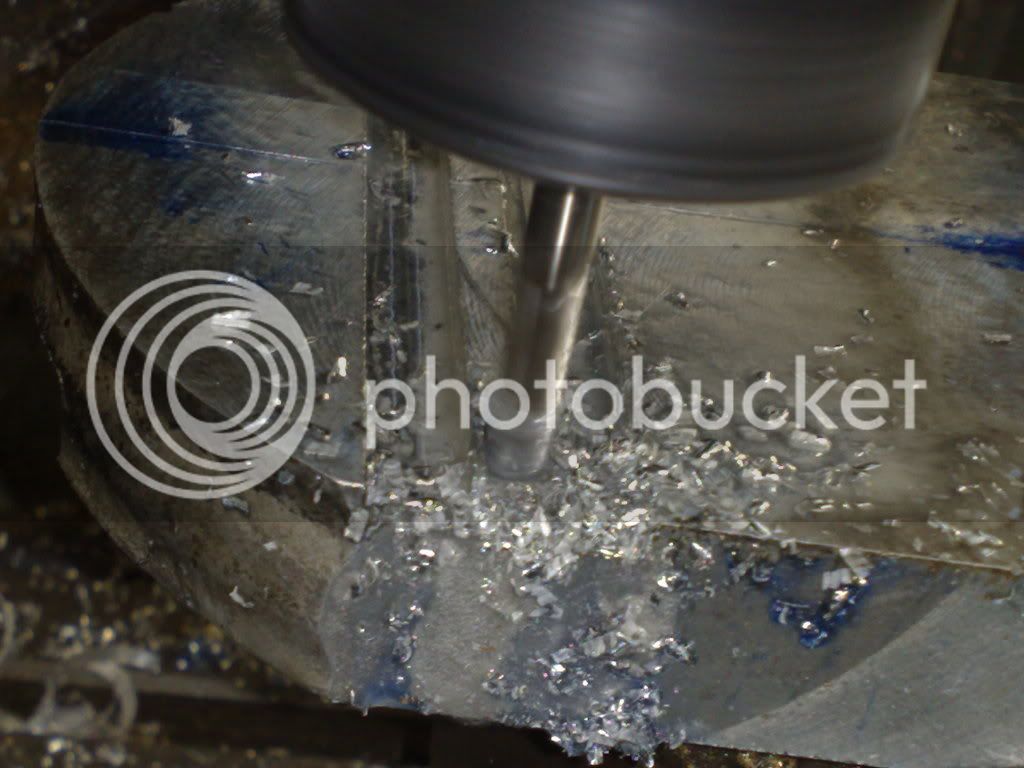
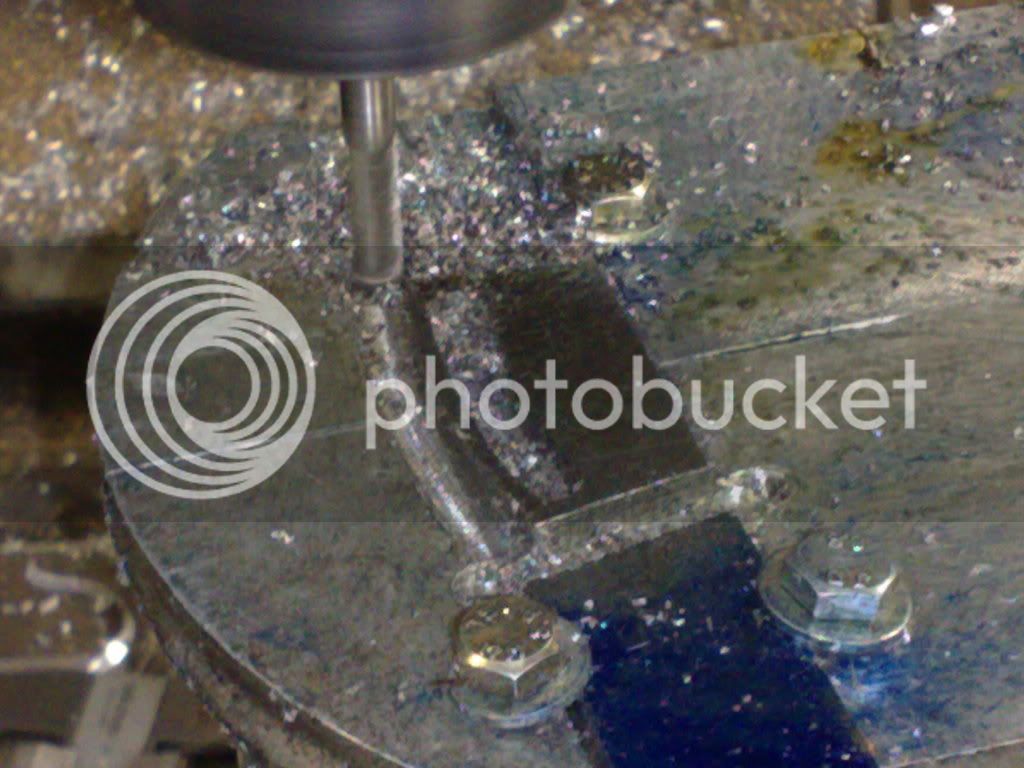
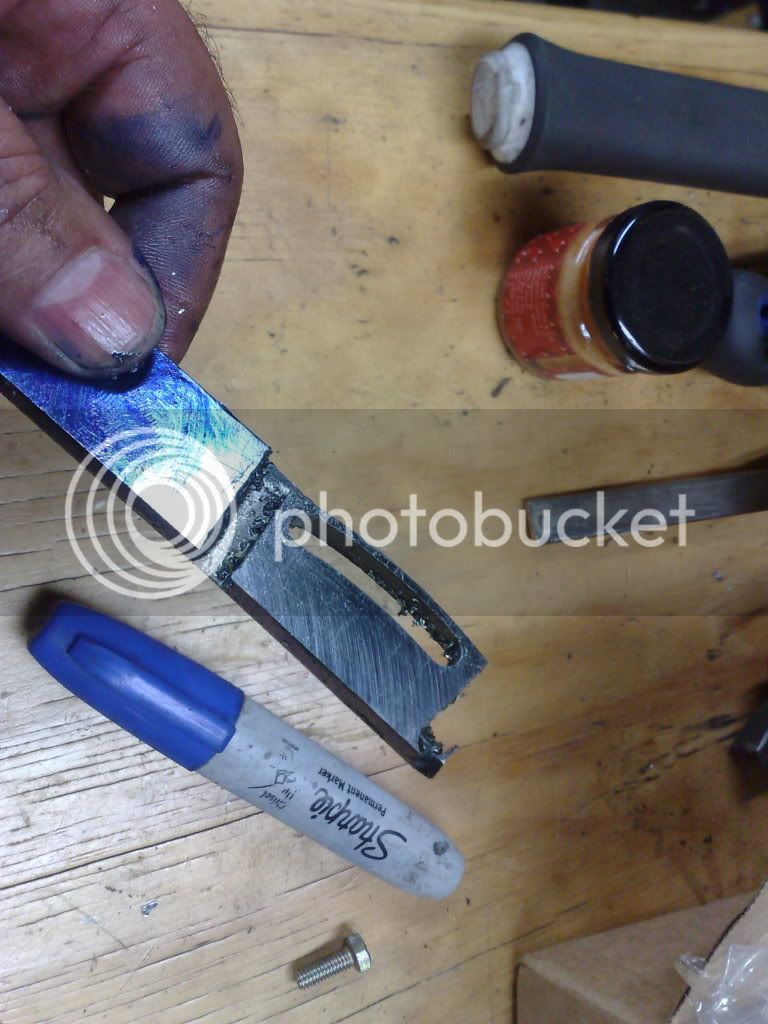
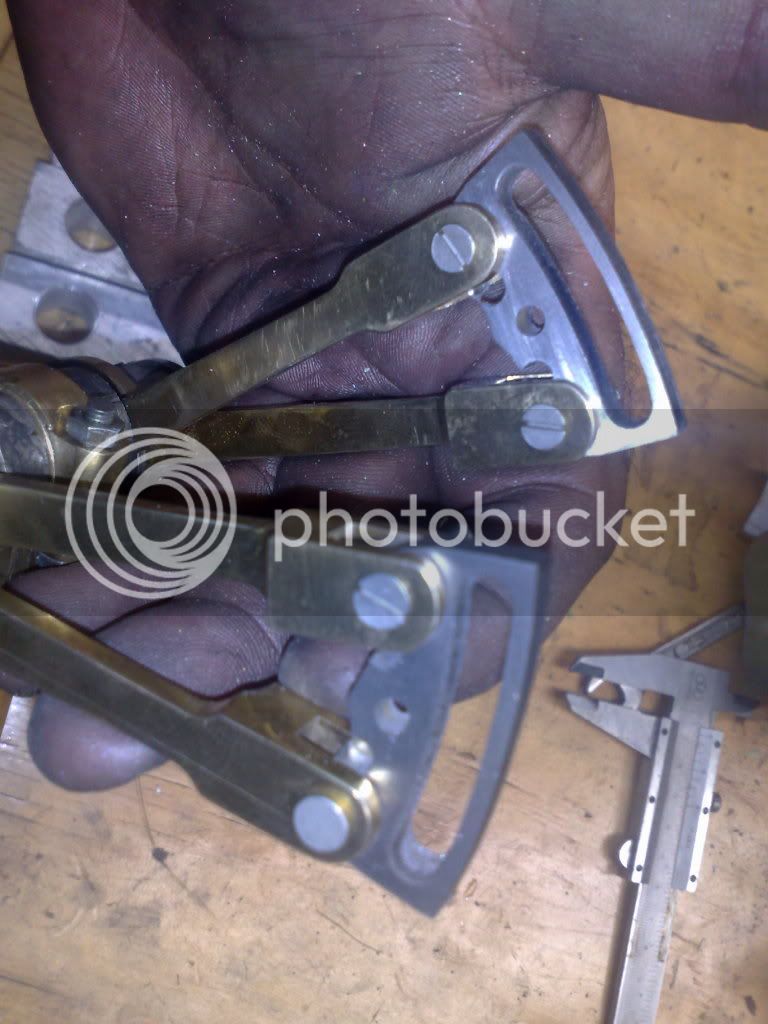
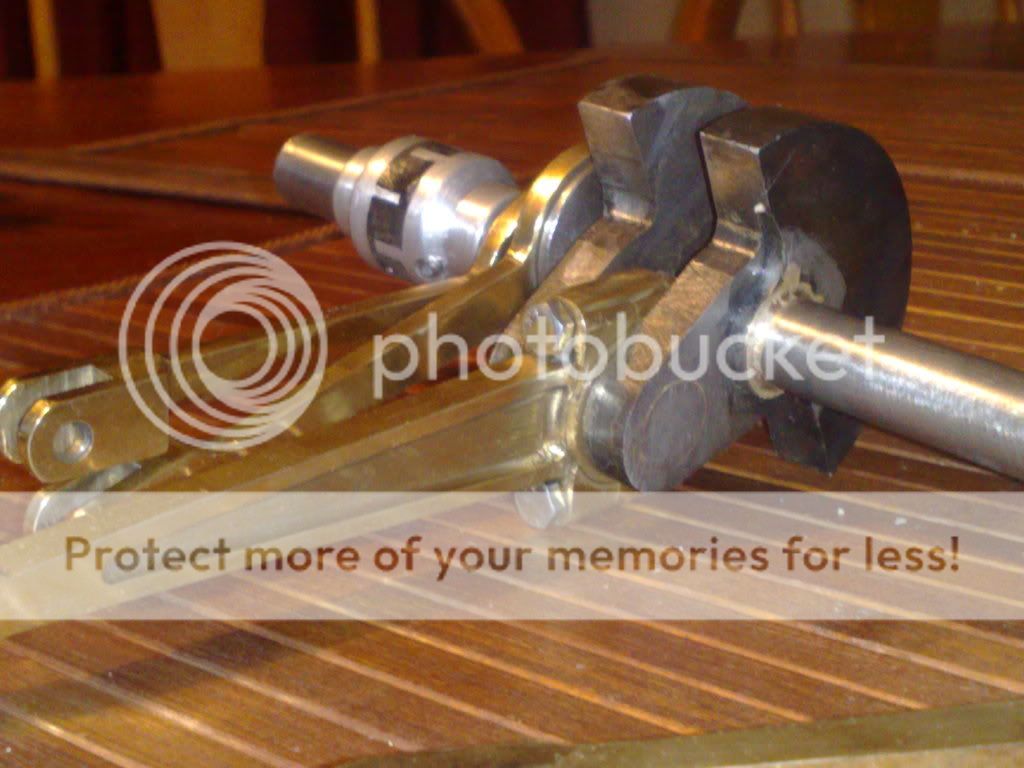
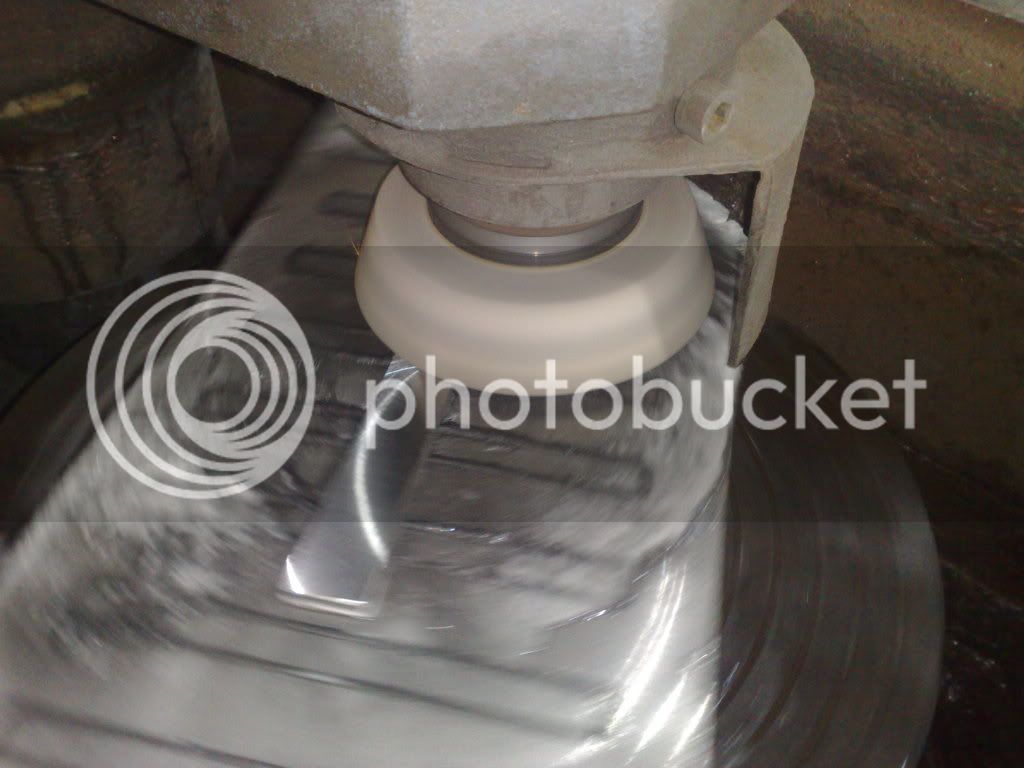
This worked brilliantly and today I sweated the No.1 crank half apart, reamed the cheeks and used this method to re-assemble it.... no error... a nice straight crank.... no pics cause its more of the same.....ok, just one then...

21102010216.jpg


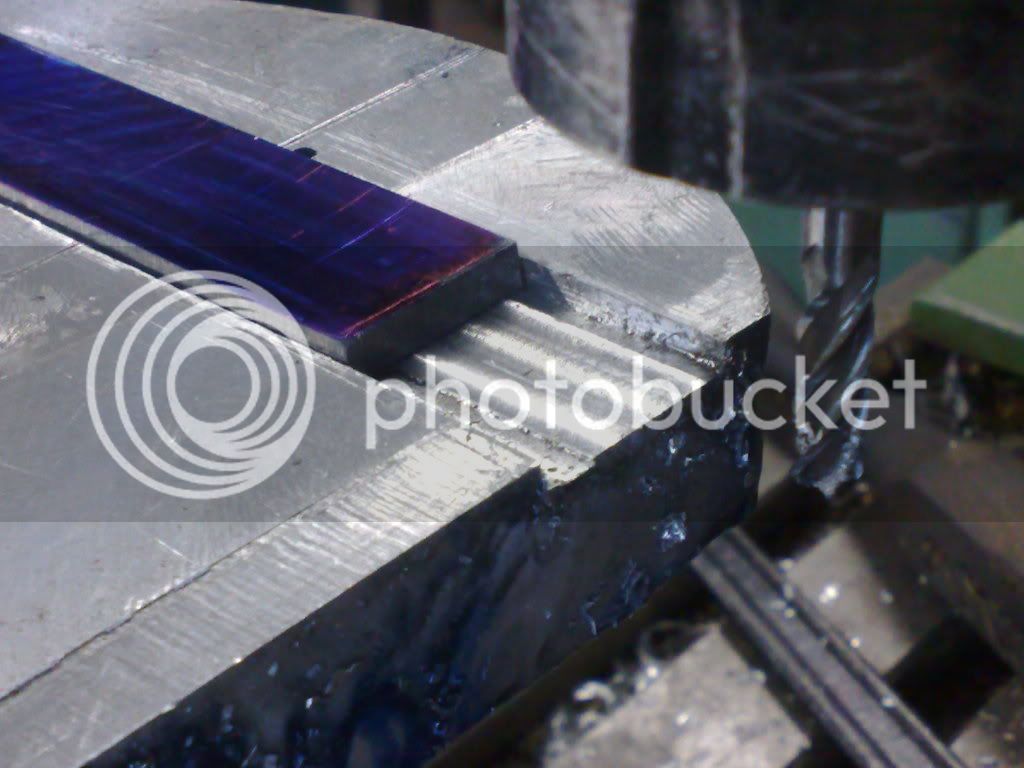
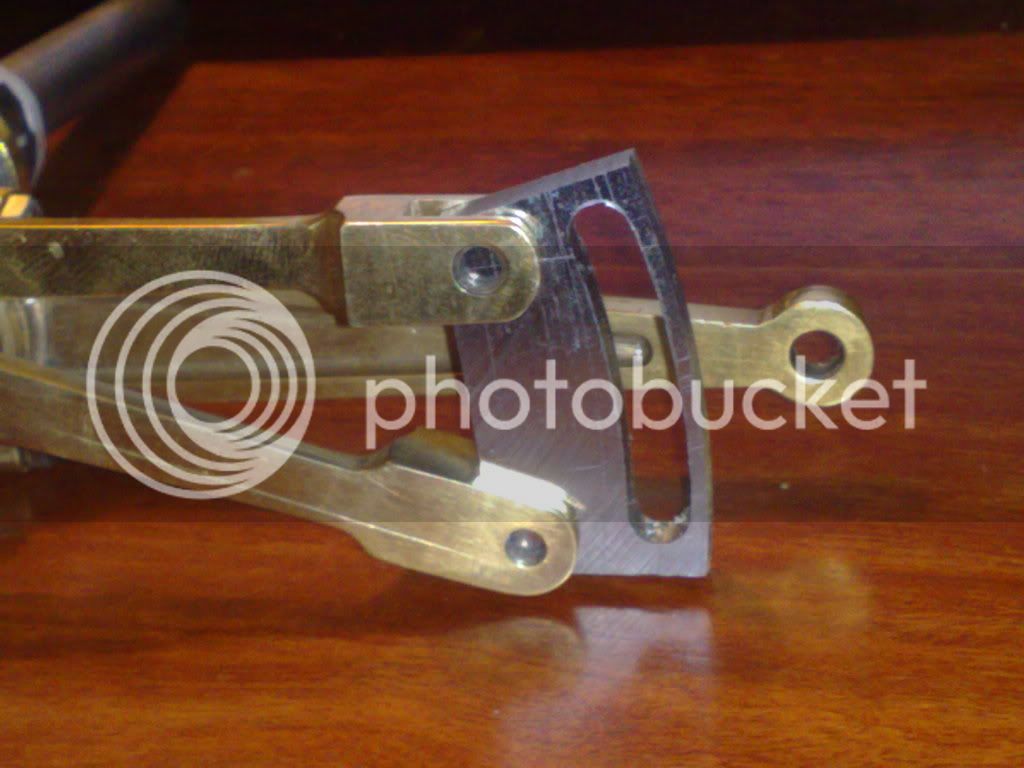
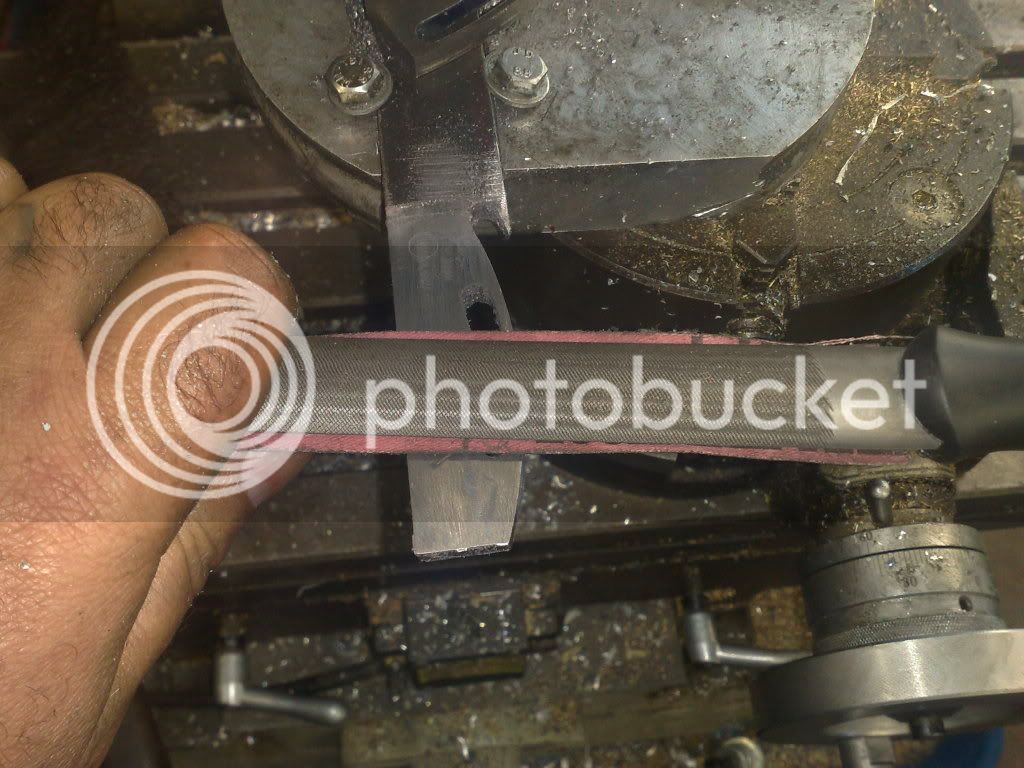
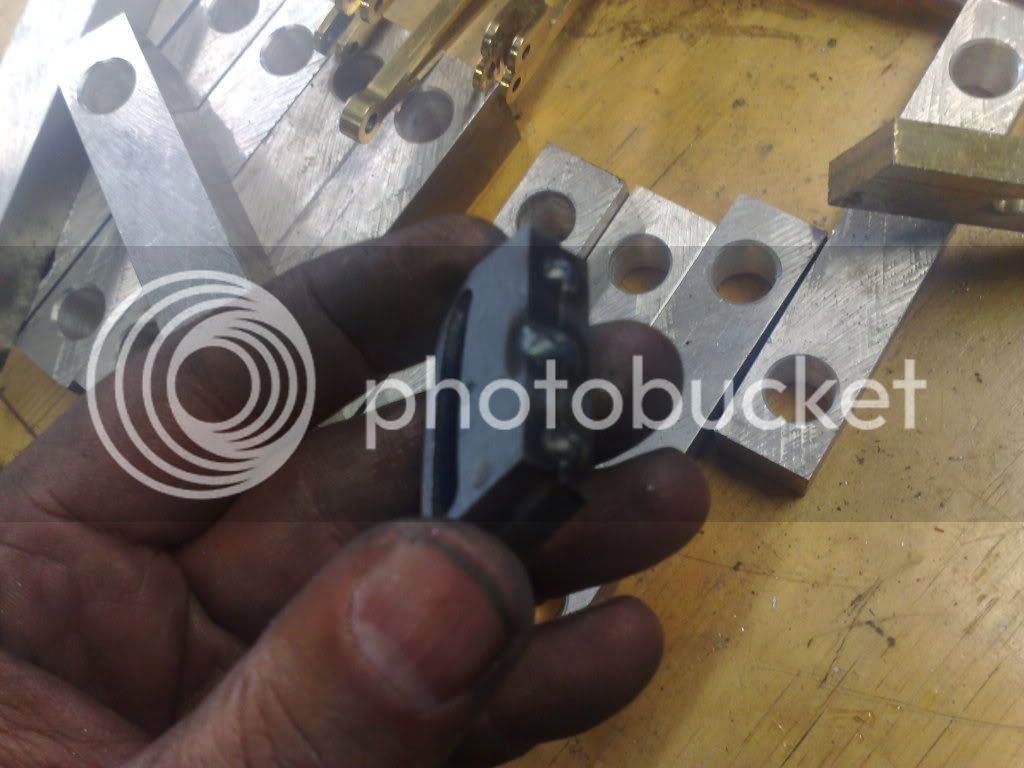
Then I deviated right away... I needed a pair of parralels for the reaming of the crank cheeks so I made a couple of pairs... the hard way..... ::)

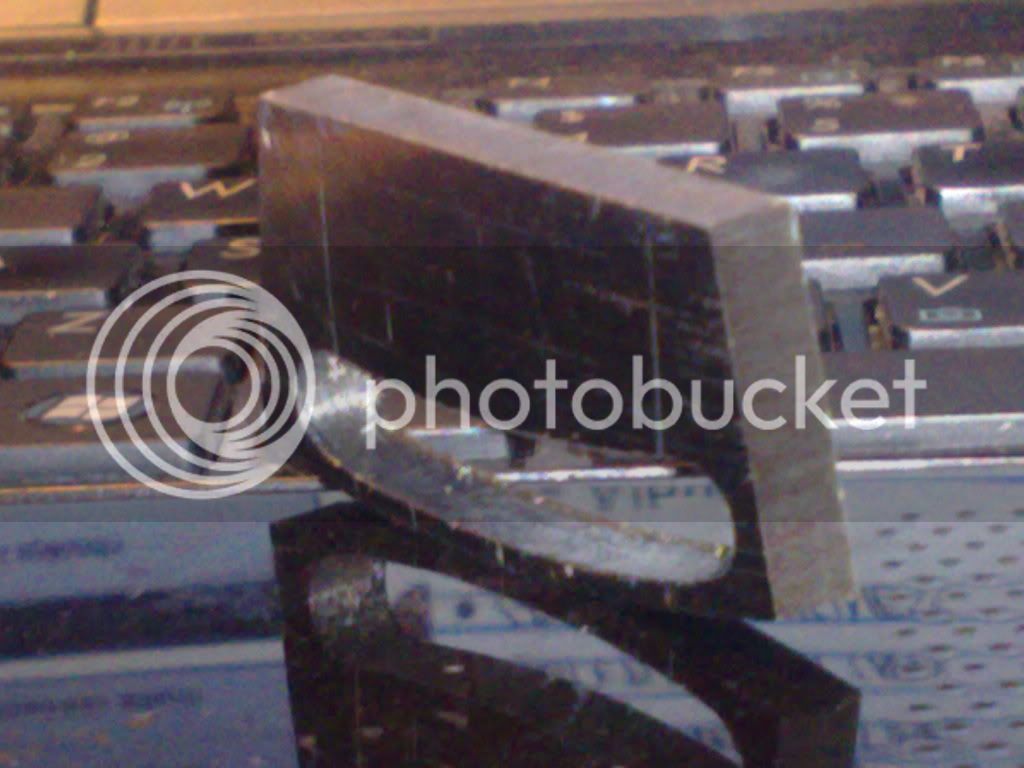
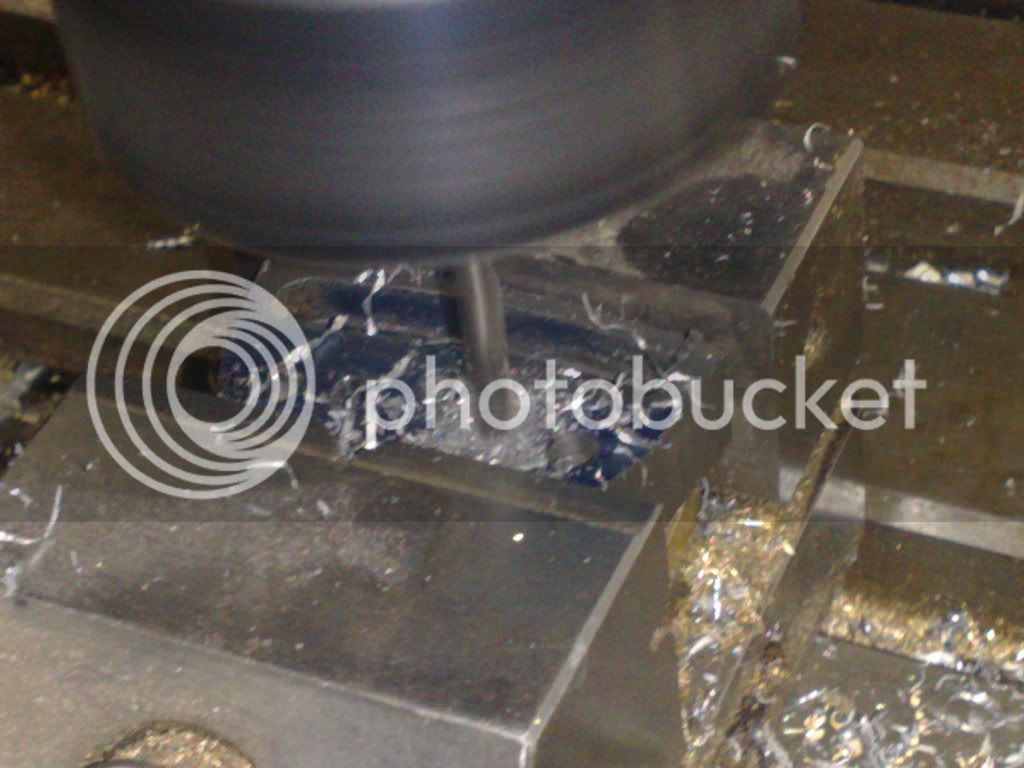
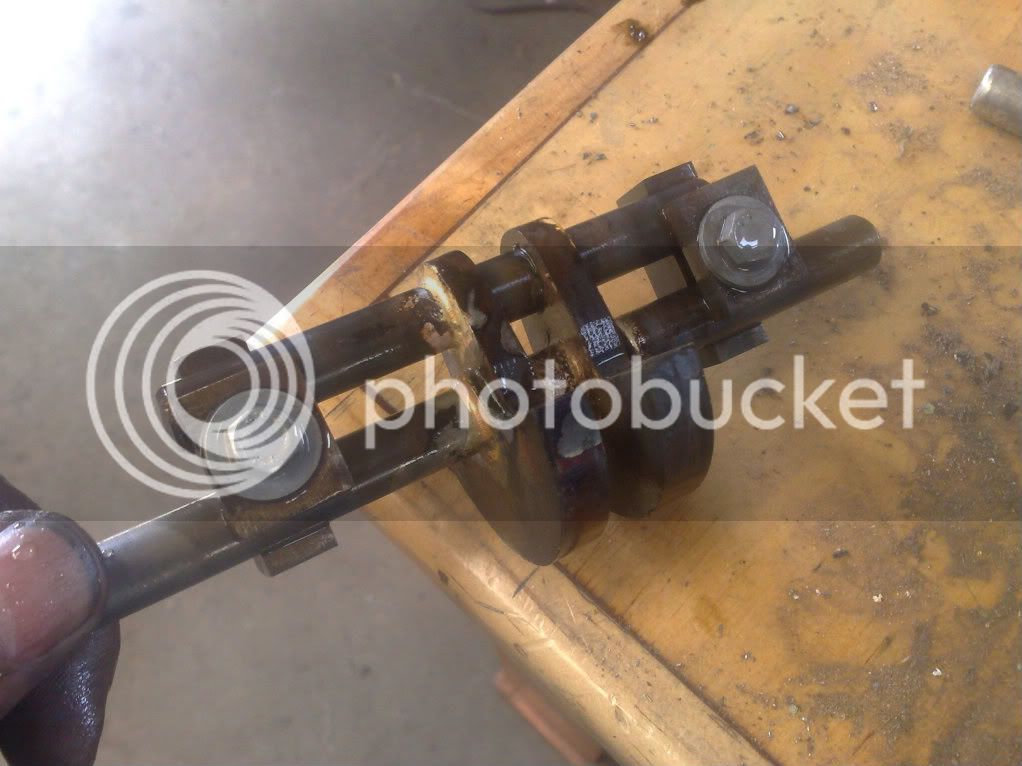
I took some off cuts from the 5mm flat strap that made the reversing linkage plates and threw em into the shaper and made some flat edges....

06112010270.jpg


06112010272.jpg


turned em over and using a micrometer, trimmed em until I had two pairs of exactly parrallel plates... then I put them into the surface grinder and made em pretty. Ill take some pics tomorrow as they look like the real deal.... but they are mild steel. I can see an advantage of this... drill bits wont chip if they touch them... and I can make more very easily...

22102010217.jpg


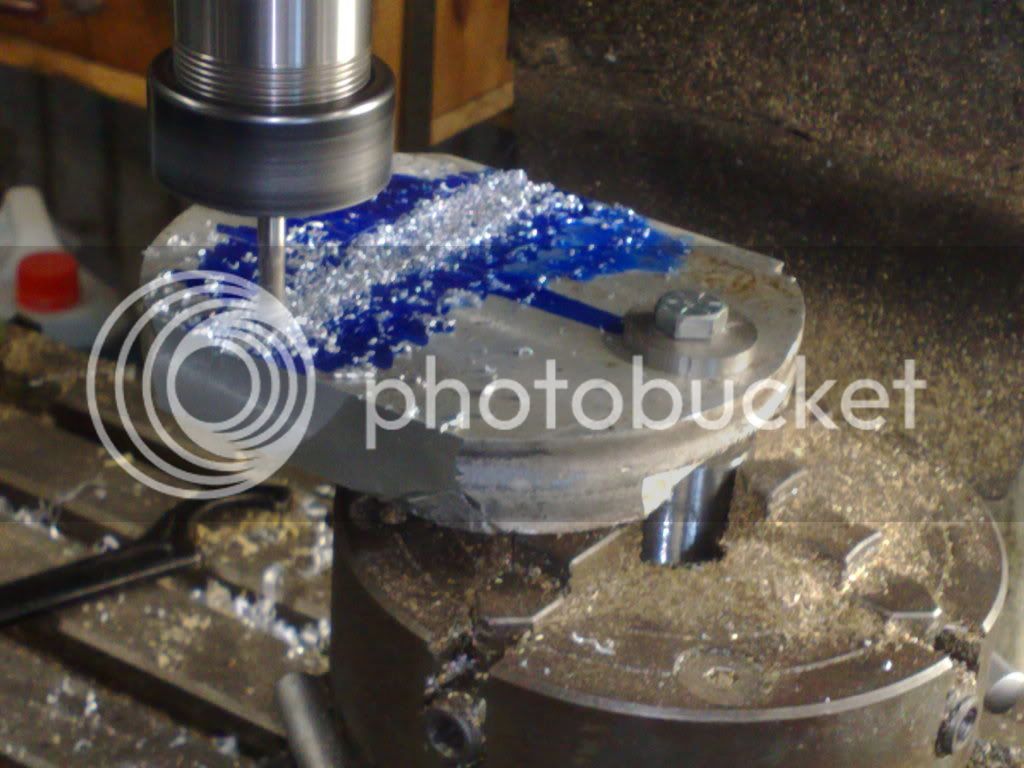
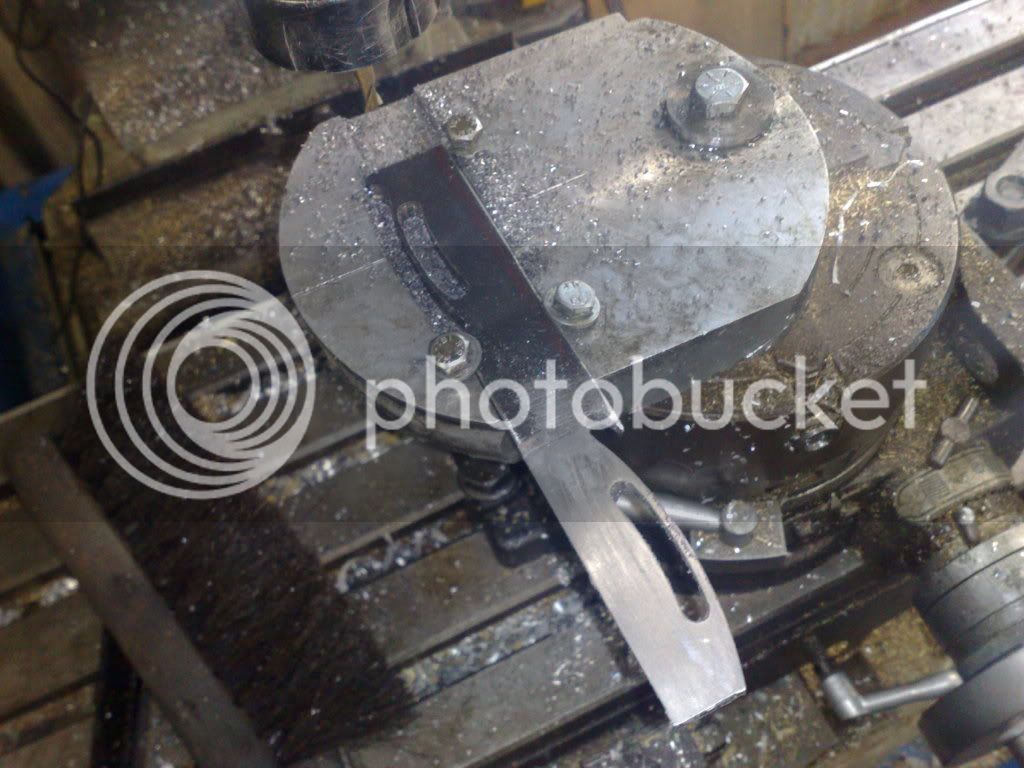
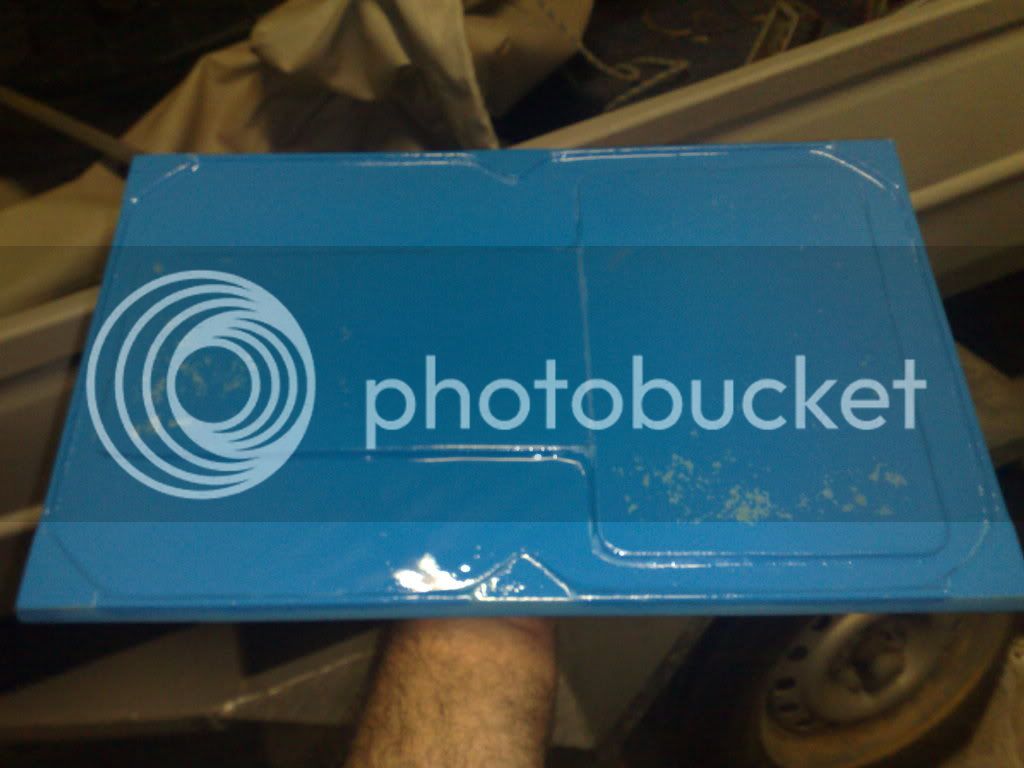
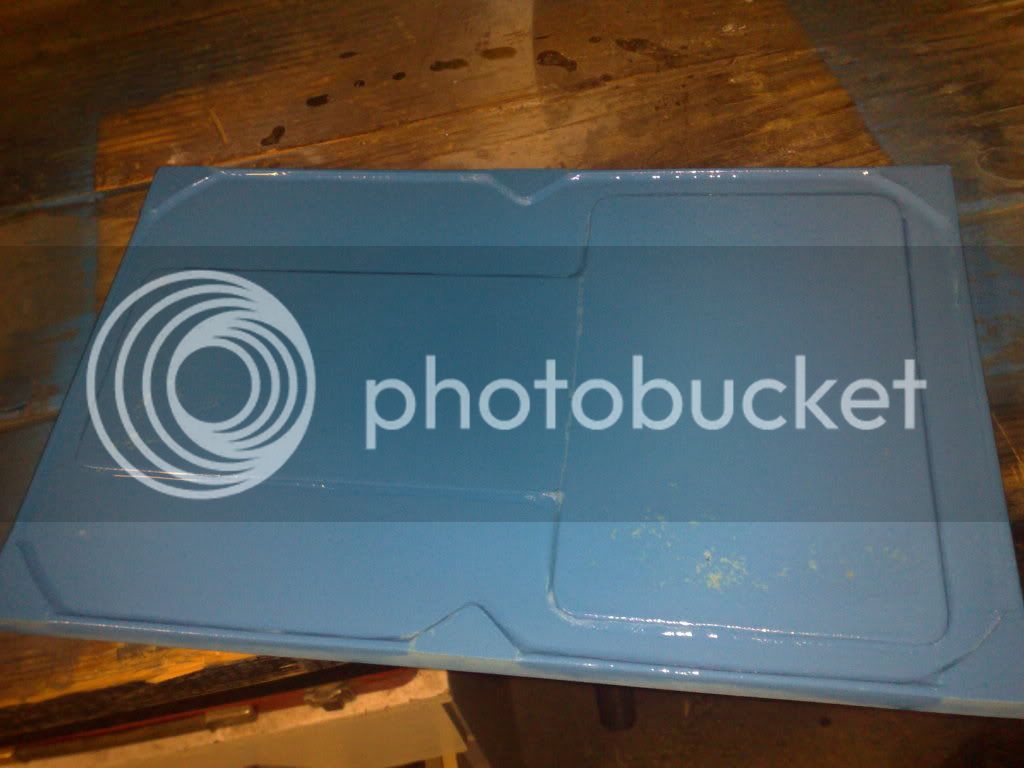
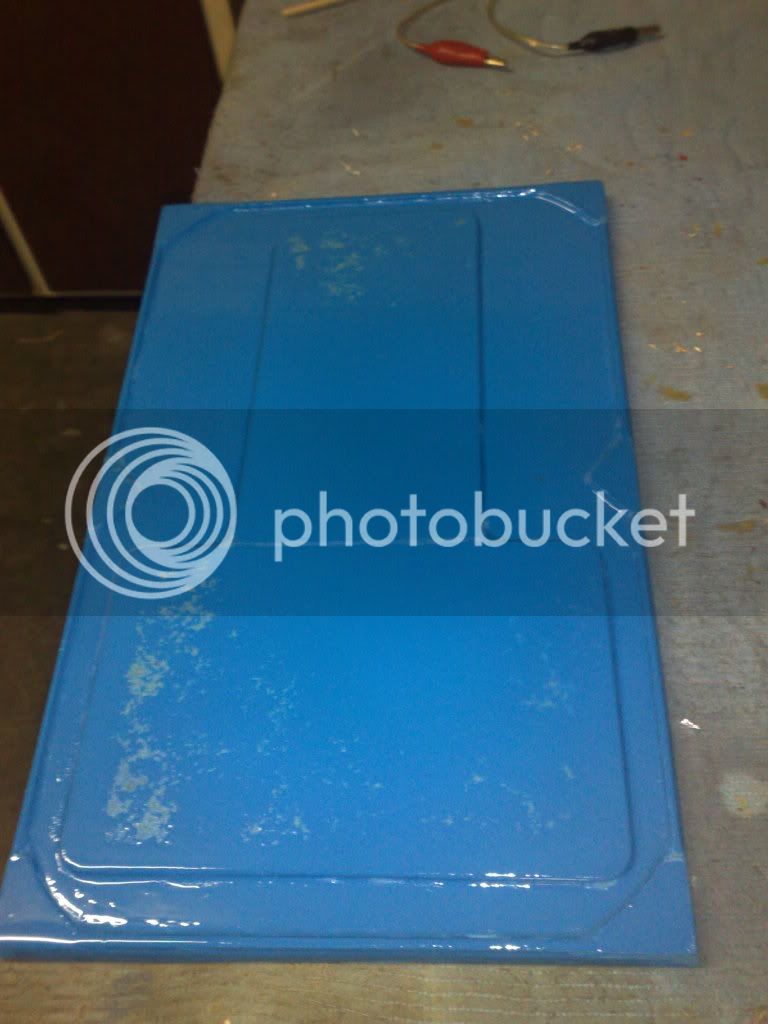
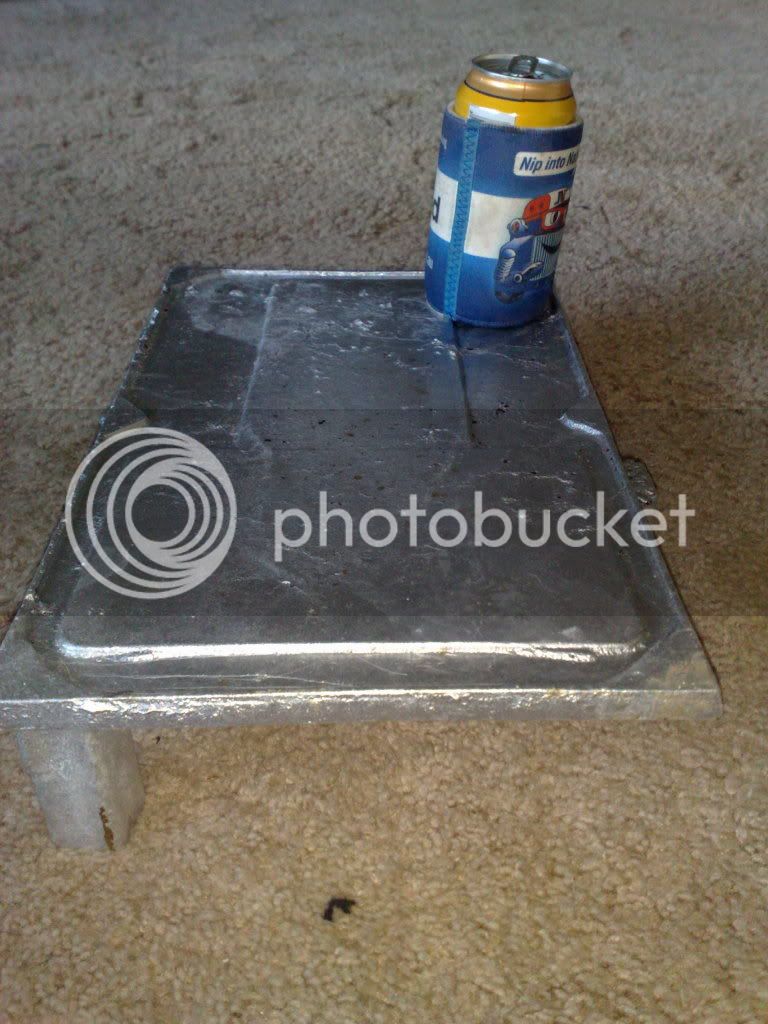
So that was yesterday... (sweating of crank No.1 was today..) today I decided to make the plug for casting of the base plate that will house the entire engien and allow it to be bolted into the hull.

Nothing dramatic here, n fact quite the opposite... pretty plain plug, 9mm flat plate with soem 3mm detail glued to it....

07112010283.jpg


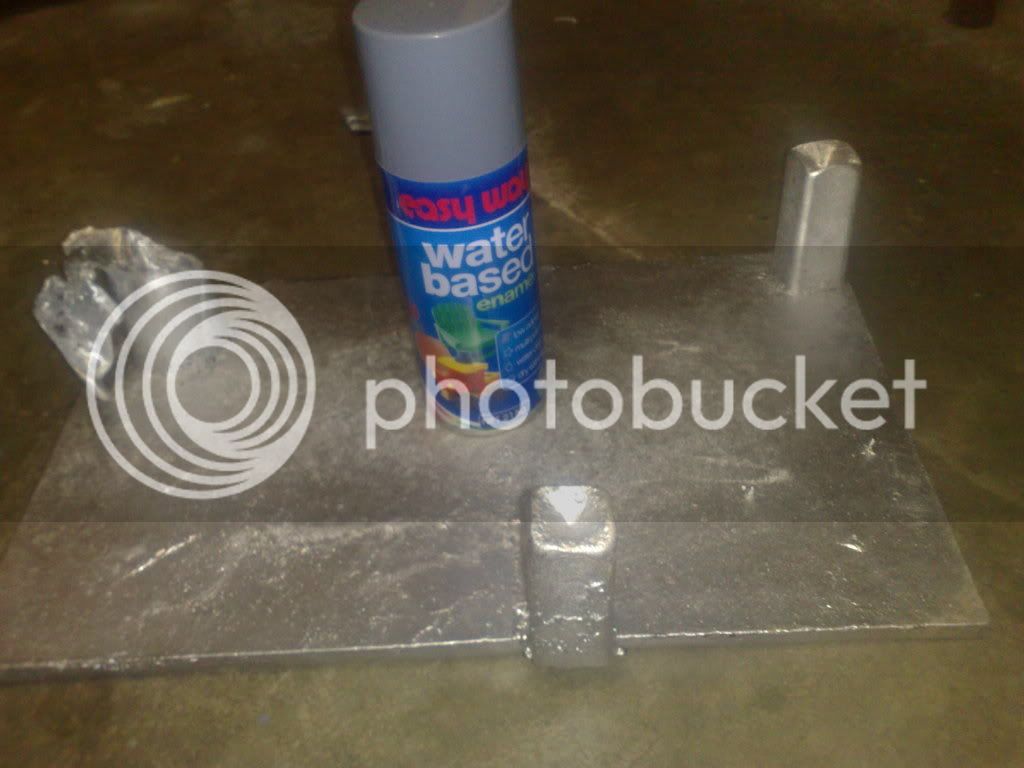
I have only given this a base coat so far or ai would have a cast plate by now.... ran out of time... again..... Ill dry this, sand it soem and give it its final coat.... then.... casting......

07112010279.jpg


Enough, its 10.30pm and Im tired..... later all...

Cheers

Rob T
 
That's some serious tooling and jig making. Good to see the progress, and getting around to the baseplate means more casting in the future.
 
Im pretty keen to get the casting done before my rounds of the offices next week. Hate being away from the equipment when Im on a roll....

A mock up of the configuration... scissors are for scale...


08112010287.jpg


Cheers all

Rob T
 
Got the casting done today..... turned out to be much more difficult than I imagined... due to its large surface area, In fact this is the biggest casting I have ever done in a closed mold.

The flask was my big one and relatively thin and the plate took up almost the entire surface area.

The thing had to be rammed on a base plate and this used to turn the cope over added the drag and then rammed it all up. Again using the base plate (flat board under the flask) to put the flask on its side and seperated the cope and drag and did all prep work with them on their sides.... damned awkward...

As a result I got a fair few inclusions (or bulging aluminium where cavities formed... given the difficulty and the fact that this part will be painted... Ive decided to accept what I have...

Its no Rob Wilson job.... but then neither am I.. th_wav if you havent alrady, have a look at his thread A Bit of Casting, hes doing amazing things! http://madmodder.net/index.php?topic=3841.0

Anyway here it is.....

07112010284.jpg


21112010304.jpg


Yes....its damned hot here right now.... I always seem to cast on hot days.... ::) so yes, that is a beer, and it wont be the last!!

Cheers Rob T
 
Not XXXX Artie? I'm shattered!
 
tel said:
Not trashX Artie? I'm shattered!

Oh Tel.... XXXX? Never... apparently we cant spell 4x on here cause the nanny it turns it into trashx. The beer Tel's referring to is spelt with 4 x's and it really does taste like trashX...

a story!... this is a Queensland beer and I have a mate (Greg) who drinks it. recently while driving from Townsville to Ingham (way up north) I came across a four X pub beside the road.. its real hot up there in January so I stopped and thought Id try this terrible brew in its home state... theorising that they kept the 'good stuff' fo them selves and sent the crap down south.....I took one sip and rang Greg... "mate this crap is still crap!"....

:big:
 
Well that's a relief! The only thing worse that 4X is Southwark!
 
Good job on a tough casting. I have found those large flat ones to be difficult to get right. You need to have the metal hot to get it to run that far and then it shrinks a bit unevenly. Warmish here in Mildura today, I reckon you earned your beer. Have you put all the bits on for a mock up yet?

Cheers,

Nick
 
It was tough Nick, the main problem was I couldnt lift the cope off without it collapsing so as I said I had to do it with both sitting on their sides and really, it was tough to reassemble without dislodging some sand..

Im not happy with the result but it was the third ramming that I got cast.... I am JUST happy enough to use it..as its going to be painted.

Shrink was a problem and I knew it would be so I used 'generous' risers.....

21112010306.jpg


..... and the riser that received the metal shrank loads.... anyway, this is 'the one' if it wasnt destined to be painted I might have considered re doing it...

21112010308.jpg


21112010307.jpg
 
a mock up? Partial... with the plug, havent trimmed off the risers yet.... during the week Ill get one done....

08112010287.jpg
 
Looks like the risers really did their job. I suspect this pour was done a little hotter then normal. Did you use or do anything else to keep the aluminum more fluid?
 
Back
Top