Casting Engine Components For a Twin

Home Model Engine Machinist Forum

Help Support Home Model Engine Machinist Forum:

This site may earn a commission from merchant affiliate links, including eBay, Amazon, and others.
Hey Artie, ya want some real bentonite to play with? Next time I'm in Oberon I'll pick up a bag for you. Won't be for a while tho'.
 
Yes please, let me know when its on hand and it will give me an excuse to drop in and open a bottle of red. ;D
 
Well I intended to cast 2 aluminium cylinders today. These are to prove the casting technique and help in working out the machining details for use on the brass cylinders. Lucky I did!

Cocked up one and put it back in the crucible so only one to show tonight. (I put the vent hole too close to the edge of the cope and the molten metal ran out the side of the mold... bugga... )

Firstly a series of pics with a few comments. Any questions... ask away....

Tamping the green sand around the plug...

06012010582.jpg


Then turn it all over...

06012010583.jpg


add the other half of the plug and shower with talcum powder.... add the drag (top half of the box) and tamp more sand around it again...

06012010584.jpg


This is teh one I cocked up. See how close to the edge the holes are? The metal decided to go out rather than in.. or some of it did... :-[

06012010587.jpg


Holes here are better positioned. That was a stupid mistake made by me trying to do a few things in my head at once.

06012010592.jpg


06012010597.jpg


06012010600-1.jpg


Have I mentioned how impressed I am with this thing on gas? No? Well I am! This is no where near full throttle... ;D Yeah it is just showing off for the pic... not much flame shows when at normal throttle.... that side hole was for a crucible handle in the old days... should be plugged but never got round to it. Yep, it loses efficiency because of it...

06012010589-1.jpg
 
tmuir said:
Do you use cat litter as your source of bentonite clay?
Aparently you can get it from live stock feed places, or be like me and talk to people who do directional drilling and get them to give you half a bag as bentonite is used to make the slurry to assist with the drilling.

What sand do you use?
I've been following this thread with interest.

Sorry mate I missed this question when I read through before. the sand is simply fine graded sand, as supplied by our local gardening supplier. Its called white sand here and is very fine with a small clay content.. The 2 boxes you see in the trailer cost $9 aus.

Artie
 
Thanks for that.

I'm filing away all this for when I finally build myself a furnace.
 
Just a few notes today, I cast up another cylinder this morning with a revised green sand mix and sprue location. I was after less sink back and a better surface finish.

The altered sprue location worked and no sinkback was evident at all. Good news cause bronze (due to its much higher melting point) tends to contract badly if all isnt well. You can see the first casting on the right has some sinkback on this surface but teh other casting has none at all.

07012010611.jpg


I used I higher clay content sand, BUT, I mixed it too wet and as a result the steam vent holes couldnt deal with the moisture removal.

As it turns out, no danger, just an anxious moment and learning just how fast you can safely put down a crucible and leave the area.... ::)

To recap, these cylinders are to be used to determine the green sand composition (done), optimum sprue location (done) and machining sequence or steps (done).

I partially machined up one cylinder this afternoon and managed to get it out to 30mm bore (it is designed to be 20mm) so there is plenty of scope in these casting parameters. This pics shows the 30mm bore, way too big but it can be done... maybe later... poor internal surface finish, slightly too fast speed, no coolant results in bad finish. Didnt take the time simply cause this was an experiment.

07012010610.jpg


07012010608.jpg


Next step is brass.

Thats gonna be fun... ;D

Later, Artie
 
and before someone asks, no these arent wasted, they and the spues go back in the pot... wasted was the mold breakout where the molten metal went all over the ground.. the large aluminium stuff on the tray behind the (very impressive) flames is her, this is infused with gravel and crap and is around a half inch thick... this my friends ... is a waste... and Im not happy with.. well, me actually....

And as you can see by the water bowl, puppy likes to watch this stuff. When metal is hot though, she gets her marching orders and sulks out in the back yard....

Did I mention its in the mid 30's here?... ok... just a thought.... seriously, I do feel for you guys dealing with mucho ice.... I have NO IDEA how difficult it must be..... good luck.... it'll be over soon....

06012010589-1.jpg
 
What an amazing thread... how do I miss this stuff?? The last I'd seen of it was a big sheet of plans with a spoon on it, and now it's two pages of Awesome. ??? :eek: :bow:

One day I'll start casting aluminium.
 
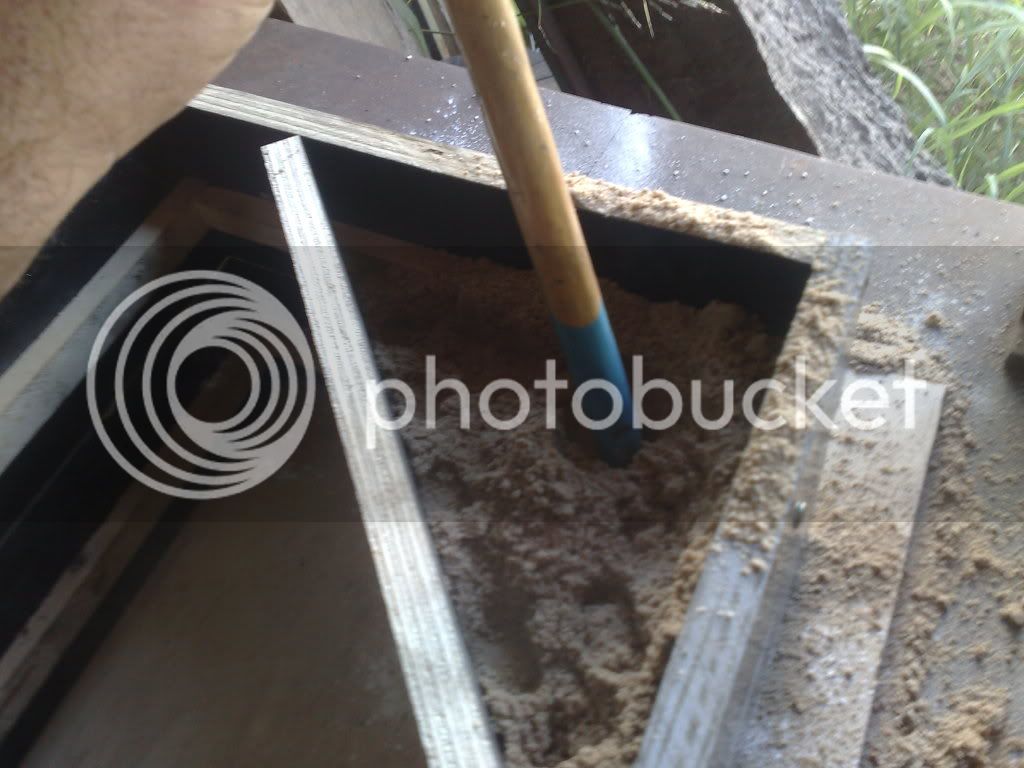
After work today was brass day, 1 cylinder cast up.

To recap things a little, I have been casting this in aluminium to prove the technique and iron out the bugs. Simple stuff like placement of the sprues and risers can effect the casting (think sinkback) and getting these right can only be done with a prqactice run or two.

Surprisingly these little cylinders are quite complex castings (more so than I at first thought) so they took a bit of work to iron out. The end result is pretty damn good and Im very happy.

Im not sure if Ive mentioned this before but I have absolutley NO experience in casting brass (apart from ingotting) so this is crunch time.

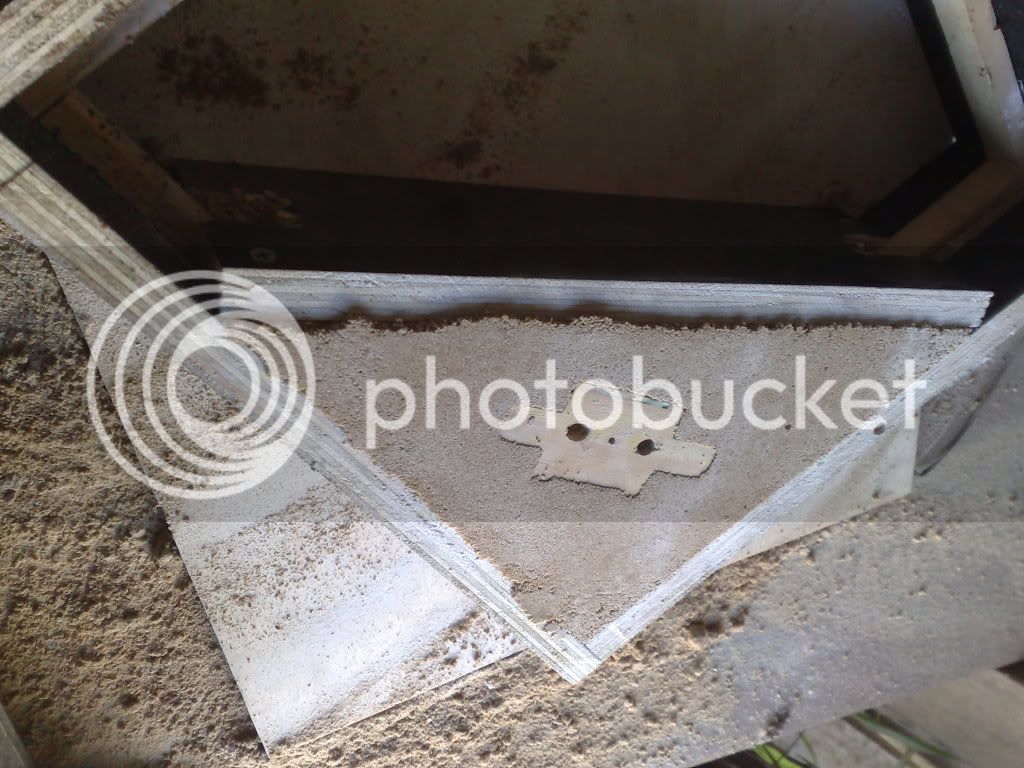
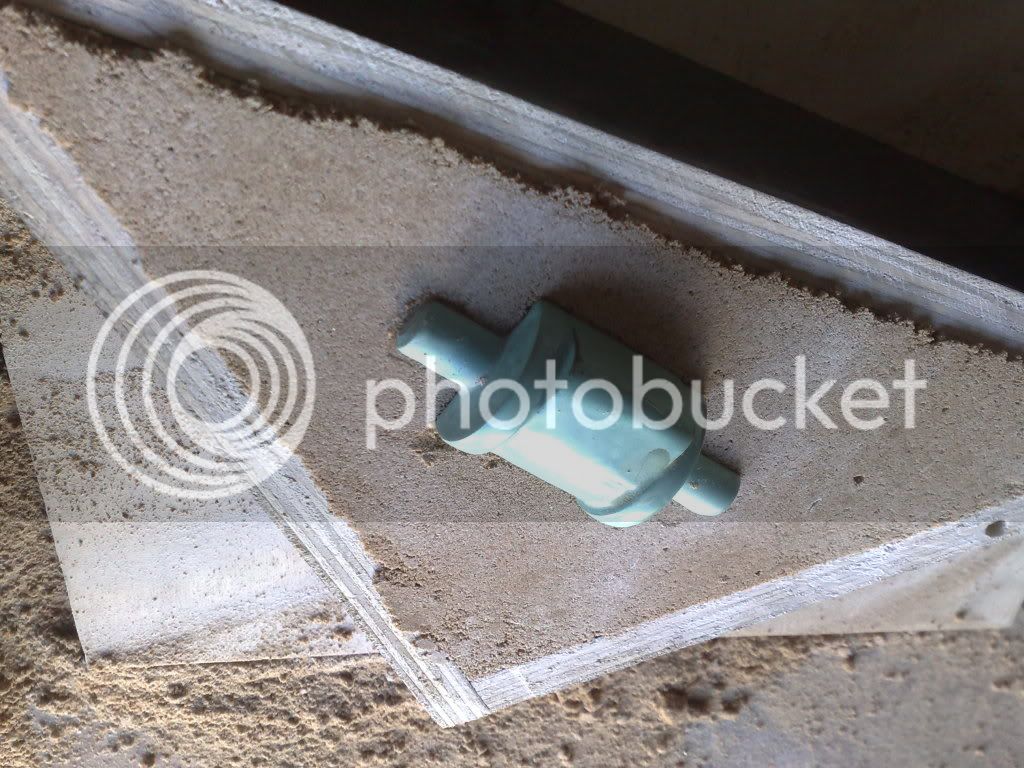
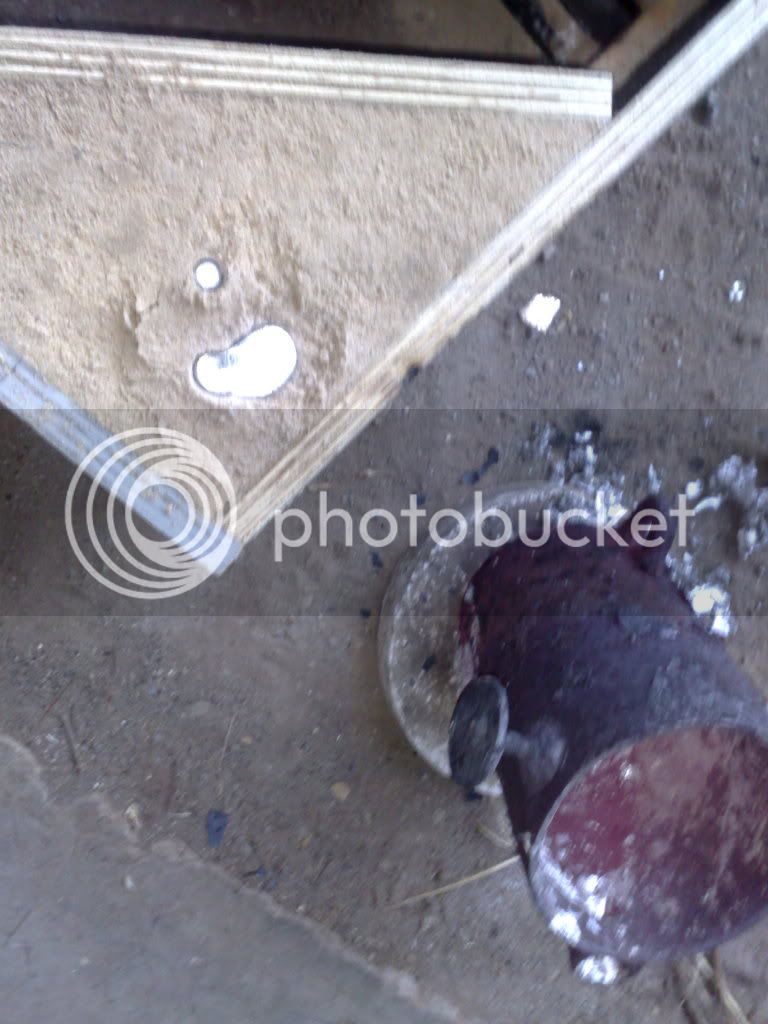
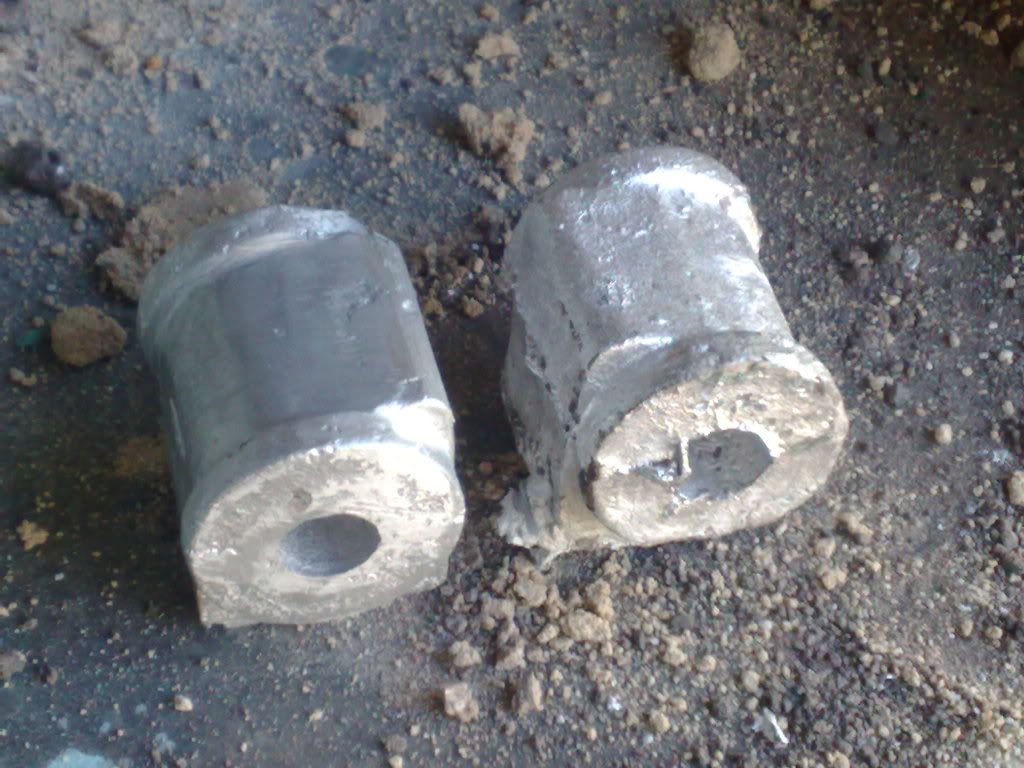
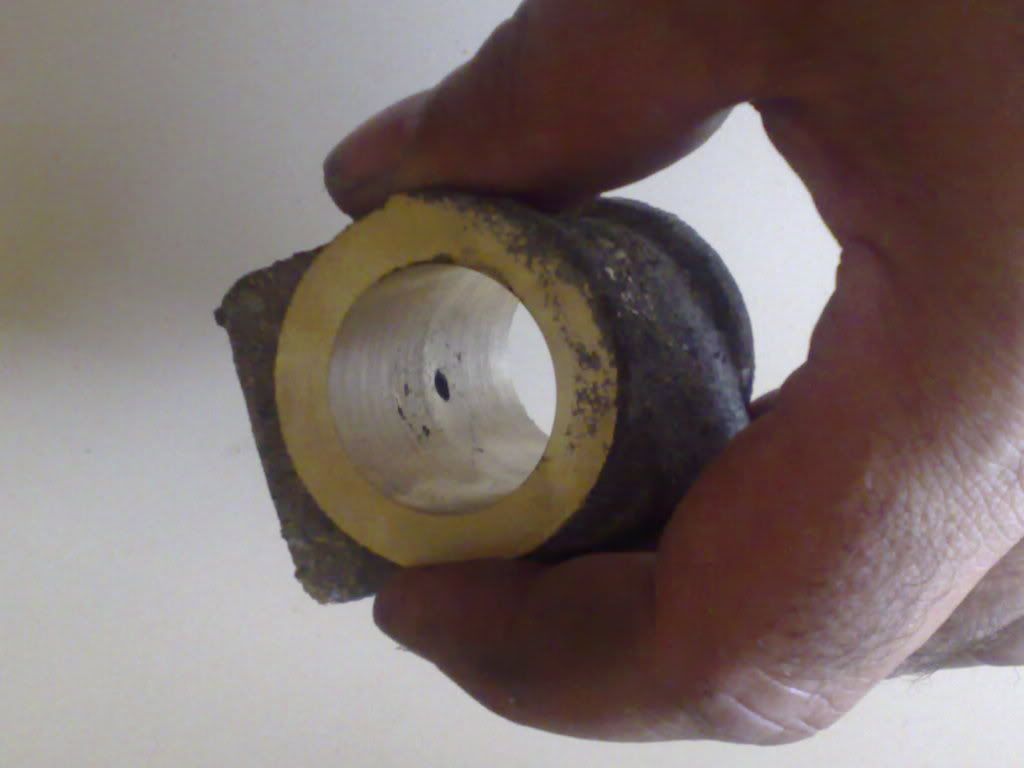
This stuff came out of the sand looking like crap.... oops..... but never fear all is well with a little clean up... it actually looks like it was recovered from the titanic initially...

20012010675.jpg


20012010676.jpg


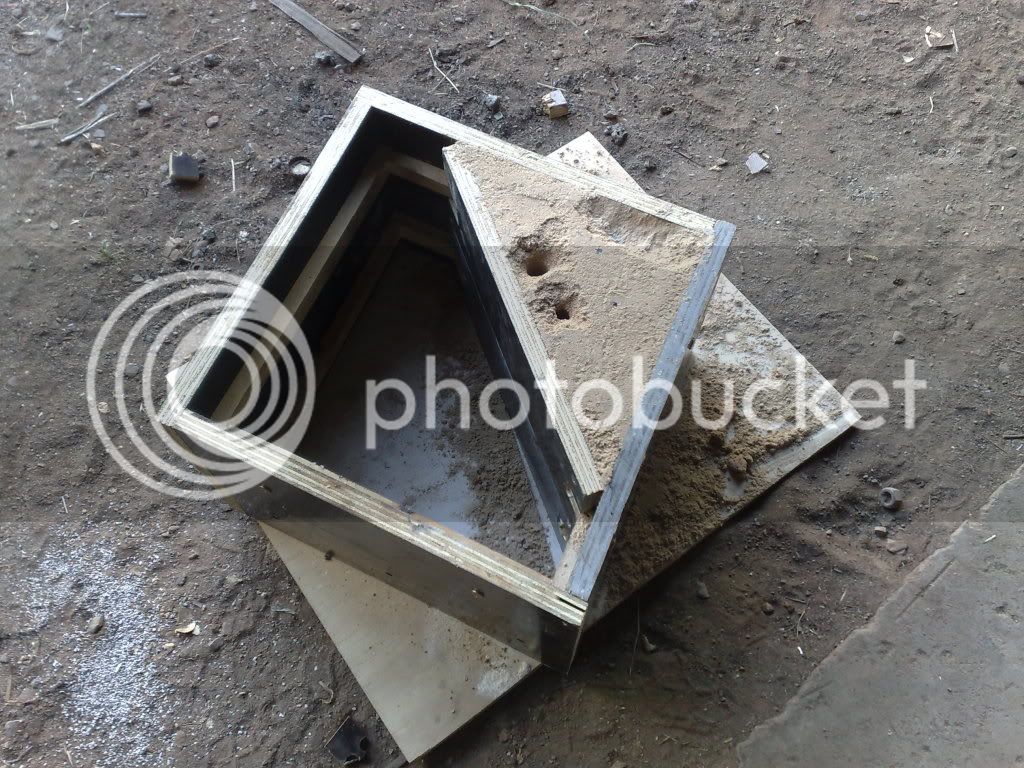
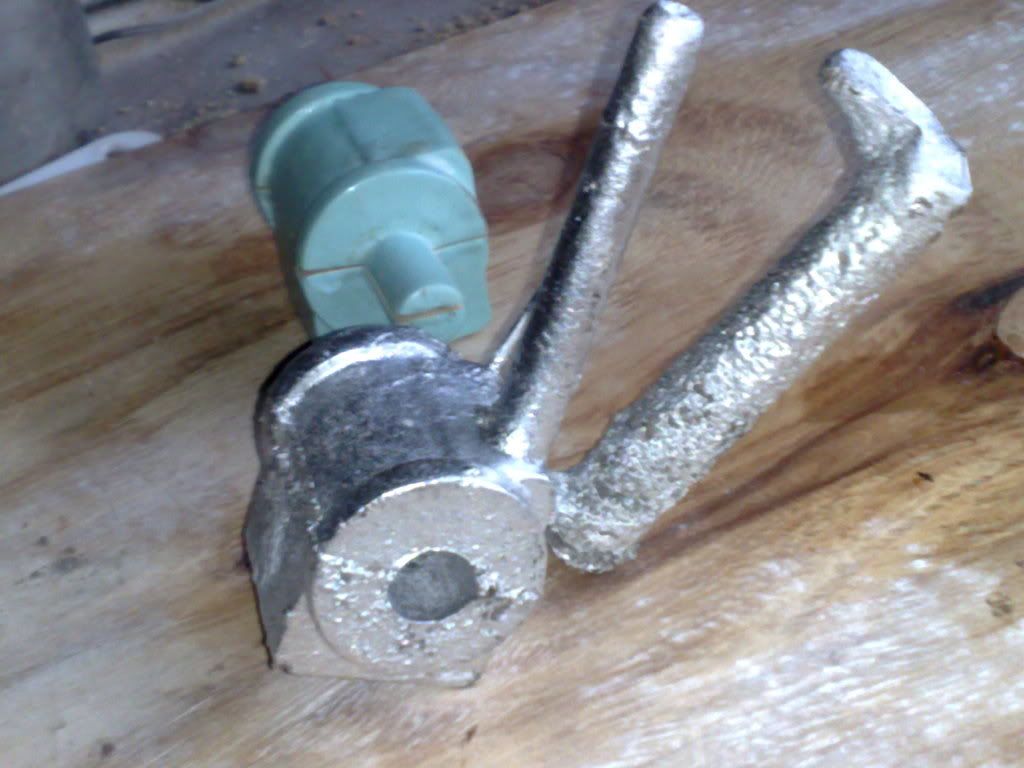
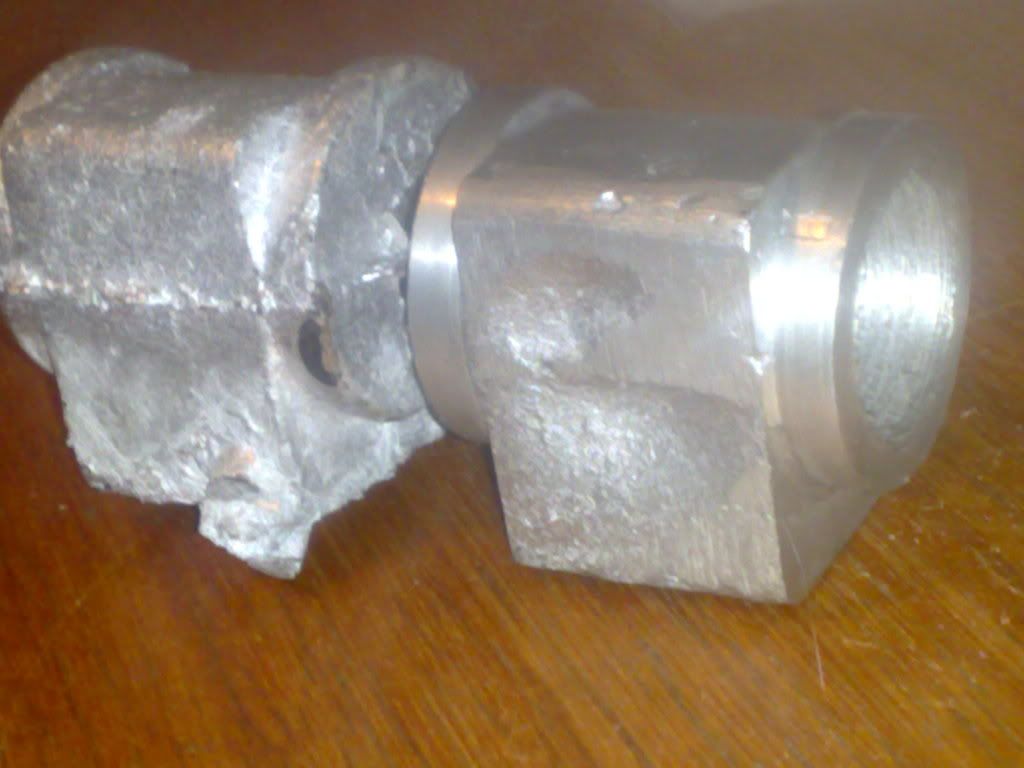
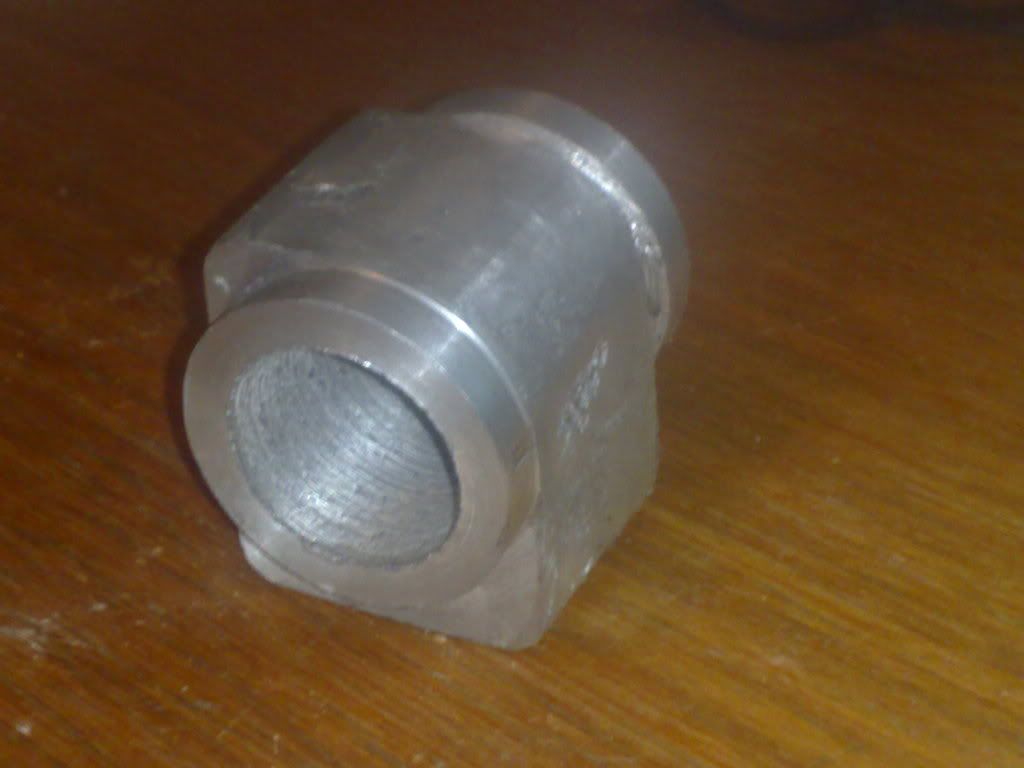
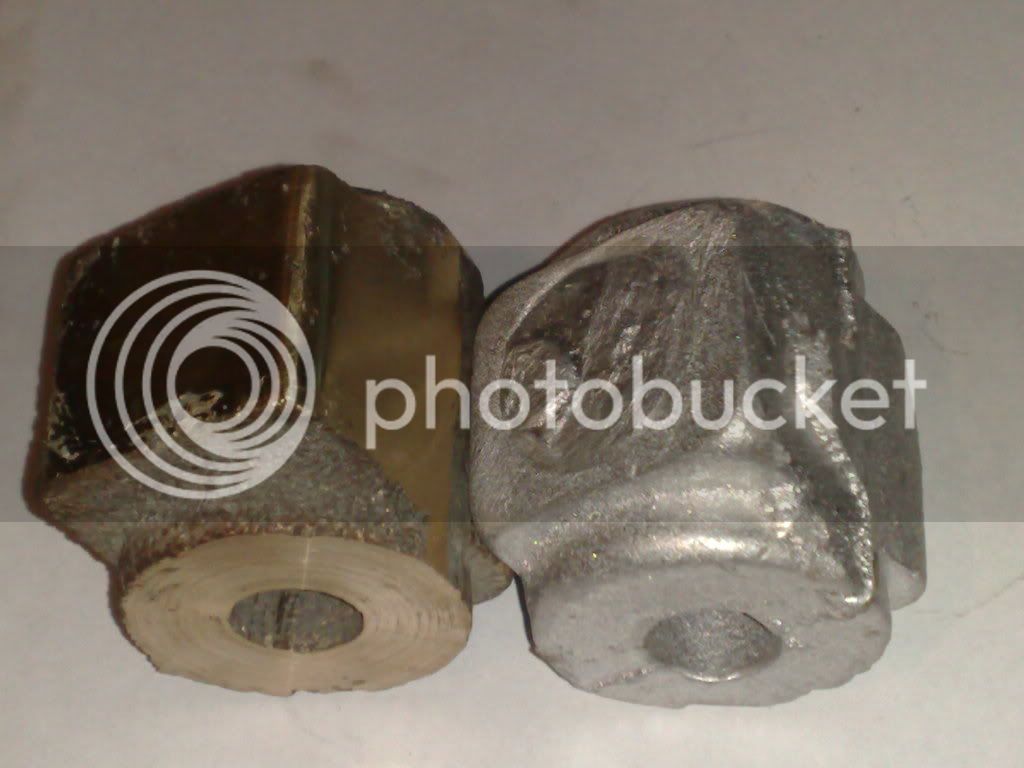
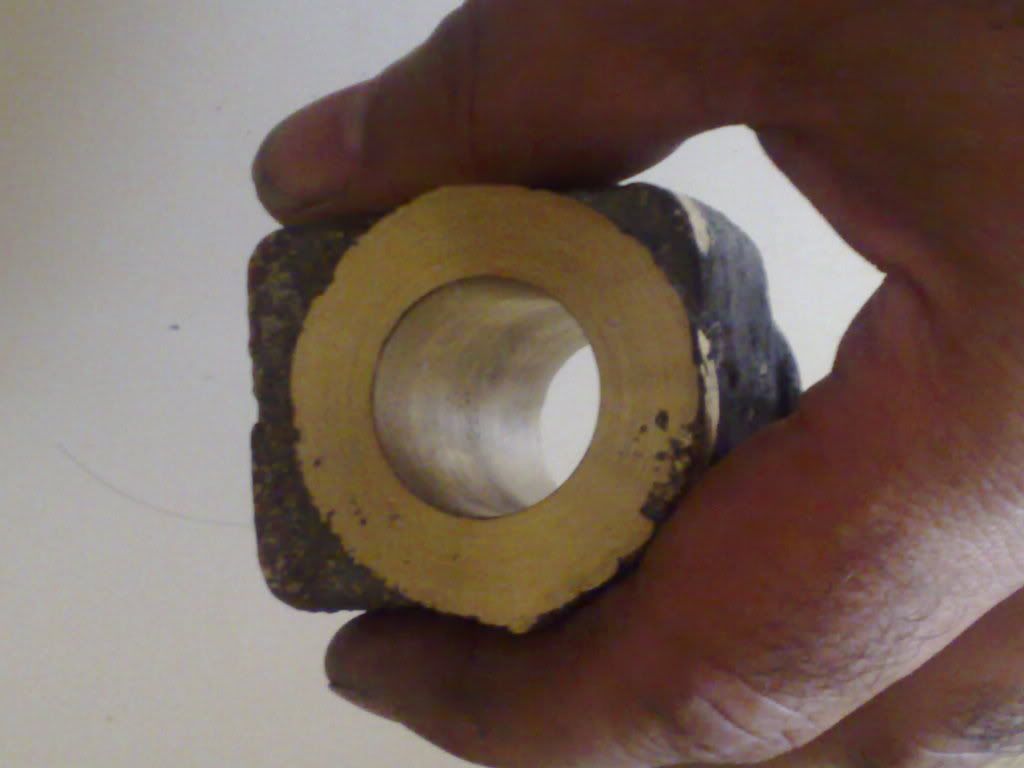
Partially machined and cleaned....

20012010690.jpg


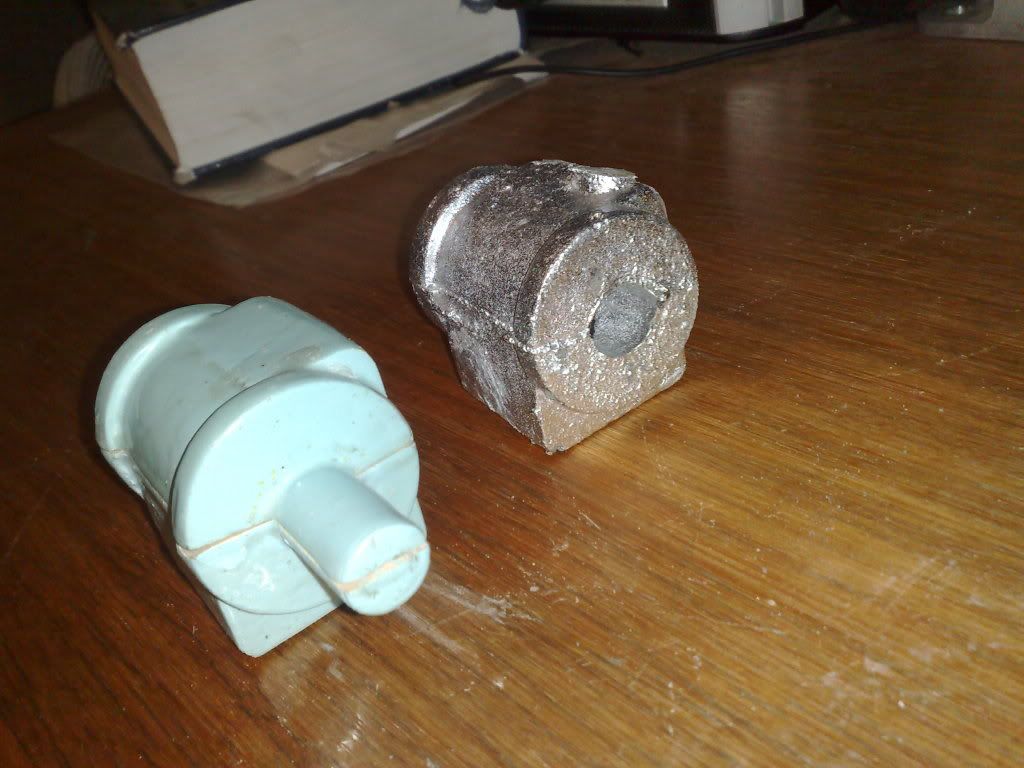
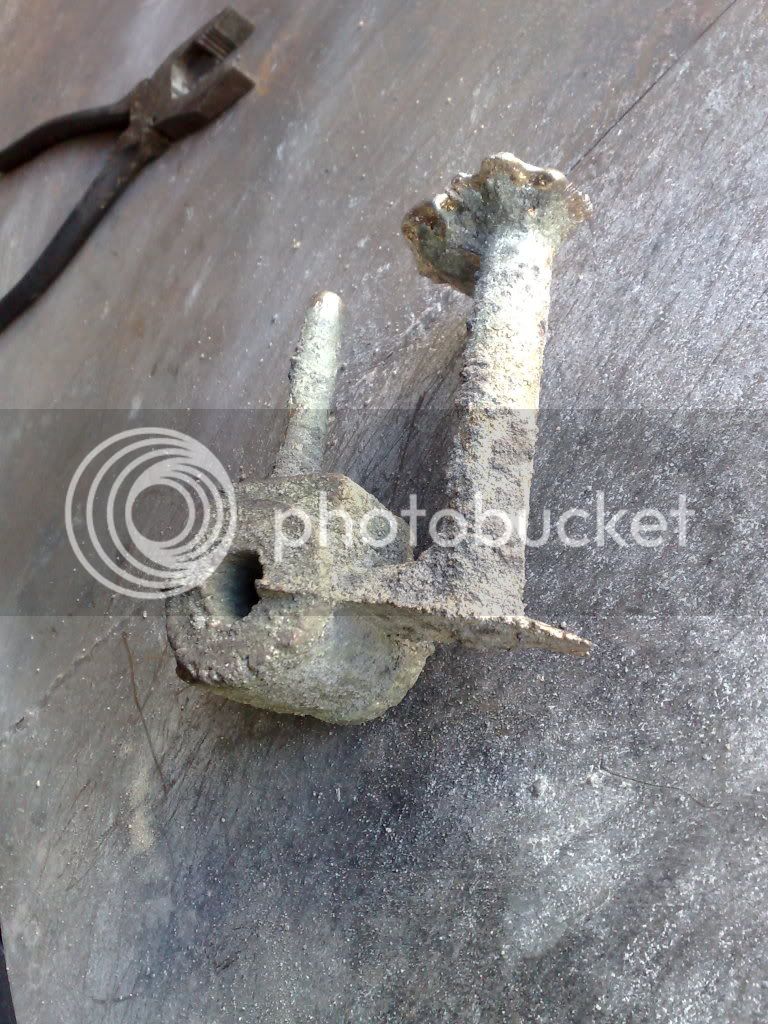
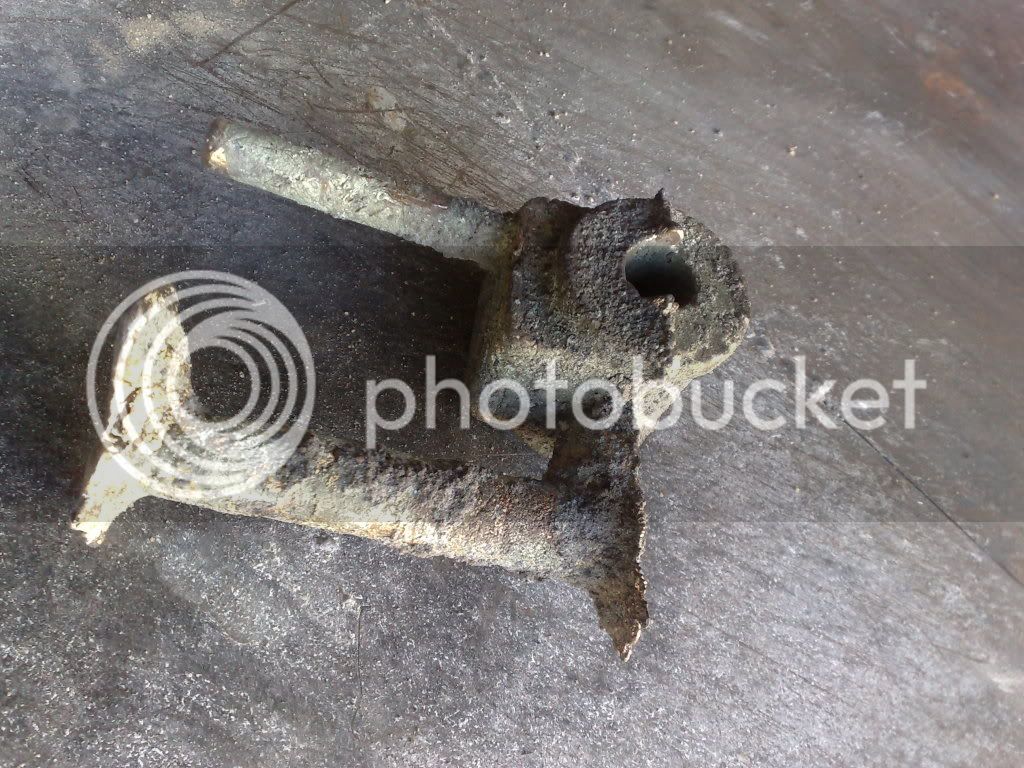
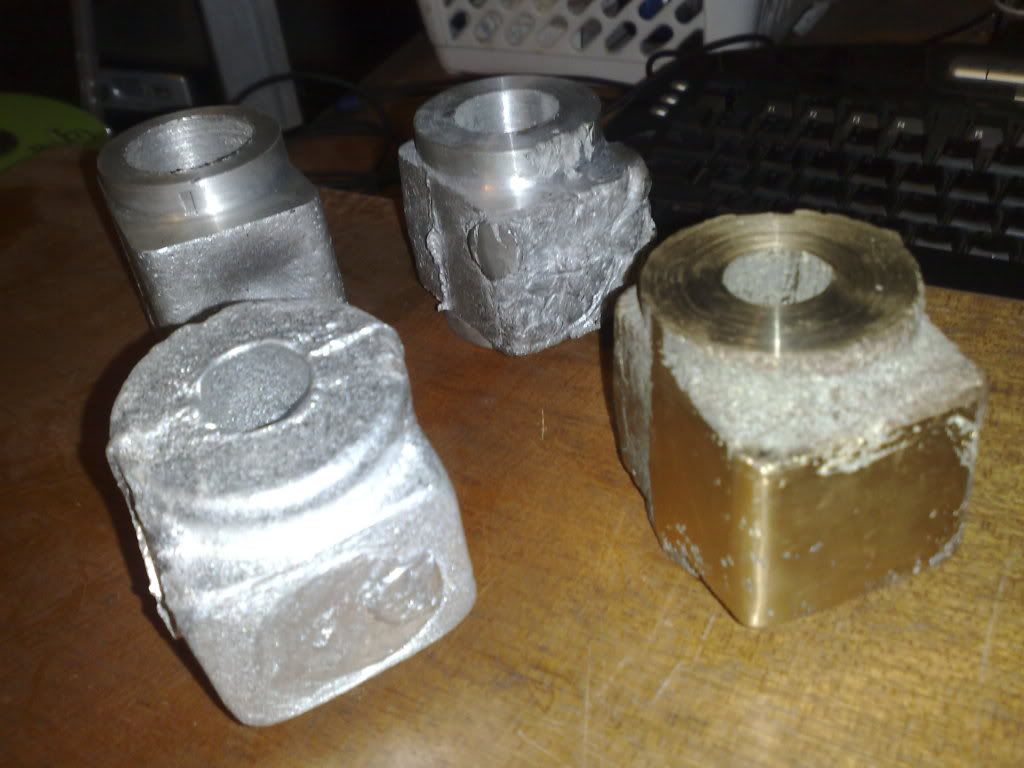
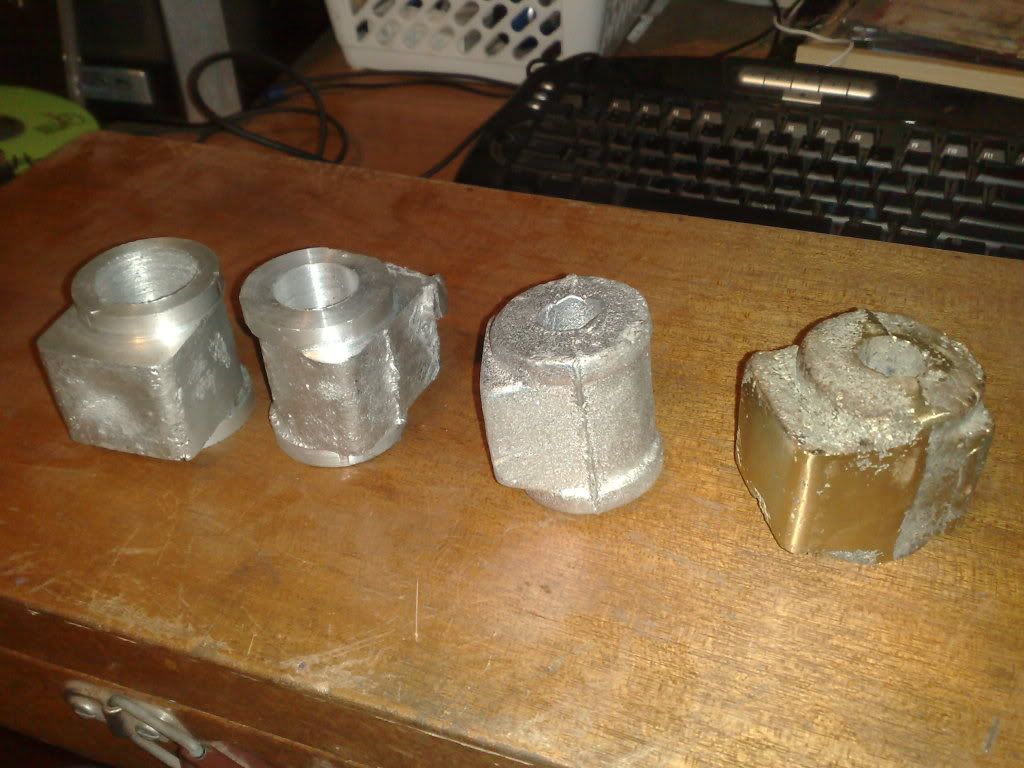
and the progression from concept to actual part...

20012010680.jpg


20012010681.jpg


Thast pretty much it guys, there are a few more components to cast but its more of the same. I hope you've enjoyed it. I certainly have but had hoped to get some more feedback from the experienced casters out there. Im sure there are things I could have done better but all has worked out just fine.

Cheers

Artie

P.s. Ive used T6061 Aluminium in this log. This is a ***** to cast so if this is ok... brass must surely be so. Once cast it machines beautifully.... might make a set from this as well.... here we go.... ::)

 
Artie,
Thanks for taking the time to post this. Have never cast, but plan to. This thread is in my reference file. I'm hoping you'll keep us posted on how the brass goes.
Dennis
 
Artie

As a total ignoramus regarding casting, I'd like to say "Thanks" for your start to finish treatise... you've answered some questions I didn't even know I had. You've reinforced my conviction that I've got to get into this one day.

Cheers, Joe
 
Are you building the side paddlewheel engine from ME articles of 1965? I am thinking of possibly making this one in the future, although I would try to machine the cylinders from stock rather than a casting.

 
Artie said:
P.s. Ive used T6061 Aluminium in this log. This is a ***** to cast so if this is ok... brass must surely be so. Once cast it machines beautifully.... might make a set from this as well.... here we go.... ::)
What's the trick to 6061? I ask because I have a pretty good stash of 6061 nubs I've been considering melting down.
 
Hi Dennis, brass went well, cast the 2nd cylinder tonight and about to throw them both into the lathe and then the mill.

Joe, my pleasure. Hope you enjoyed it.

Kvom it is based upon that plans set but will have the cylinders mounted on the top thirds of the boiler with slightly larger cylinder bores. I hope to see your build thread, good luck.

Shred, mate nothing really except its hard to get a smooth surface finish with it unless you use really fine sand with a reasonably high clay content (15 to 20%) and even graphite. however if (like me) you intend to machine all surfaces, no problem at all and no trick.

anyway Im into the shop for some brass mania.

Cheers

Artie
 
Grrr.... defect in the bore of the newest casting... was there there when I pulled it out of the sand but I thought it would clean up when I bored it.... it didnt....... got it to 30mm and it was still just evident... 25mm is the goal bore so no good. No dramas as its only a gas and time cost.

21012010693.jpg


The other casting is perfect at 25mm though so ill do the other one again tomorrow.... :p

21012010695.jpg


A little info, the bore is the most critical thing, once its bored (and checked) to almost size (yet to be honed) a mandrel is used in the bore for all other machining steps. So once the bore is done it can be mounted in the mandrel and everything happens fairly quickly from that point on.

The mandrel is mounted in the lathe and the ends are faced and then the madrel is mounted in the four jaw on the Rt and all other steps occur on the mill with the RT on its back or on its side.

I set out all procedures using the aluminium casting before I even cast the brass units.

Artie
 
Bugger! :( T'were me I'd be bungin' a bronze sleeve in there.
 
Thought about it... long and hard Tel. scratch.gif Then I did this.... *beer*

Made up 6 new cores tonight. My shed is on a tiered block, house is on top, shed is on the third and lowest tier. I made it up to the house to bake them and dropped the bloody things coming in the door.... :wall: *club* :redface2:
 
Double bugger! :( :( Mollasses cores?
 
nah, clay, easy to make, just planned to get an early start to re do the casting.. might have to get a very early start.... its all good.... cheers mate.
 
One thing I have learned, with my meager experience, is to vent the cores, that goes a long way toward eliminating blow holes in the inner surfaces. If you are using pure clay, or a heavy concentration, the core might not be able to breathe enough to take away the gasses.
 

Latest posts

Back
Top