Casting Engine Components For a Twin

Home Model Engine Machinist Forum

Help Support Home Model Engine Machinist Forum:

This site may earn a commission from merchant affiliate links, including eBay, Amazon, and others.
Sorry mate I should have been more specific, heavily clayed sand cores. They are about 20% clay (approx) and I bake them so they arent quite so fragile as the lot I lost last night.
 
OK, but you wanna try cutting the clay back a bit, adding a little plain flour and some molasses water (10% molasses in water) they come out very robust and smell like Anzac bikkies while yer cookin' 'em
 
Thanks mate Illl give that a go tonight, a dusting of flour or an appreciable amount?
 
a reasonable amount, bity like you'd use the bentonite.

Still waiting for Victoria to get back to me re the bentonite BTW
 
Well I didnt notice any anzac bisuit smell but the cores do seem quite hard. Thanks for the recipe mate. Im casting tonight so Ill see if they are any better than the plain clay pretty soon.

Machining steps, or to be more precise the system Im using. A simple split mandrel ....

23012010712.jpg


23012010711.jpg
 
The mandrel is threaded past the width of the cylinder and when the bolt head touches, the threads ride up each other and the jaws spread, grabbing the cylinder along its entire length. A sleeve of thin card is used to stop any marking of the cylinder.

23012010713.jpg


23012010716.jpg


The casting is placed in the 3 jaw and one face and the bore is cut.

21012010695.jpg


then its mounted on the mandrel and all other operations are carried out while its mounted, both in the lathe and on the rotary table in the mill. I have a 4 jaw chuck mounted on the RT, I havent taken that off in ages, most likley it will live on it.

Tel, no hurry for the clay so please dont stress, ive got enough for this sand batch, let me know when and Ill get in touch, thanks mate.

Anyway I think that about finalises this thread... thanks for being part of the ride. Ive (so far) thorougly enjoyed myself. Thinking about casting some cylinder end caps with HMEM embossed in them.... goofy.... but fun...

Cheers Artie
 
Excellent thread, thank you for sharing it with us spectator-types. ;D :bow:
 
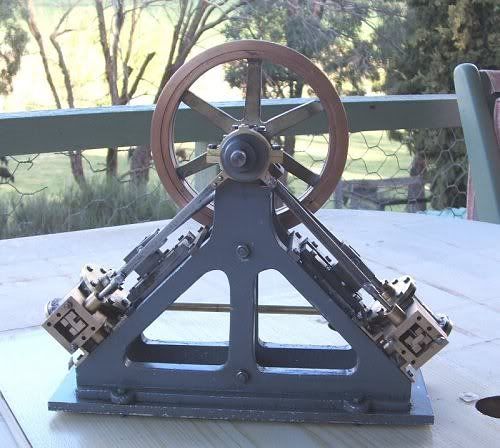
Thanks Vernon, its not hard to do something you enjoy and this forum has introduced me to a facet of casting that I hadnt considered, so I say thank you to you all for the inspiration.

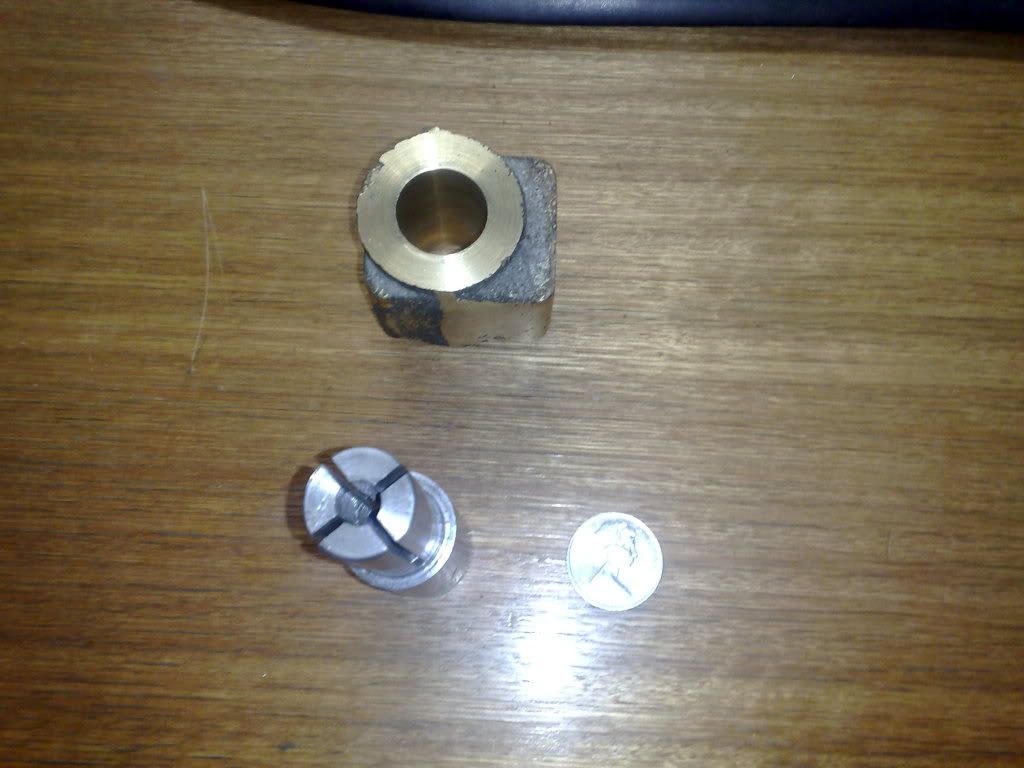
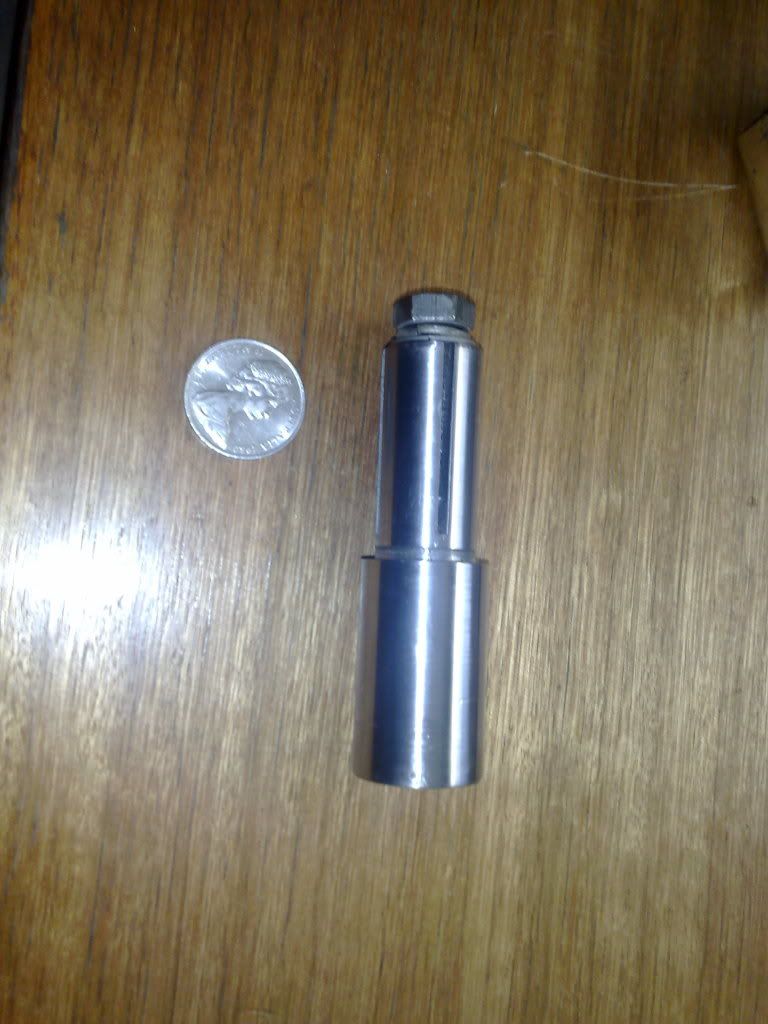
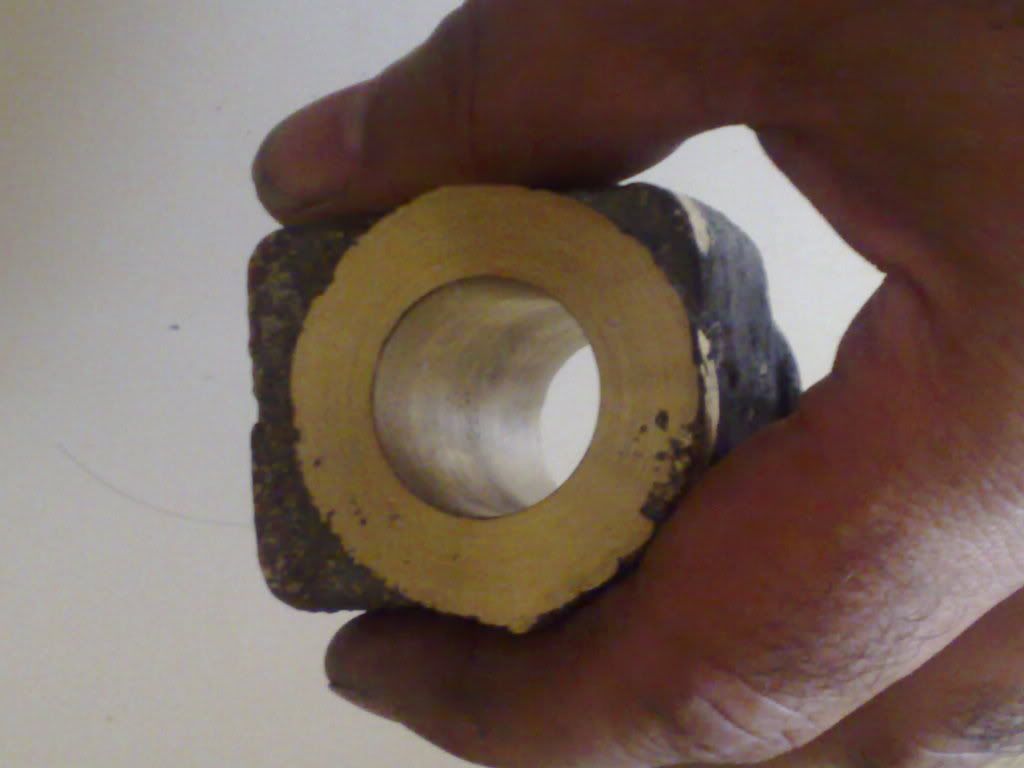
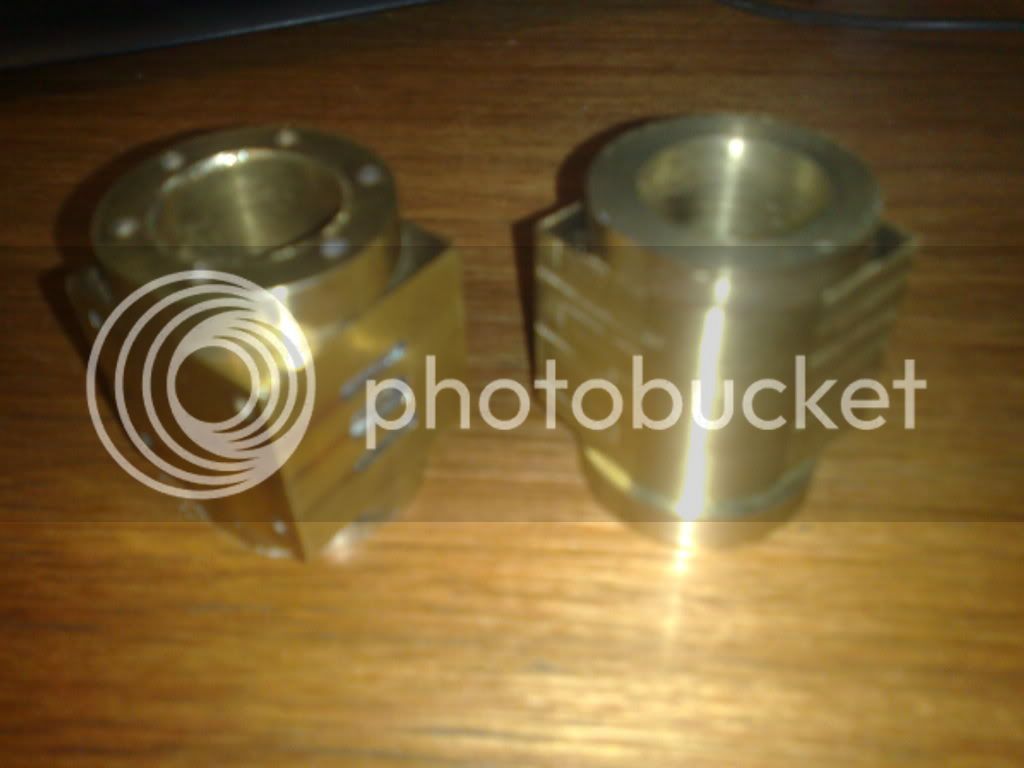
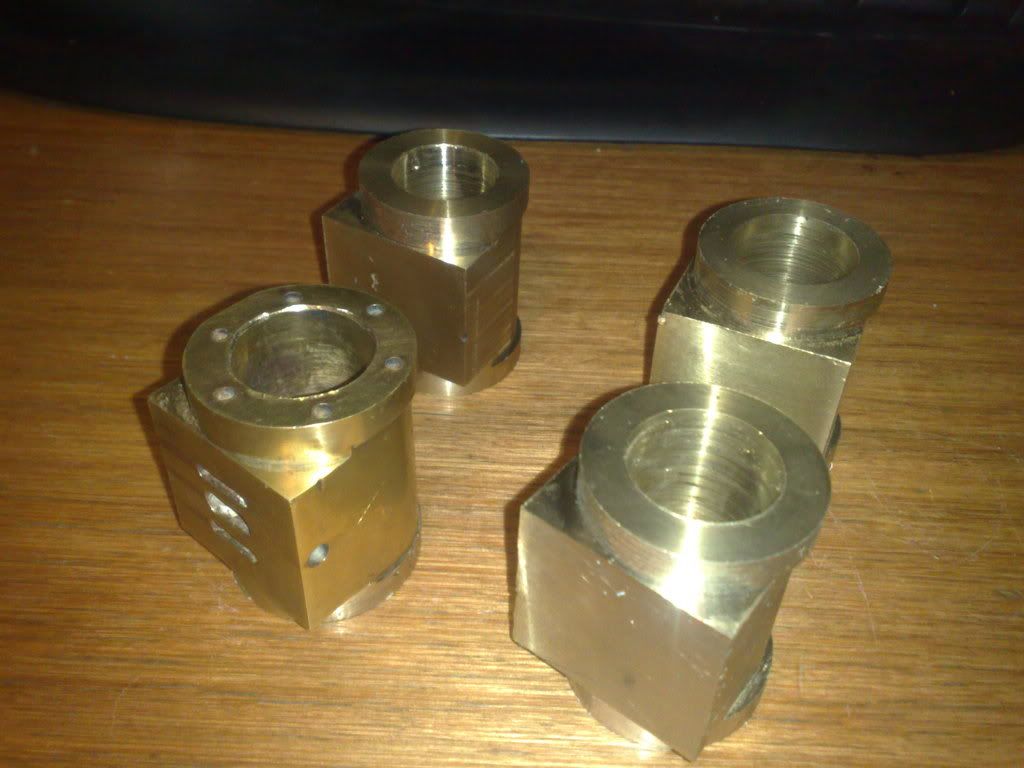
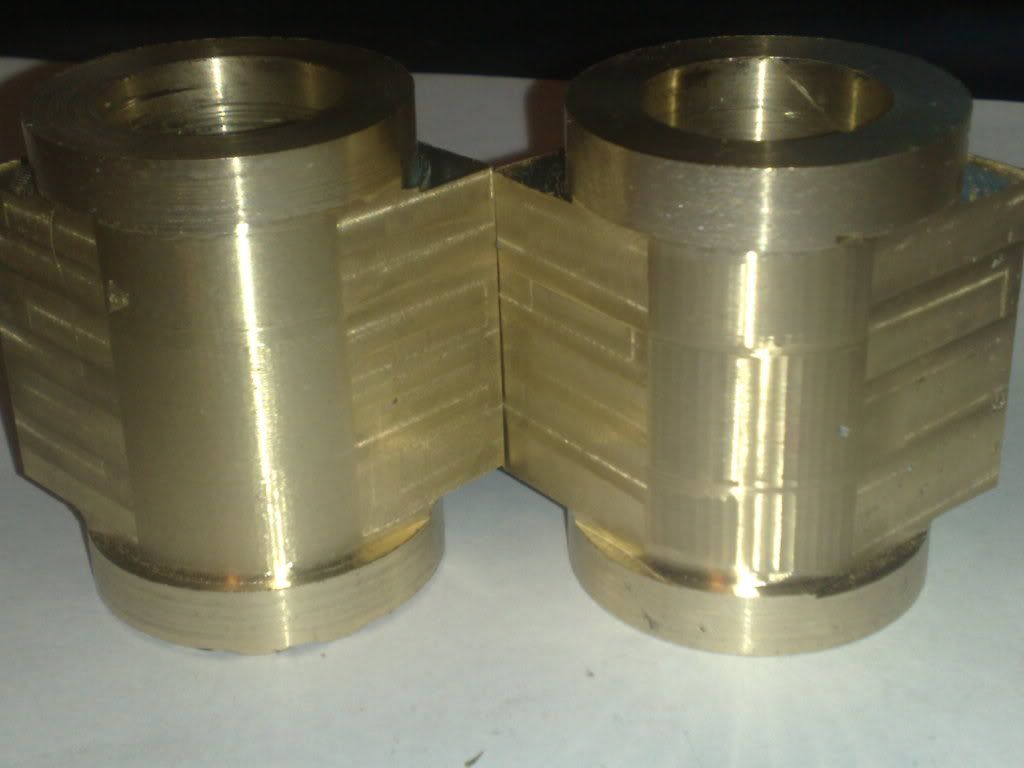
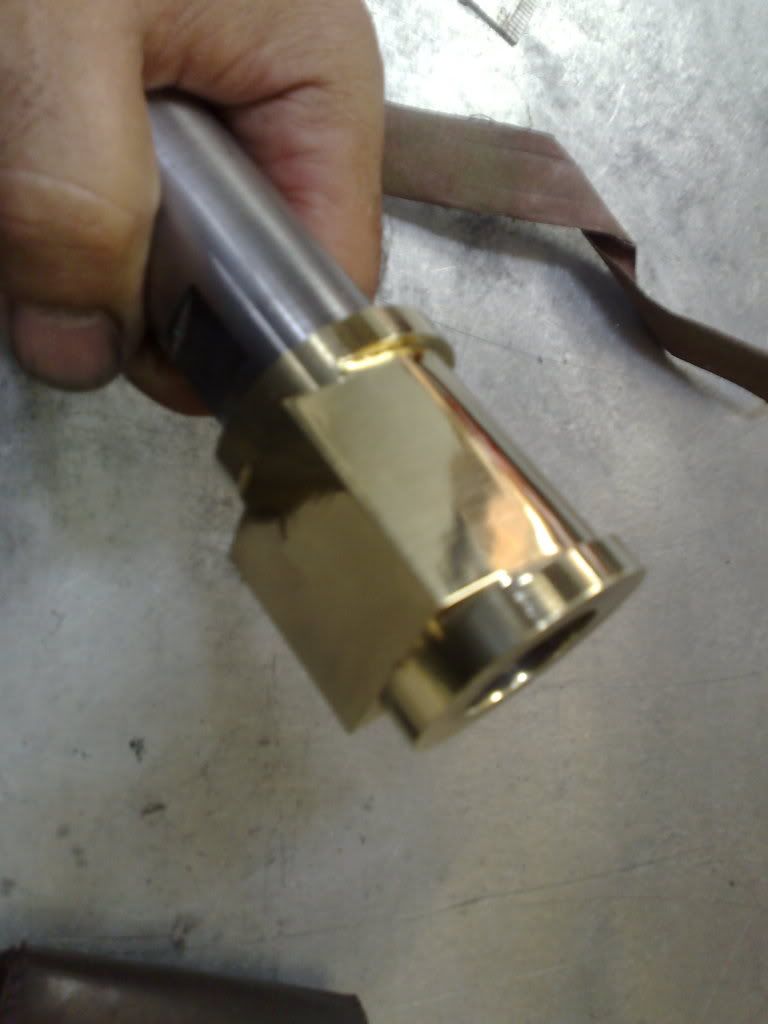
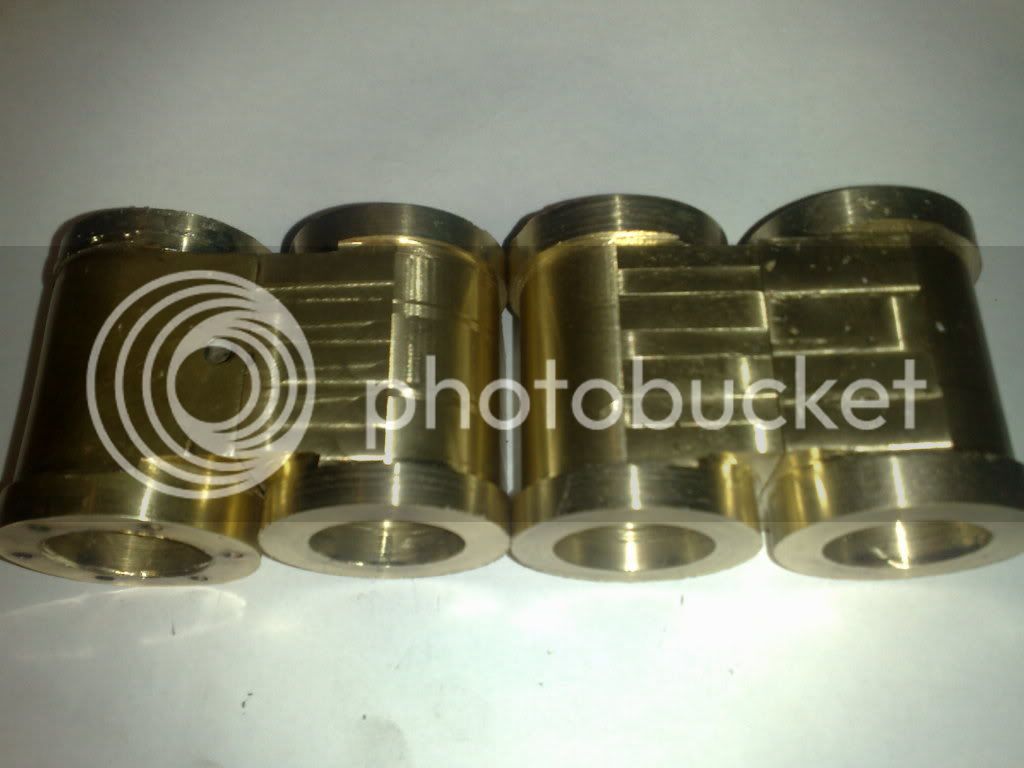
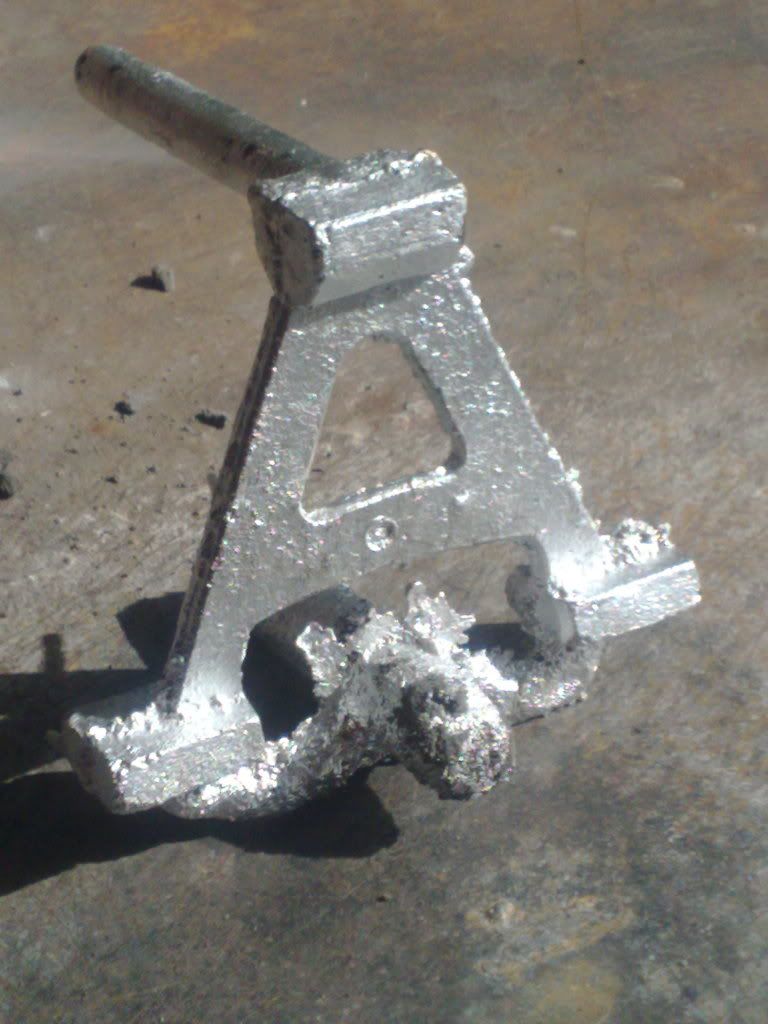
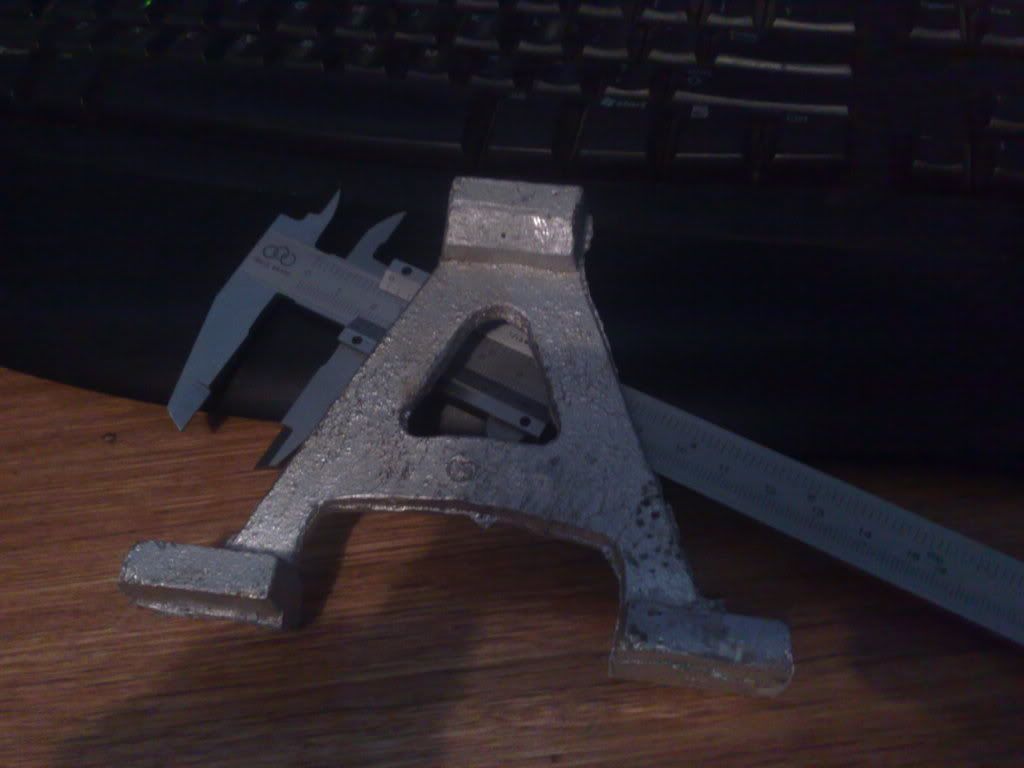
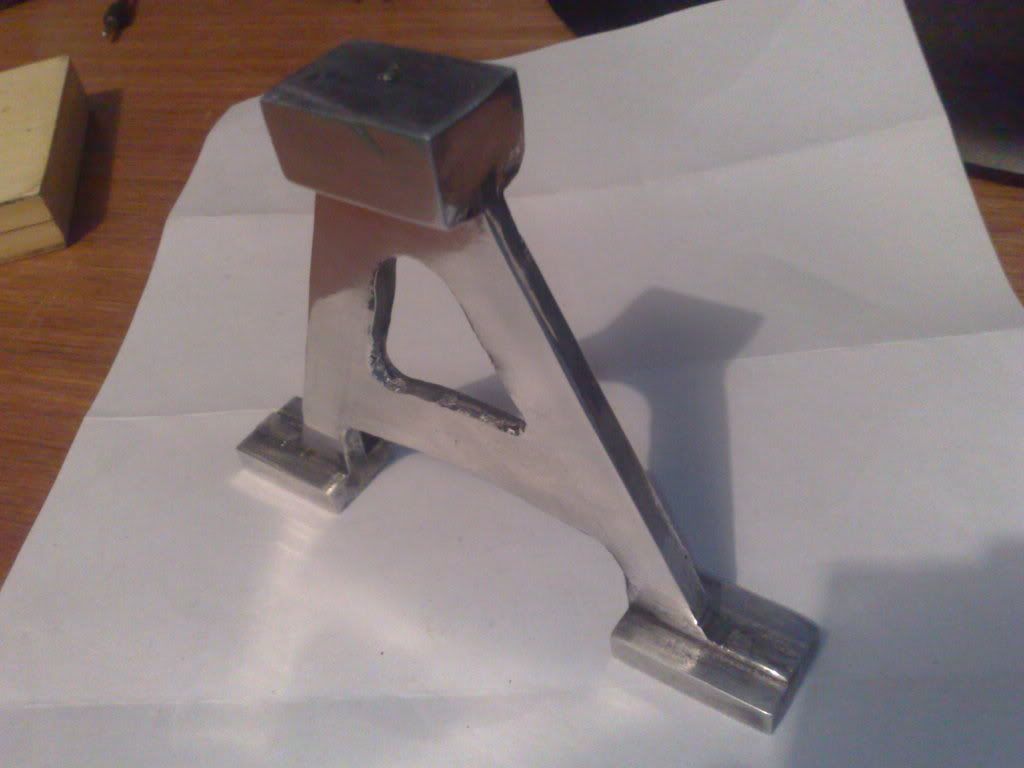
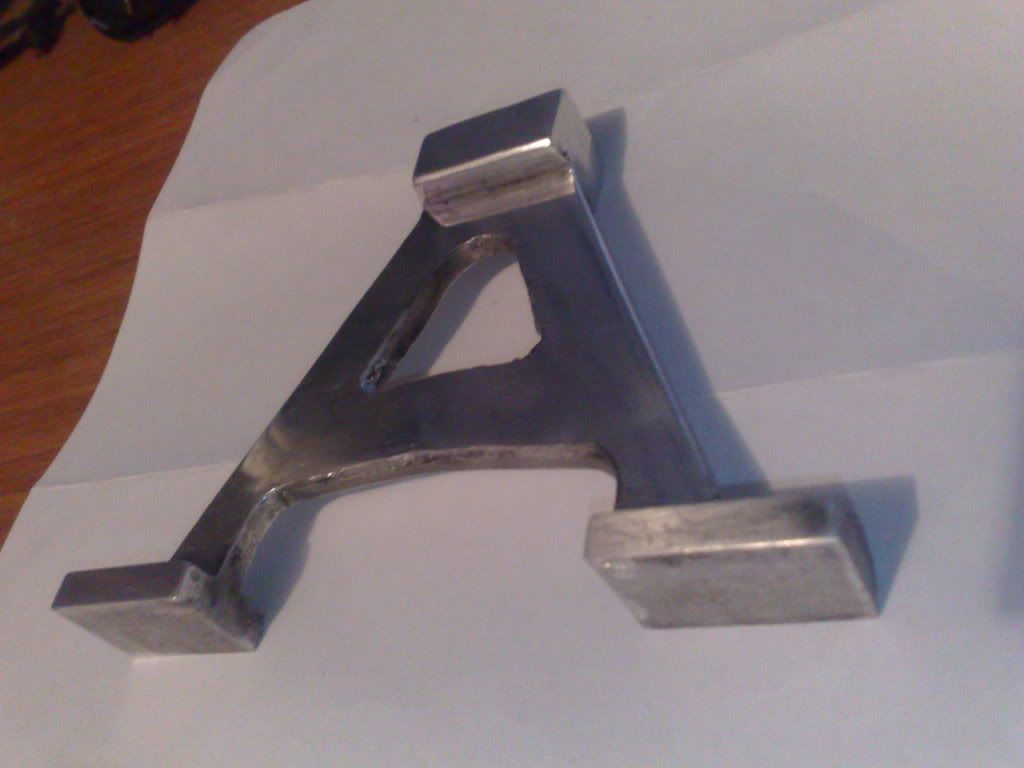
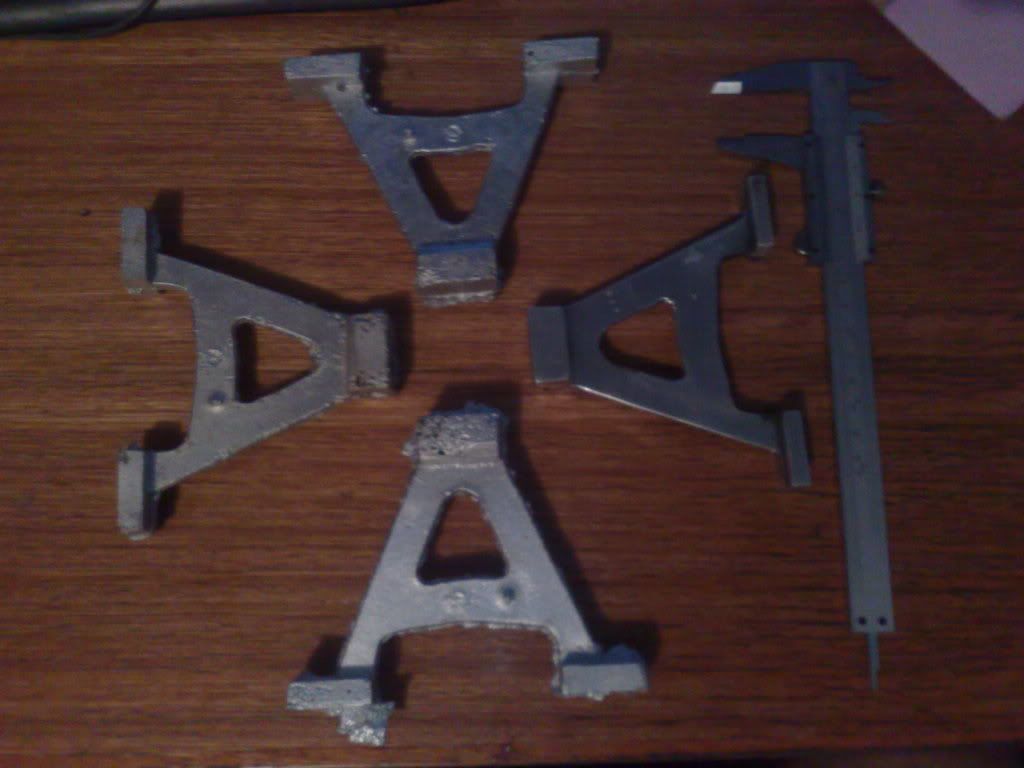
Incidentally, I ended up making 6 castings, 3 ali and 3 brass, have quite a collection..... the weight difference from ali to brass is amazing, pick up an ali cylinder after a brass one and you almost 'throw' it through the ceiling!

Cheers

Artie
 
Gee its hard to find meaningful time to do these things (hobbys et al), I had to take time off work today to get a few hours in the shop....

I learnt a valuable lesson recently. When working with 'sexy' brass cylinders... never ever leave two of then alone for more than a week or so.. here they are....

26022010011.jpg


I go away for a week and when I return....

26022010010.jpg


Worse than Guinea Pigs.....

Ive really been inspired by Tels project of the month winner and thought while Im at it I may as well make 2 sets of cylinders.. for those who have not seen it..

Tel.jpg


I guess this is my next project. But going by the lack of progress on this current one... dont hold your breath!


While I was at it I had a go at contouring the cylinder sides using a technique discussed in a recent post by Rake (I think it was). Firstly I mounted then on the mandrel you see below in my RT and hogged it to near round by doing a few passes roughly and ended up with a 6 facetted 'round'. However in my (never ending) quest to simplify things, I junked the calculations (sorry Marv) and simply using the RT, rotated the cylinders in sample 1, 1 degree per pass and in sample 2, 2 degrees per pass over a 90 degree span. The difference is quite amazing.

26022010017.jpg


The extra effort in sample 1 was well worth it. i had to make 90 passes with the cutter at 1 degree per pass and naturally 45 passes on sample 2. Half the work but way less than half the quality. It will still sand and polish ok..but.... id rather it was excellent off the tool than just ok.

Polishing! Ha! Spent a great deal of time blinging up that first cylinder...

31012010758.jpg


one month later back to normal, heaps of tarnish... cyl on the left was polished to a mirror finish (as you can see above) ... now, the tool polish is shinier.... oh well...just have to let nature take its course....

26022010018.jpg


Cheers all Artie


Great job Artie.
I too am planning on profiling some cyls and this info is just what I was needing.

Thanks loads.

Ron
 
Next bits to cast are:

- Crank Pedestals
- Cross head beds
- Cylinder end plates

Im doing the crank pedestals first and the plug is pictured below. 3mm MDF with timber build ups and dowelled to align. I guess Im doing this part next because its aluminium and I need a rest from casting brass and wanted to do something simple for a change.

Not surprisingly, casting brass strains the gear so much more than casting aluminium. That extra 300 or so degrees celcius hotter has burnt out 2 of my older crucibles and making my new one look decidedly 'used'. Yes I use steel crucibles as some of my casts are large and up until recently all aluminium and the crucibles last for years (until now!!). And before anyone chimes in with the contaminates from steel crucibles in aluminium stuff, yes I know about it but have never noticed any adverse issues because of it.

I dont enjoy working with brass anywhere near as much as aluminium although I like the look of it when machining away the casting surface and turning it into something pretty (or even functional). The cyclinder end plates and cross head beds are all brass so Ill do them next. They are going to be simple units so that wont take long either.

05032010047.jpg


05032010048.jpg


05032010049.jpg
 
And straight out of the sand.... almost smoking.....

06032010057.jpg


After sprues and risers have been trimmed off....

06032010058.jpg


3 more to go....

 
A bit more cleaning up to do obviously but when done, 4 of these will support the cranshaft behind the boiler.

07032010062.jpg


06032010061.jpg
 
Great stuff Artie
Stainless steel pots last a fair bit longer if you can get hold of the metal.
The welding rods and the stainless are a lot more exspensive than mild steel, so if you dont mind making the steel ones carry on with them.
I will add to the casting thread when I can sort out the photobucket photos
Keep up the good work Dave Bick
 
Hi Dave, yeah it was a bit of a pain at the time as the crucibles both sprung leaks and dumped a little metal. Im not overly concerned for the future as I dont see myself casting too many brass items in future, mostly ali... the original crucibles were many many years old.

Thanks for taking a look around, yes please dig up those pics!

I got into it this afternoon, all my flasks (casting boxes) are quite large so I only have the one modified to do small items. As such I can only do one pour at a time.

I simply cast one, left the crucible in the foundry on low heat (still molten) while I reset the flask (packed the sand around the plug). Took around 2 hours to do the next 3 pedestals..... oh alright, the next 5 pedestals.... had 2 cock ups.... straight back into the pot... no pics.... bad little pedestals!!! I got sink back at the outlet riser had to change the position of it... its raining here and ambient temp and humididty can play havoc with casting. The first 2 with the original position were fine in a hot dry day.

07032010067.jpg
 
I've been enjoying this thread.
I'm always impressed by people who do their own casting.
For me it's another level of self-sufficiency.
 
I have followed this thread and can hopefully share some of my casting moments. I am by no means an expert and like many of you have learnt off others and from books but still have a lot more to learn.
Similar to Arties casting this aluminium bearing support was cast using a solid pattern if you look at Arties earlier post, he used a split pattern, which allows you to mould the one halve in the sand then turn the box over and place the other halve of the pattern on dowels that line things up. The flask (moulding box) can then be rammed up with sand.
This pattern of mine is placed on the board that has a cut out which allows it to sit on the split line. This board is sometimes called an odd side, follow board or ramming board this allows you to have a radius on the edge of the pattern.
You place the pattern on the cut out board and put one halve of the moulding box over it. It is then rammed with sand, the board and box is turned over and the board removed this leaves the sand at the right level (split line) for the other halve of the moulding box to be place on. The other side of the core print is loose and is located by a pin which goes into the pattern .It is now ready to be rammed (filled) with sand.
Dave Bick

DSC00001.jpg

 
Hi Zee, casting has helped me a few times over the years, but I could have done without it, using bar stock and loads of cutting. But the fact is I enjoy it. Also, no matter what size bar stock I need.. I have it available (at least in about an hour it is) and at the sizes required.

Cheers mate.
 
Dave, many ways to skin that cat! I like that and I havent seen it before, thanks mate its one to keep in the back of the head.

For me, the ability to 'see' things in the raw material is an art form. To be able to look at a block of aluminium and say... "theres a crankcase in there and this is how I can get it out"....... Most of us have it to some degree and others are loaded with it. A certain home designed V twin comes to mind. George does amazing work and Im certain he has that ability in spades.

Designing a plug fits into this category and when I get one right and I pick the piece of aluminium out of the sand looking exactly like I wanted it to is a real buzz.... then I usually go to the mill and wreck it.... ah well.... ::)
 

Latest posts

Back
Top