Building it!

Home Model Engine Machinist Forum

Help Support Home Model Engine Machinist Forum:

This site may earn a commission from merchant affiliate links, including eBay, Amazon, and others.
One drywall guy has been at work all day today taping the joints. The hispanic workers have no problem working weekends it seems.

Wife found a bunch of lantern light fixtures at a neighborhood garage sale. 6 new-in-box for $25! I'll use two for my side entry doors, 2 are for a friend's Christmas present, and 2 are spares. They also had one of the most important shop machines: the beer fridge. Nice midsize unit, practically new, for $75.
 
kvom, it sounds like things are coming together for you! How excited are you about the new play pen??
 
Sorry DH, the fitting is included in the price of the doors

Aww nuts! There goes the busmans holiday idea!! :big:

Darth tater,

Do you not think beer and machinery could be a bad combination? :-\ Admittedly you may well be good for one or two when you get it ready to be christened ;D


Ralph.

 
How excited are you about the new play pen??
I am thinking right now about how much DIY work there will be to get it finished. If I can get the certificate of occupancy in 3-4 weeks, then I will have heated space to work in during the colder months to finish up.

Since I get 8-10 hours a week in shop class, I will likely not do much with the new machines right away, other than getting them in running condition.

As for the beer fridge: in addition to machining this will be an automotive shop, and the Jeep crowd often works in groups. The beer part is for afterwards. It will also free up shelf space in the kitchen fridge.
 
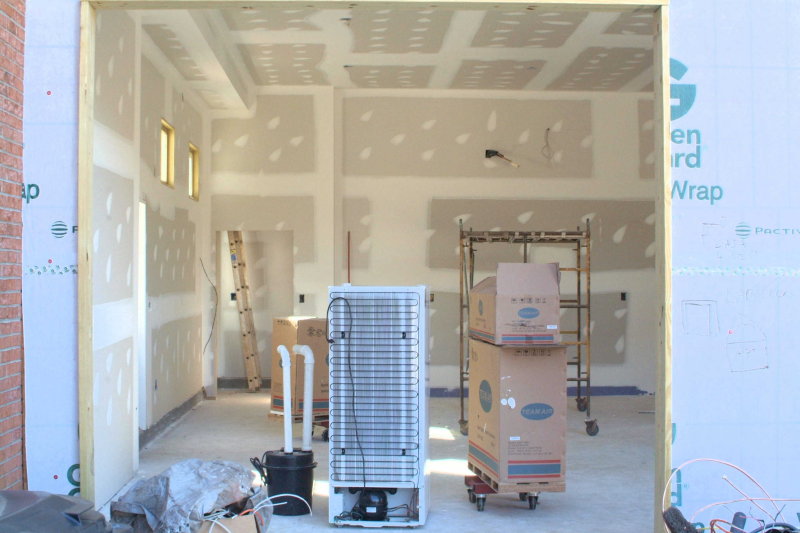
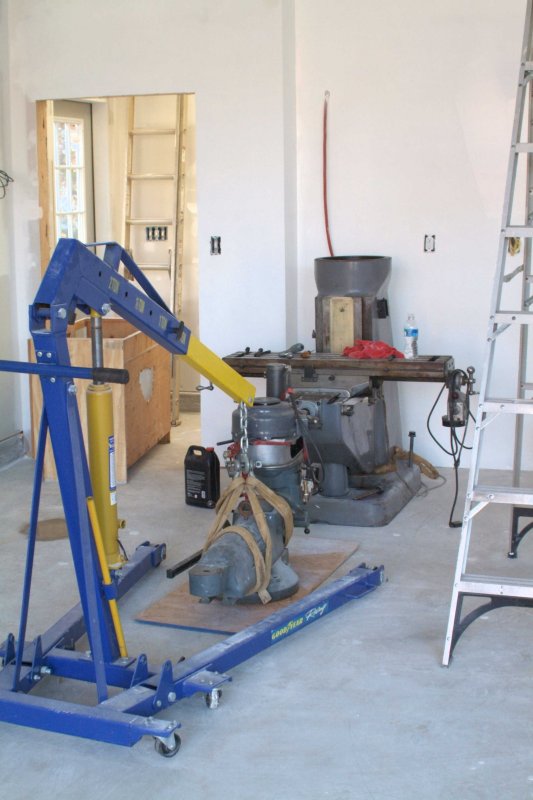
We spent $200 today at Home Depot buying paint and painting supplies. The garage level will have white walls and ceiling. Upstairs will have white ceiling and medium blue walls. Wife and kids are going to paint the ceiling near the light fixtures, the bathroom, and the back garage wall where the mill and lathe will go first. Then we can mount the lights and move the mill to its future home location and not worry about having to paint around stuff.

I got a UPS package today with two electrical enclosures I ordered on Monday (fast service!). These will be use to wire the Bridgeport mill as follows:

a) The 230v 1PH circuit dedicated to the mill currently terminates in a box inset in the wall. I intend to mount a 12x12x6 metal Nema-1 enclosure on the wall over this box, and route the wire (12-3) into the box via a hole cut in the back.

b) My VFD will be attached to the back of the box with screws, centered so that there is plenty of space on all sides. The input wire will be attached to the input lines on the VFD.

b) The shielded cable that came with the mill will be routed through a knockout in the box, secured with a cable clamp, and wired to the 3-phase output leads in the VFD.

c) The other end of the cable will be routed to a 4x4x4 Nema-1 enclosure, through a knockout, and secured with a cable clamp. The wires from the mill's motor will mate to the cable inside the enclosure, passing though a knockout, and the enclosure itself will be attached to the side of the motor in the same place the switch was originally. This setup means no outlets or plugs will be needed, and everything will be protected from chips and dust inside the enclosures.

d) The small control panel for the VFD will be remoted via a cable supplied by the vendor. I will route this cable via a knockout in the enclosure and enclose it in flexible cable shielding. The panel itself will be attached to the mill in a position to be determined. I plan to mill a protective aluminum bezel that will fit around the panel and which will also provide a means to attach a mounting bracket of some sort.

I've been advised that the enclosure is large enough so that the heat generated by the VFD will be dissipated, and so can be left completed closed.

I'll try to take pictures of the setup in case anyone is interested.
 
Kvom
Sounds like a plan you got going there. One item conspicuously missing is any mention of a cut off at the wall. Experience being a nasty teacher.... when something begins to smoke, it's a real bad time to discover the only means of electrical cut off is in the main panel, --------------------------------------> way across the room.

Steve
 
Steve,

That's an excellent point. I'll talk to my electrician friend this weekend about adding a cutoff. I think I can add a fused cutoff similar to that for AC units without compromising the plan.
 
The drywall guy finished taping/mudding yesterday, and the sanding crew will be working Monday. Tuesday the trim materials get delivered and I will have my hands full for quite a while.

Tomorrow my electrician friend and I will be working; he's finishing the panel wiring and the switched, and I'll be installing the 110v outlets and the exterior lights.

Here's a shot of how the bottom looks today:

large.jpg


The stairs leading up:

large.jpg


Twenty steps up to the landing, the 3 more to the upper level. Valerie will be staining the treads (yellow pine) and painting the risers and skirt boards before I start installing them later in the week. The handrail is 20' one-piece oak.

large.jpg
View of the upstairs looking towards the house side and the bathroom. I plan to tile the bathroom floor starting Tuesday morning. We found a great vanity cabinet/sink on CL that I will pickup today and install once the tile is grouted, along with the toilet. My first solo plumbing effort.
 
kvom, I'll throw a little piece of friendly advice your way, wrap anything you have in the area (IIRC, your mill is in there) in plastic and make sure it is sealed well before the crew starts sanding. That stuff will be everywhere before they are finsished. So if you have machines, cabinets, or whatever hanging out waiting for the project to be ready for placement and you don't want sanding dust in and on them, then I highly suggest covering them up. Cheap painter's drop cloths will work, trash bags or the like. Avoid using cloth or canvas for this because the dust is so fine it will bypass the fibers of the cloths and still go where you don't want it (the volume would be less, but it still gets through).

The project is looking great! Hang in there, it looks like you have made it to the top of the hill.
 
The mill is covered and in the center of the garage floor, and there is nothing else currently in the building that is moveable.

Today we got the majority of the remaining electrical work done: all of the outlets are installed except one GFI outlet upstairs, as well as all of the switches, the outside fused disconnects for the AC, and the panel wiring. Still to do are lights, connect the water heater, thermostat and pump controller the the floor heat, and the VFD/RPC stuff.

I noticed the the drywaller sealed up one of the two wires I ran for a garage door opener, so they'll need to cut open the ceiling to retrieve it tomorrow.

Saturday I found a bathroom vanity cabinet complete with sink top and faucets on CL, perfect size and in good shape. Only mods needed are to move the towel rack to the opposite side. :D

This week they finally finished laying all of the drainage tubes for the gutters, so the next rainstorm won't flood the driveway hopefully.

Trim materials arrive Tuesday in theory.
 
The drywall is now sanded, leaving a pervasive layer of fine dust all over the floors. I had the mill covered up with tarps; yesterday the girls painted the rear wall, and washed the floor, getting a fair amount of the dust out. Today Valerie is putting a second code of paint on the wall, and we will make another pass on the floor. I expect to move the mill base to its destination late this afternoon and then remount the head/ram. Pics to follow.

I likely won't have power for another 2 weeks. I should be able to test the air-operated drawbar.
 
kvom, when you are finsihed that will be a very nice space. You are heading into the hardest part of the project, though; finishing. I can't tell you what, how or why it always seems to work out like that, but it does. Stick with it, though. It is looking great!

All my best for a quick and easy finish.
 
Wife and I got the base in its destination spot, but had trouble mounting the ram. It is head-side heavy, and she couldn't put enough weight on the back to get it level enough to lower. Going to wait for a friend to come over.

large.jpg


We got most of the dust swept up; the bathroom got its second coat of paint, as did the rear wall of the garage. Valerie started on the garage ceiling. We're both pooped! More of the same tomorrow.
 
Got the bathroom floor tile put down on Friday, although I ended up 3 tiles short. Made the run to Home Depot today to get 3 more and will get them laid tomorrow. Then grouting and I'll be ready to install the vanity/sink and toilet.

A friend came over this morning to help and we got the mill put back together. The head needs a bit of TLC to be looking good.

A bit later the bricking crew showed up to lay the front facade. Five guys working pretty fast had it together in about 5 hours:

large.jpg


Finished result:

large.jpg


They cleaned up pretty well, and put all the broken pieces in the bed of my truck, so all I need to do is make a quick trip to the landfill on Monday.
 
It's looking great!

Love that ceiling height.
 
The trim material was delivered today, and the wife got right onto paiting and staining all the pieces for building the stairs. The scaffold makes a nice drying rack:

large.jpg


I got the sink plumbed in as well as the pump. although one of the PVC joints has an annoying drip leak. I'll try some plumbers putty around the joint, and iof that doesn't work I guess I'll need to cut it out and try again. :mad:

I also got the bathroom tile grouted, and now have officially retired all of my tile-laying tools. You heard it here first!

I hope to get a good start on the stairs before machining class tomorrow.
 

Latest posts

Back
Top