V-TWIN---MAYBE V-4

Home Model Engine Machinist Forum

Help Support Home Model Engine Machinist Forum:

This site may earn a commission from merchant affiliate links, including eBay, Amazon, and others.
It fits!!!
fe9HdX.jpg
 
I was away from home most of the day, but my old brain never stops ticking. I was thinking of how to hold the cylinder head accurately and rigidly to machine the flat area where the rocker arm tower bolts on, and to put the slots in to make cooling fins. I decided that I needed a fixture to hold it properly, so when I got home I grabbed a piece of 2" square aluminum stock, squared both ends in the lathe, and drilled and tapped the bolt pattern to match the cylinder head. Now I can hold the head exactly where I want it to perform follow on operations and not have to worry about my set-up moving in the middle of the operation.
plaxbK.jpg
 
Brian,
I done the same thing when I was machining the heads for the twin I built. Mine a piece of round bar as it was to be held in chuck of lathe and dividing head, Pic shows in lathe machining the cooling fins, last operation.
Cheers
Andrew
 

Attachments

  • 170.jpg
    170.jpg
    332.1 KB · Views: 4
Got up this morning all bright eyed and bushy tailed and decided to mill the flat spot on the cylinder head where the rocker arm tower bolts on. I can't cut the cooling fins in right now, as my 3/32" slitting saw is dull. A new slitting saw costs $53 but it only costs $12 to have the old sawblade sharpened. He lives so far from me that it would offset any cost benefit to drive there, but he picks up and delivers in Barrie once a week. I can't do anything else on this cylinder head for now, so will spend today machining the other opposite hand cylinder head.
LQs2Ep.jpg
 
I put my 4" length of brass to good use. It has made two cylinder heads and two gas tank ends. I have much grinding and sanding to do to finish the tank, but I like it. It is all ferrous metal and all silver soldered except for the two brass ends which will be held in place by J.B. weld. And if you see that the gas tube enters at the center of the tank, don't be alarmed---it bends 90 degrees just inside the tank and reaches down to the tank bottom.
RJYe5V.jpg
 
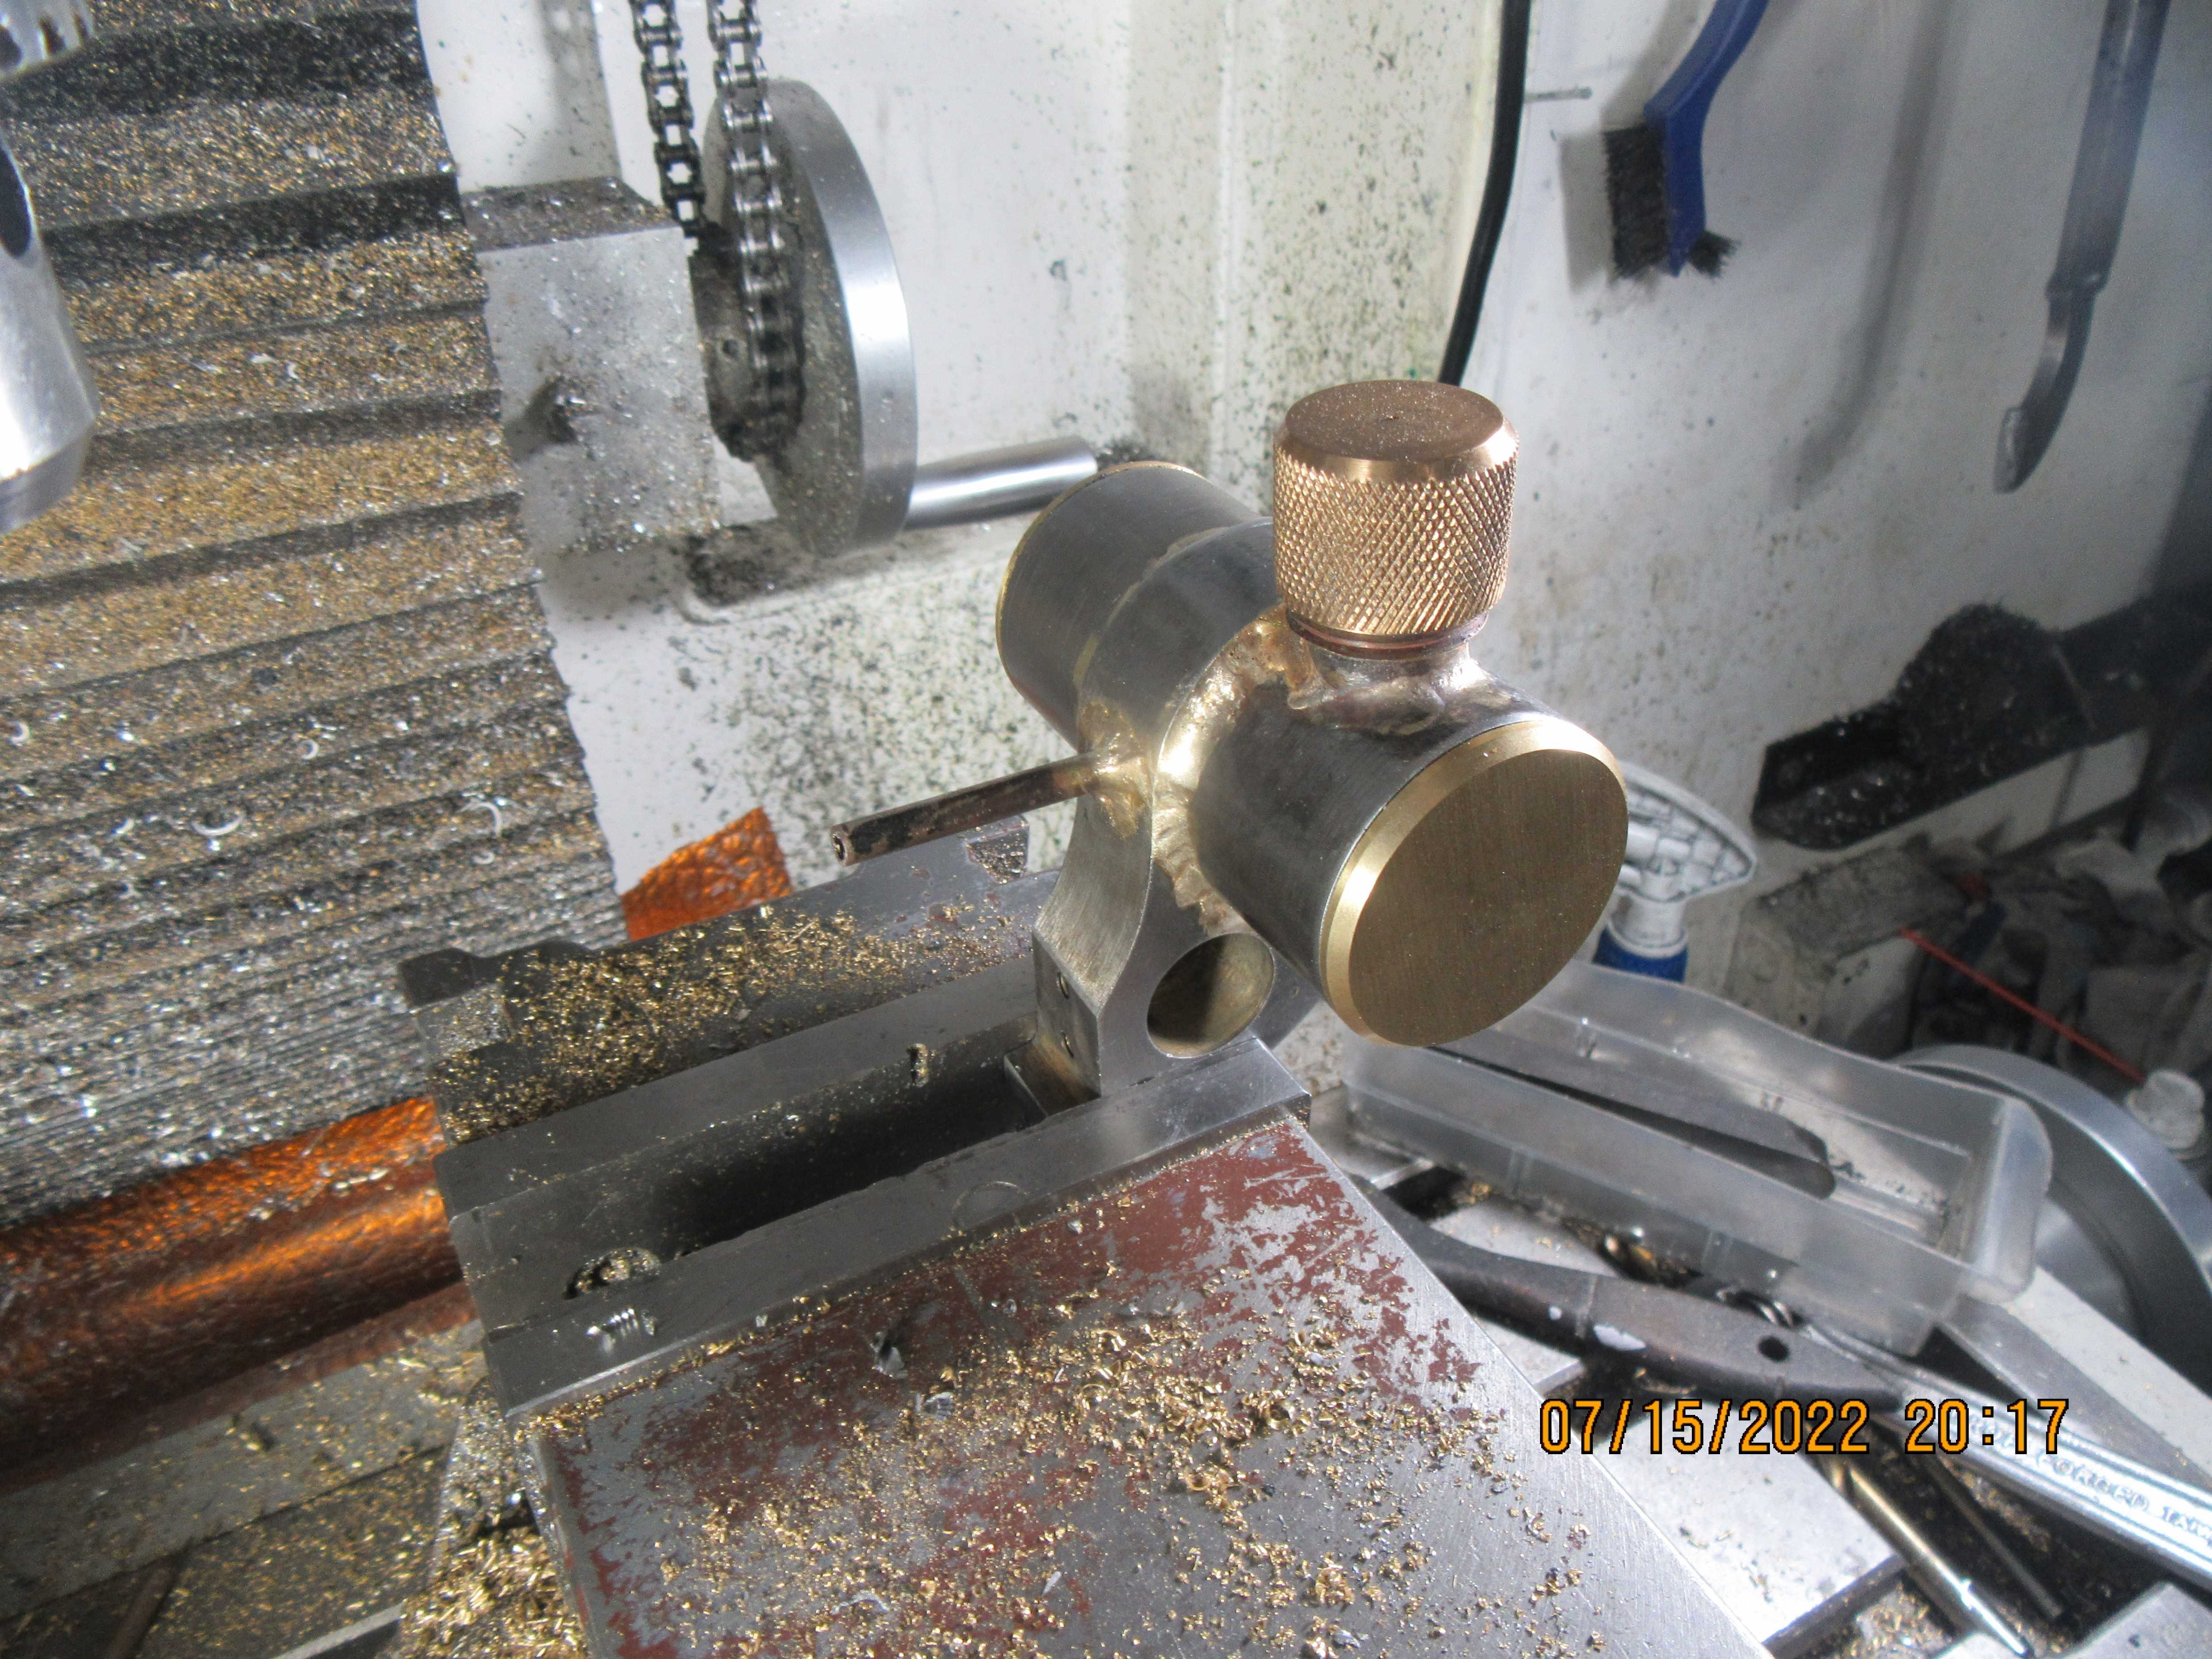
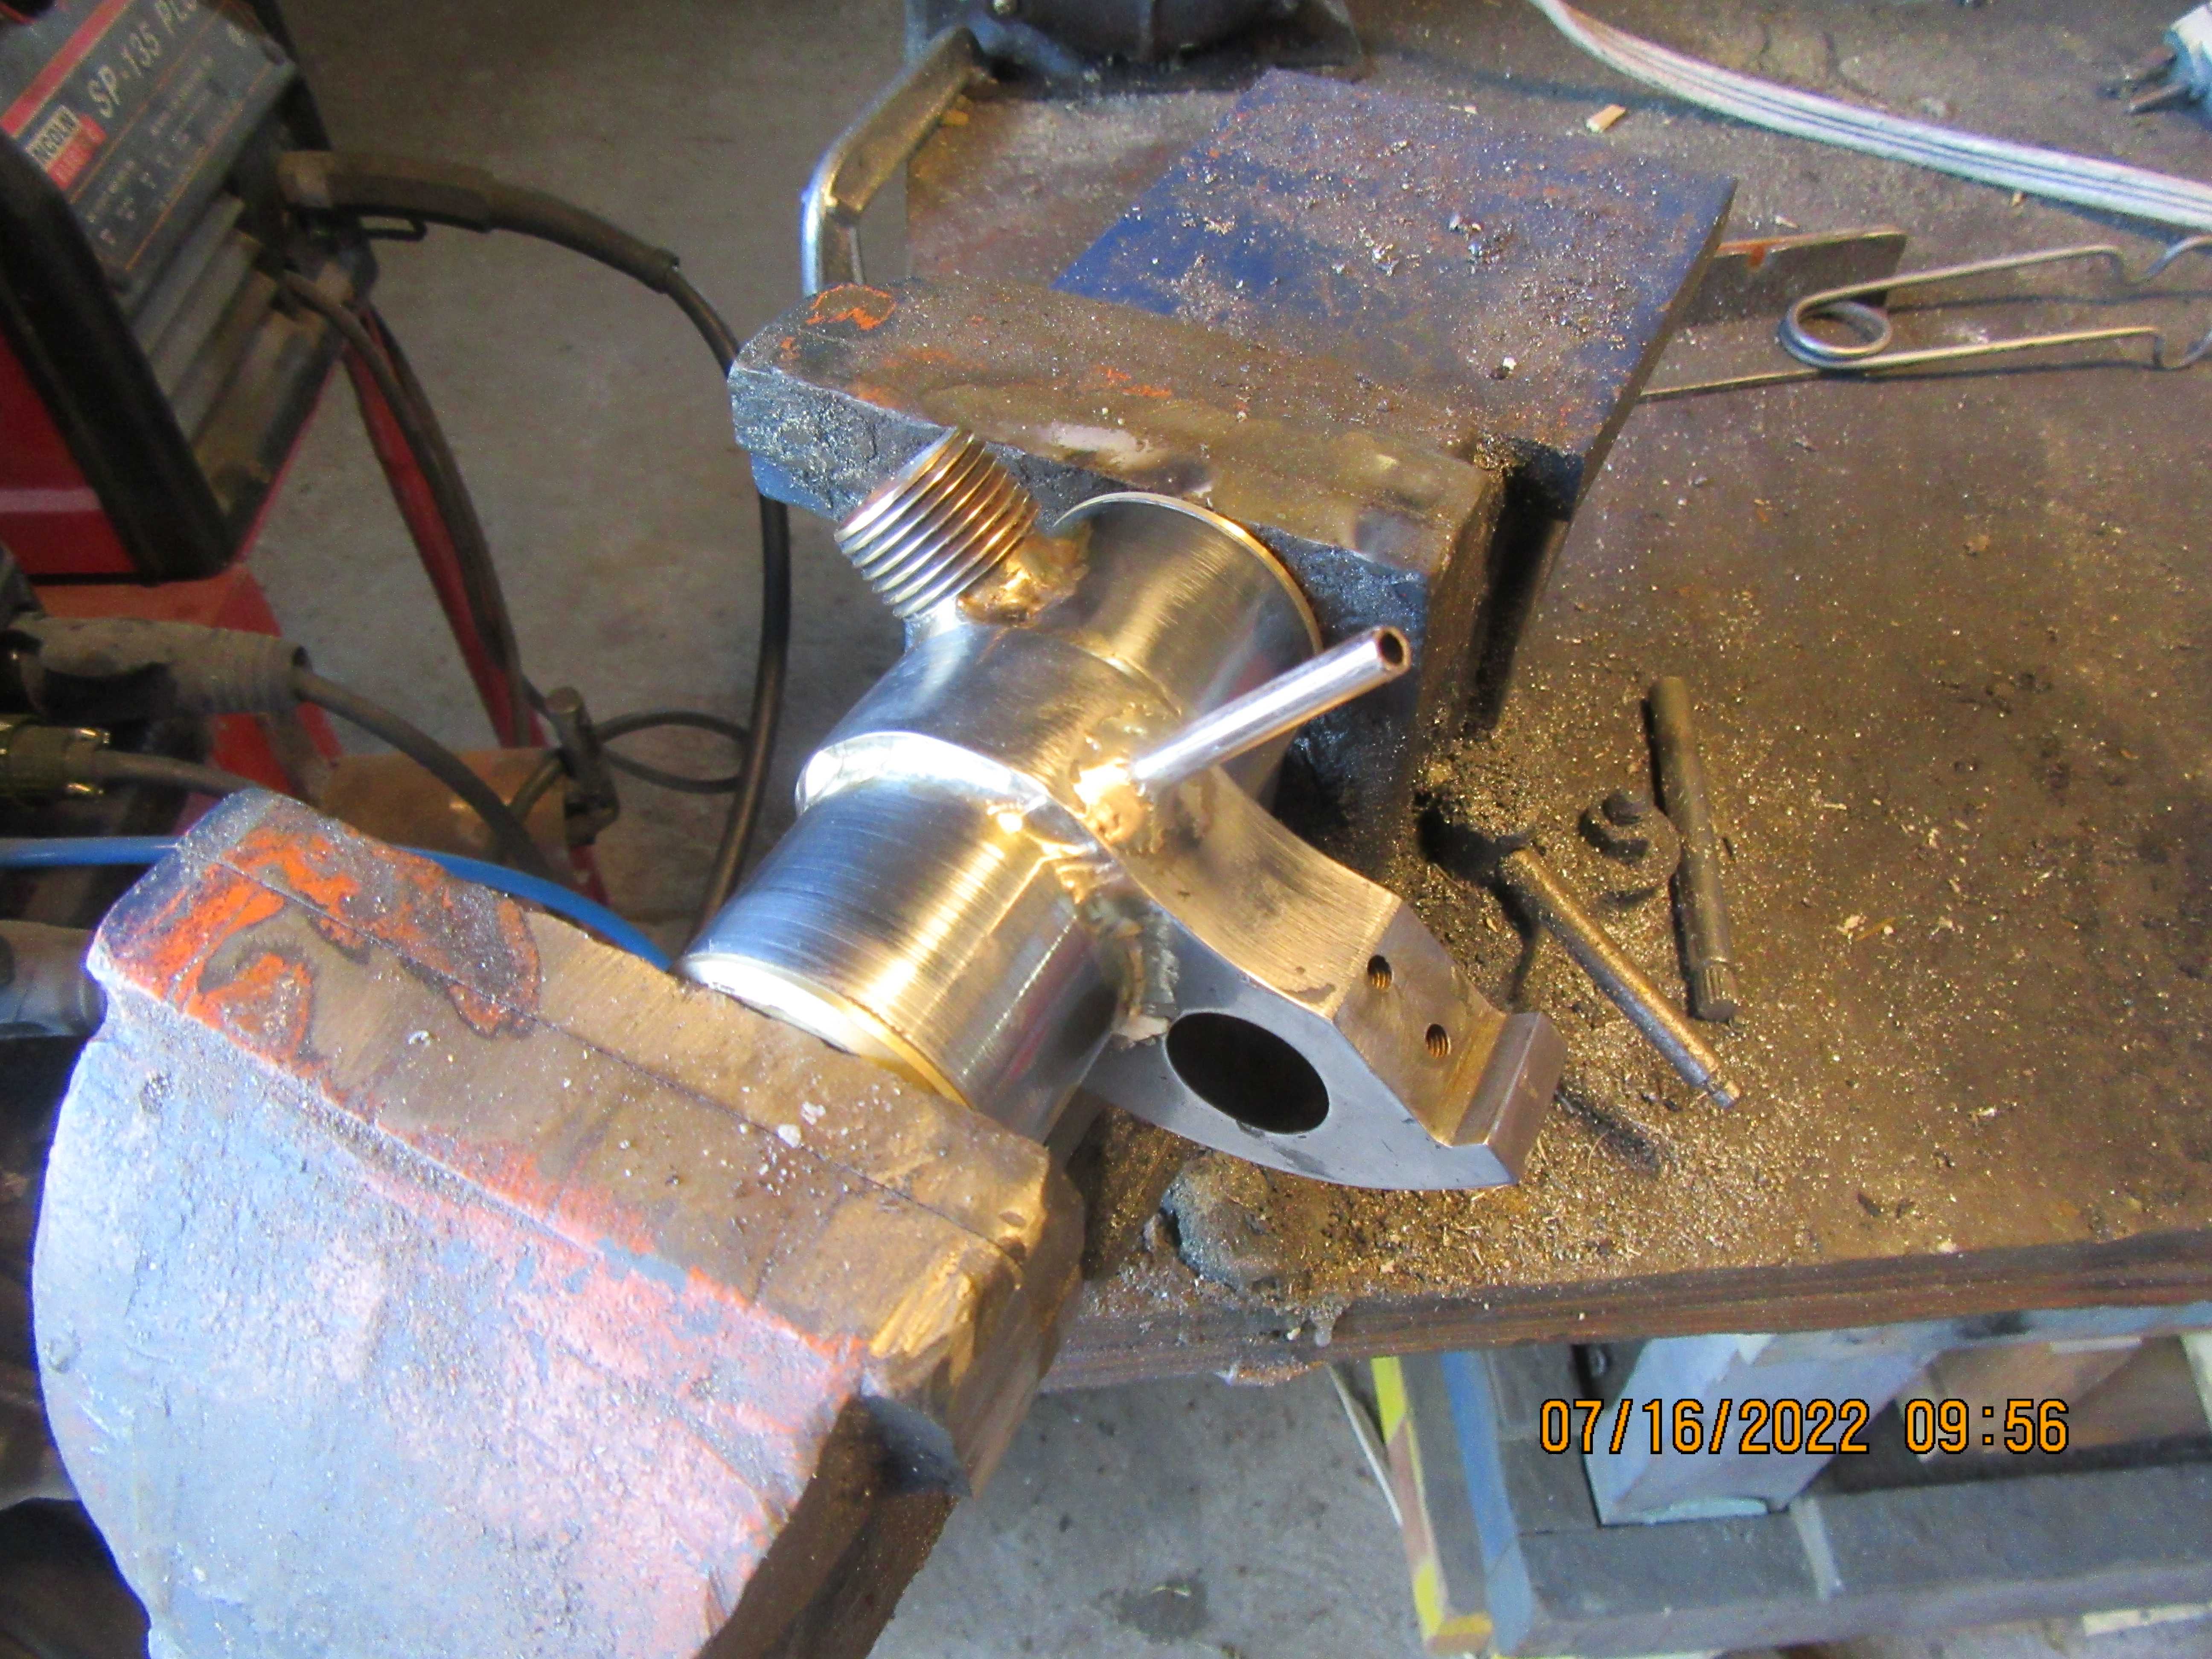
I could have silver soldered the tank ends. I have done it in the past. I have found though, that there is always at least one spot that will always leak and one place where the silver solder runs over onto the brass, and it becomes a pig to clean up, not leak, and look right. J.B. weld does the same good job of holding the ends in place and I've never has a clean up or leaky issue doing it this way.
 
Have you tried soft solder? I have made 4 or 5 tanks an always use soft solder and a little Flux.

I Flux everything and put a ring of solder right at the edge of the tube and use the end cap to push the ring in. Then just heat until you see solder just starting to appear in the joint all the way around. Zero mess and just a little polish to remove the heat marks.
 
I haven't worked with soft solder, and if I was really good with the tig welder I would have tig welded everything. I can stick things together with the tig, and get good penetration, but cosmetically it will be a disaster. This morning I spent an hour with my file, sandpaper, and polishing buffs and various wax grits, until I deemed things satisfactory, then J.B. welded the brass ends into the tank and set it up in my outer garage vice to dry 24 hours.
F9M70n.jpg
 
Today, for the first time, the flywheel is in place and the rocker arm towers have been added to the top of the new cylinder heads. I hadn't planned on doing so much today, but it's not my first day that didn't go as I planned. I'm liking the look of this!!!
91QlRa.jpg
 
We're getting down to the short strokes now. Today I'm doing a search for simple easy things that have to be built. I've found four valve lifter bushings, four hardened rocker arm tips, four rocker arms and four valve lifters. I'm going to take a look at the rocker arms right now and see if they can be simplified a bit. I am currently using the rocker design used on my 7/8" horizontal engine.
 
Today I managed to get the valve lifter guides machined from brass and Loctited in place. I machined and flame hardened the valve lifters and the four contact wheels that fit onto the end of the rocker arms, and I got the rocker arms cut to length but not machined yet. Doesn't look like much, but it's 4:30 now and I started this morning at 8:00. Stopped at 12 and eat some lunch, stopped at 3:00 and went up onto my top deck with my good wife and had a wine cooler break. Tomorrow I hope to finish and install the rocker arms.
5GVS8T.jpg
 
Today I did more running around town than I did actually working, but I did manage to finish the four rocker arms and four knurled adjusting "knobs" and got them "mocked up" in place.
KEwbOZ.jpg
 
The hackers are having their way with me. I just wrote a big long post, and when I submitted it I got a big yellow and blue "anti-war" post. Pisses me off to no end, and I'm not going to re-write the post i lost.
 
Brian,
I write a lot of my posts in "Word", especially the long ones, then copy and paste, I also save a copy in the build folder with the pics
Cheers
Andrew
 
It is very seldom that I have to remake parts. I hate it worse than snakes, but sometimes you gotta do what you gotta do. Today, I remade the bar which the ignition points are mounted on. The first one I made (shown in the picture) wasn't machined incorrectly. It was designed incorrectly. A bit of investigating showed what the problem was. This bar was based on the fact that gears are SUPPOSED to mate exactly at the theoretical pitch diameters. My gears mate very well, but probably not on the exact pitch diameters. Normally that wouldn't matter, and it doesn't affect how the engine will run, but there is enough difference that it screwed up the dimensions on the bar. Things have been fixed now, and my ignition points open and close how they are supposed to. I also took the opportunity to mount the gas tank and tank support back onto the engine.
so2EZi.jpg
 
Back
Top