


Joseph gave me an old stereomicroscope after he learnt that I set out to make a 1:4 version of Elmer's Tiny. (see http://www.homemodelenginemachinist.com/index.php?topic=6231.msg66160#msg66160).
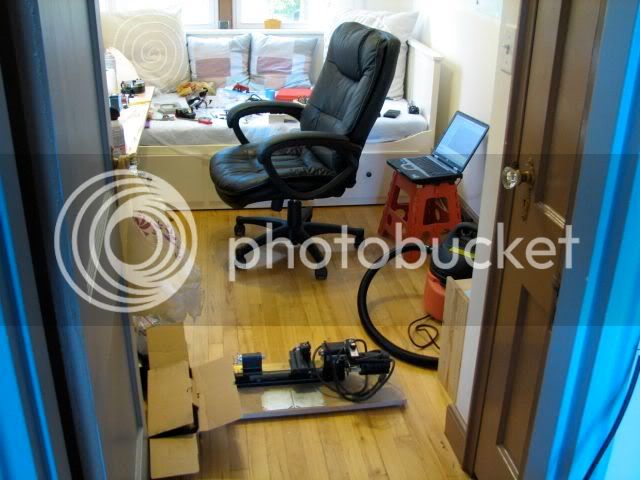
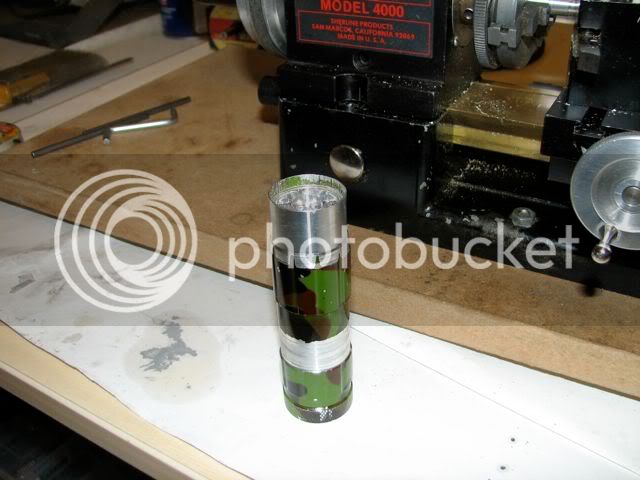
This is a step-by-step of how I mounted it on my sherline lathe. First, I decided to make a lens cover so that the chips and the cutting fluids do not mess the objective lens. I machined one out of plexiglass. First, lathe on the floor, mill on the desk.
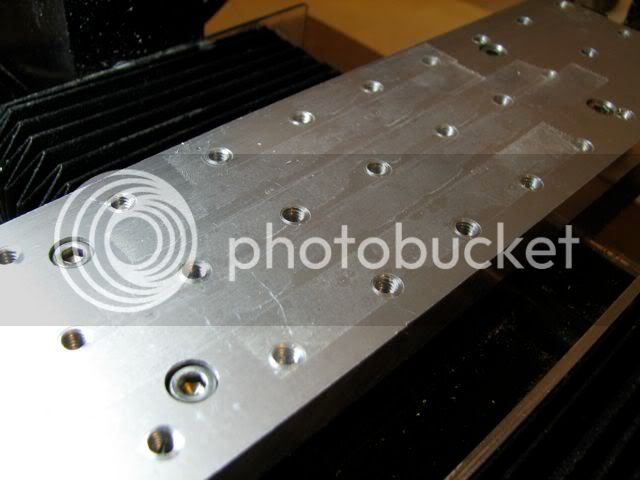
Double sided 3M tape to hold the plexiglas.
A video of the cut.
<embed src="http://www.youtube.com/watch?v=3qh2DxNhQKU" type="application/x-shockwave-flash" wmode="transparent" width="425" height="350"></embed>
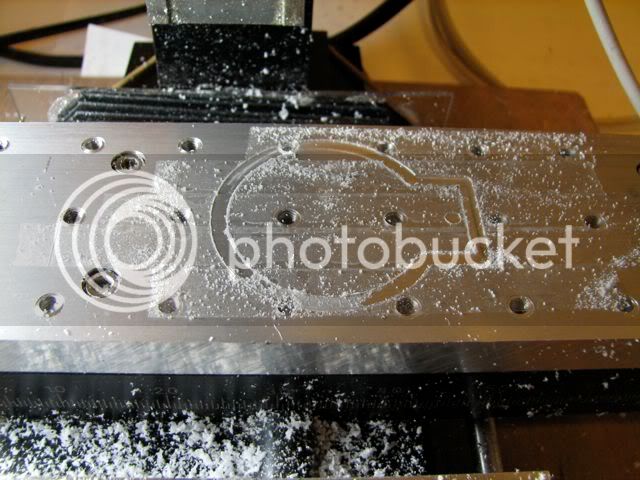
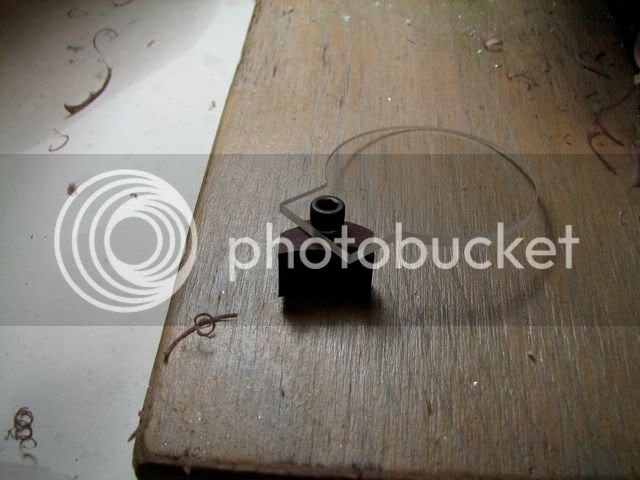
The lens cover, ready.
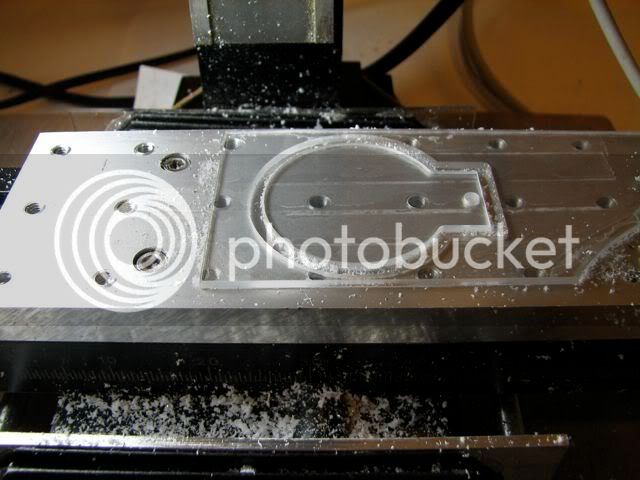
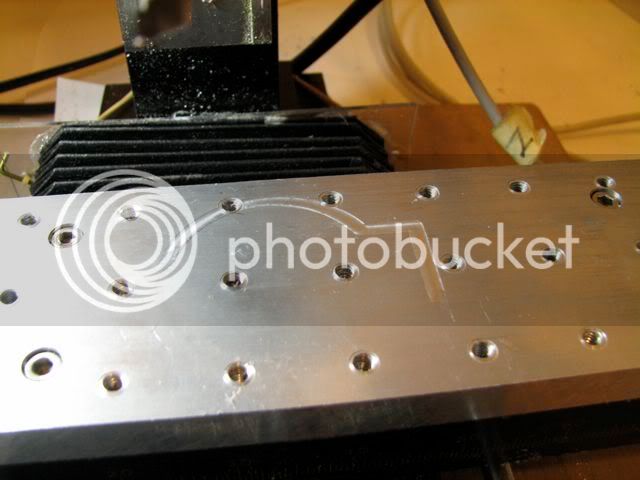
The end mill cut into the 2-sided tape.
Well not quite (The mill is squared, but the table was not clean of burrs when I put on the tooling plate. There was a burr below the upper right corner of the tooling plate... :big: )
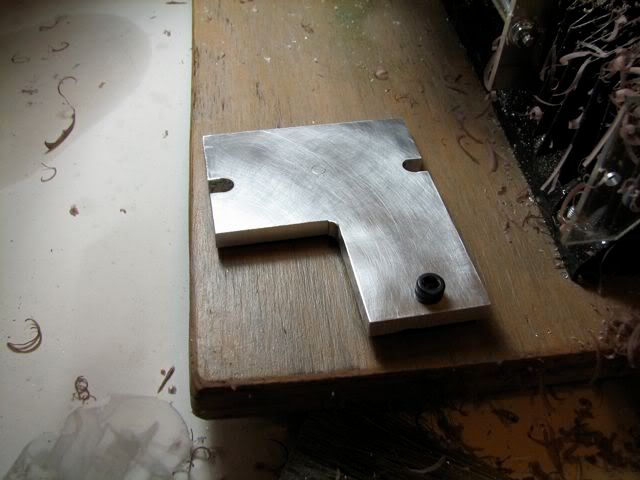
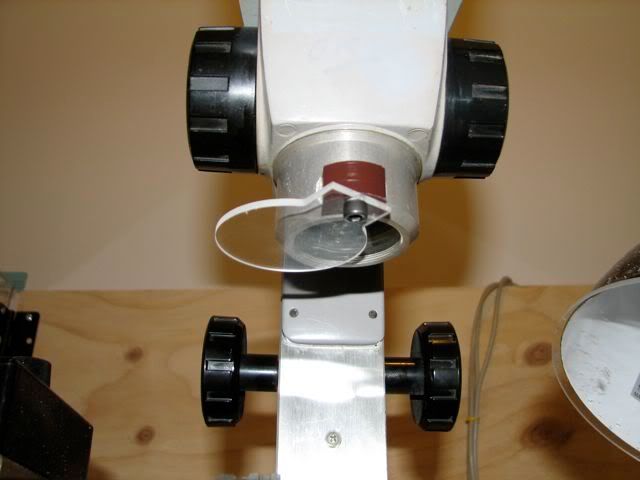
This is the lens cover and its base.
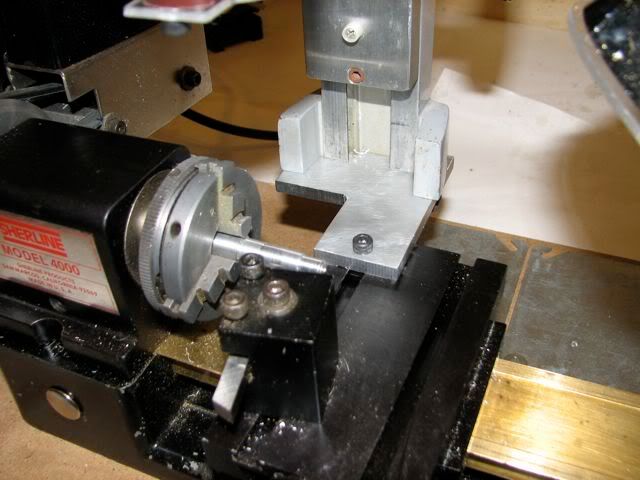
BTW, this is the mounting base for the microscope. It is screwed on the proximal T slot of the crosslide.
Yep, the lathe is an oldie (you connoisseurs can tell from the brass bed - it was built before I was born ;D)
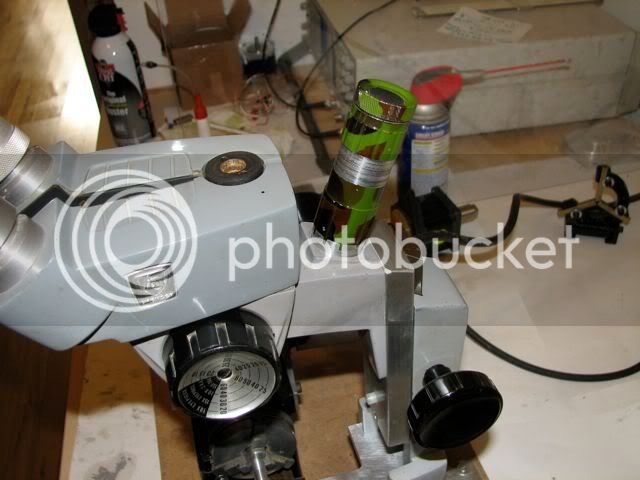
Lens cover siliconed on the microscope
El cheapo lighting. Turned down this LED torch to fit into the lamp slot. (On retrospect, I do not like the hue of the light, I'll change it. oh well.)
El cheapo light in place.
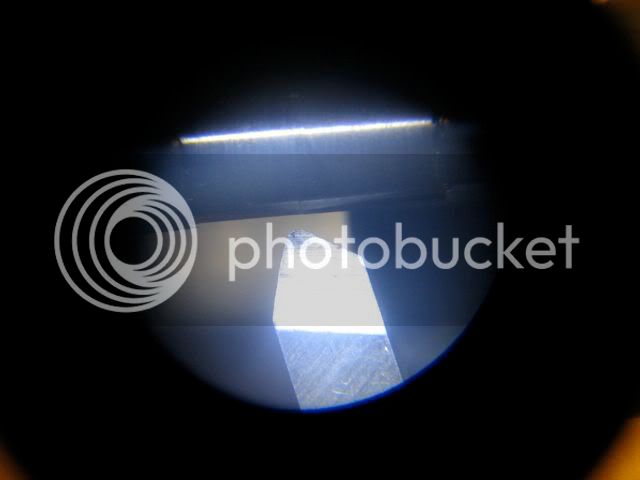
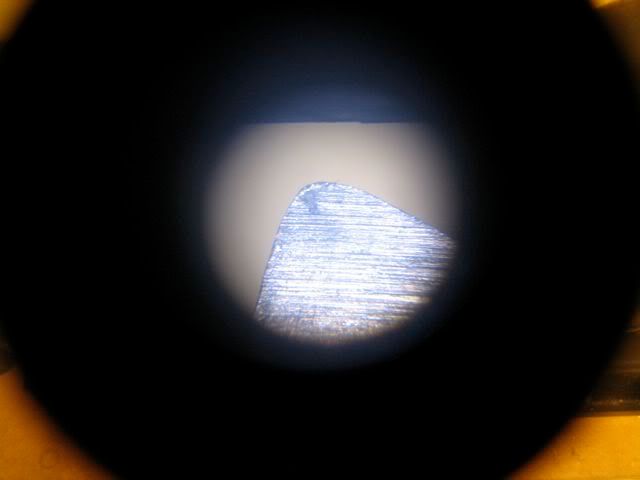
A peak from within the lens (x10 magnification) (dremel-sharpened sherline 1/4" toolbit)
Stronger magnification (x25)
Hmm... Now that the stereomicroscope is mounted and operational I'm running out of excuses to start building the 1/4 version of the tiny... But let's wait a bit for the 1/16 endmill to arrive.
tom
This is a step-by-step of how I mounted it on my sherline lathe. First, I decided to make a lens cover so that the chips and the cutting fluids do not mess the objective lens. I machined one out of plexiglass. First, lathe on the floor, mill on the desk.
Double sided 3M tape to hold the plexiglas.
A video of the cut.
<embed src="http://www.youtube.com/watch?v=3qh2DxNhQKU" type="application/x-shockwave-flash" wmode="transparent" width="425" height="350"></embed>
The lens cover, ready.
The end mill cut into the 2-sided tape.
Well not quite
(The mill is squared, but the table was not clean of burrs when I put on the tooling plate. There was a burr below the upper right corner of the tooling plate... :big: )
This is the lens cover and its base.
BTW, this is the mounting base for the microscope. It is screwed on the proximal T slot of the crosslide.
Yep, the lathe is an oldie (you connoisseurs can tell from the brass bed - it was built before I was born ;D)
Lens cover siliconed on the microscope
El cheapo lighting. Turned down this LED torch to fit into the lamp slot. (On retrospect, I do not like the hue of the light, I'll change it. oh well.)
El cheapo light in place.
A peak from within the lens (x10 magnification) (dremel-sharpened sherline 1/4" toolbit)
Stronger magnification (x25)
Hmm... Now that the stereomicroscope is mounted and operational I'm running out of excuses to start building the 1/4 version of the tiny... But let's wait a bit for the 1/16 endmill to arrive.
tom