OK, this piece I CNC-ed. The first run was a disaster, as the X axis of the mill had 7 thou of backlash and this ruined the part. To take the back lash out I had to disassemble the below covers and get to the anti backlash nut and I was postponing it... I had learned to work around the backlash manually.
After adjusting all axes, I am at <2 thou of backlash (Sherline suggests 3 to 5 thou) and I decided that the cylinder can live with that, especially if I program the CNC to approach from the same direction (which I never did). Funny though how this backlash is extensive for the size of the part.
Start by using a broken #80 drill (I have plenty of those - broken) as a pointer to position the head approximately to the centre dimple of this faced 0.250 stock.
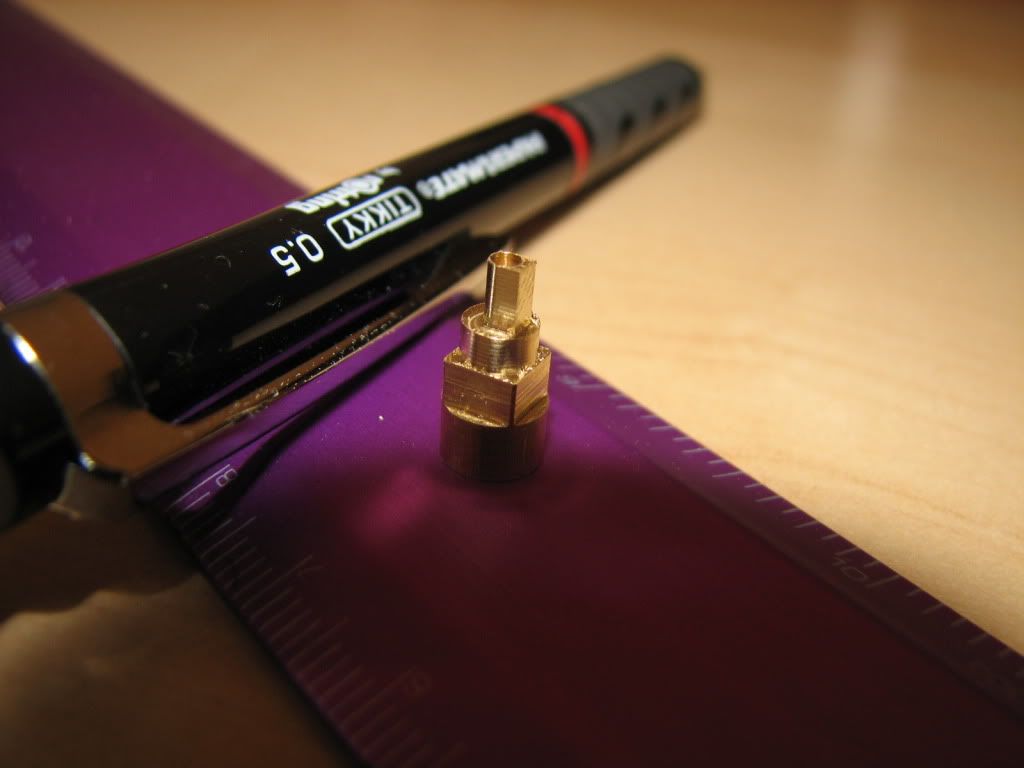
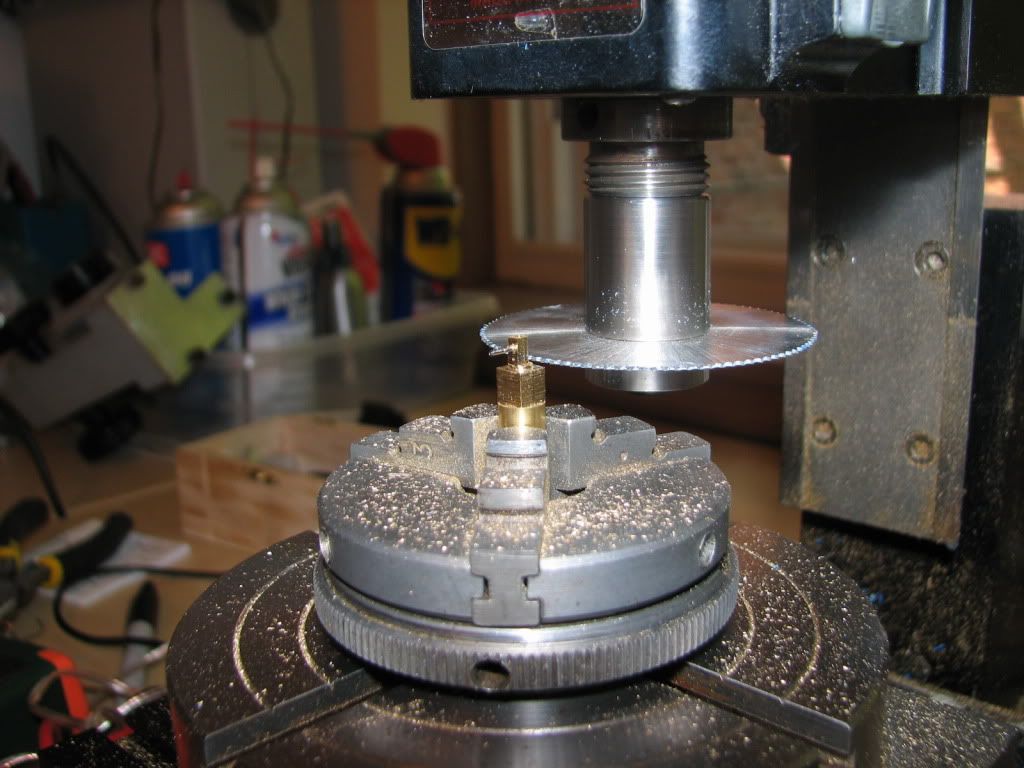
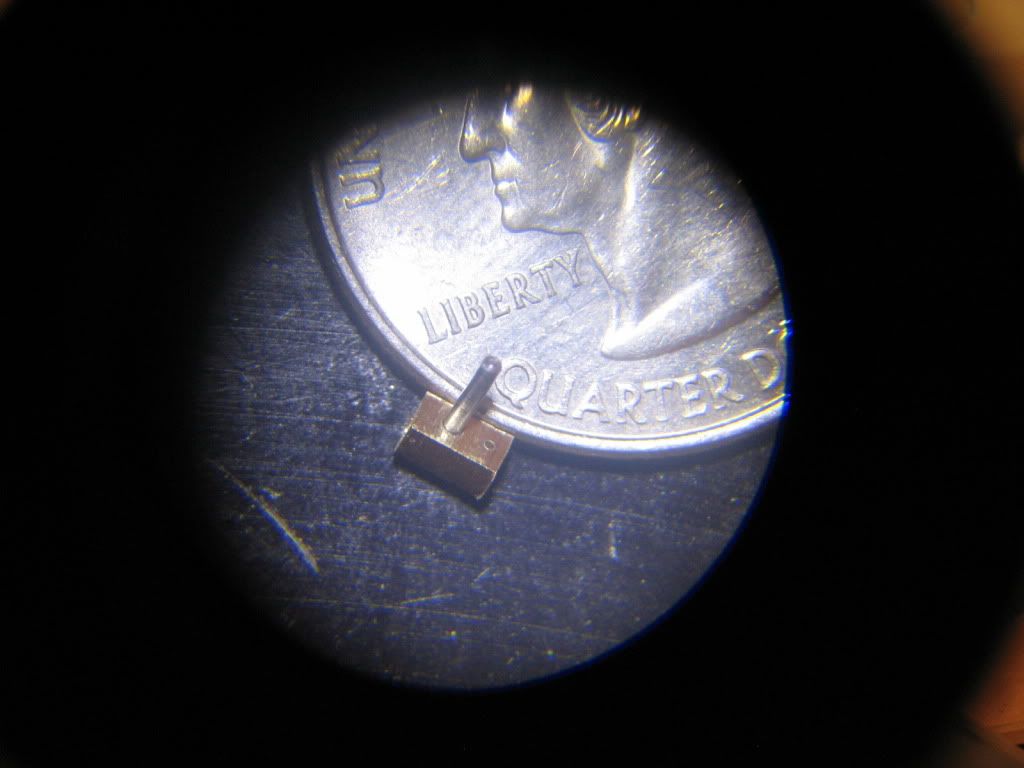
The round surface is concentric to the cylinder bore (to mill accuracy) and would suffice to center the cylinder using the 4 jaw on the lathe.
The flats are perpendicular or parallel to the cylinders flat (the distal face, not shown), and equidistant from the axis of the bore (again to mill accuracy). They will be used to position the cylinder for the pivot pin and steam port holes.
I admit that I couldve machined the part much better, taking off the 1-2 thou of the backlash with a bit more careful programming...
next time...
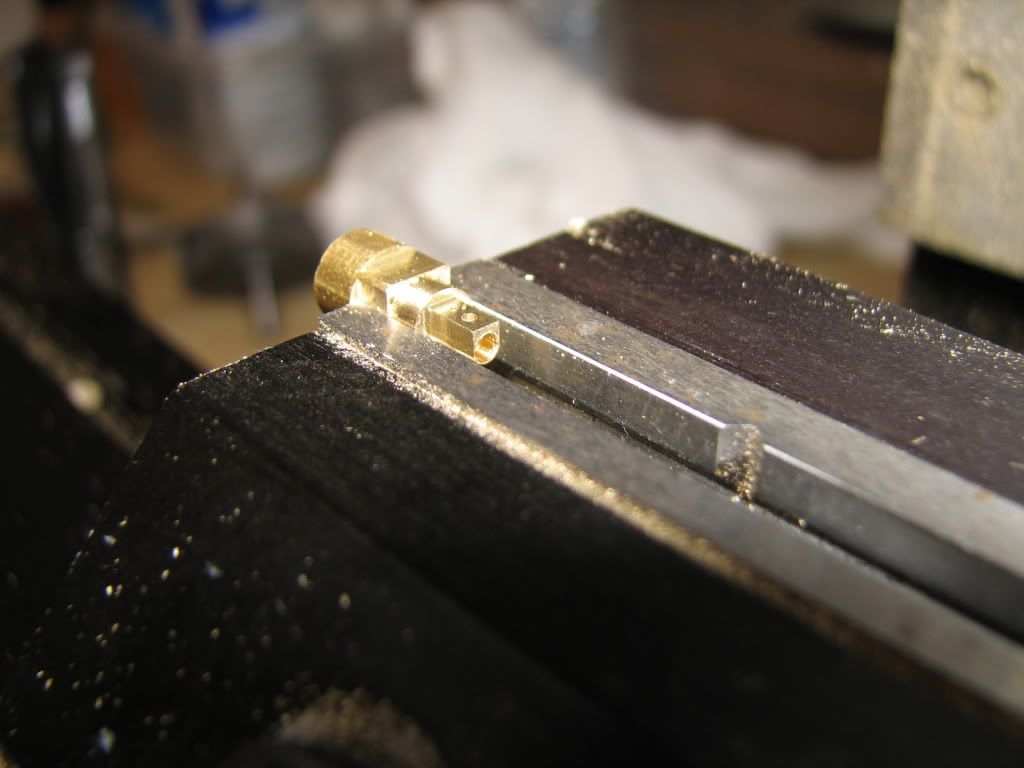
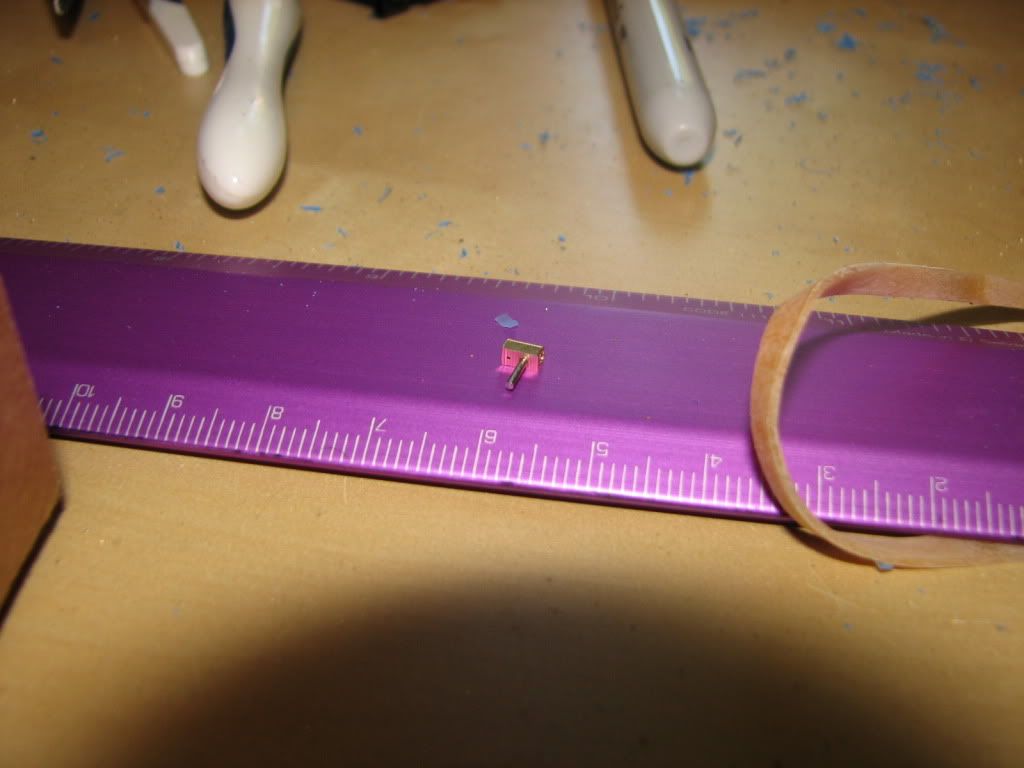
Out of the vise...
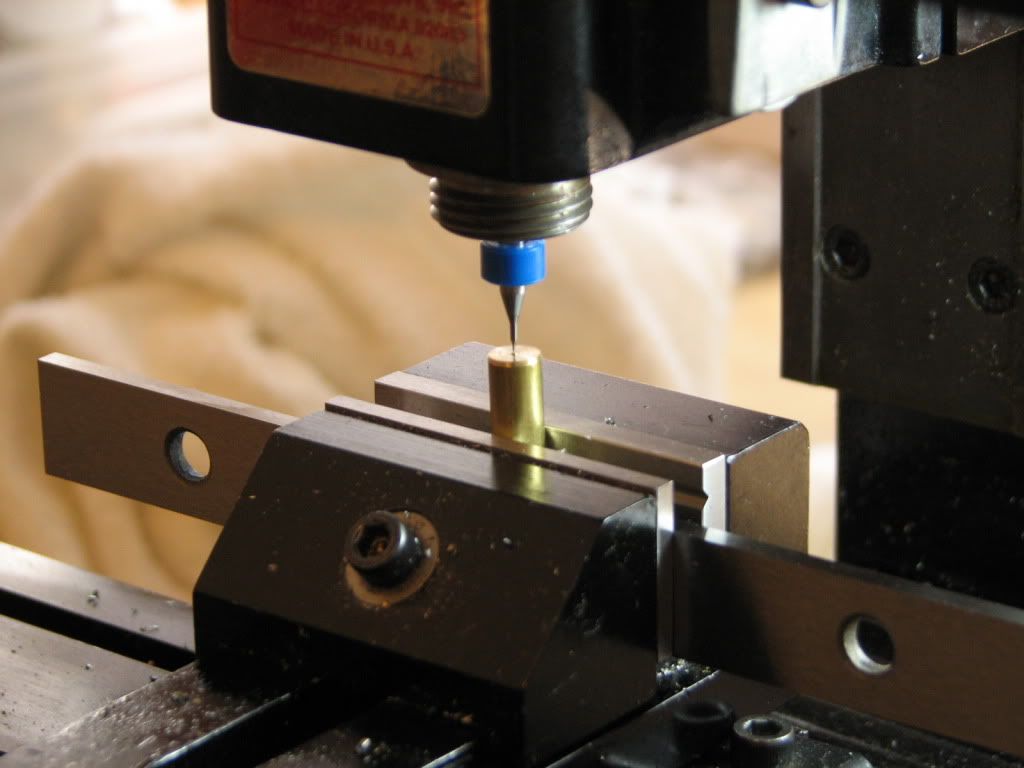
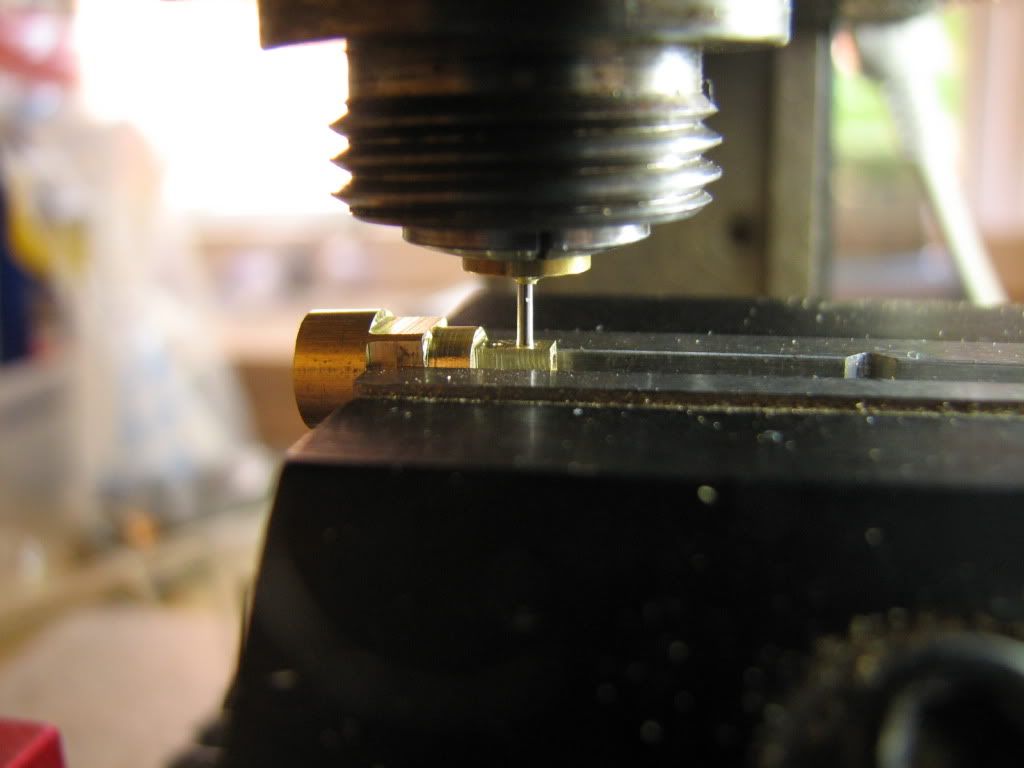
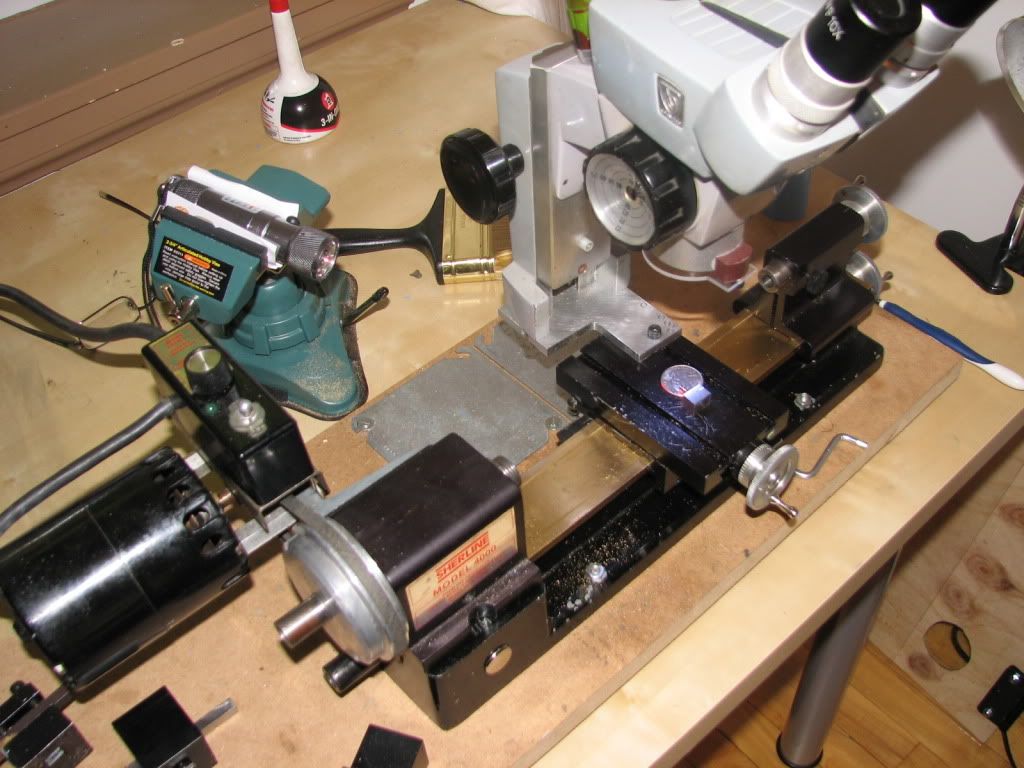
Drilling the steam port (#80 carbide drill). The piece rests on a parallel and pinched in the vise. I did not square the vise before doing that -- but luckily it was close enough, and to such small distances the error is negligible... I used an edge finder to indicate on the flat surfaces...
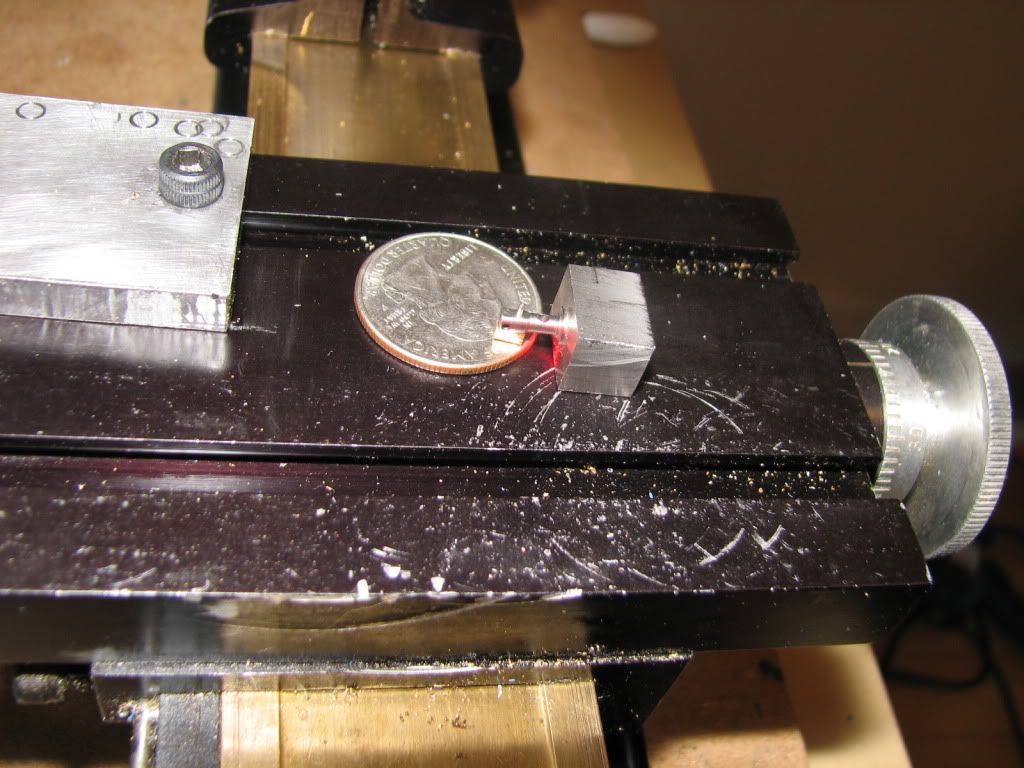
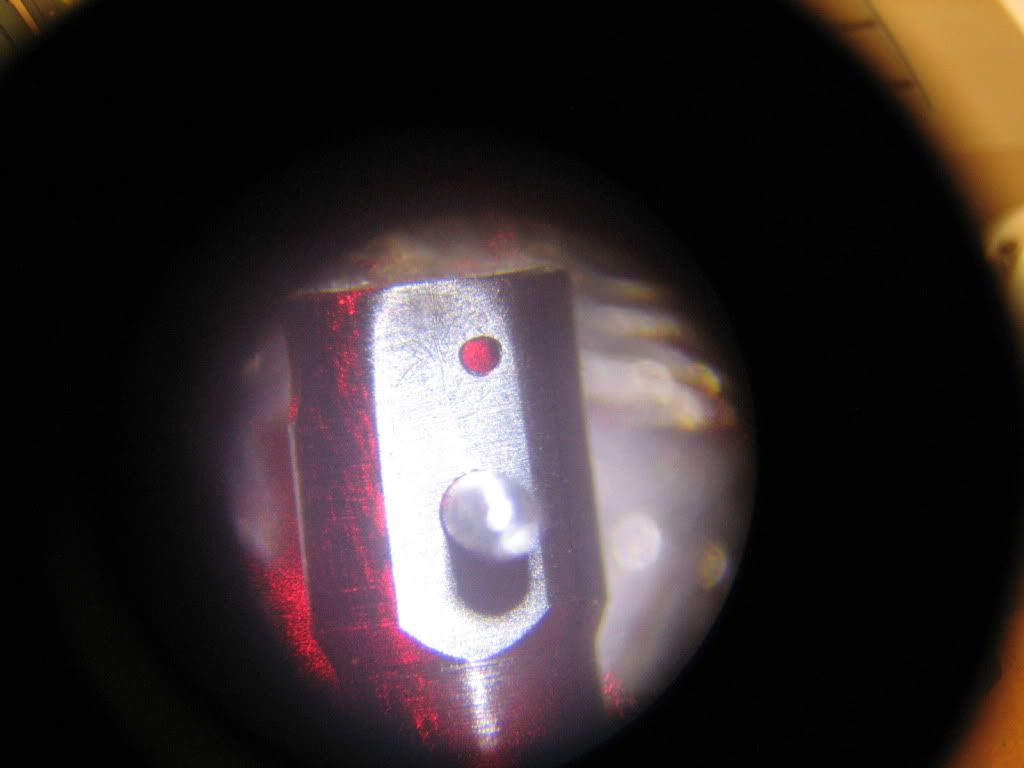
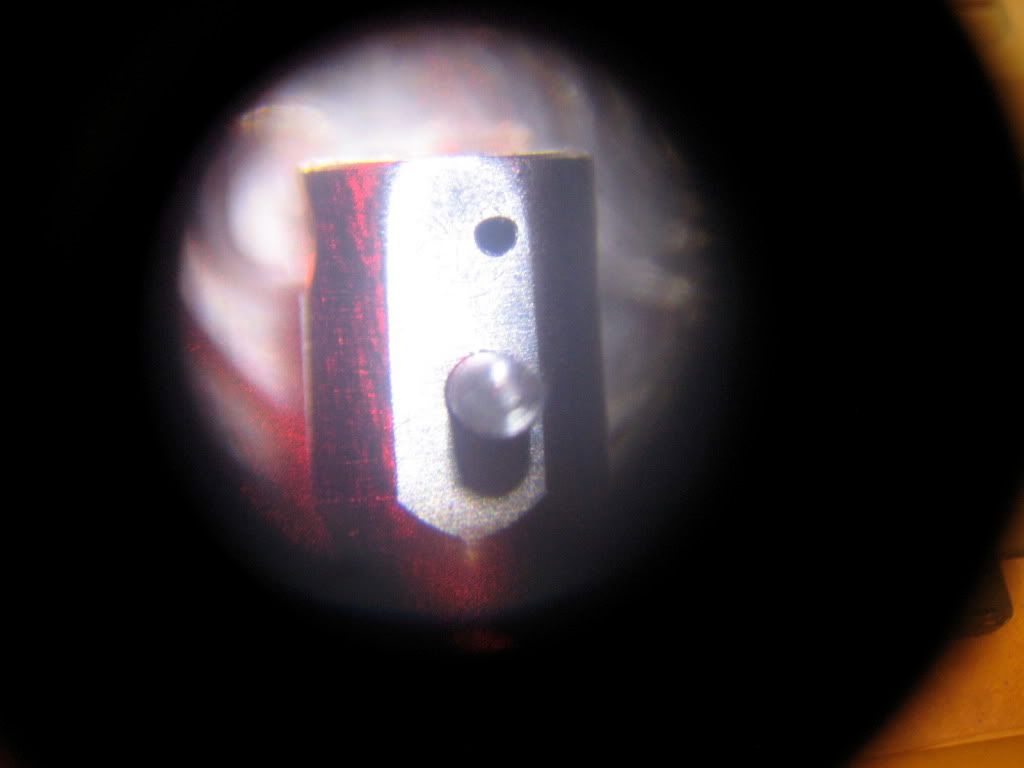
A laser pointer shines through the bore -- and through the 0.014" steam port that is exactly at the bottom of the bore.
")
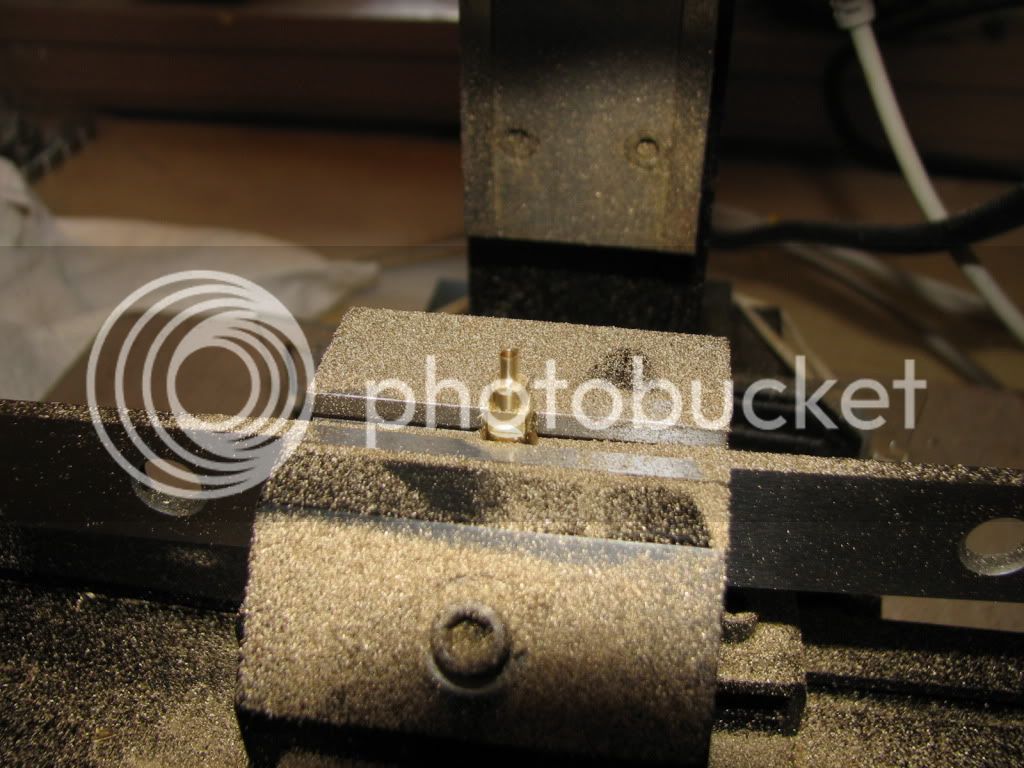
Do you see the yellow/red dot just below the point of the drill? This is the shine through the port... Wish I had a better picture...
Cylinder on the parent material, indicated and with holes drilled...
Coming next the pivot pin that will be press fit on the cylinder... and perhaps a video of the CNC cut...
take care
t