No Way you can keep that white stuff! I keep telling my wife I want to live somewhere always warm!
We are suffering from no picture withdrawal symptoms so when you go back update us please.
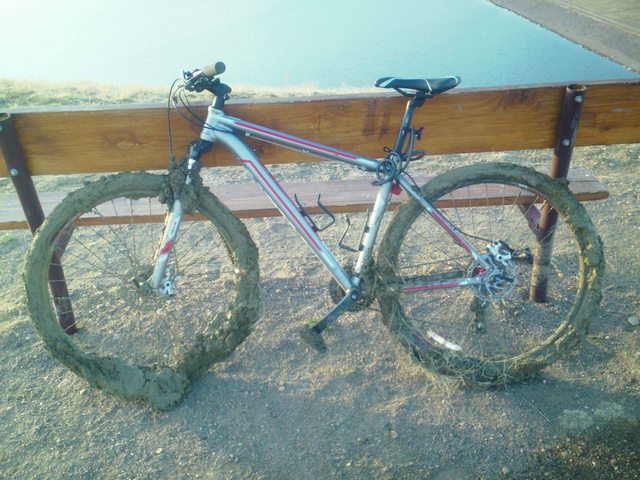
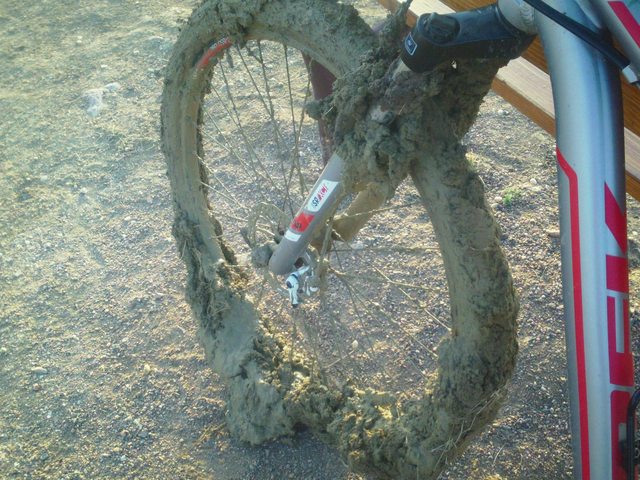
haha, most of the snow has melted away by now but has left the mountain bike trails extremely muddy, here is what my bike looked like yesterday when i got the the top of the hill by US285
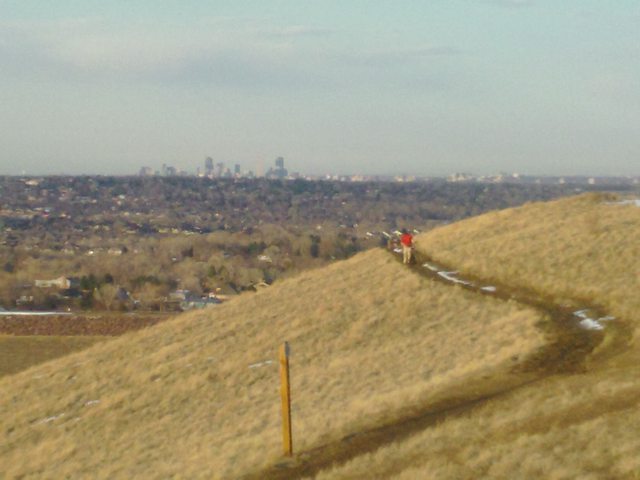
here is a view of denver colorado with my little brother in the distance
any way...
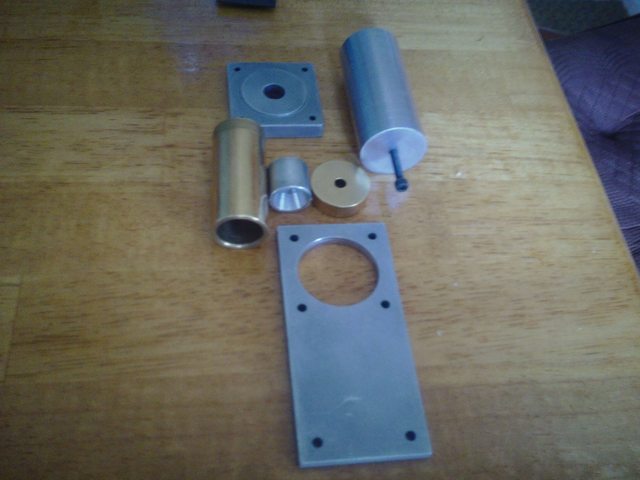
back to the engine build, since in am on spring break and dont go back to my machining class until next tuesday april 2, i cant make really any progress. So here is where I am as of now
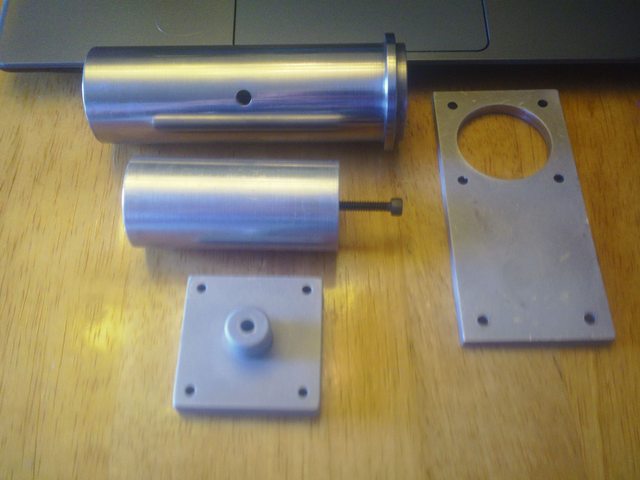
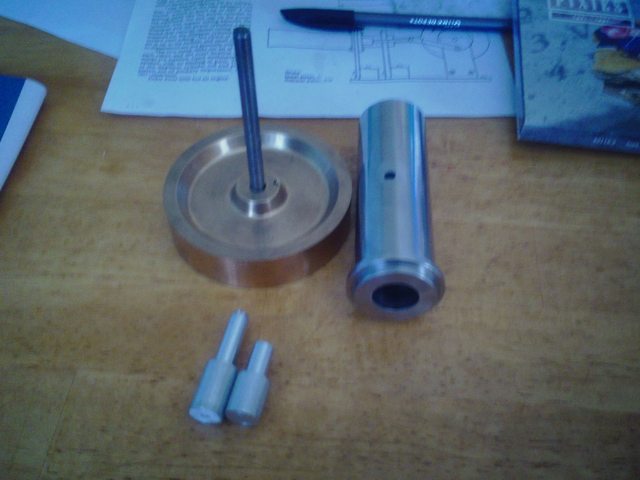
here are the finished parts that I have
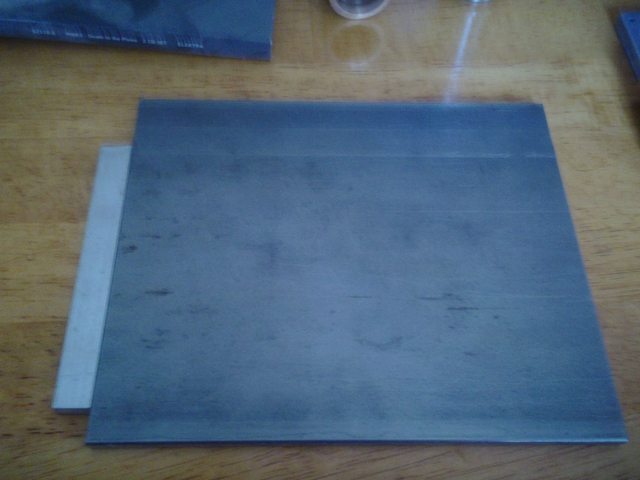
here is the raw stock for a couple more parts
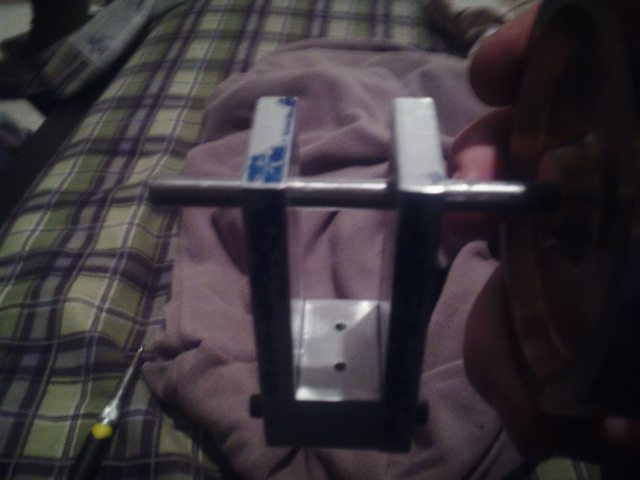
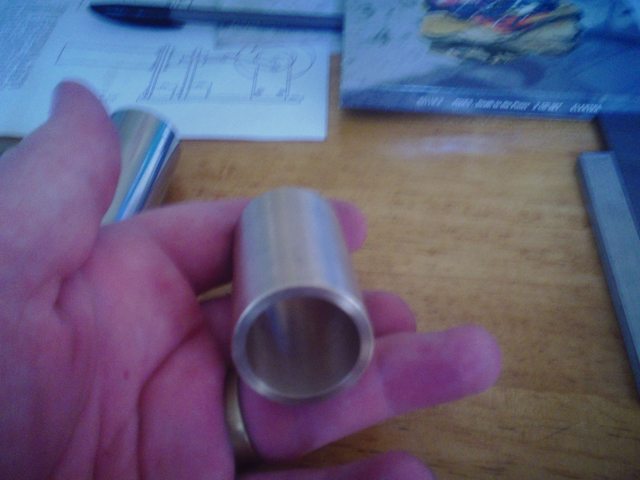
parts that are almost complete
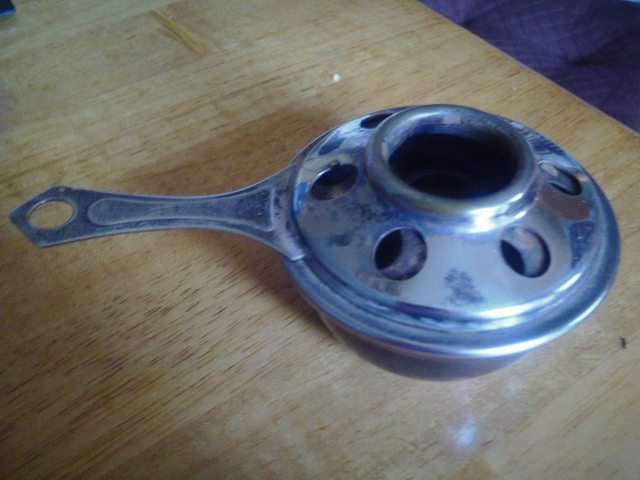
here is the alcohol burner that i was building...
here is what i bought at the antique mall for 4 bucks
Thanks Mitch it looks like you enjoyed your bike ride! parts are looking good keep up the good work
I love that spirit burner, I recon it was a bargin
cheers Frans
Thanks for the kind words Frans. The burner was a steel at $4 I love mountain biking a bunch
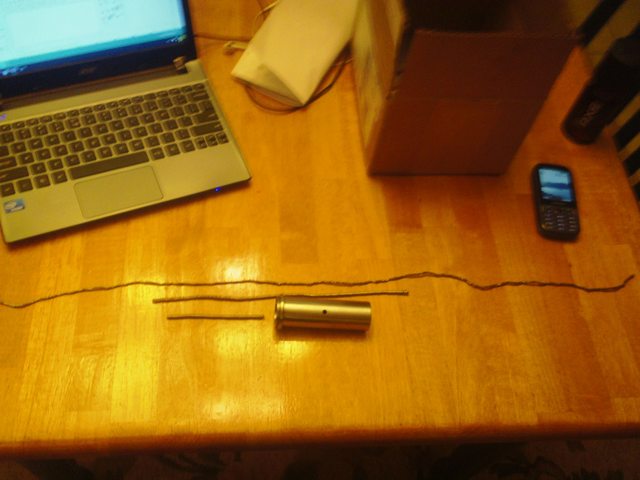
Ok, I did get a part for my engine today. I got a foot long piece of 3/16 od brass tube for the tubing, i just need to get a tubing bender for it, cut everything to length and silver solder it to the 2 different parts when i get the engine done.
Im back to my machining class tomorrow and hope to get done with my 316 stainless steel displacer cylinder
today was great! i finished my displacer cylinder i now have 16 hours into this one part, and have about 104 hours into this engine
got some really cool chips when i was boring the inside diameter of the cylinder
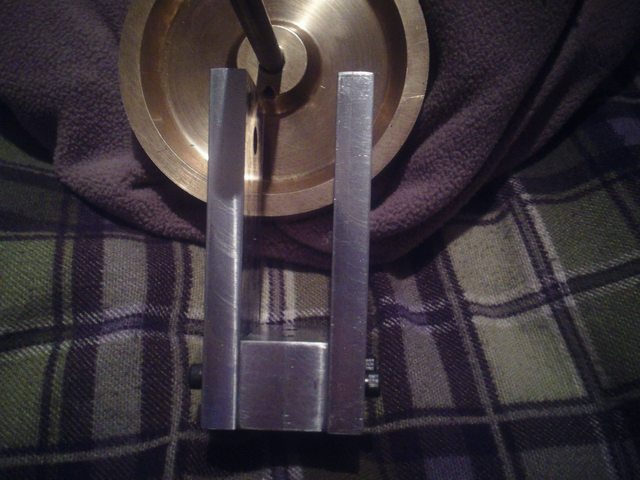
Ok, did not get much done today on the engine. But my friend Jared in my class who is making the same engine as I am gave me the main bearing support that he made, all i have todo to it is make a piece to raise it up to the height that I need.
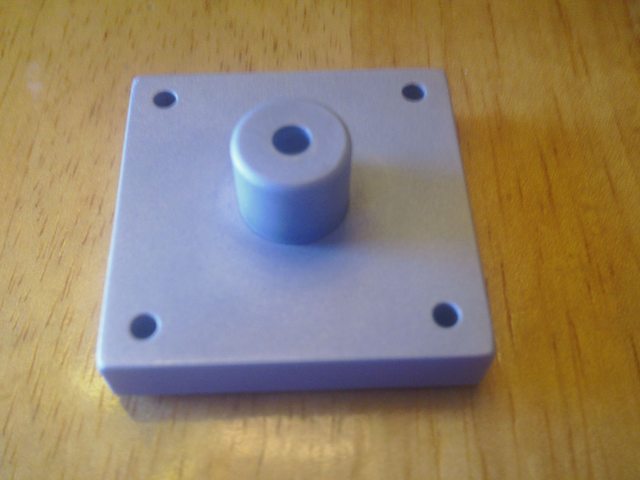
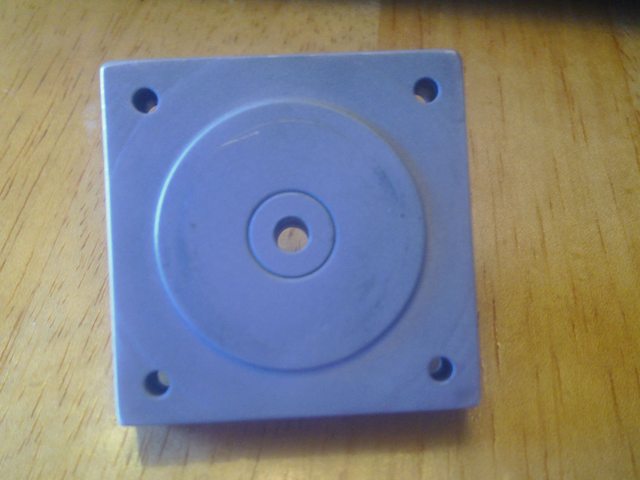
Here are the pics of the main bearing support
and of course the flywheel goes between the two halves, i would have it set up this way but i cant find the right size allen head driver for the set screw
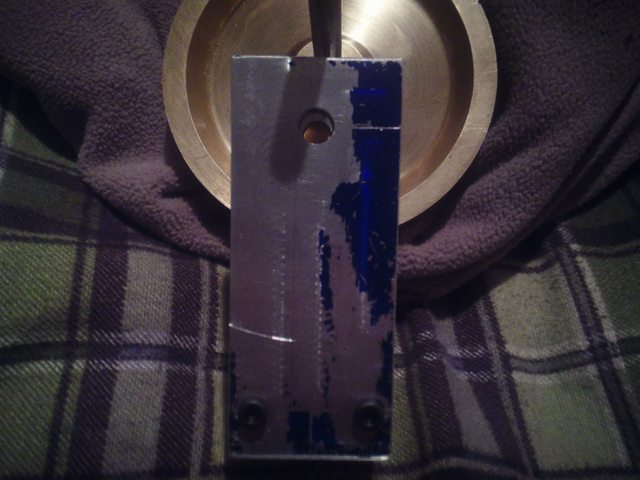
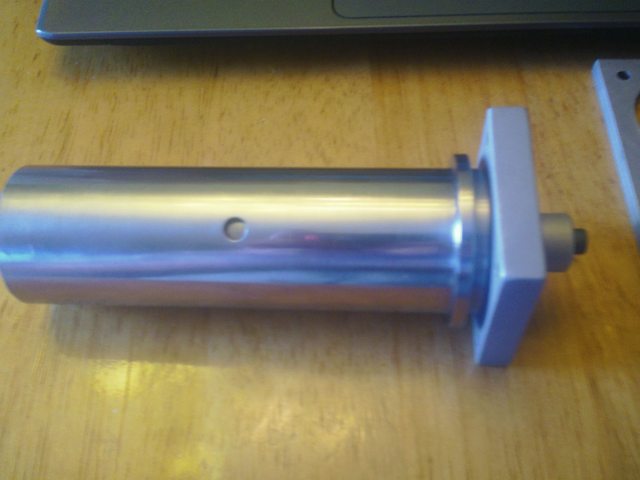
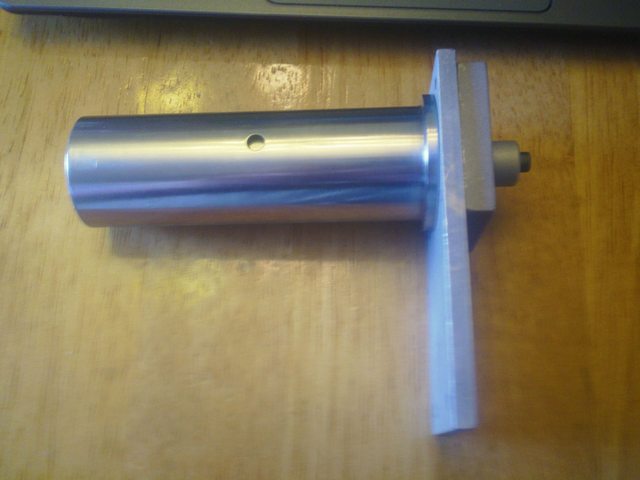
ok, I made a little more progress on my engine today
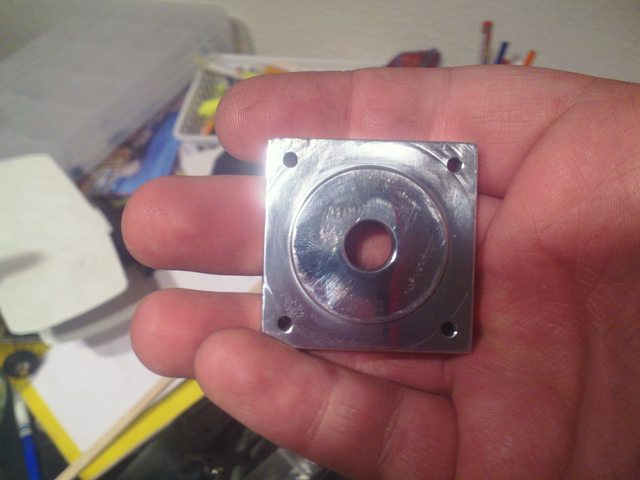
I made the push rod guide that fits into the back of this piece
since then i have sand blasted it
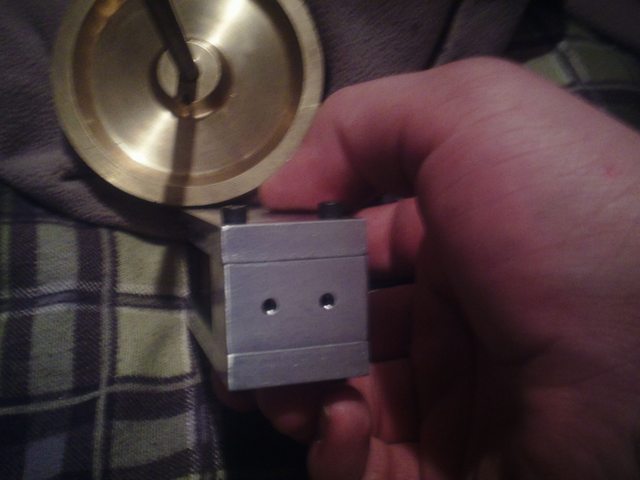
here it is now, this part is 100% ready to go
the part i made today has an outside diameter which is not visible as it sits that is .004 smaller than the whole in the part in the photo above. I press fitted these to parts together on the arbor press that we have in class and it has an extremely tight fit that i am very happy with
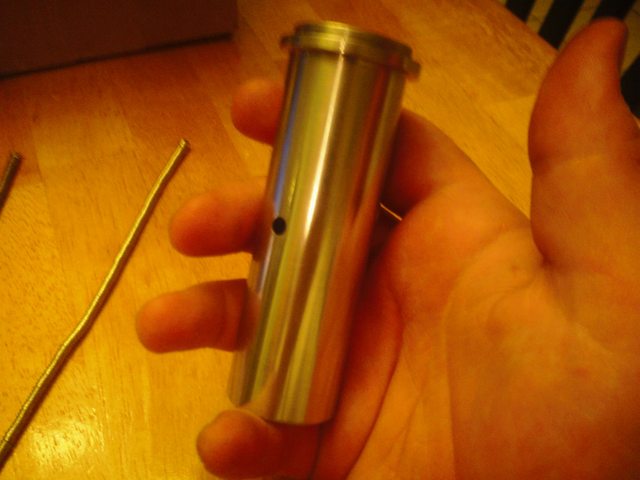
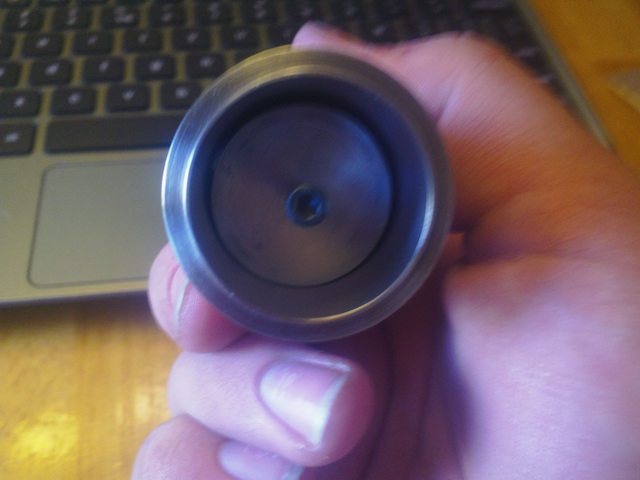
here are the parts that are ready to go for the displacer cylinder
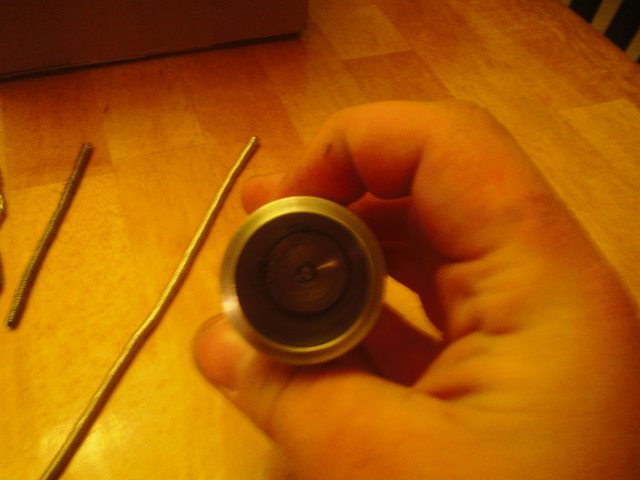
piston inside bore
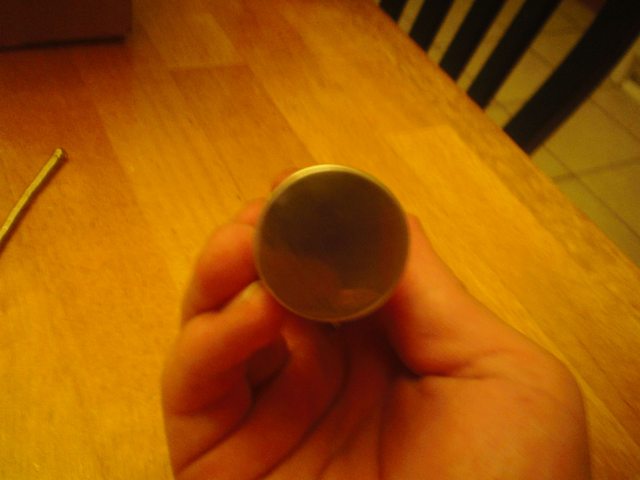
with newly completed part
I just need to make 2 more parts for the diplacer cylinder assembly then that section is done
thanks Frans hopefully it will be running soon im thinking of making the power cylinder stand tomorrow in my class. More pics to come, everyday gets me closer to a finish engine and i am loving every bit of this build
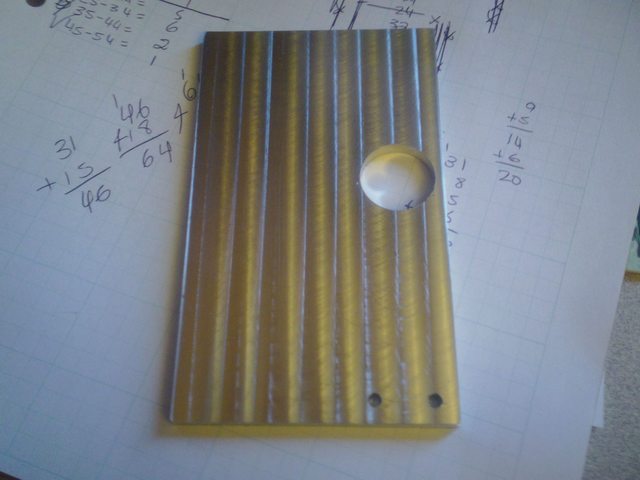
Thanks Zeb I started work on the power cylinder standard today and got it almost done but accidently made the whole to large that the cylinder sits in. Id like it to be a press fit so ill remake it tomorrow, luckily I made it out a of a 5''x4''x.250'' thick 6061 alum, and the part is 3.5''x1.125''x.1875 so i dont have to get the thickness as it is already there, ill just start on a new one tomorrow using the same piece of alum


")