Stirling engine build

Home Model Engine Machinist Forum

Help Support Home Model Engine Machinist Forum:

This site may earn a commission from merchant affiliate links, including eBay, Amazon, and others.

Mitchg07261995

Senior Member
Joined
Nov 12, 2012
Messages
242
Reaction score
53
Ok, in my machining class my teacher is allowing me to make a model stirling engine
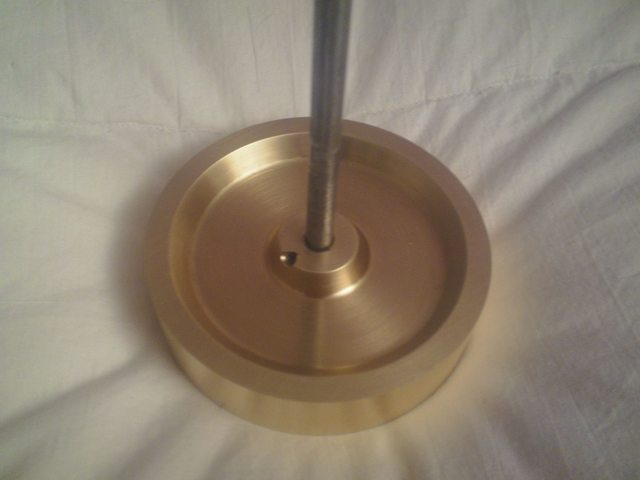
I started the project this week and have completed the main shaft and started the flywheel today
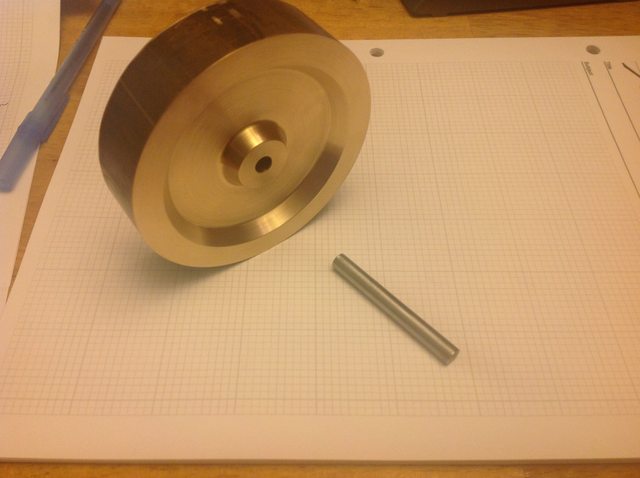
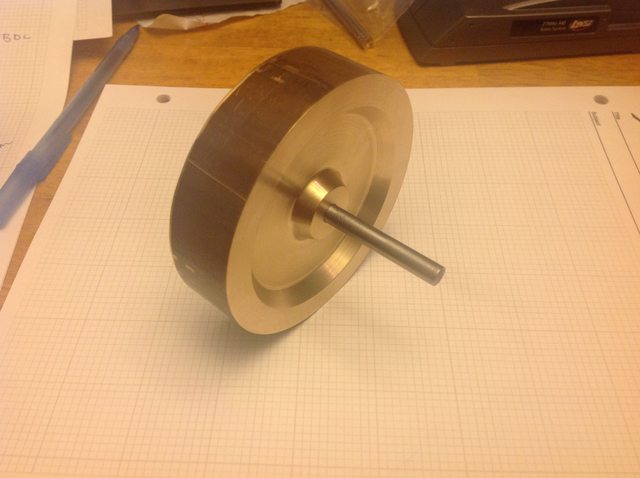
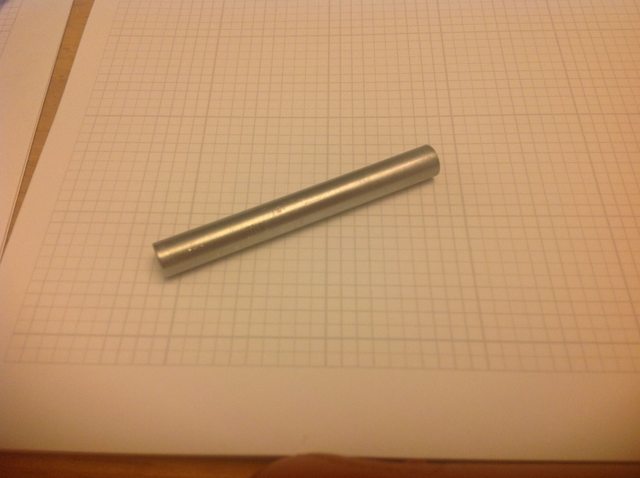
The main shaft is .250" thick and 2.125" long
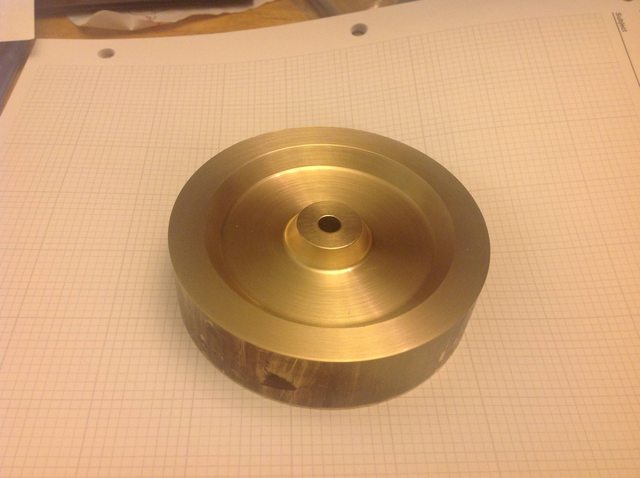
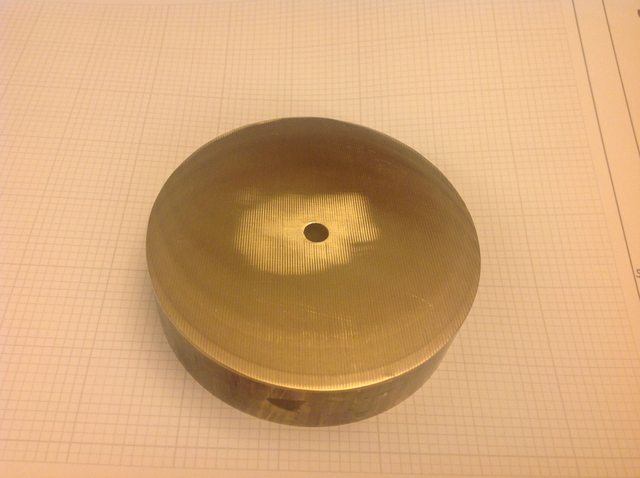
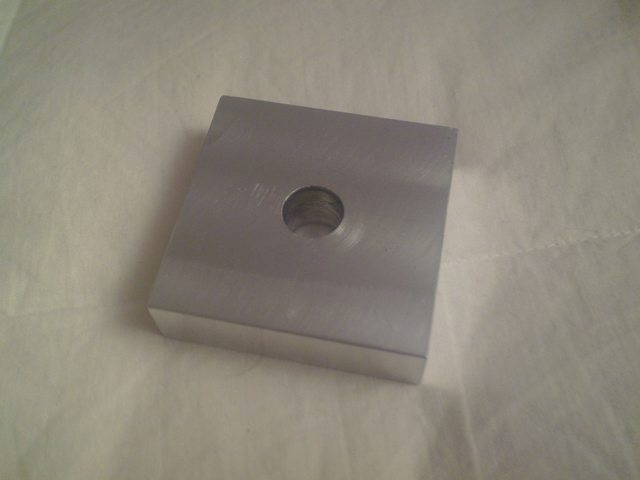
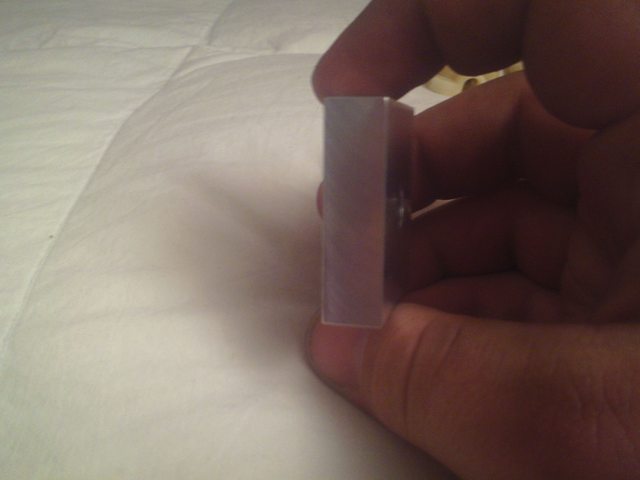
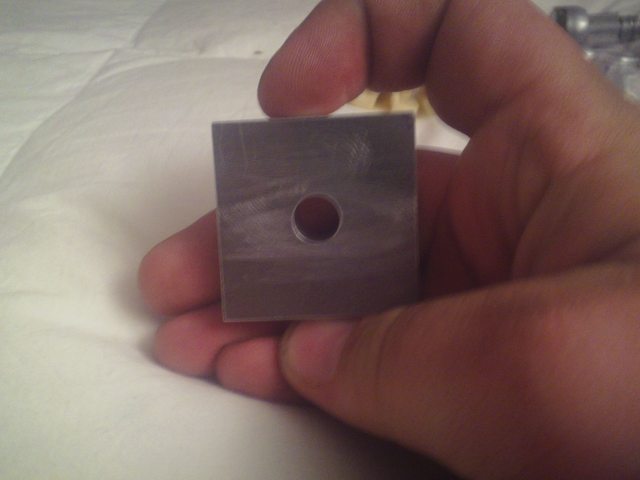
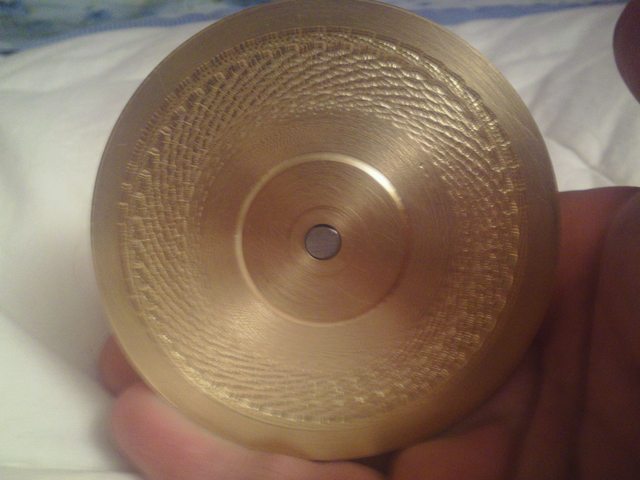
Flywheel is supposed to be 3" in diameter and is 3.5" in diameter at the moment, i already have drilled the .250" hole in the center, faced off one side of the fly wheel and cut a groove .240" deep into the front
Ill upload some pictures of my work that i completed this week in a little while
Thanks!
 
6VM4jXNl.jpg

BEWBEVRl.jpg

Zn9mDU7l.jpg

here is the other side, i will complete this side on tuesday
not3AKMl.jpg

4HQnsvQl.jpg
 
Well thats a start. Good teachers give leadway for students to develop their own projects. A brass flywheel will give it some heft and you can probally leave it at 3.5 inch dia. as you have nothing to clamp to to turn its diameter in one shot its length now. I see no stub hub for the lathe jaws to grip and you have a taper finish where the hub wheel transitions to its tire. If you put 3 equal distant holes in the hub you can then grip the flywheel internaly with expanded 3 jaw chuck on the lathe and turn the dia. to your 3 inch size. This also depends on the size of the machines in your shop if the jaws fit into half inch holes. Slotted or drilled holes just beyond the flywheel hub will give your engine a more dynamic appeal at rest and in running as the holes reflect light and give a sense of motion over a solid metal flywheel. Dave.
 
Well thats a start. Good teachers give leadway for students to develop their own projects. A brass flywheel will give it some heft and you can probally leave it at 3.5 inch dia. as you have nothing to clamp to to turn its diameter in one shot its length now. I see no stub hub for the lathe jaws to grip and you have a taper finish where the hub wheel transitions to its tire. If you put 3 equal distant holes in the hub you can then grip the flywheel internaly with expanded 3 jaw chuck on the lathe and turn the dia. to your 3 inch size. This also depends on the size of the machines in your shop if the jaws fit into half inch holes. Slotted or drilled holes just beyond the flywheel hub will give your engine a more dynamic appeal at rest and in running as the holes reflect light and give a sense of motion over a solid metal flywheel. Dave.

I asked my teacher on how i should turn down the od, he said to finish the other side, then go to the mill drill and tap for the set screw and drill the 6 wholes in the flywheel and then use the main shaft to hold the work so that i can turn the od down to 3'', this way i can also avoid the teeth marks of the chuck from being cruntched into the material
 
I asked my teacher on how i should turn down the od, he said to finish the other side, then go to the mill drill and tap for the set screw and drill the 6 wholes in the flywheel and then use the main shaft to hold the work so that i can turn the od down to 3'', this way i can also avoid the teeth marks of the chuck from being cruntched into the material

Supporting the flywheel by that thin main shaft, it could be the flywheel will start to vibrate messing up the surface you're about to finish.
In case this happens just put the flywheel in the lathes chuck protecting the flywheel with thin aluminum leftovers.

Let's hope for the best...

Chris
 
Dunno,

Just try it, my guess is it will not.
But what will help, if the six holes are done, use these holes to screw lead leftovers in close contact with the flywheel. The lead will absorb the vibrations. BALANCE...!

Chris
 
Dunno,

Just try it, my guess is it will not.
But what will help, if the six holes are done, use these holes to screw lead leftovers in close contact with the flywheel. The lead will absorb the vibrations. BALANCE...!

Chris

not sure if we have any lead stock, i could take .025'' passes and just go lighter i guess... we will see next week
 
You could try boring the recess in the face with square edges rather than 45deg, then you could get your chuck jaws in there to finish it. Some ally packing on the jaws will stop damage...
 
That's what I thought to at first but one side is already done...pity...


Chris
 
Hey good going I am looking forward to seeing more on this as Stirlings are my Favourite!
Wish I had a bigger Lathe, I would have a go myself.
Please keep us up to date.
cheers Frans
 
the square reliefs would be cool, i do however like the look of the 45 angles more, ill find a way to get the job done
more updates to come on tuesday evening
 
I asked my teacher on how i should turn down the od, he said to finish the other side, then go to the mill drill and tap for the set screw and drill the 6 wholes in the flywheel and then use the main shaft to hold the work so that i can turn the od down to 3'', this way i can also avoid the teeth marks of the chuck from being cruntched into the material
You will find this will not work. With a .250 inch dia main shaft there is not enough surface area for the jaws to hold when your working cut is at 3.5 inchs. Your cutting tool will out leverage the jaw grip at its radius to the axle centerline......but most likely is that the set screw will loose its grip first ( even with a milled flat) and gall the main shaft axle first if the lathe jaws hold as a set screw has less grip on the main shaft...... Since you have an unfinished face, you can square cut the wheel to tire about 5/32nd deep ( looks like a 1 inch wide flywheel) to around 2 inches dia. from centerline so the jaws have a much more favorable leverage to the cut. Turn down your diameter to the 3 inches and revisit the wheel square cut and finish with your taper cut. Dave.
 
You will find this will not work. With a .250 inch dia main shaft there is not enough surface area for the jaws to hold when your working cut is at 3.5 inchs. Your cutting tool will out leverage the jaw grip at its radius to the axle centerline......but most likely is that the set screw will loose its grip first ( even with a milled flat) and gall the main shaft axle first if the lathe jaws hold as a set screw has less grip on the main shaft...... Since you have an unfinished face, you can square cut the wheel to tire about 5/32nd deep ( looks like a 1 inch wide flywheel) to around 2 inches dia. from centerline so the jaws have a much more favorable leverage to the cut. Turn down your diameter to the 3 inches and revisit the wheel square cut and finish with your taper cut. Dave.

I see what you mean about the chuck, i was planning to use the 1/4'' collet like my teacher who was a machinist in a local machine shop with the cnc's for over 10 years suggested
The flywheel as it sits now is about .948 and needs to be faced down on the unfinished side so that it is .750 thick
 
as promised, here is the update.
basically all i did today was face down the opposite side of the part and the thickness is now at .750''
I dont have any pics because i left class early for a dental appointment and left my part in the locker
 
ok, so last thursday I drilled and tapped for the set screw and tapped the whole for 6-32 set screw, attempted to cut the relief on the opposite side but had a hell of a lot of chatter because I was not set up right, so I started turning the od down and used wd40 as lube and it worked great!
Today I decided to take a break from the fly wheel and from using the lathe and went to the bridgport mill, used a flycutter at 3600 rpm, and the max for the machine is 4200... got a damn nice finish, way better than with the end mills any way here are some pics of my progress
qnGQTrYl.jpg

RWvKu8Vl.jpg

still got this side todo
aaIVfCjl.jpg
 
You need to chuck on the outside diameter of the flywheel to turn the recess in. Use some aluminium can packing under the jaws, or hold it direct. You have already turned the outside dia while the wheel was mounted on the shaft, you can do the same thing to take a light cut to remove any jaw marks. A little bit smaller on the OD won't hurt.

Paul.
 

Latest posts

Back
Top