Start on a long term project

Home Model Engine Machinist Forum

Help Support Home Model Engine Machinist Forum:

This site may earn a commission from merchant affiliate links, including eBay, Amazon, and others.
While aluminum is easier to machine, these small locos need weight on the drivers for traction. So for my build I've been advised to use steel rather than aluminum for anything. The power to weight ratios are high for these scales, so without enough weight the engines can spin the wheels too easily.
 
Quite right K vom! but I hope Ron doesn't even think of scrapping those lovely wheels for the sake of a few ounces :) There's gotta be room for a bit of lead ballast somewhere ;D
 

Thanks for looking in Kirk. The A3 seems to be coming along nicely.

No I'm not going to scrap them "compspecial". I figured I could add weight else where, hiding out of sight. I build RC aircraft too and while you need to keep the weight as low as possible sometimes you have to add weight for balance. You can get pretty creative as to how you add it to the plane, in the right place, without it being noticed.

The wheels are the only place I planned on using aluminum on the loco anyway.

Ron
 
Hi Ron,

I have heard that before, wisdom comes with age. I am patiently waiting for mine to arrive ;D

Have fun, regards Jeroen


Got a little bit more done.

Made up the motion plates. Nothing much to show here as its just marking out then using a drill press, band saw and a "Nicholson Hand Mill" aka file work.

Heres the end result.

DSC02867.jpg


DSC02872.jpg


DSC02874.jpg


Had to mill the angle for the mounting brackets to get it 90*

I need to start on the cyls but I need to make a milling table for my cross slide first so I can line bore them.

Ron


Its been a while since I updated this thread so here goes.

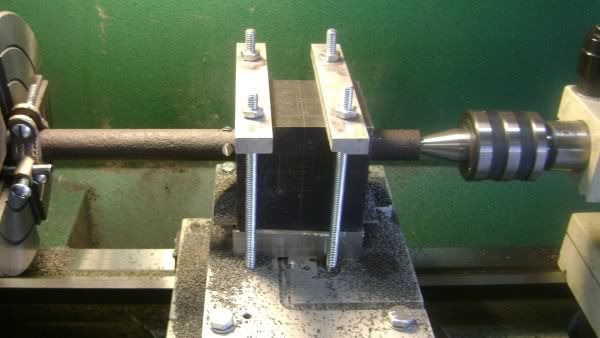
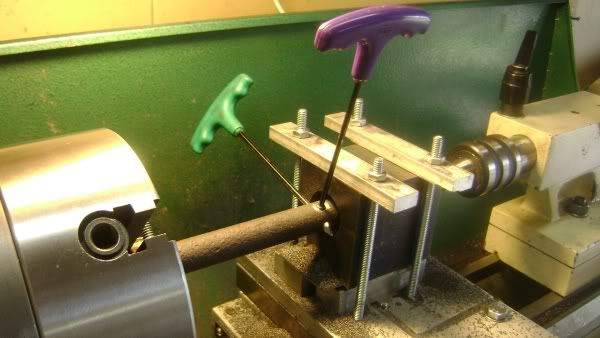
I made a plate to go on my cross slide to use it as a boring table to bore out the cyls.

DSC02908.jpg


Made a boring bar out of some rusty bar and put it between centers to do the boring. Used a set screw to adjust the cutting tool and another to lock it in place.


DSC02909.jpg


I used a auto brake wheel cyl hone to hone the cyls. For got to take any pics of that.

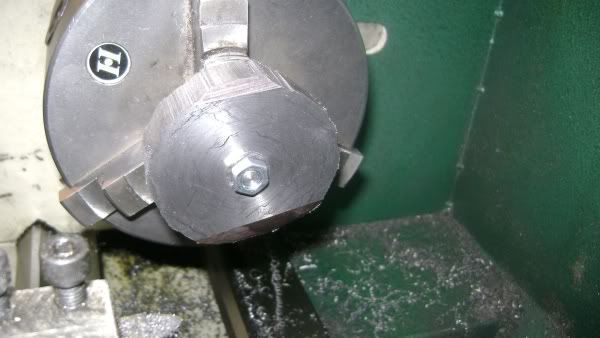
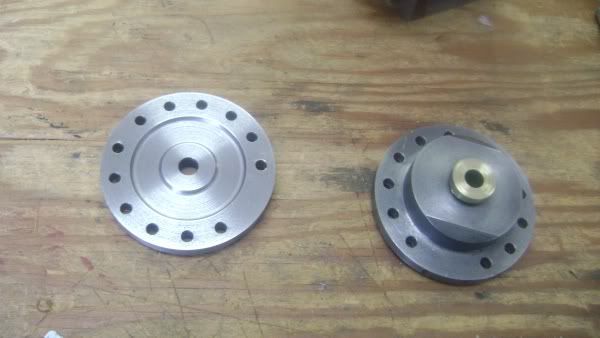
I used the off cuts of the steam cyls to make the end caps (?) for the cyls.

DSC02910.jpg


I cut off as much as I could on my 4 x 6 saw to make it as round as possible be for turning them in the lathe

DSC02912.jpg


DSC02922.jpg


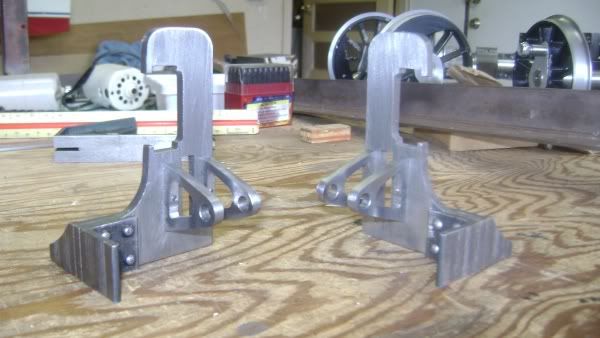
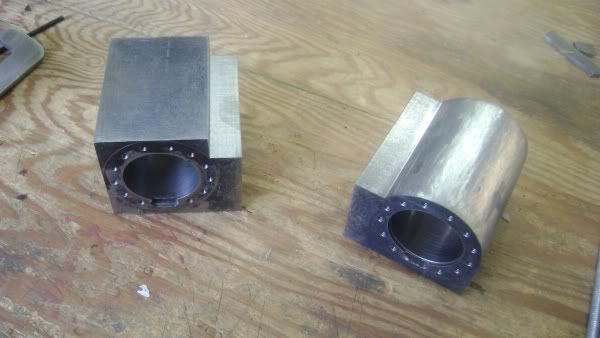
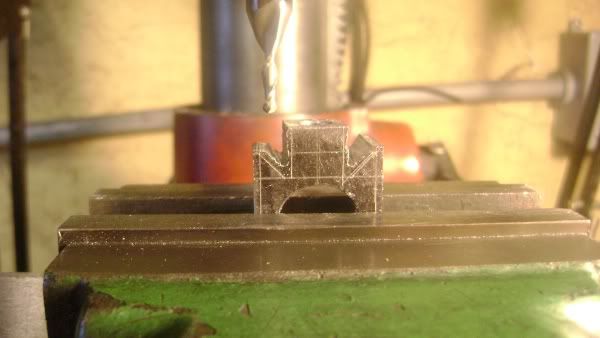
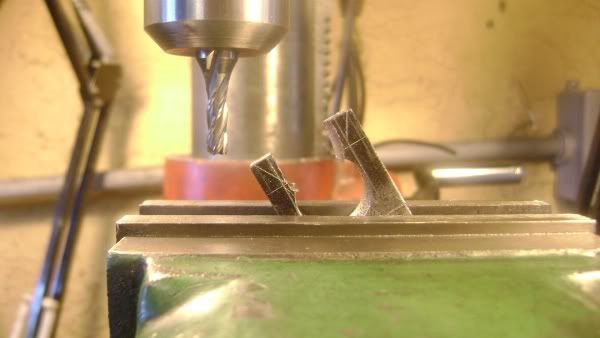
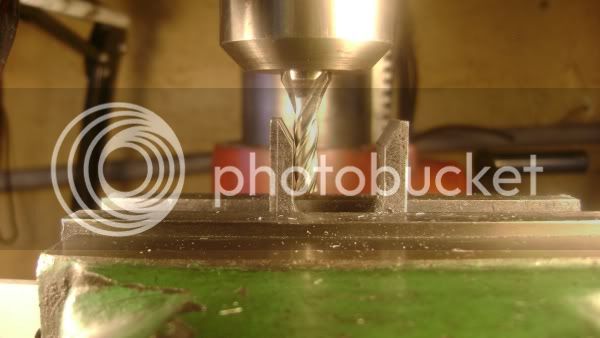
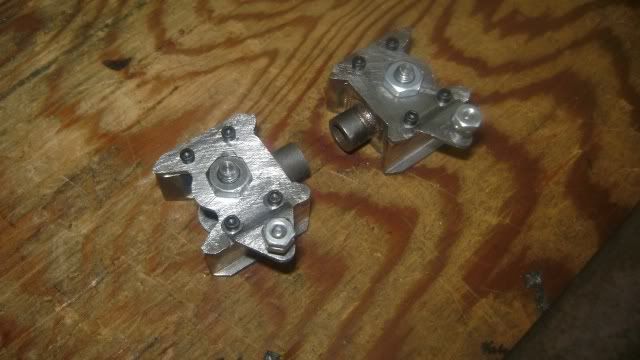
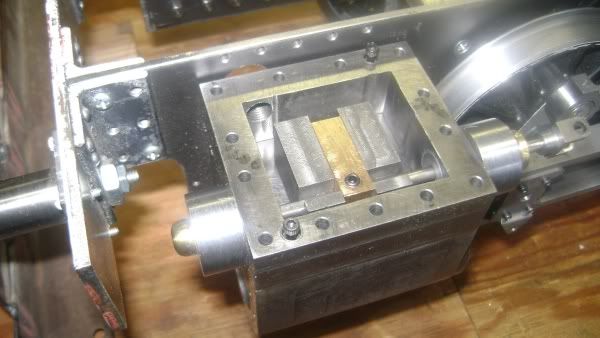
For the steam chests I chain drilled around the inside of the blocks for the chests and cut out the center with a hacksaw,then milled the insides. I them made the valves and the vale nuts. The valves are cast iron and the nuts a re bronze. The cyls and the steam chest are sat iron as well as the end caps/ cyl heads.

DSC02921.jpg


The valve rods are stainless steel.

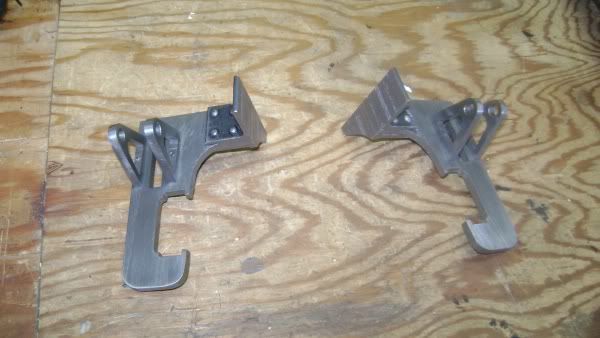
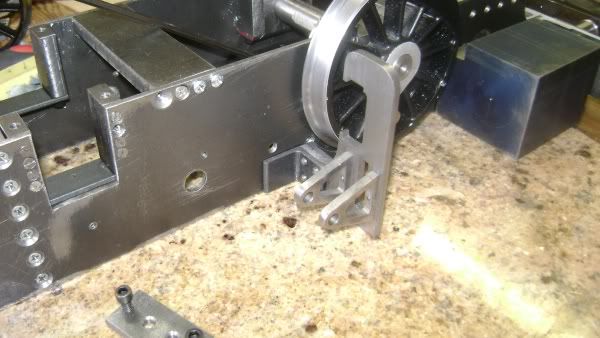
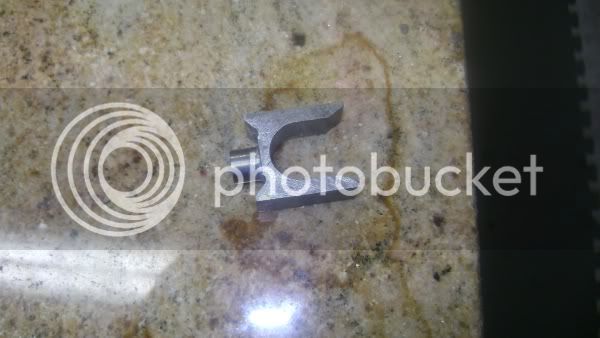
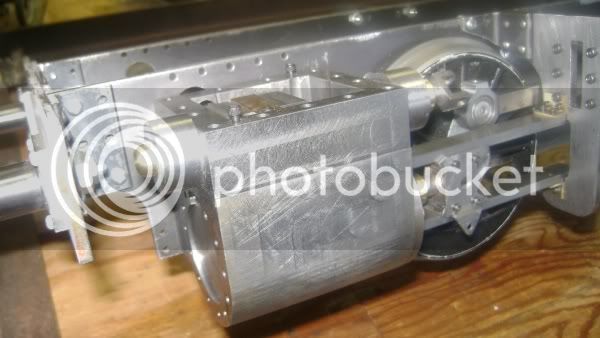
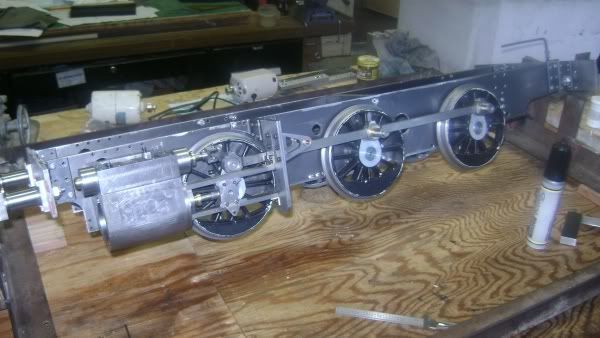
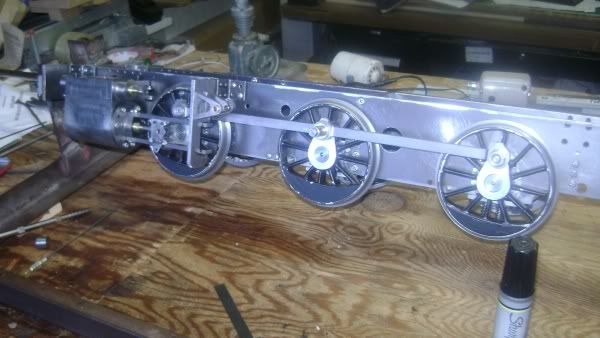
I did some profiling on the cyls to make them more like castings ala kvom.


DSC02919.jpg


I also took his idea of putiing 2 countersunk cap screws in th steam chest to keep them in place when the top cover is taken off.

I'm going to mill a .020 depression in the covers inside of the gasket area and may do the same for the top of the covers.


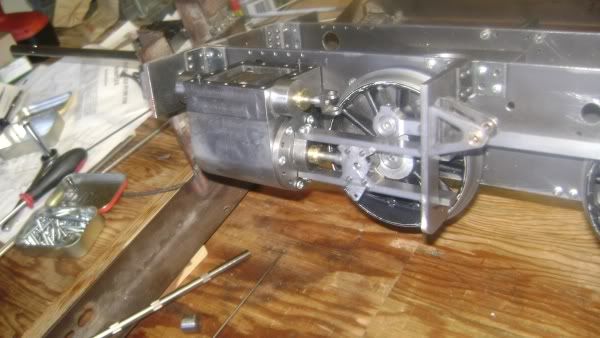
That brings it up to date as of today. I will profile the other cyl tomorrow.


The bolts in the steam chests are temporary, proper scale hex head bolts will be put in for the final assembly.

Ron


Ron,

Nice work. :bow:

Just a thought, but if you machine your boring bar in the area of your tool, you can then use a mic/vernier to set the depth of cut pretty accurately.

Hope this helps

Best Regards
Bob


Thanks Bob,I will do that, and thanks for looking in.

Ron
 
Very nice proyect Ron.
I dont know if sometime I will have enough patience for make a proyect with this size.
Regards,
German


German, with what you have accomplished with your motorcycle motor model, you have more than enough patience plus a whole lot of talent.

Thanks for looking in.

Ron
 
Time for another update. I have made the cross heads and profiled the cyls and mounted them. Pics follow.

Set the cross heads up in the mill and machined to lines basically. I used a 1/8 ball end mill here.

DSC02923.jpg


Changed to a 3/16 end mill here.

DSC02926.jpg


DSC02927.jpg


DSC02928.jpg


I silver solder bronze slippers on them and silver soldered the backs on too.

I riveted in the drop link pins to the front of the cross head. I took a page out of Dr. Johns way of doing things and milled the front plate from solid instead of trying to bend the off set for the pin.

DSC02939.jpg


I turned the piston rod ends of the cross heads in the lathe but for got to take pics.

Ron

 
Have a look at the Cyls and frame.


DSC02930.jpg


Cyls with the steam chest set on it.

DSC02931.jpg


kvom had an idea about using countersunk screws to hold steam chest on the cyls when the cover bolts are removed. I thought it was such a good idea. I pinched it.

DSC02932.jpg


Starting to look like something.

DSC02933.jpg


DSC02935.jpg


DSC02936.jpg


Still have some work to do on the guide bars.


Thank for looking in.

Ron


Thanks for the kind words Arnold. It means a lot.

Ron
 
Nice work Ozzie....sure takes a lot of parts to build a steamer don't it!

Dave
 

Thanks Dave, yes it does. I'll just keep plodding along. ;D ;D ;D

Ron
 
Looking wonderful Ron
keep it up :)
Pete
 
Just caught up with your build, It's a sight for sore eyes, very nice work Ron, I will be following it all the way.

Les
 

Latest posts

Back
Top