Snow Tandem Engine

Home Model Engine Machinist Forum

Help Support Home Model Engine Machinist Forum:

This site may earn a commission from merchant affiliate links, including eBay, Amazon, and others.
Your fuel tank looks good, Joe. I like what you did for the fuel sight gauge.
What kind of glue do you use to assemble it?

Dean
 
Hi Dean

Just using a regular 2-part epoxy. Had some "Quick setting" stuff that I was going to use, but it had already quickly set in the tube...I think Zee sent over some of his "Bumness".

Joe
 
Excellent progress on the plumbing and fuel tank Joe :bow: - keep it coming !

Arnold
 
Thanks Joe. I didn't know that stuff was okay to go with fuel. Good to know.

Dean
 
hi Dean

I'm rashly taking a little trip down the "Road Of Zee", in that I don't know either if epoxy is good in a fuel-contact environment, I'm "following the instructions". Whatever you do, don't tell Marv ::) ::).....

Joe

PS We'll see how it works out :big:
 
Well, except for the filler cap, fuel tank is finito...

Set up some steel rod in a collet for threading each end 0-80 for u-bolts
100_2874.jpg


glued the bosses in place, the other end of the tank, a bit of cleaning up and assembly, and here we are!
100_2875.jpg


From the other side:
100_2877.jpg


next up: coolant reservoir

Cheers Joe
 
Joe, it's really starting to come together now - a work of art.
 
Thanks Richard, and a belated thanks to Arnold too, since I neglected to acknowledge your last...

I've been looking at this tank assembly in place and am not altogether happy with the "look" of things, so I'm going to try a wee re-design of the support structure.... piccies WILL follow, stand by to stand by

Joe


The tank looks great, Joe. Will be watching for the new pics of the stand.

joe d said:
fuel tank is finito...

Wow! I didn't know you knew Italian. Neato!
:)

Dean
 
Dean

I lived in Toronto for 5 years as a youngster.... learned a small but useful (if not attempting to converse with an Italian!)amount of Italian whilst cycling by construction sites.. mostly unprintable.

Here's the fuel tank with the MkII stand
100_2878.jpg


from another angle
100_2879.jpg


Like this one better...

Cheers, Joe
 
beautiful engine Joe, really better day by day
 
Joe,

Awesome. :bow: :bow:

Best Regards
Bob
 
Dean, Ariz, & Bob: Thanks, guys.

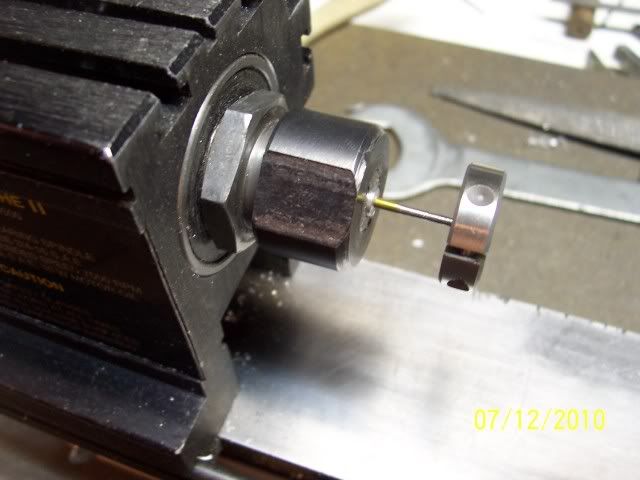
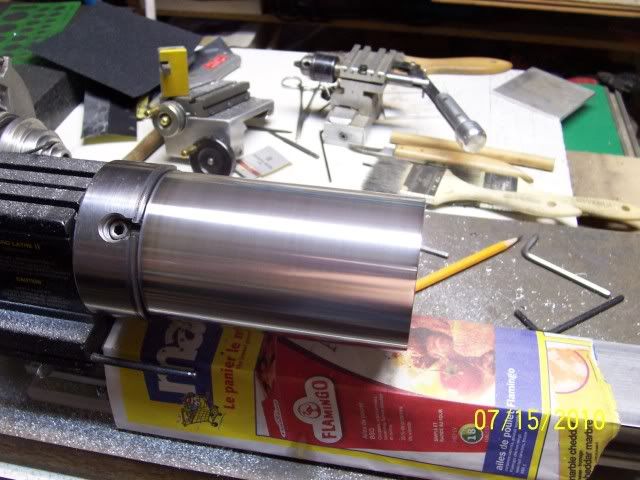
Got on with the coolant tank after re-working the fuel tank stand. Started out by truing up some 3" OD ali tube, and then cleaning up the exterior
100_2880.jpg


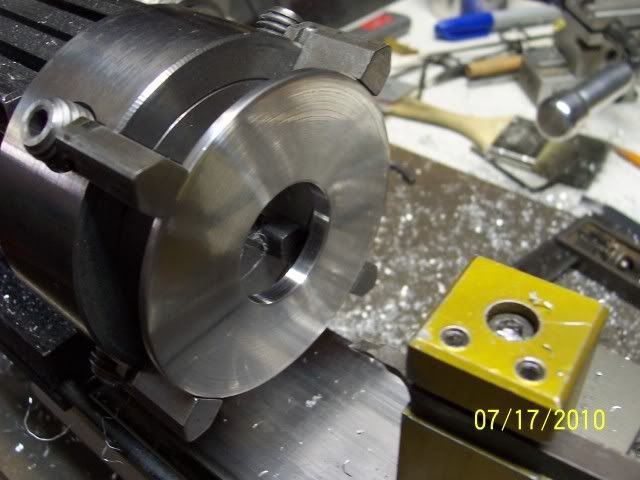
A straightforward bit of turning and boring for the top
100_2882.jpg


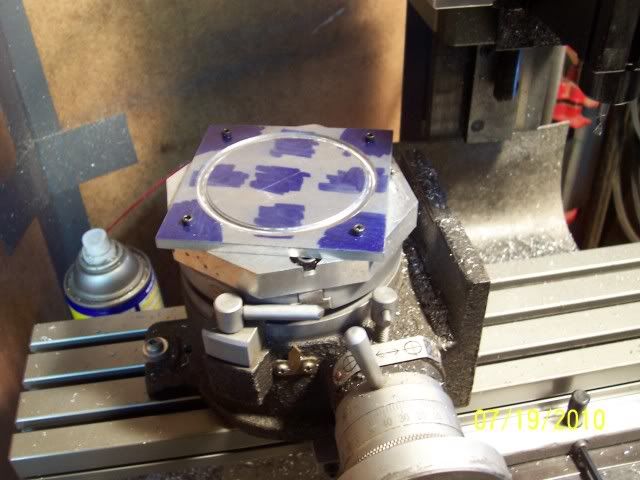
Set up the stock for the base on the rotary table to mill the recess that the tank body sits in
100_2899.jpg


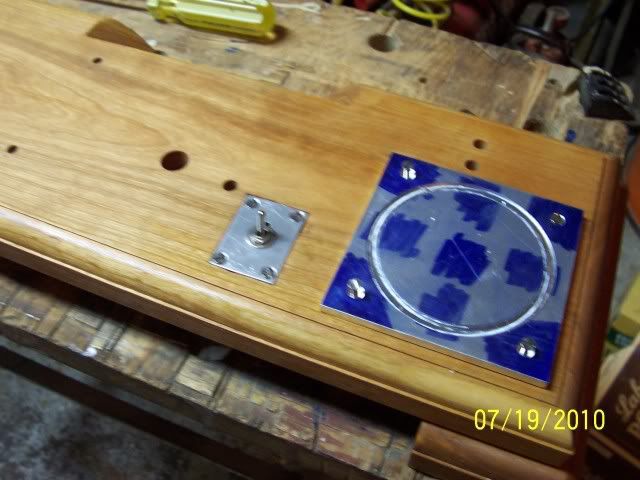
Then used the base-plate as it's own template for locating the mounting holes on the wooden base
100_2900.jpg


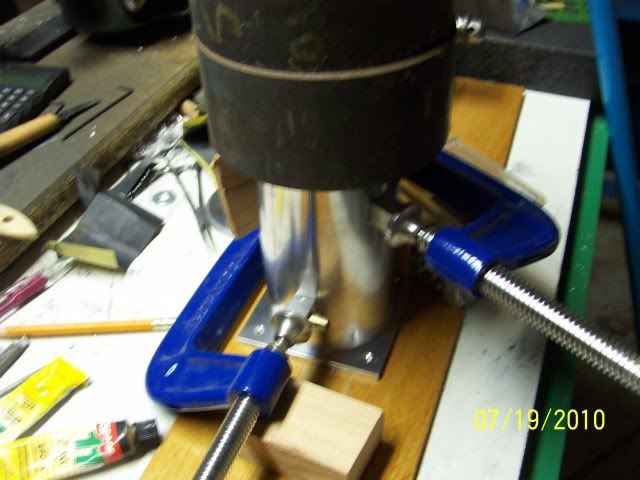
Made up the inlet and outlet fittings, a replay of the bits for the fuel tank, so no photo of that, and then stuck it all together with some more two-part epoxy (with my carefully hoarded chunks of cast iron weighing things down while the epoxy sets up)
100_2901.jpg


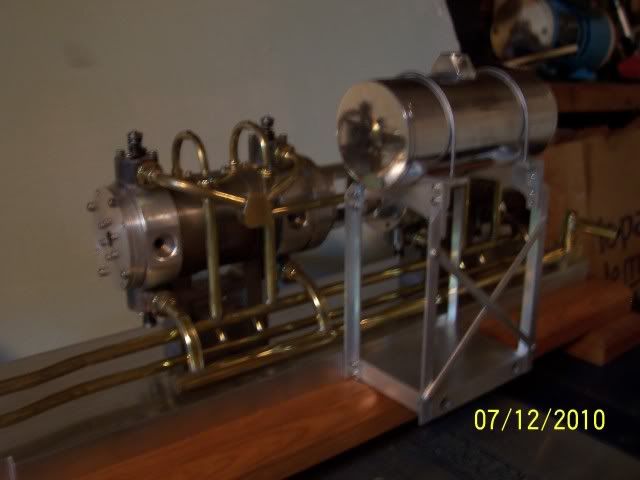
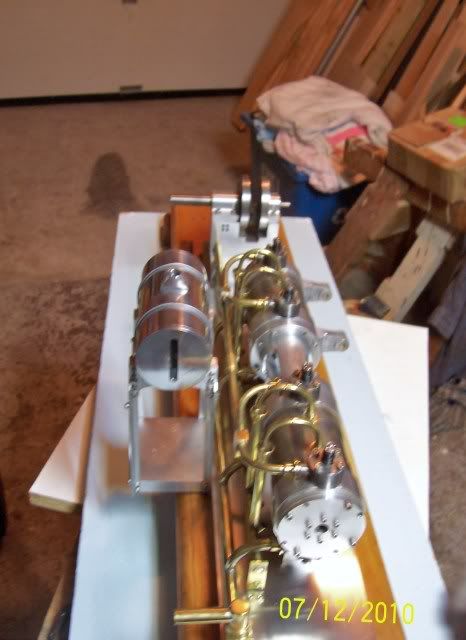
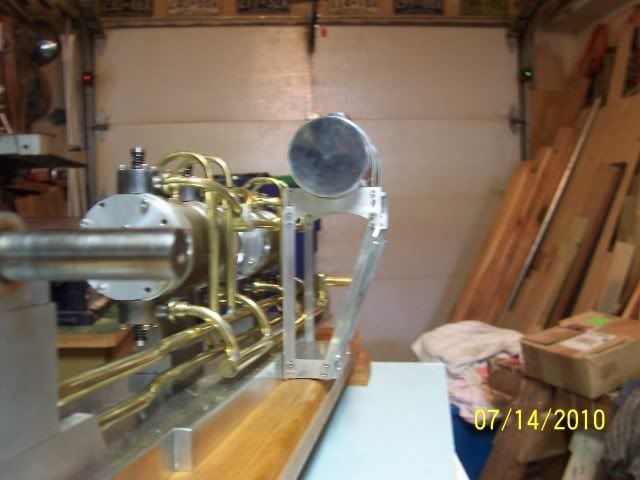
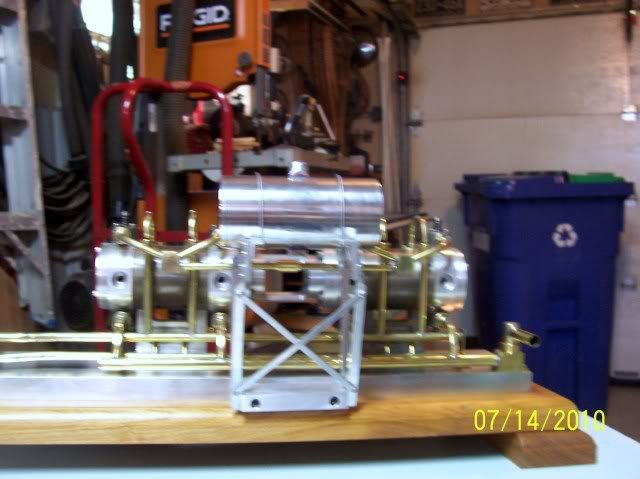
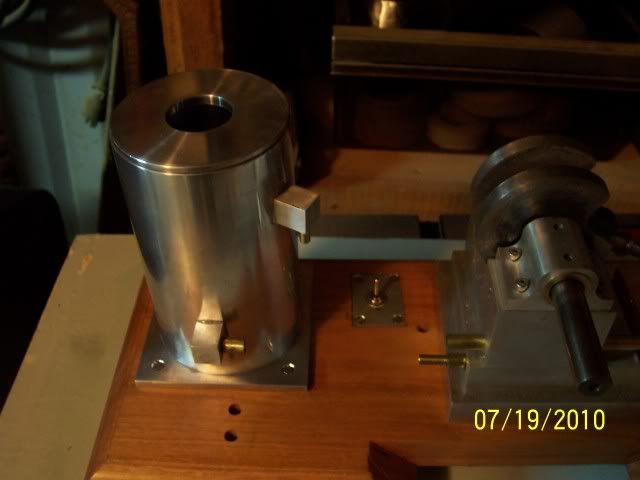
And here it is where it belongs.
100_2902.jpg


Getting close to the finish line now, only got the coolant pump, cams, carb, and a few oilers left to machine, and then its assembly and start figuring out why it won't run.....

Cheers, Joe
 
joe d said:
and then its assembly and start figuring out why it won't run.....

Occasionally, I find myself laughing out loud at something on this forum. Thanks for being a
contributor to that, Joe! ;D

The tank turned out just great!

Dean
 

Looking good Joe.

Maybe for the next one you could scale it up a bit; ;)

getimage-idx


getimage-idx


I had no idea there were real engines like that.
Very cool.
Thanks for the pics.
 
Kevin:

I might need something a little bigger than my Taig lathe.....

Cool pics, thanks!

Joe
 

Latest posts

Back
Top