Joe,
Many Snow builders had trouble with the .060" radial thickness on the rings shown in the plans. The rings were too stiff and would often break in installation. If you use the ring dimensional data created by the Trimble method, you can't go wrong. That data recommends a radial thickness of about .042" -.044". This produces a ring that can be installed and removed many times without fear of breakage. I use a modified Trimble ring fixture for heat treating rings and have always had good results. It uses a round pin for a ring separator, and according to Trimble produces a more round finished ring than using a flat separator. My modification eliminates the fixture cover. Instead, I spread and stack all the rings on the fixture, clamp the rings with the fixture top, then coat the rings with thick (pasty) white silver brazing flux for anti scale protection. I put the ring fixture on a fire brick with another fire brick standing upright immediatelly behind the fixture. I slowly heat to dull red using two hand held propane torches. I keep both torches moving all the time. At the dull red temp of about 1050F, the flux becomes your temperature indicator and turns clear. Hold for a 3-5 minutes. Cover with suitable insulation and let cool slowly. When cool, brush under hot water to remove flux. Rings will be a light gray color, but should have no scale or pitting. This method works very well for me and produces excellent, round, flat piston rings.
Jeff


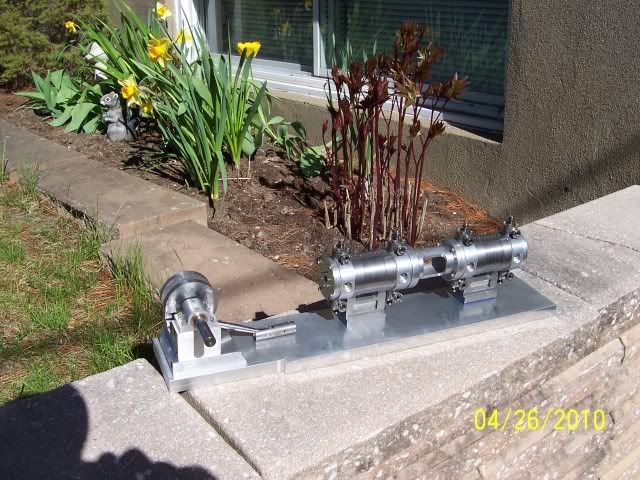
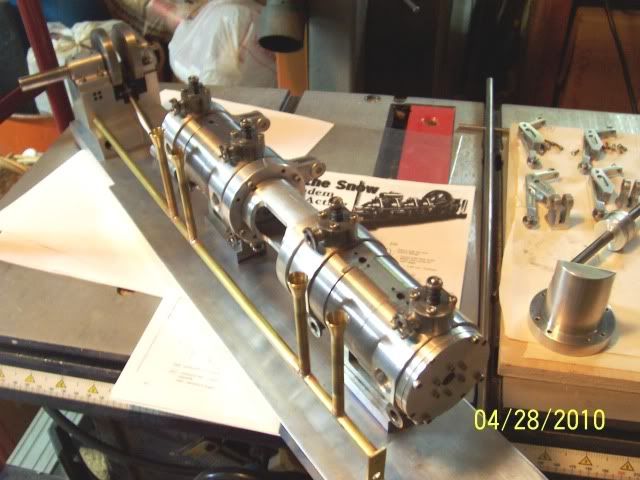
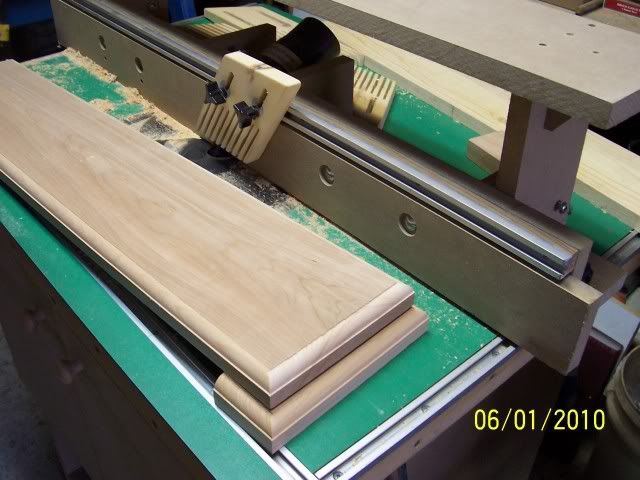
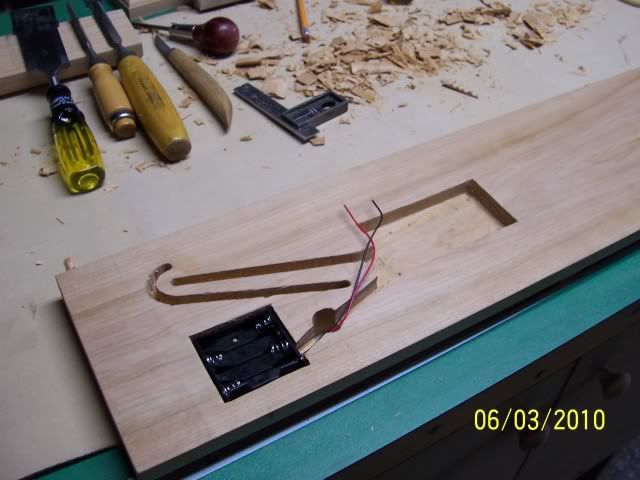
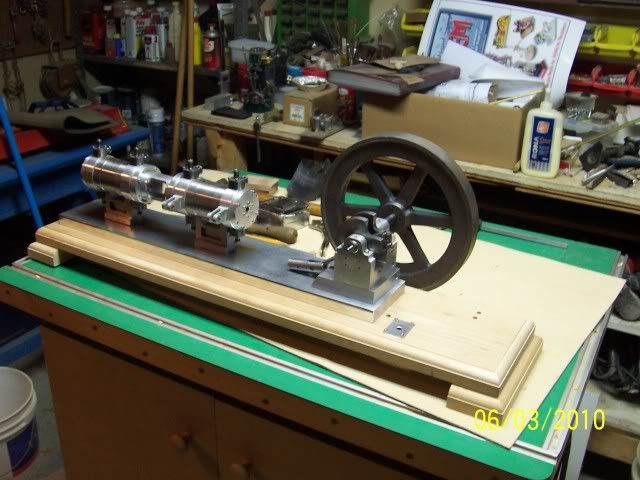
") Nice work!!
Nice work!!