Small V8

Home Model Engine Machinist Forum

Help Support Home Model Engine Machinist Forum:

This site may earn a commission from merchant affiliate links, including eBay, Amazon, and others.
GDay All,

Steve, Just what is corian? I've not heard of it before. It looks to be some sort of plastic.

Also, how do you ROLL the top of the plug body over to capture the insulator? Do you use a die and a press or .... ?

Great looking plugs BTW!
 
trumpy81 said:
Just what is corian?

how do you ROLL the top of the plug body over to capture the insulator?

Corian is a Dupont product used to make fancy counter tops. A friend of mine has connections with a shop that does that type of work. We get the sink cutouts.

I roll the edge with a little tool I made that after the plug is inserted, the tool is inserted in an arbor press.
 
If I was 30 years younger I would suggest a gap in the electrode inside the acrylic plug. Then I would say "Righteous sweet slammin' lightshow, Dawg" or somesuch.

Really nice work as always, Steve.
 
Well it has been an exhausting week. I had some trouble with the CNC mill. The Z axis would work fine for hours and all of a sudden it would skip steps. I think I narrowed it down to the drive. I rebuilt the control panel to include 3 Gecko drives and new 570oz motors. The machine now moves around so fast it's scary.

Now I should be able to get back to building engines!!!
 
stevehuckss396 said:
Well it has been an exhausting week. I had some trouble with the CNC mill. The Z axis would work fine for hours and all of a sudden it would skip steps. I think I narrowed it down to the drive. I rebuilt the control panel to include 3 Gecko drives and new 570oz motors. The machine now moves around so fast it's scary.

GDay All,

Steve, it sounded like you had a heat issue in as much as some of the components were losing their tolerances enough to effect the axis. No matter though, you've solved the problem nicely.

I've heard nothing but good things about Gecko's, maybe the next time I CNC something I will consider using Gecko's also.

In the meantime, you got any pics of your mill and controller?
 
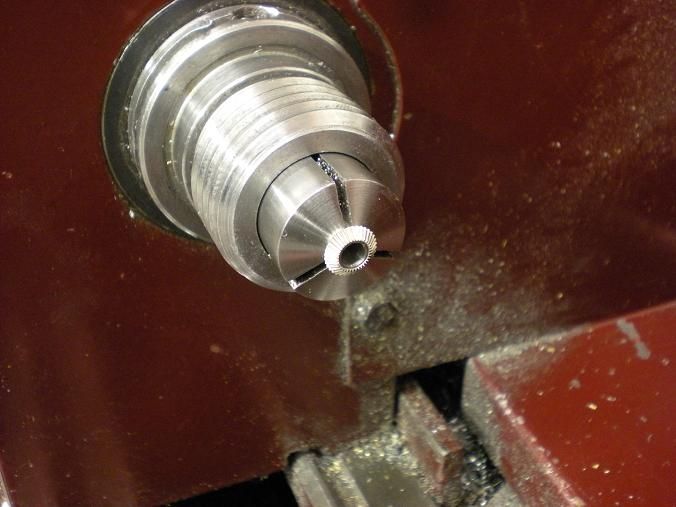
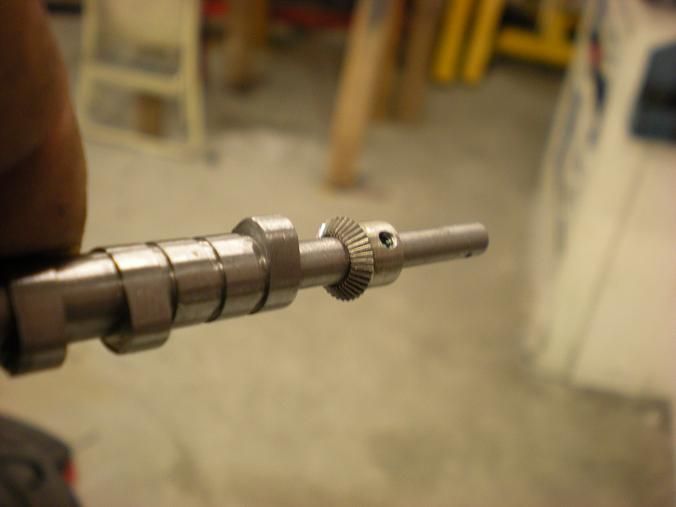
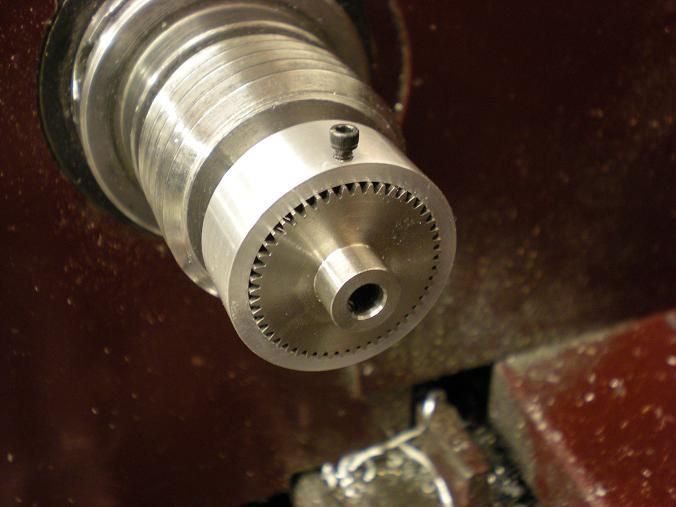
Just a mini update. I spent some time filing the nose radius on the lobes of the camshaft. After the shaft was looking good, the hole in the center of the distributor drive gear was rebored to fit on the shaft.

DSCN1834s.jpg


Then with a bit of loc-tite, It gets pressed onto the camshaft.

DSCN1837s.jpg
 
Look'n good. I took a break from engine building. Maybe next week I'll get back to it. How many inches per minute are your rapids now with your new setup? My BP maxes out about 25 in/m on x and y but z can only do maybe 9 in/m. That works but more would be better. I should have bought one of those ball screws shown at 2 club meetings ago and arranged it on the knee.
 
jpeter said:
Look'n good. I took a break from engine building. Maybe next week I'll get back to it. How many inches per minute are your rapids now with your new setup? My BP maxes out about 25 in/m on x and y but z can only do maybe 9 in/m. That works but more would be better. I should have bought one of those ball screws shown at 2 club meetings ago and arranged it on the knee.


It rapids at 360ipm and I could probibly go faster.
 
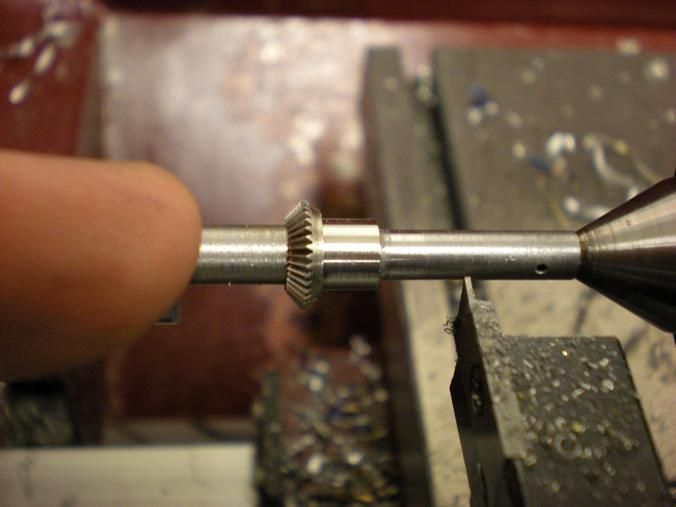
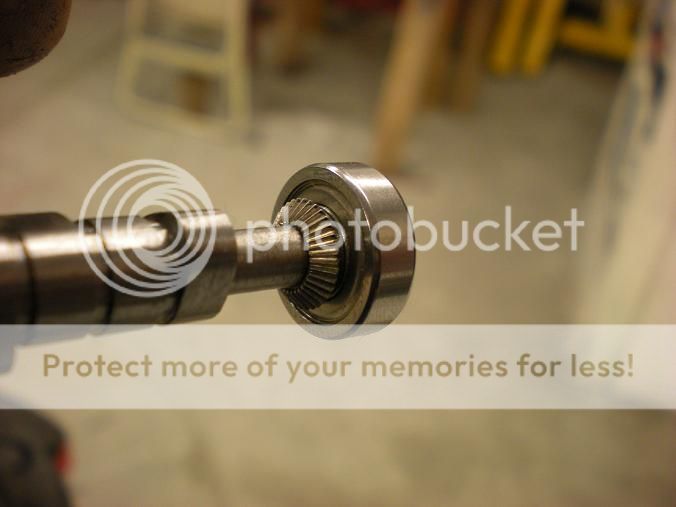
Scratch camshaft off the list. The distributor gear has been turned to accept the bearing.

DSCN1839s.jpg


Then the bearing was pressed onto the gear

DSCN1849.jpg


Yet another collet was made to rework the cam gear.


DSCN1852s.jpg


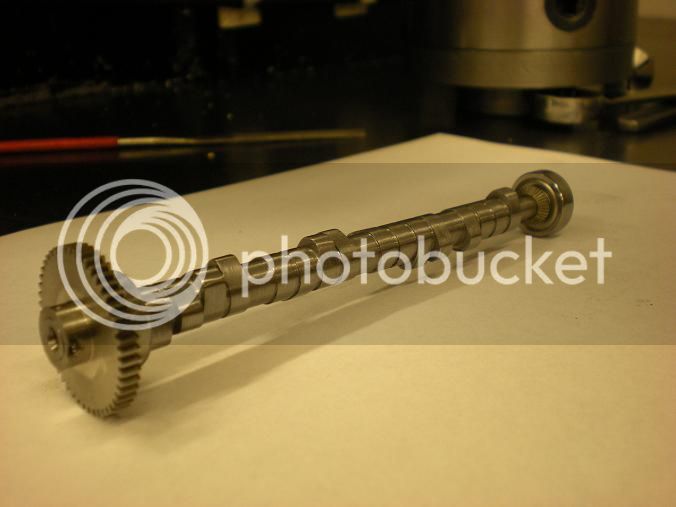
And the shaft is completed other than a few lobes that need just a bit more filing.

DSCN1853s.jpg
 

You got your elbow in the pic. :big: :big: :big:

Seriously this is just awesome. :bow: :bow: :bow:


Ron
 

Nice work Steve,

It looks awesome!
 
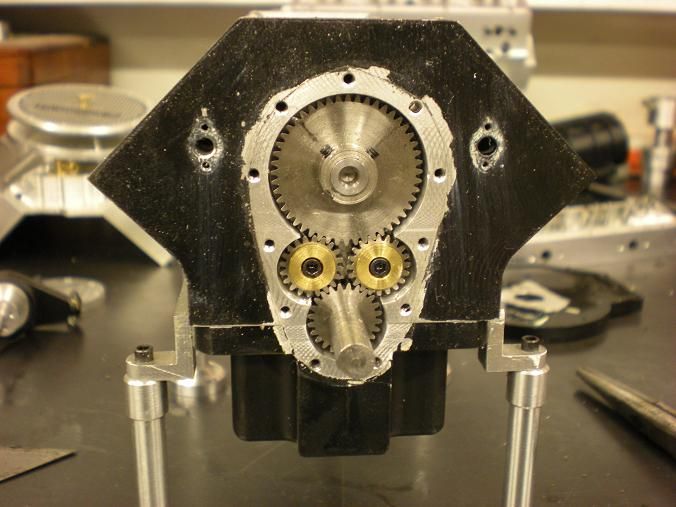
The lifters and camshaft are installed.

DSCN1865s.jpg


DSCN1867s.jpg


The block got a good cleaning and then some gaskets.

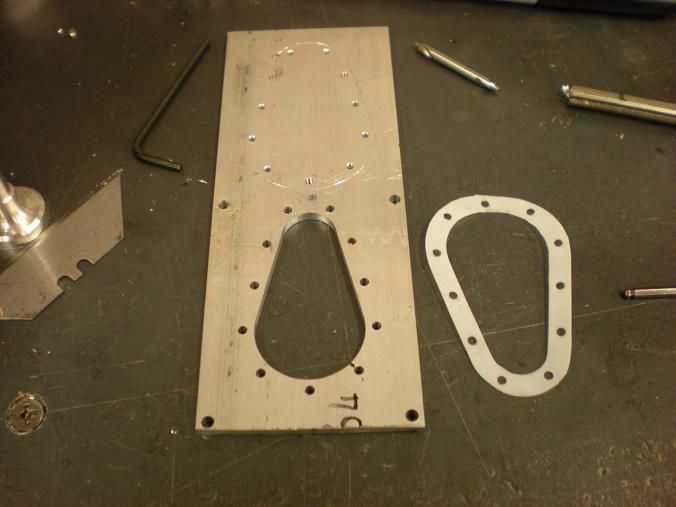
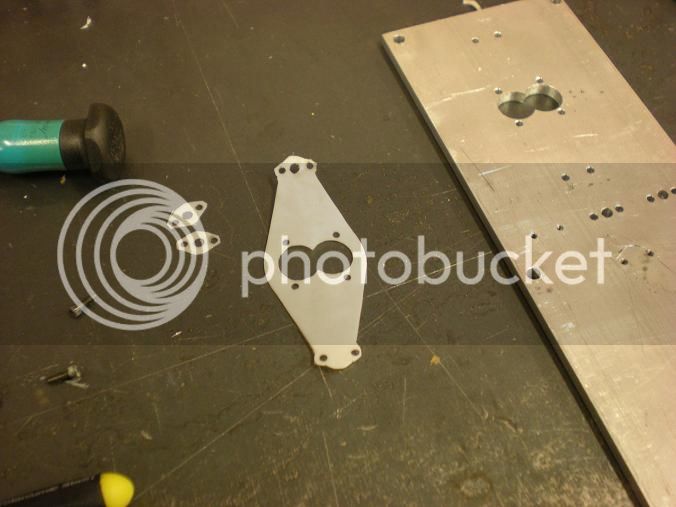
I made 2 more fixtures to make gaskets. They work just like the head fixture. The teflon is sandwiched between 2 pieces of aluminum. The center is cut out of the gasket. The gasket is then sandwiched between the fixture and the actual piece that needs gasketing. The outer shape is then cut out and the piece unbolted. The front cover and water pump gaskets are done.


DSCN1869s.jpg


DSCN1871s.jpg
 
That looks great Steve! OOOOH Steamer wants big VROOOOOM! ;D

Dave
 
Wow, Steve, you make me feel like a slug! You're really moving along with this project. Have you worked out all the remaining details or are there still some things to be decided?

Chuck
 
cfellows said:
Wow, Steve, you make me feel like a slug! You're really moving along with this project. Have you worked out all the remaining details or are there still some things to be decided?

Chuck

I should be able to finish without too much trouble. Just need to get out there and make the distributor parts. After that It's all assembly of the heads, distributor, and spark plugs. Then of coures there is a fuel tank and radiator. Still alot to go and I'm coming up on my one year mark.
 
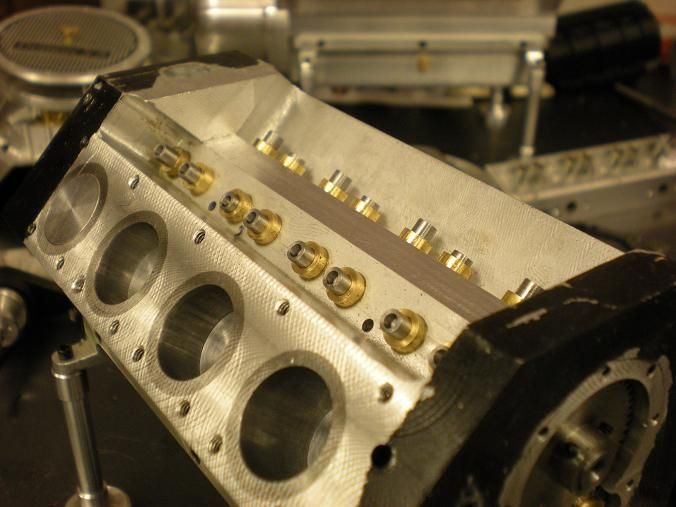
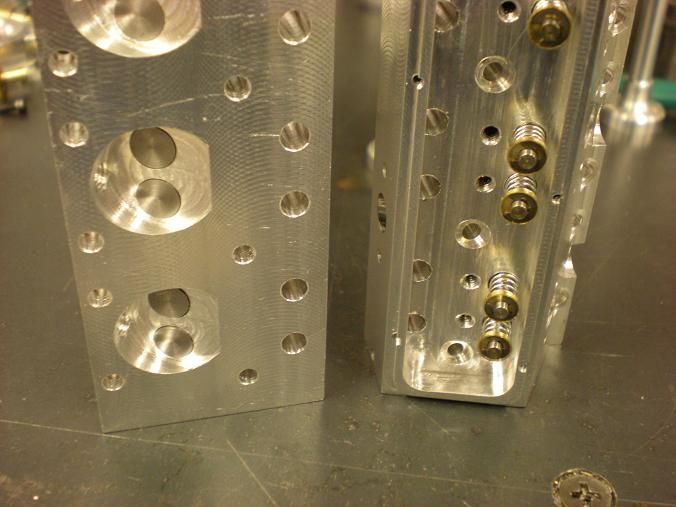
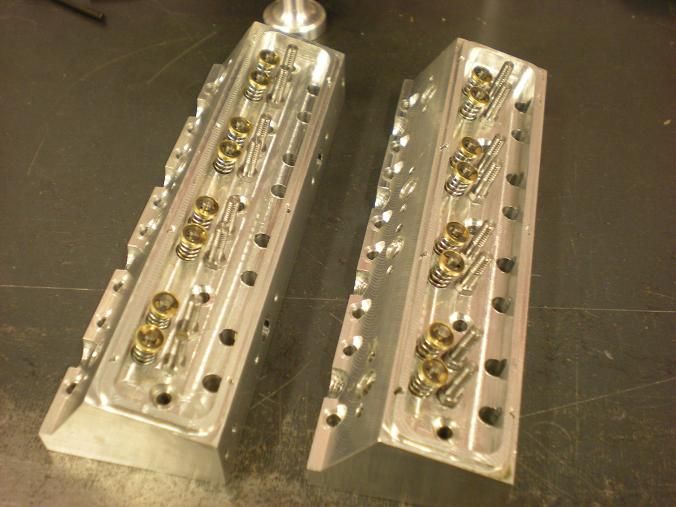
Went ahead and put some valves in 2 of the heads. I found that about half of the valves had the groove cut to big and the clip would not seat into the retainer. I chucked them back into the collet and cut the grooves .002 deeper and they went together like they should.

DSCN1873s.jpg


Then I decided to install the rocker studs more perminent. They had been screwed in finger tight forever.

DSCN1874s.jpg


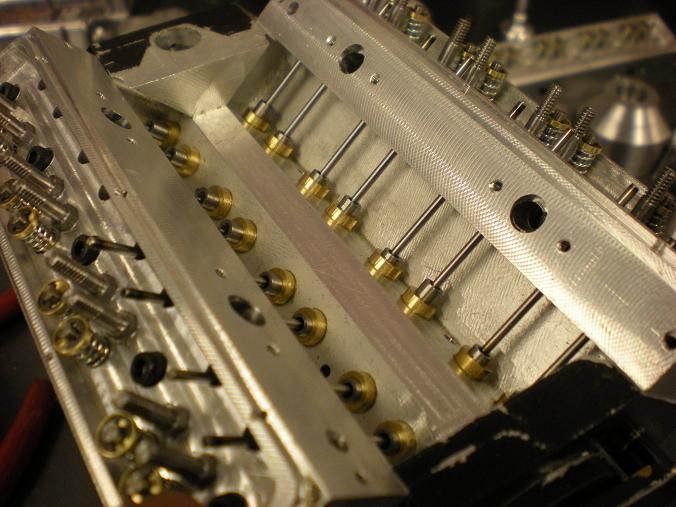
With the heads being done I nailed down my finished push rod length. I only had enough rod to make 12 rods but that will be fixed tomorrow.

DSCN1879s.jpg


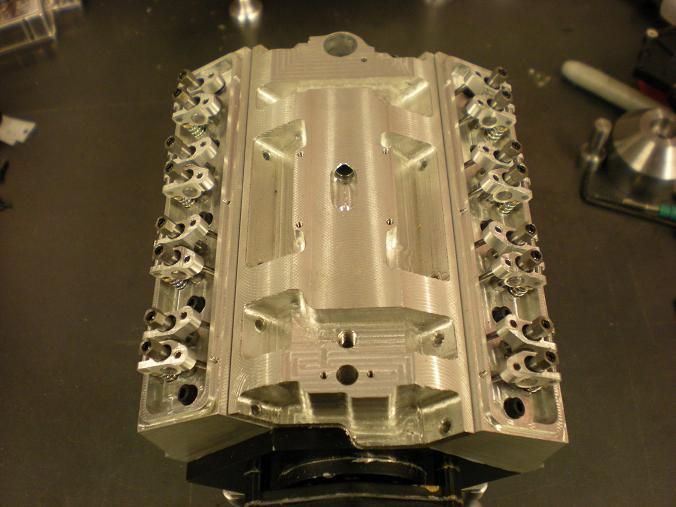
Then a set of rockers were assembled and put into place. Nothing is adjusted with the camshaft not properly timed yet.

DSCN1884s.jpg


I need to get on the distributor soon but I have not had the drive to work in the garage lately
 
Getting closer now steve, I look forward to watching your build when i log on keep it up..........
Jamie
 

Latest posts

Back
Top