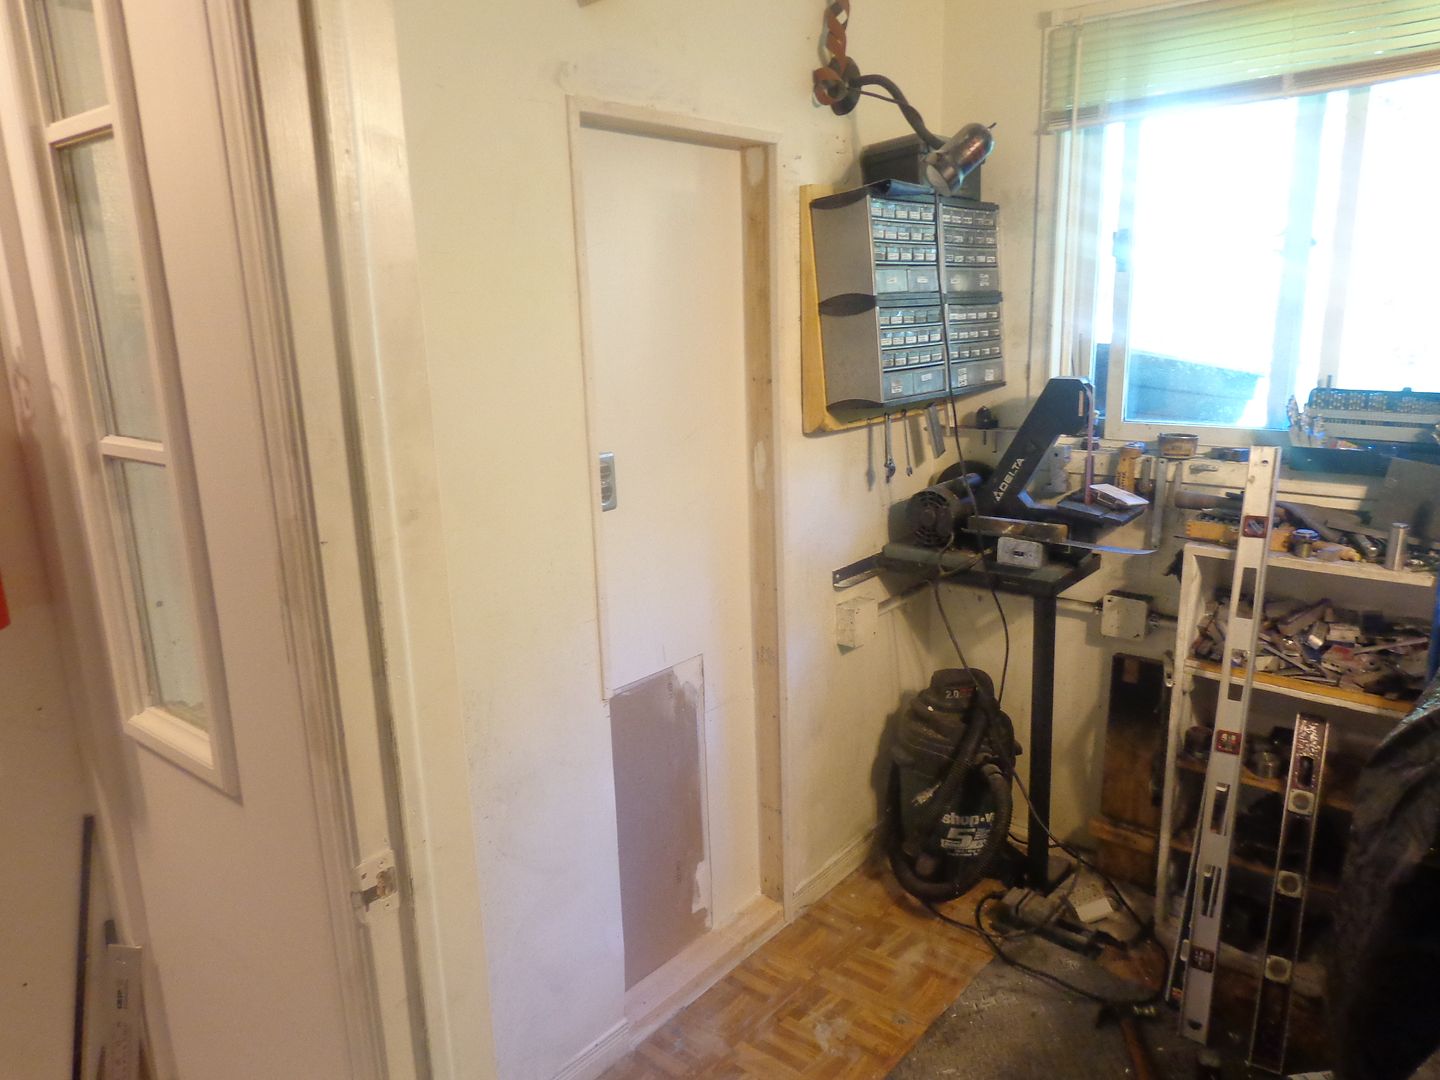
No, the storage cabinets which were custom built to fit just under the table of my old mill are too high to fit under the table of my new mill. I have to cut one drawer off the height to keep them more or less in their old position. They will not be recessed into the wall.
You are using an out of date browser. It may not display this or other websites correctly.
You should upgrade or use an alternative browser.
You should upgrade or use an alternative browser.
Oscillating I.C. Engine
- Thread starter Brian Rupnow
- Start date

Help Support Home Model Engine Machinist Forum:
This site may earn a commission from merchant affiliate
links, including eBay, Amazon, and others.
My apologies to all who were following the build thread on this engine. I know it has segued into a topic about installing a new milling machine, but such is the nature of home shop machining. I promise--I will get back to the engine build as soon as I have the new mill all sorted out.---Brian
Cogsy
Well-Known Member
Scared me for sec there Brian - first line of the post sounded like you were abandoning the build! Keep posting as you have been I say. Lots of interesting stuff to read and learn about and it's all part of the journey on this engine.
Swifty
Well-Known Member
I'm still enjoying the information about installing your mill, once you get a readout fitted, you will be in another world.
Paul.
Paul.
- Joined
- Dec 12, 2012
- Messages
- 2,220
- Reaction score
- 1,285
I concur,im waiting for more photos for the mill.Almost forgotten about the engine
So there we have it, girls and boys!! The "hole in the wall" has been transformed in to "The Mill Alcove!!". I had hoped to get a first coat of paint on it today, but have to wait overnight for the acrylic caulking compound to dry. The floor has been drilled and two concrete anchors installed and the side of the cabinet has been drilled so I can lag screw it to the near side stud.


Last edited:
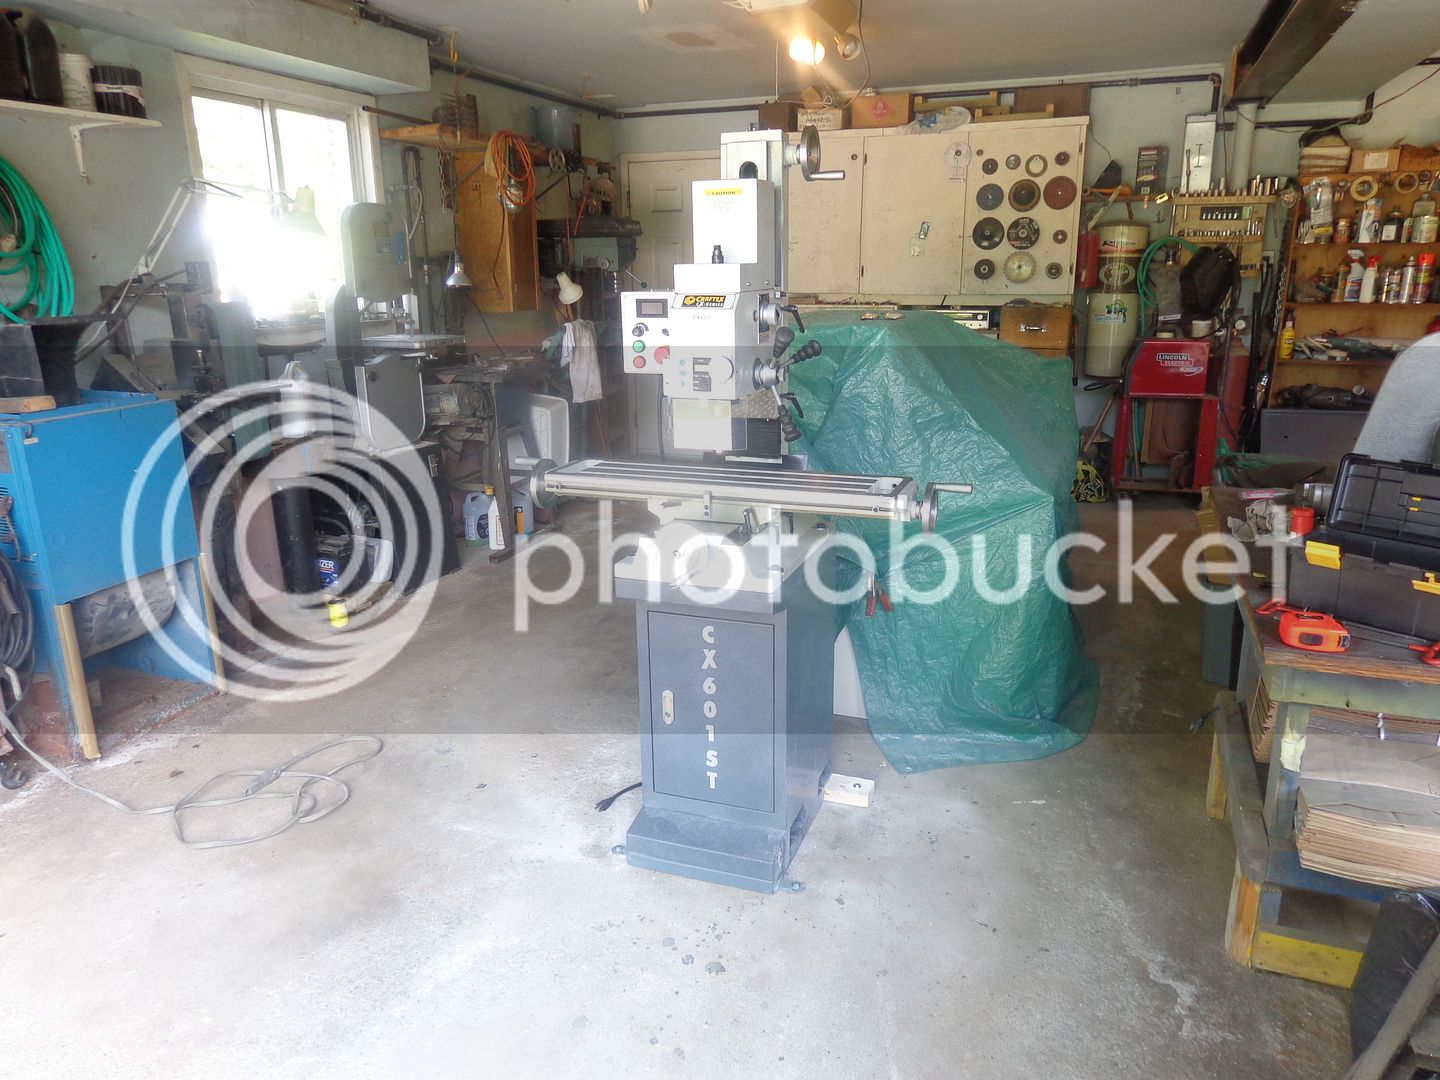
The machine shop is as ready as it can get for the new mill-----but------I have decided to set the mill up in my main garage because--I need the mill to make the brackets to mount the DRO. I can not put the mill into the shop until the DRO's are mounted because of very little access to the back of the machine in it's final destination. To add to the confusion, the Tee slots are a different size than my old mill, so I have to make new keys for the bottom of two vices and my rotary table. I bolted a 2 x 4 to the underside of the cabinet/base in the area that would set on the bottom sill plate in my machine shop wall, and that let me install 4 concrete anchors to stabilize things. My DRO's were supposed to arrive today from UPS, but I just got notified they have been held up at Canadian Customs and won't be delivered until tomorrow. What a crock!!! That's another chunk of money added onto everything else. Maybe they are looking for opium in the DRO box!!!


My 2 axis DRO kit from Dropros arrived today. Everything seems to have survived the trip from California in good condition, and the items in the kit appear to be of very high quality. There is a good installation manual, users manual, and a CD which I haven't had a chance to look at yet. Everything was packed in one cardboard box with what seems to be about 20 cubic foot of Styrofoam popcorn. Right now, after having opened all of the packages to inspect for shipping damage, and a quick look thru the installation manual, it seems a bit overwhelming.---I am thinking "Rocket scientist required" but I'm sure that after I have a bit of time to familiarize myself it won't be quite so daunting. I've lost track of my total cost now, but it is getting close to $1000----I will know better after I have a chance to plow thru my Visa bill. ---Brian
- Joined
- Dec 12, 2012
- Messages
- 2,220
- Reaction score
- 1,285
You cant take it with you,you have worked hard for it,enjoy it
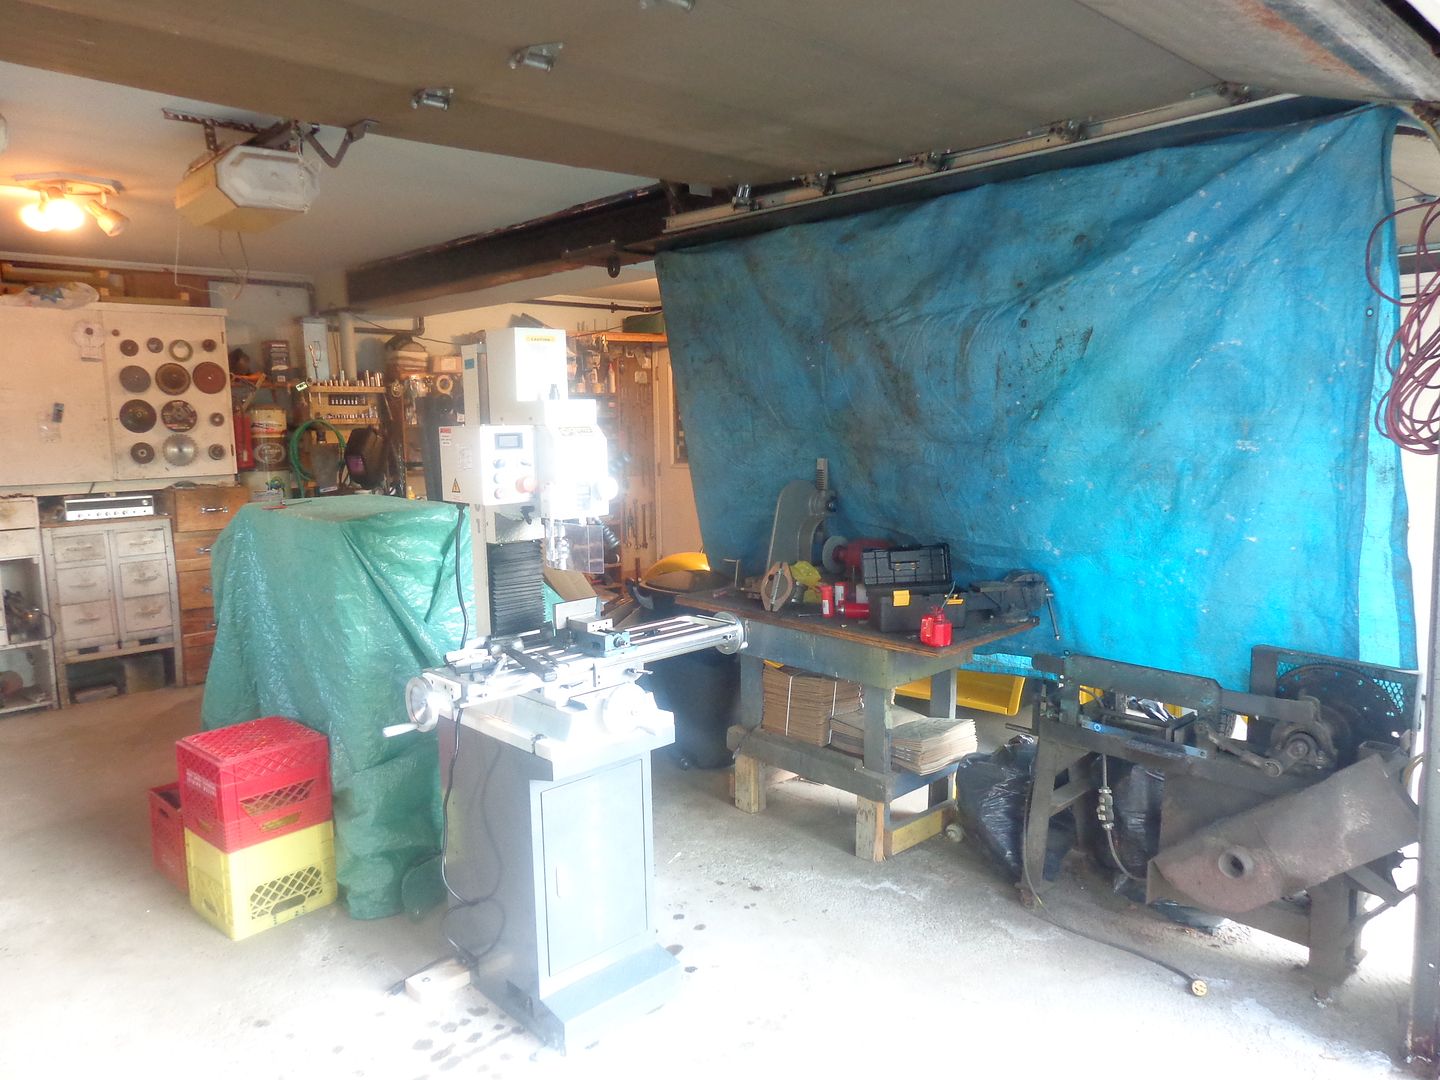
So, what do you do when you have a chip making, oil splattering milling machine in one bay of your garage, and a hot-rod with a white convertible top and tonneau cover in the other bay?---Answer---you improvise. I have a collection of various tarps that I have accumulated over the last 40 years, and an overhead beam in my garage.--I'm certain that I probably picked the nastiest, dirtiest tarp of all, but it will get the job done on a temporary basis. I need the milling machine to make the brackets to mount the DRO's in the coming week. As a point of interest, you can see the big power hacksaw that I built about 45 years ago in the foreground. I was building "wrought iron" railing and room dividers as a sideline back then. The saw will handle anything up to 5" diameter. I only use it occasionally now, and for cutting drill rod.


Morning is off to a bad start.---Went to machine a bracket and found that the BusyBee 1/2" and 3/8" collets with R8 taper do not fit into their mill which is designed for R8 tooling. Waiting for 8:00 to get to the bottom of this. The chuck and boring head fit fine, just not the collets. These collets do not have the internal seat for the shank of the endmill to set up against either, like my MT2 collets had. Perhaps I am missing something here, but right now I'm righteously ugly!!!
The plot thickens--I called BusyBee in Barrie, raised merry Hell, and told them I was coming over to return the collets and buy dedicated end mill holders. When I got there, everybody was standing around looking non-plussed, and told me that they have the identical machine to mine still on the show room floor, and that neither there collets NOR there end mill holders would fit in the spindle of their machine. I was then referred to corporate head office in Toronto, and told I should dismantle my new machine which has never been used yet, and back off the screw in the spindle housing. At that point I got quite vocal and began threatening law-suit. After getting no joy at all from Busy Bee, I decided that perhaps it would be wise to go to a REAL tooling shop and borrow a REAL cutting tool holder with an R8 shank.---I did---and it doesn't fit my mill either. I am now setting in my office, measuring the slots in the R8 shanks, and seeing that on the ones that do fit my mill, the slots are 0.200" wide and 0.100" deep. The ones that don't fit have a slot 0.150" wide and 0.060" deep. I am going to sort this out, but it's a pain in the a$$.
- Joined
- Dec 12, 2012
- Messages
- 2,220
- Reaction score
- 1,285
Considering the Chinese make good products most of the time.i am still amazed
that so much goes wrong.If you read my thread on the batteries for the edge finder you know what i mean.Keep us informed when/if you get to make chips
that so much goes wrong.If you read my thread on the batteries for the edge finder you know what i mean.Keep us informed when/if you get to make chips
General consensus on the other machining forums is to remove the pin from the spindle. Apparently it does nothing but cause frustration and is bound to fail sooner or later even if it does fit properly. I sincerely hope that will solve the problem.---Brian
Swifty
Well-Known Member
A couple of the older Bridgeports at work had worn pins, it made no difference as the collets still tightened up.
Paul.
Paul.
- Joined
- Jan 17, 2009
- Messages
- 1,081
- Reaction score
- 278
General consensus on the other machining forums is to remove the pin from the spindle. Apparently it does nothing but cause frustration and is bound to fail sooner or later even if it does fit properly. I sincerely hope that will solve the problem.---Brian
Truly, that is the solution although it forces you to get intimate disassembling your new mill.
My mill worked for a couple of year before the pin got dislodged 1/2 way and gave problems. The only function I can see is to prevent the collet to spin if it is loose, but we would never do that, right?
Apparently the keyway in an R8 shank should be 5/32" wide and 3/32"
deep, -0, +0.010".
deep, -0, +0.010".
I have removed the pin. I have complained loud and long to all levels of management at BusyBee. They are all aware that there may be a problem with ALL of the CX601 mills across Canada. I get very upset when something like this happens, but I have to remember, BusyBee, with whatever problems they may have, have given me good service over the past six years. I get mad, as anybody would in a similar situation, but I don't want to cut off my nose to spite my face!!! With the pin removed, the mill will take all of my different equipment with R8 shanks. I have made my first cuts in cold rolled steel with the new mill. It is no longer virgin. These are new machine growing pains. They definitely do not make me happy, but they don't make me want to label the machine as junk either. My previous smaller mill was from BusyBee, and it served me faithfully for six years.
The mill is up and running. My God, what a powerful monster it is compared to my old small mill. I was side milling and end milling in steel, taking cuts twice as deep as my old mill and it never even grunted. I'm getting off to a rocky start here, but I think it's going to be okay. Tomorrow I start doing some layout work for the DRO brackets. I will probably model the brackets in 3D cad and lay out the areas of the mill where the DRO's attach. There aren't that many brackets to be made, only 3 from what I can tell right now, and they are all associated with the Y axis scale and reader head. The X axis scale just attaches directly to the rear of the table. I have a lot of "other stuff" going on this coming week, but hope to make good headway with the scales.---Brian
Now that I have totally polluted this build thread with ramblings about my new mill, I'm rethinking things. The oscillating engine will get finished, but I am being asked on a number of forums to go into more detail about the mill and the installation of the DRO package, and I can see a lot more postings being required to address all the mill related questions. I am going to leave this thread now, and pick it up again once all my work on the mill and the installation of the DRO kit and relocated head lifting handle are completed. My new thread will be titled "CX601 Milling Machine".
Similar threads
- Replies
- 61
- Views
- 8K
- Replies
- 3
- Views
- 828


