Nemett Jaguar--Canadian style

Home Model Engine Machinist Forum

Help Support Home Model Engine Machinist Forum:

This site may earn a commission from merchant affiliate links, including eBay, Amazon, and others.
It's all looking great Brian, I think the benefit of breaking the rings on a taper is that they naturally want to crack on any weakness, giving the strongest rings possible. I don't have an oxy / acetylene set, I just used my Mapp torch to heat them up, I held the heat for about 5 - 6 minutes before I got tired of that, appeared to work well.

I had the same problem parting off as you did, the first ring cut on theoretical size was a bit too wide, so a minor adjustment fixed that. I recall reading on this forum somewhere, that a steel plate with a recess milled or turned to the correct thickness of the finished rings is a great way to hold the rings when rubbing on emery paper, you can't overshoot the size as the plate stops you. But we are only after a couple of rings, so the finger method is fine.

Paul.
 
I held the propane torch on the stack of rings for two minutes and nothing had started to turn red. I have never been able to do anything very exciting with a propane torch, other than soft solder copper waterpipes together. If the stack doesn't get cherry red, then the heat treat won't work. I kind of question Malcolm Stride's suggested "10 minutes" but obviously it worked for him. I just naturally go to the oxy acetylene rig for anything requiring real heat. I even silver solder with the oxy acetylene torch.---Brian
 
Its not the propane that is the problem, more likely the size of your burner, my 1" dia burner would do it no problem but if I put the fine 3/8" dia burner on the same gas bottle/torch I would be there all day its all to do with the KW rating of the burner.

Reducing the bulk of your holding fixture would also help.

Do make sure you keep the Oxy torch moving to heat the rings evenly, in the past I have got the heat too much in one spot with the propane while trying to take a photo at the same time and all the change in shape of the ring happened in the hot part so they did not fit evenly when put in the cylinder, like trying to fit an egg into a round hole
 
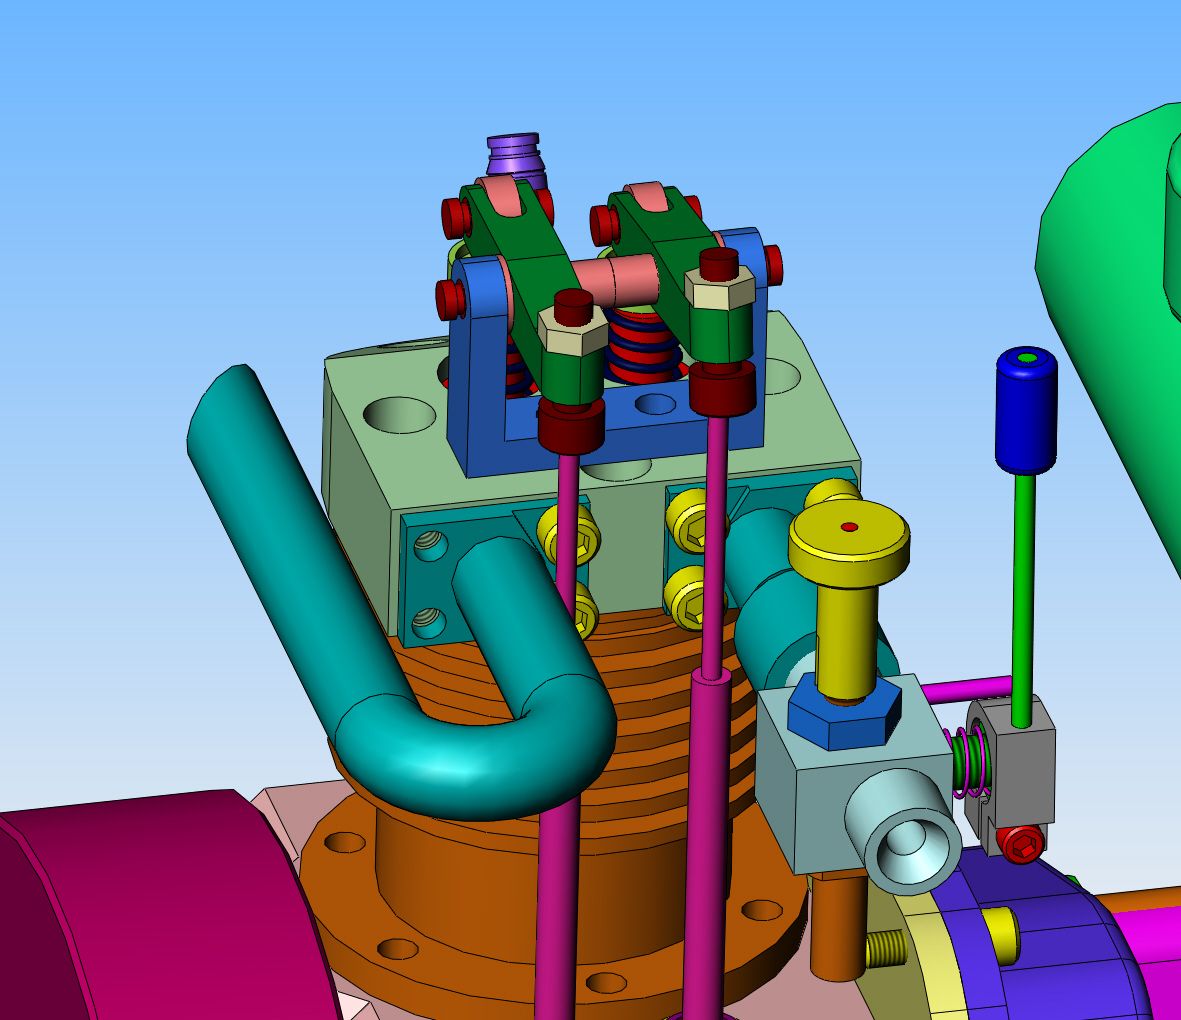
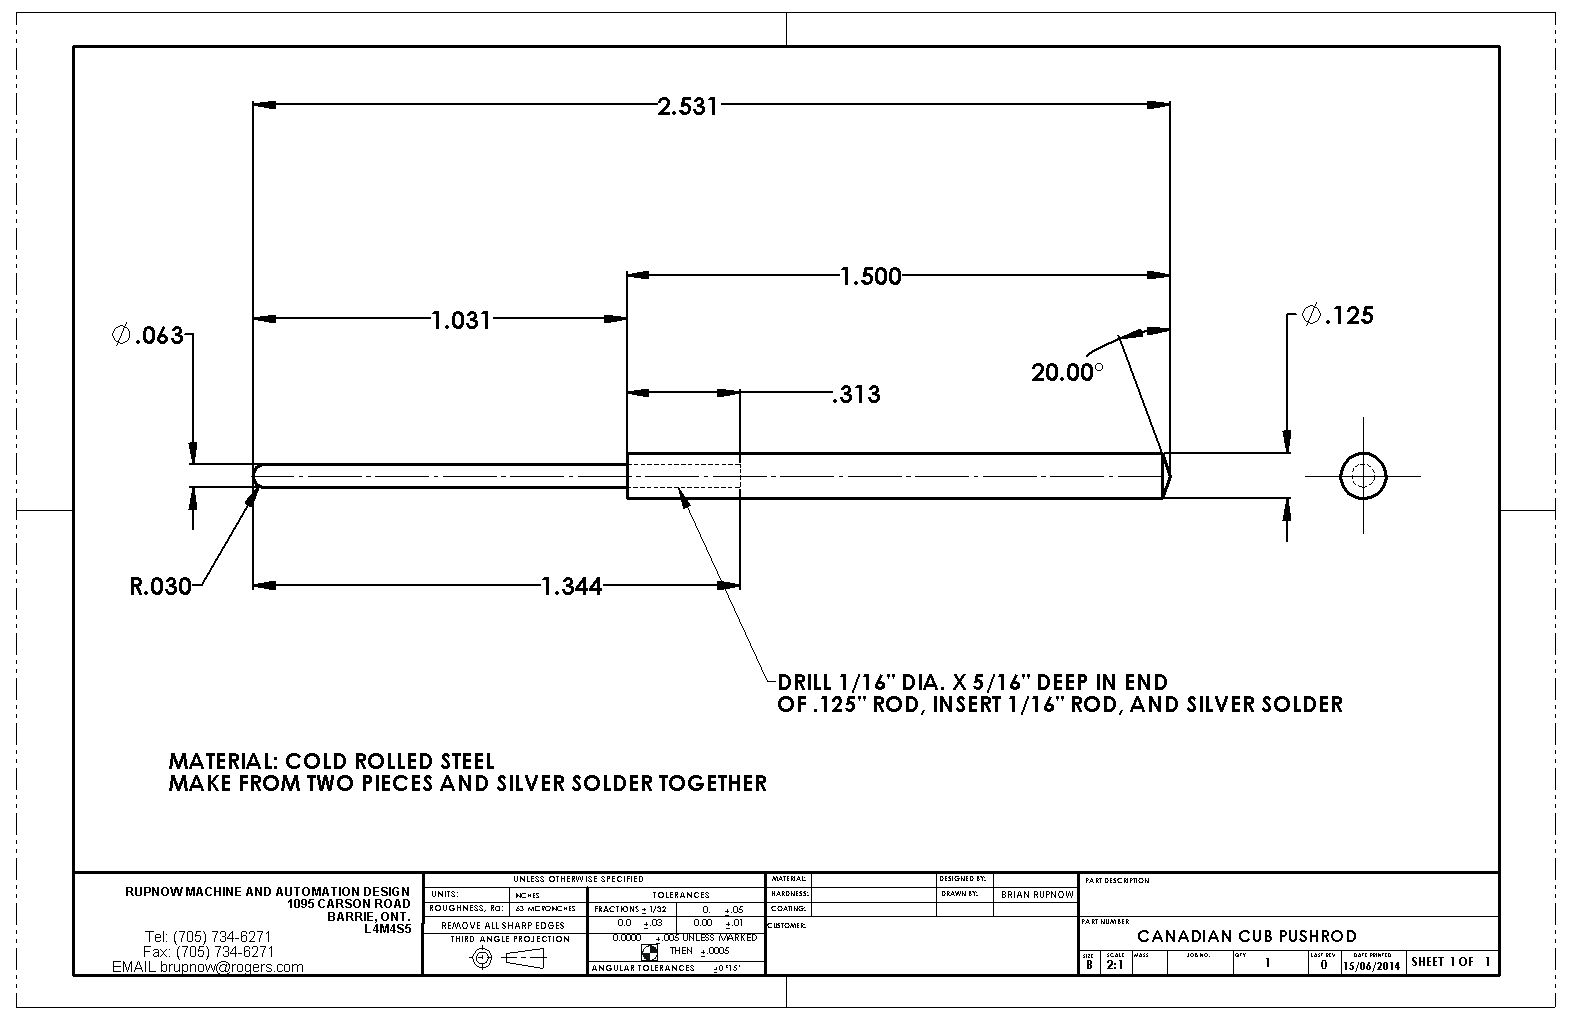
Due to the almost frantic lack of clearance where the valve pushrods pass the manifold bolts, I came up with a plan for a "stepped" pushrod, which would be 0.100" diameter in the lower half and .062" in the upper half that runs past the intake and exhaust bolts. This caused a certain amount of head slapping in my shop yesterday. I actually found a piece of .093" rod, and set up to drill the 1/16" diameter x 5/16" deep holes in it, as shown in the drawing. My smallest center drill did make a small center, but none of my drills would even touch the stuff. Complaining bitterly to my wife about how dull all my drills had become, I went up to the hardware store and bought two new 1/16" drills.---and they wouldn't touch it!!! Then it occurred to me to do a bit of a file test. That rod was a piece of music wire, and was harder than the devils horn. I can't even remember what I had bought it for. A small hunt around my shop yielded a piece of 1/8" cold rolled, and it drilled just fine, the two part pushrods were made up and silver soldered together with no farther mishap.

 
Here is a quick question for the other engine building guru's. When I built the cast iron cylinder for this engine, I lapped it to size internally, using a lap and 600 grit lapping paste. This removed a tight spot which was a result of reaming, and left the cylinder very smooth on the inside bore---which would be perfect for Viton rings. However, since I am going to attempt to run cast iron rings, should I rum my 3 stone brake hone though the cylinder a couple of times to leave a cross hatch pattern on the walls. I have heard that the micro grooves left by this cross hatch pattern acts to retain oil for lubrication of the rings, and helps the rings to "seat" much more rapidly in the cylinder.---Brian
 
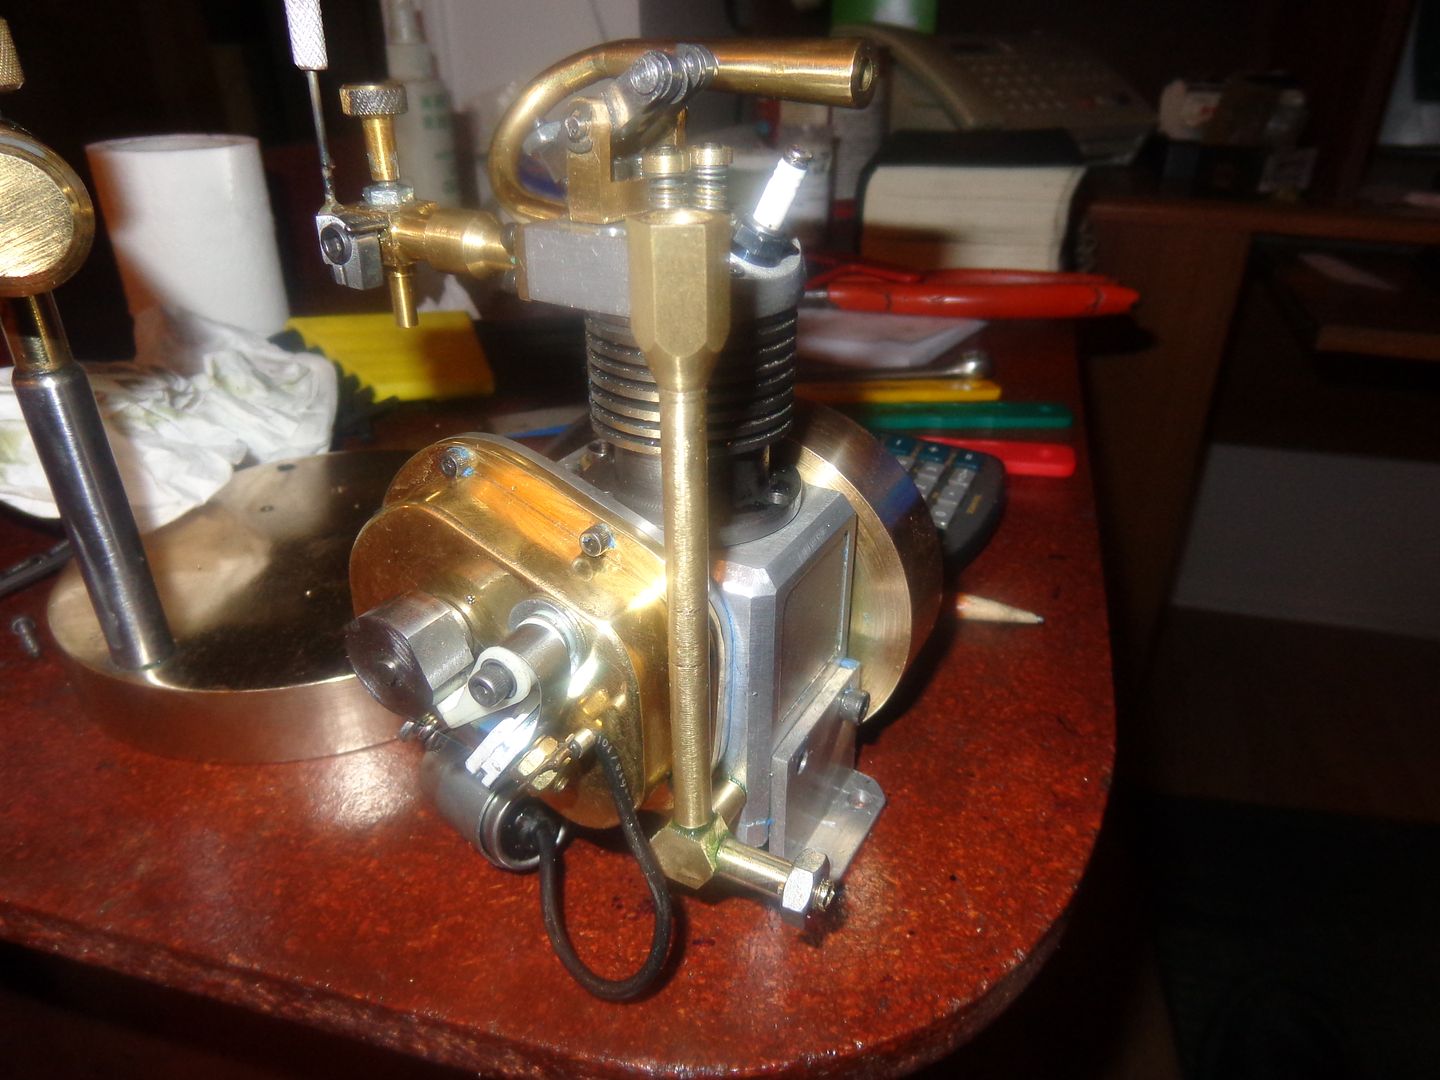
Topct and J.R. Williams--I do read every comment and observation made, and I appreciate that you take the time to comment and/or ask questions. You both asked about an oil filler/breather tube and a dipstick. I hadn't even given much consideration to it at the time, but I spent this afternoon hashing something out. There will not be a dipstick. There is however an oil filler/breather tube, and a "check oil level" tube. The 7/16" hex nut is not part of anything--it was just used as a driver. There will be a cap screwed onto the "check oil level" tube. There will also be a vented cap screwed onto the oil filler/breather tube. Here is how it goes--I checked this afternoon, and it takes about 3/4 of an ounce to fill the oil sump, up to the level of the tube screwed into the side of the crankcase. When the oil is at that level, the rod cap will dip into the oil with each revolution of the crank. So---I pour an ounce of oil into the filler breather tube. Then I unscrew the cap from the "check oil level" tube, and let anything run out that will run out. This assures me that there is a sufficient level of oil in the engine.---Brian
 
Brian I just used 1/16" music wire for my push rods. They just sit in the dimple formed by the drill bit when the cam followers were made. They don't jump out, the engine vibration naturally keeps them in the centre of the follower I'm sure that’s to Malcolm’s design Pete
 
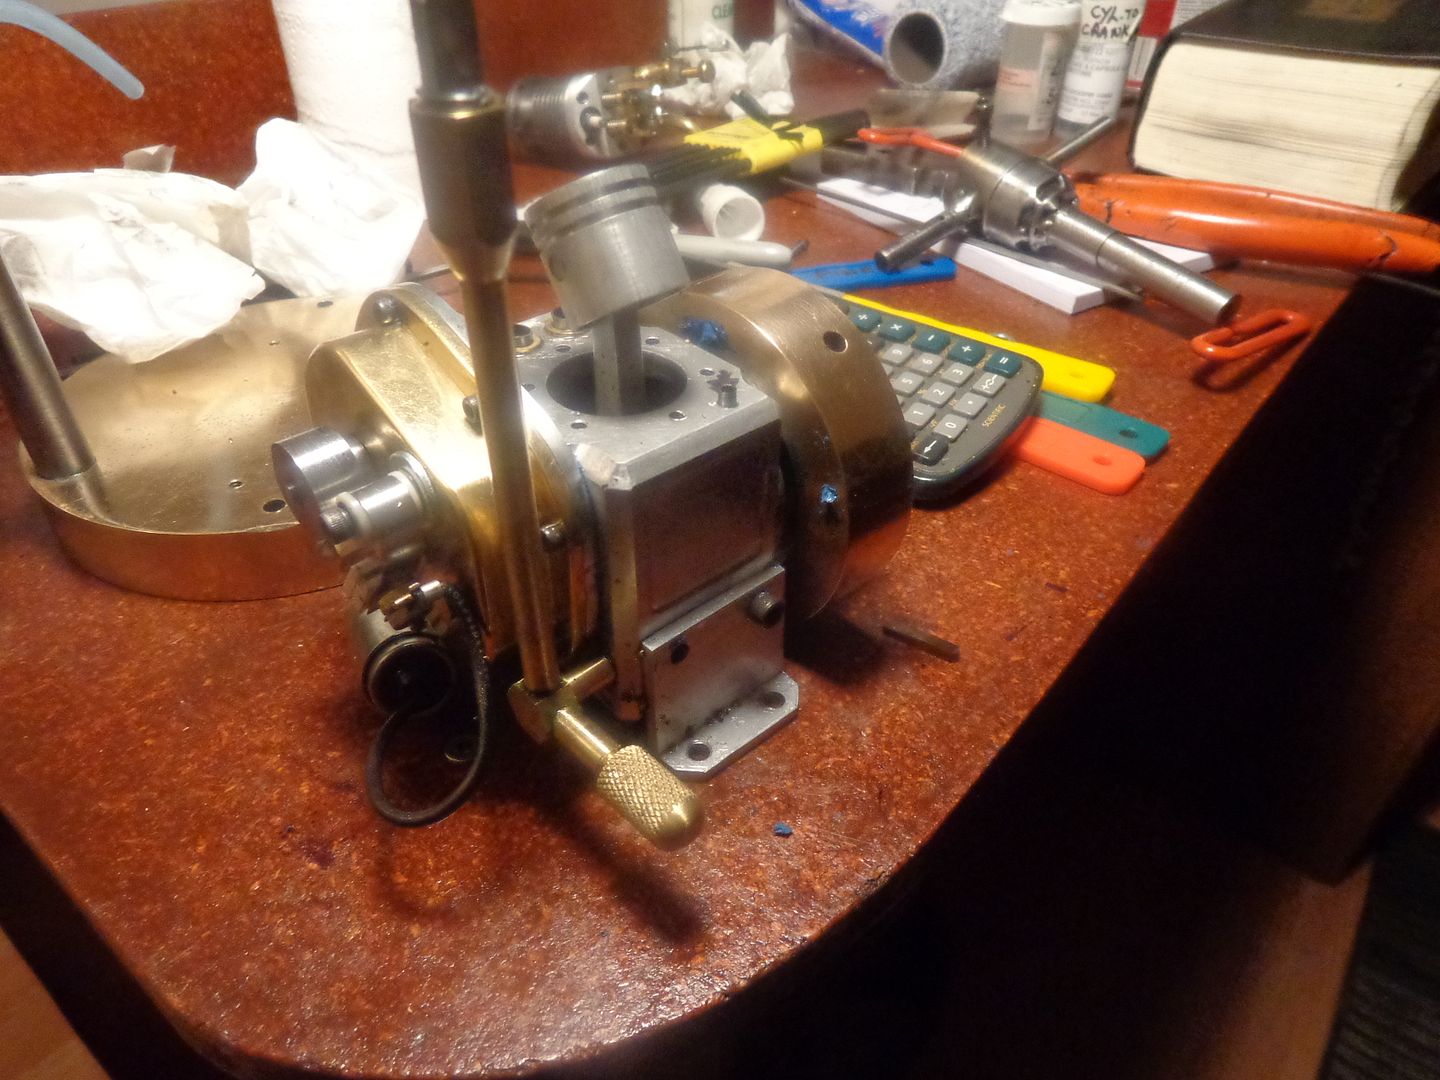
The empty oxygen tank has been replaced, and the rings heat treated. They are now cooling out in my main garage. One last word about the oil filler/breather system and then we will leave it forever. The crankcase is theoretically "air tight". That being the case, it would be almost impossible to pour oil down that long filler tube into the engine without a resulting air-lock, and no flow. On top of the crankcase, which currently has the cylinder removed, you will see the head of a #4-40 socket head capscrew, with a rather smudged black arrow pointing at it. That is my vent--the hole is tapped right through into the crankcase. When filling with oil, that screw will be removed to prevent an air-lock, then it will be re-inserted.
 
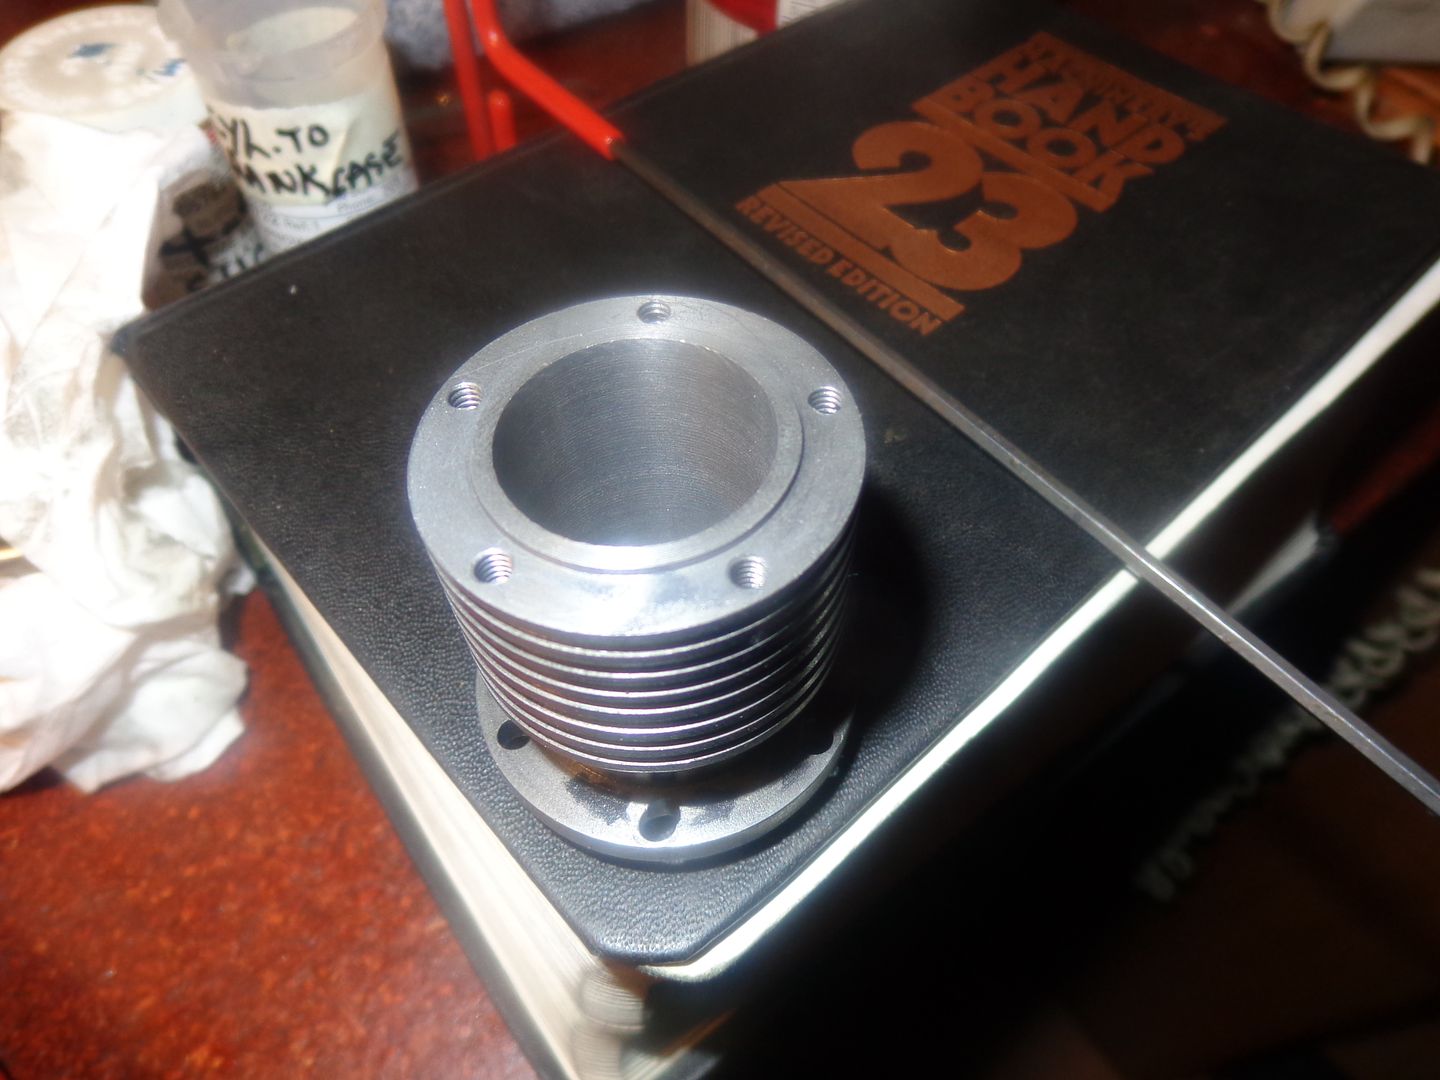
Based on many years of hot-rod engine building experience, I simply couldn't bring myself to install new cast iron rings into a cylinder with extremely smooth walls from the lapping process. While my heat treated rings are cooling off I pulled the head off the cylinder and gave it a few passes with the 3 stone brake-shoe honing tool. This creates cross hatched micro grooves in the cylinder wall to retain some oil for piston and ring lubrication, and is supposed to help new rings "seat" much better in the cylinder to give good compression.
 
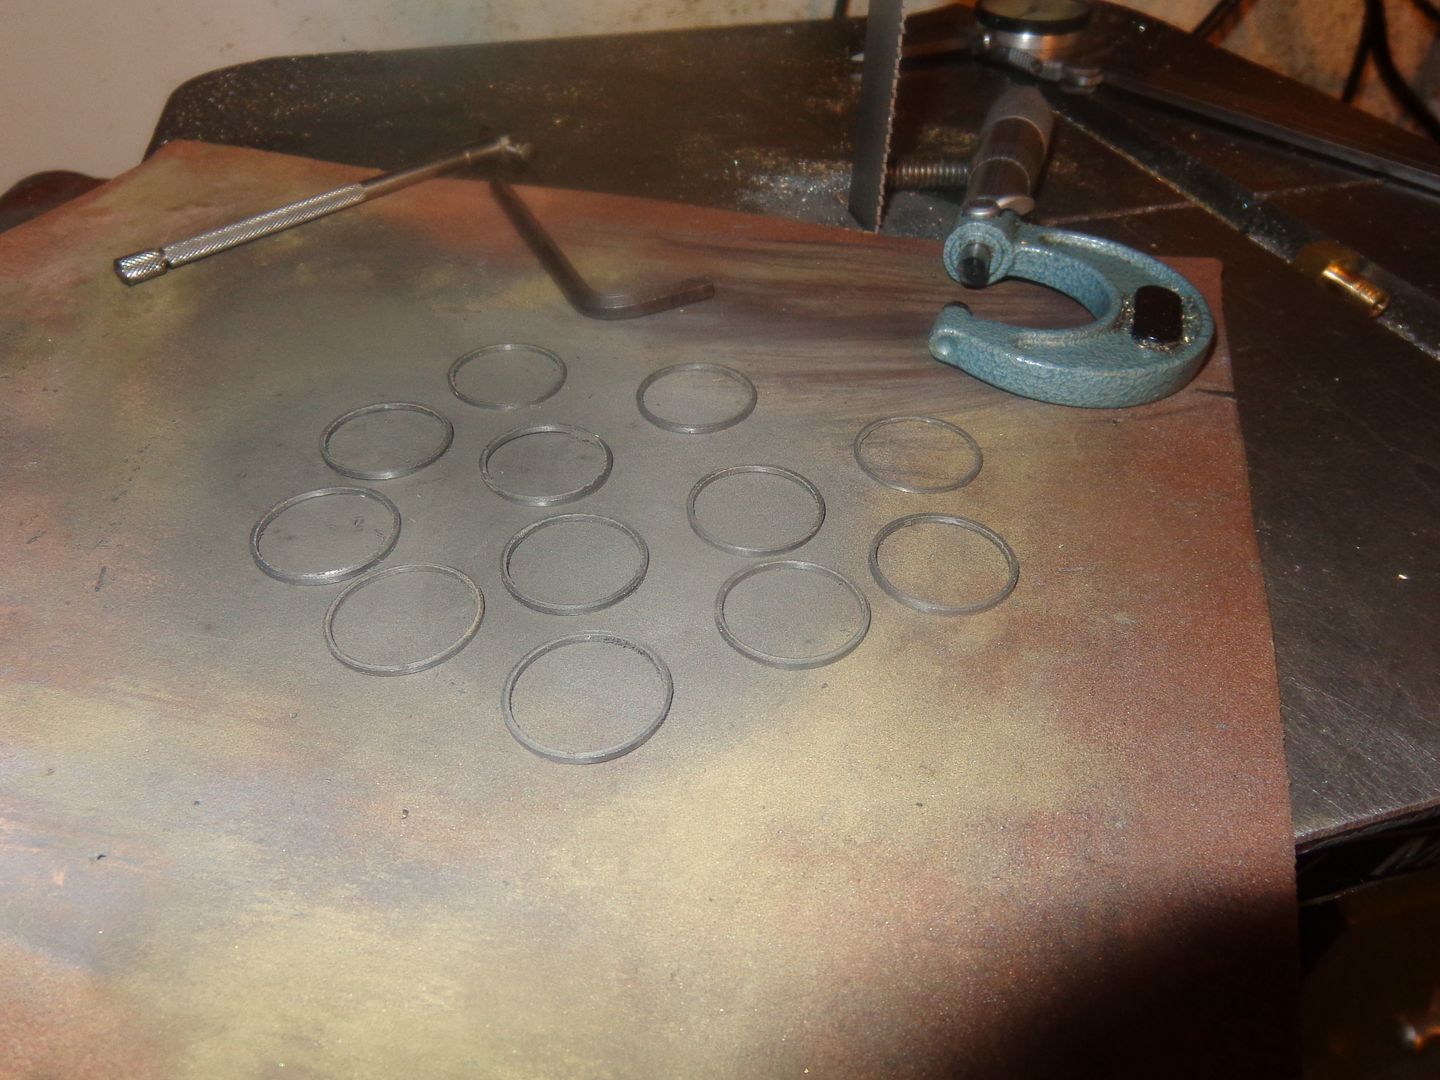
My first attempt at ring making was a FAIL!!! I must have got them too hot. They were fused together at the face on one side and when I went to separate them they broke.
 
If at first you don't succeed---Make 12 more rings and try again. BUT--If I don't get two good rings out of this bunch, we are going with Viton!!! I am going to take some of the mass out of my heat treat fixture, and not get quite so close with the torch on this next bunch!!
 
The base of my heat treatment fixture is about half the thickness of yours in the original photo. Only having a Mapp torch, I did not want to heat up too much waste material. Maybe you got the lot too hot with the oxy/acetylene.

Paul.
 
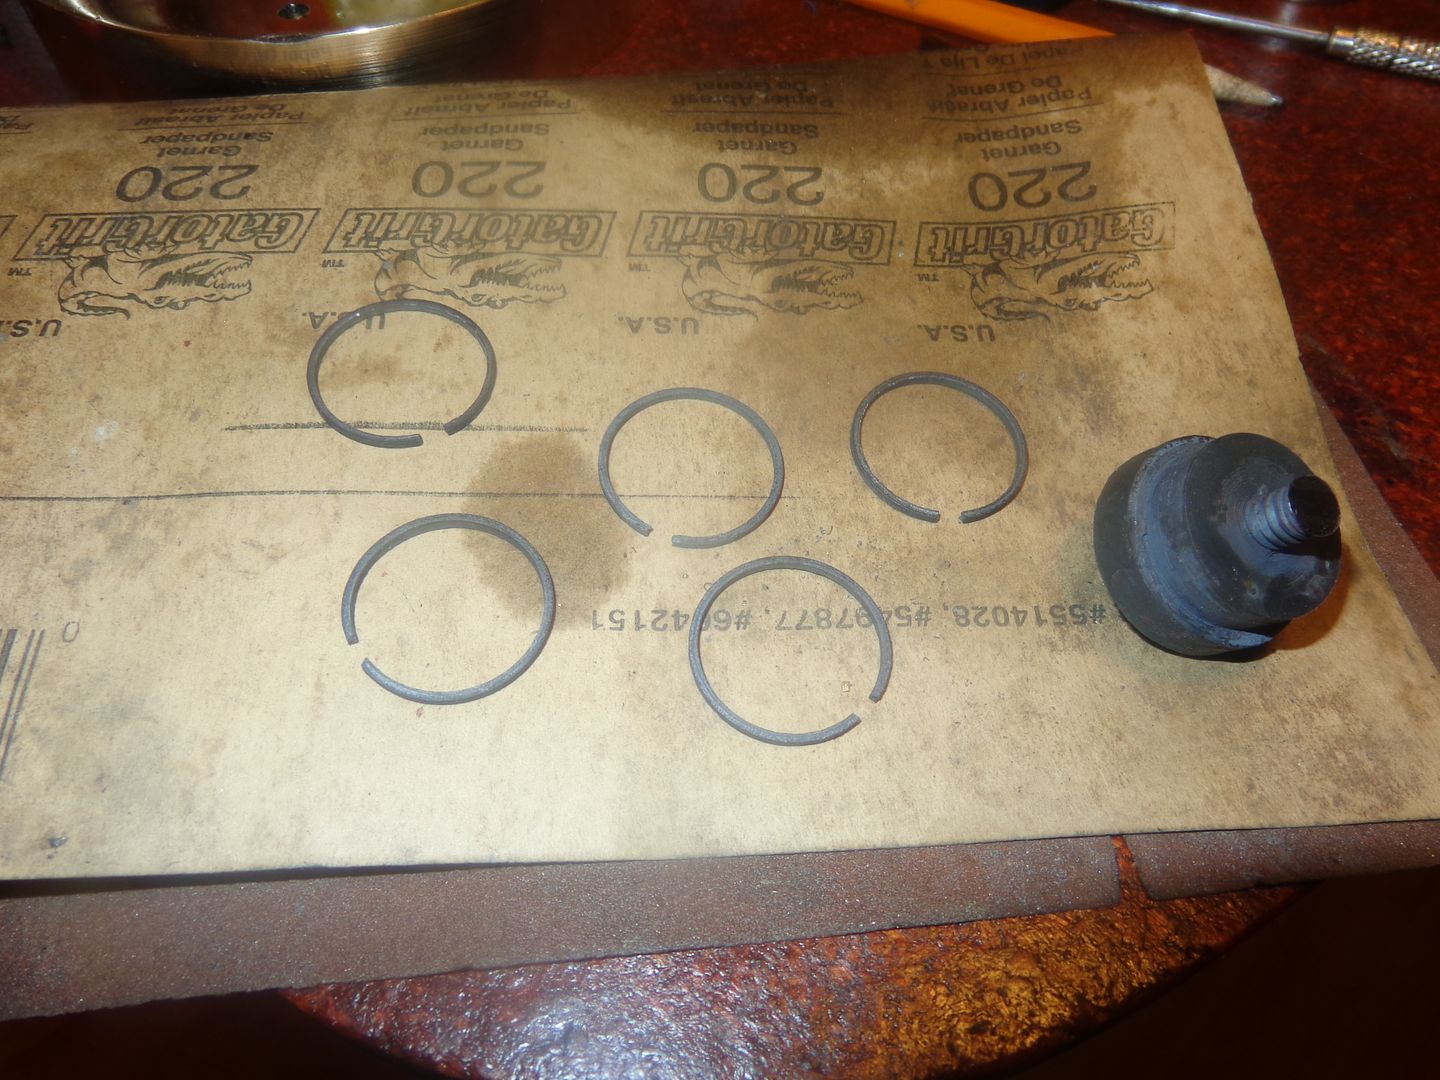
HAH!!!! Much better luck the second time around. I took about half the material out of my heat treat fixture, and this time I didn't let the torch blow directly on the rings---Just heated the one end of the fixture to cherry red and let the heat soak through to the rings. Notice that they all "took a set" and now have the recommended 2.5mm gap . This is GOOD!!! Swifty-- the edges are still pretty damn sharp. How did you deal with that issue on your rings? I bought a set of 4 diamond files, but they will only be good to square the ends of the rings at the gap.
 
  • Like
Reactions: gus
Brian, I used a half round needle file on the inside of the rings, and a flat needle file on the outside corners to put a slight chamfer on them before treating them. I don't know why you need diamond files, although it's called heat treating the rings, they don't harden, it just sets the open gap. I held the finished rings in a toolmakers vice and gave the gap ends a few strokes with a file, then put the ring in the cylinder to check that I had 0.1mm closed gap.

Paul.
 
The base of my heat treatment fixture is about half the thickness of yours in the original photo. Only having a Mapp torch, I did not want to heat up too much waste material. Maybe you got the lot too hot with the oxy/acetylene.

Paul.


Are you using single burner torch or two burner torch ?? I will using Mapp Gas
Torch.
 
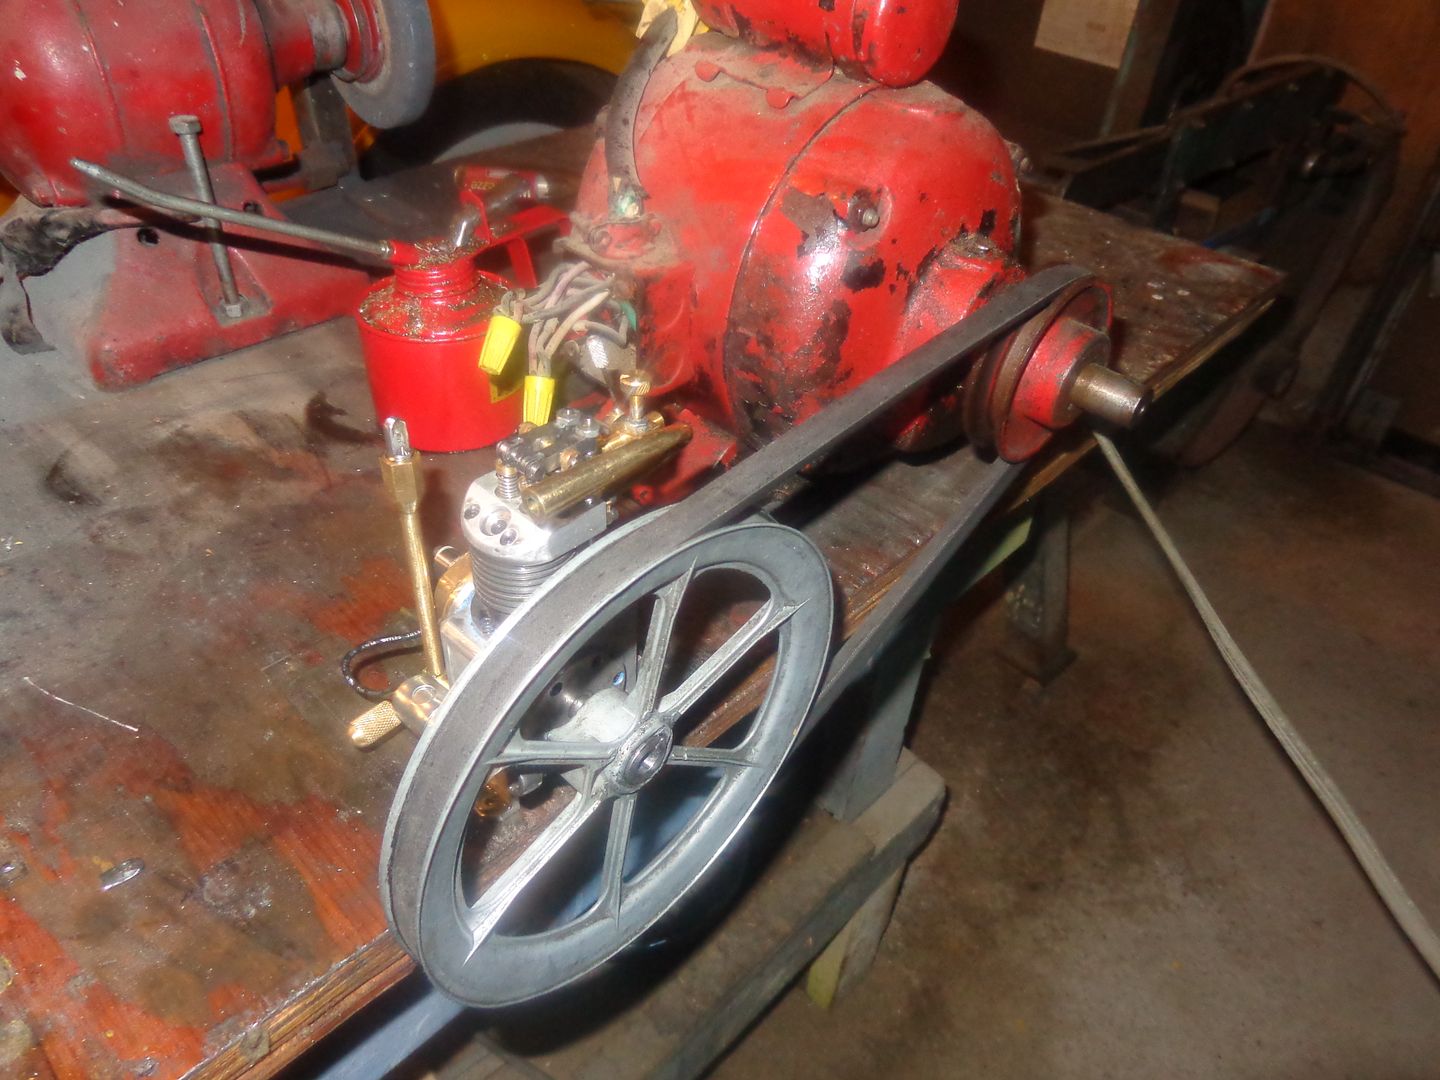
Well, the rings are in. The motor is all buttoned up and filled to the proper level with oil. I have taken the flywheel off and put that old 8" pulley on, and I am going to let the red electric motor drive it for about 3 hours to seat the rings. The engine is turning over at about 800 RPM. This "running in" step may not be absolutely necessary, but it shouldn't hurt anything, and if it helps, then I should be ready to fire this engine up sometime tomorrow. While I had the cylinder off the engine with the head still attached to it, I tried the old "Put your mouth over the open end of the cylinder and blow your guts out!!!" method of checking the valves for leaks. The intake had no leaks at all. The exhaust valve did and didn't depending on how the valve was rotated. One thing about steel valves in brass or bronze seats---the more they run, the better they seal. So---the running in should/may help totally seat the exhaust valve. I have the pushrods in and the valves and cam are functioning as the engine turns over.
 
Engine has just been "run in" for 3 hours, driven by an electric motor, in an attempt to "seat" the new cast iron rings. After tearing down the "run in" set-up, engine has very little compression. I put a spoonfull of heavy gear oil down the sparkplug hole, and there was very little difference in compression. I am not in a rush to start tearing things apart. I think my next move will be to hook up the gas tank and ignition and try to start it. You never know with these little engines--sometimes if you can get them to fire and run at all under there own power, the compression will come up a lot after they run for 10 minutes.---Must say though, that I am disappointed with preliminary results!!!
 
Well--For the moment, I am snookered. I hooked everything up on the engine and cranked it numerous times with my variable speed electric drill, but other than a couple of smoke rings, it was a no run situation. I checked my valve lash and the lash is okay--the valves are closing completely. I even got my can of ether "Quick Start" out, and gave the carb a shot while cranking the engine over, but no joy. I have lots of spark, and its coming at the correct time. The valve timing sequence is correct. I just pulled the cylinder off and the rings LOOK okay, but there was very very little compression, and the heavy oil down the sparkplug hole didn't make any difference to the compression when turning the engine over by hand. Once again, I held my lips over the open end of the cylinder and blew until I thought I might pass out, and there is absolutely no leaks at the valves unless I depress them by hand. The ring grooves in the piston are actually deeper than they should have been, but I don't think that would prevent the rings from sealing at any rate. The grooves are however, just about the perfect depth for a Viton o-ring, although they are a bit too narrow. Right now I am approaching burn out on this engine. I think perhaps I will pull the piston out and widen the grooves enough to accept a Viton 1/16" cross section o-ring, and see what happens to the compression with a pair of Viton rings.
 

Latest posts

Back
Top