


toolznthings
Project of the Month Winner
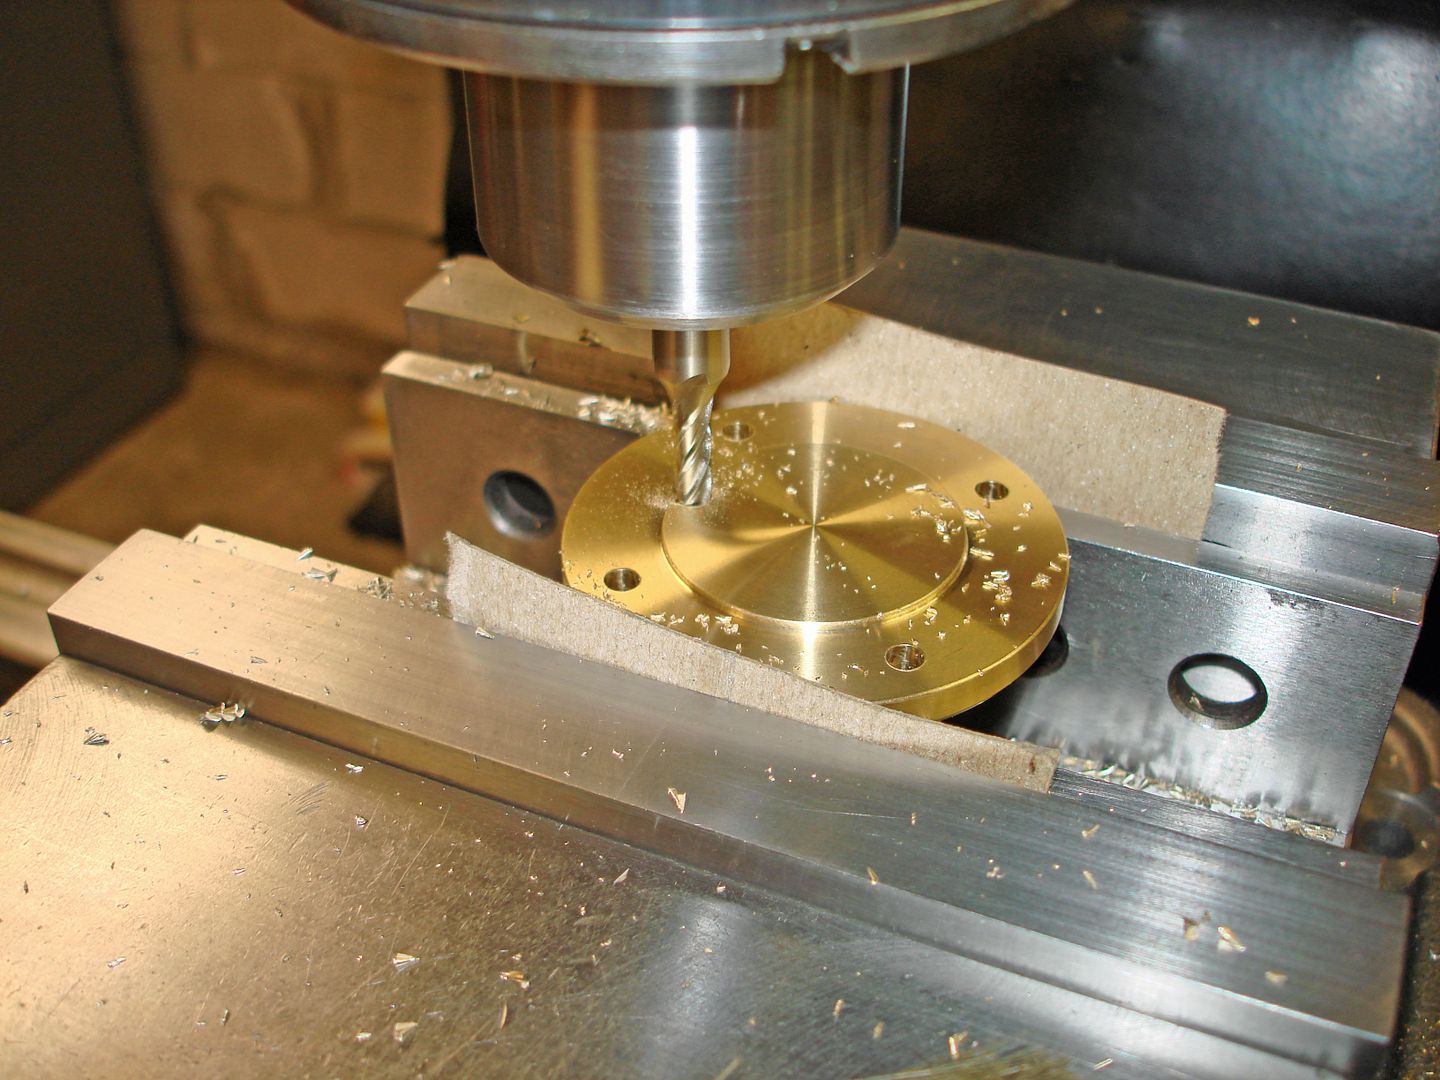
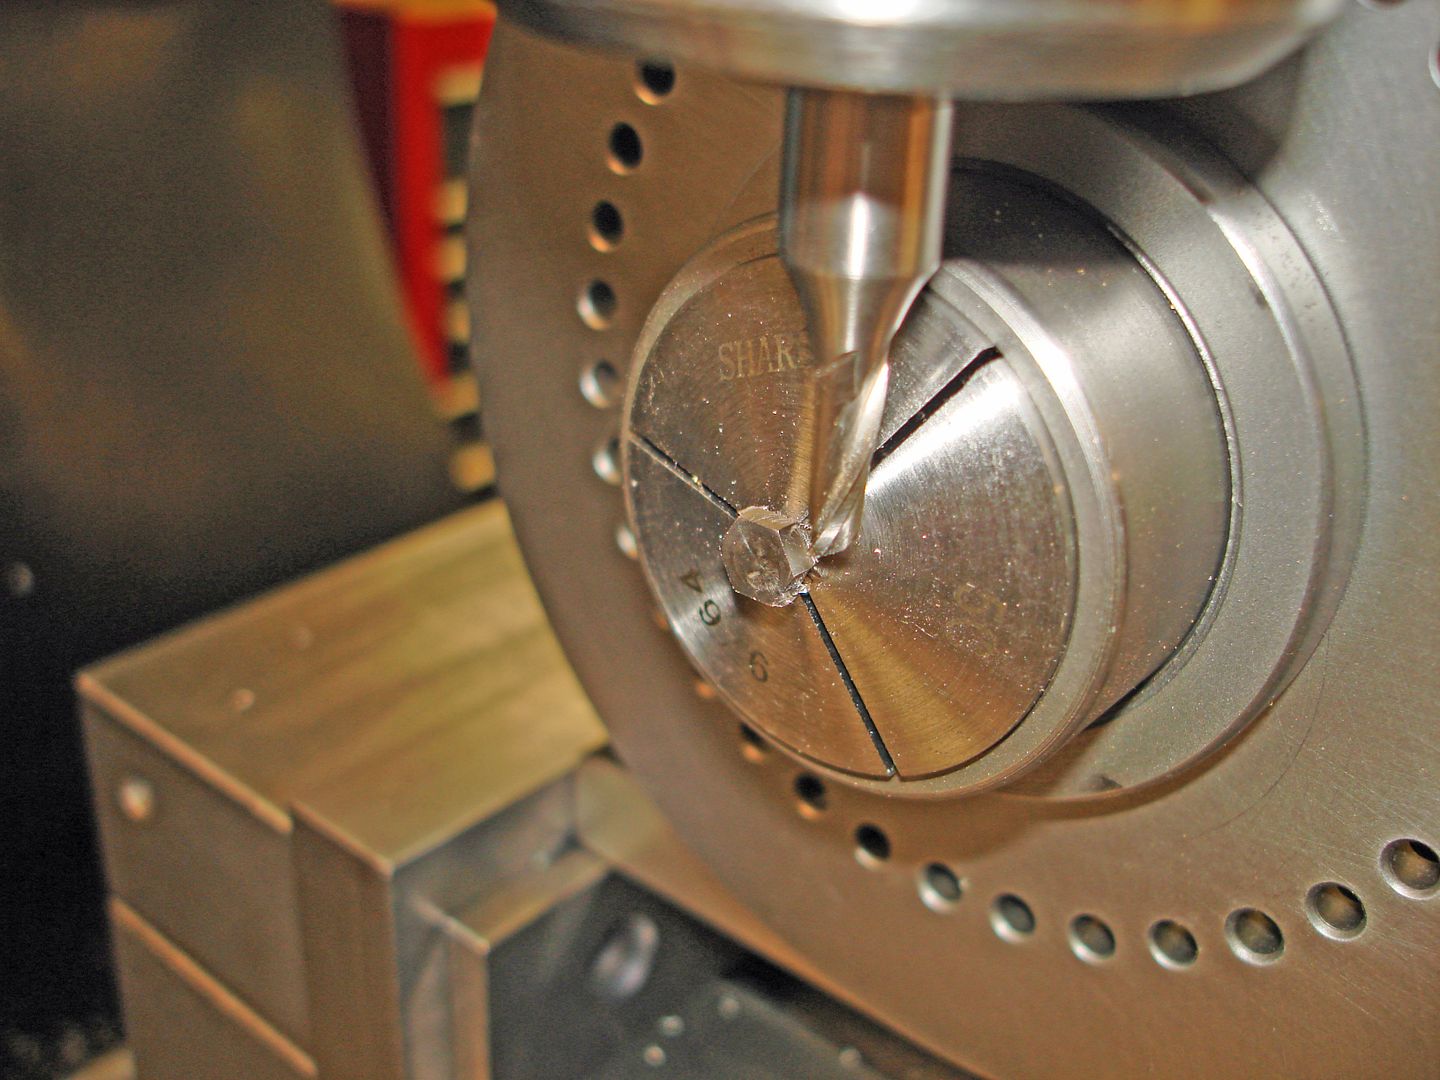
Finished the cylinder head and machined the hex size smaller on the steam chest fasteners. Then went on to do the final finish work on the machine parts. Removed mill marks by draw filing where need and use Scotch Brite to polish as needed. Did fine grit glass beading and cold blue finish on selected parts.
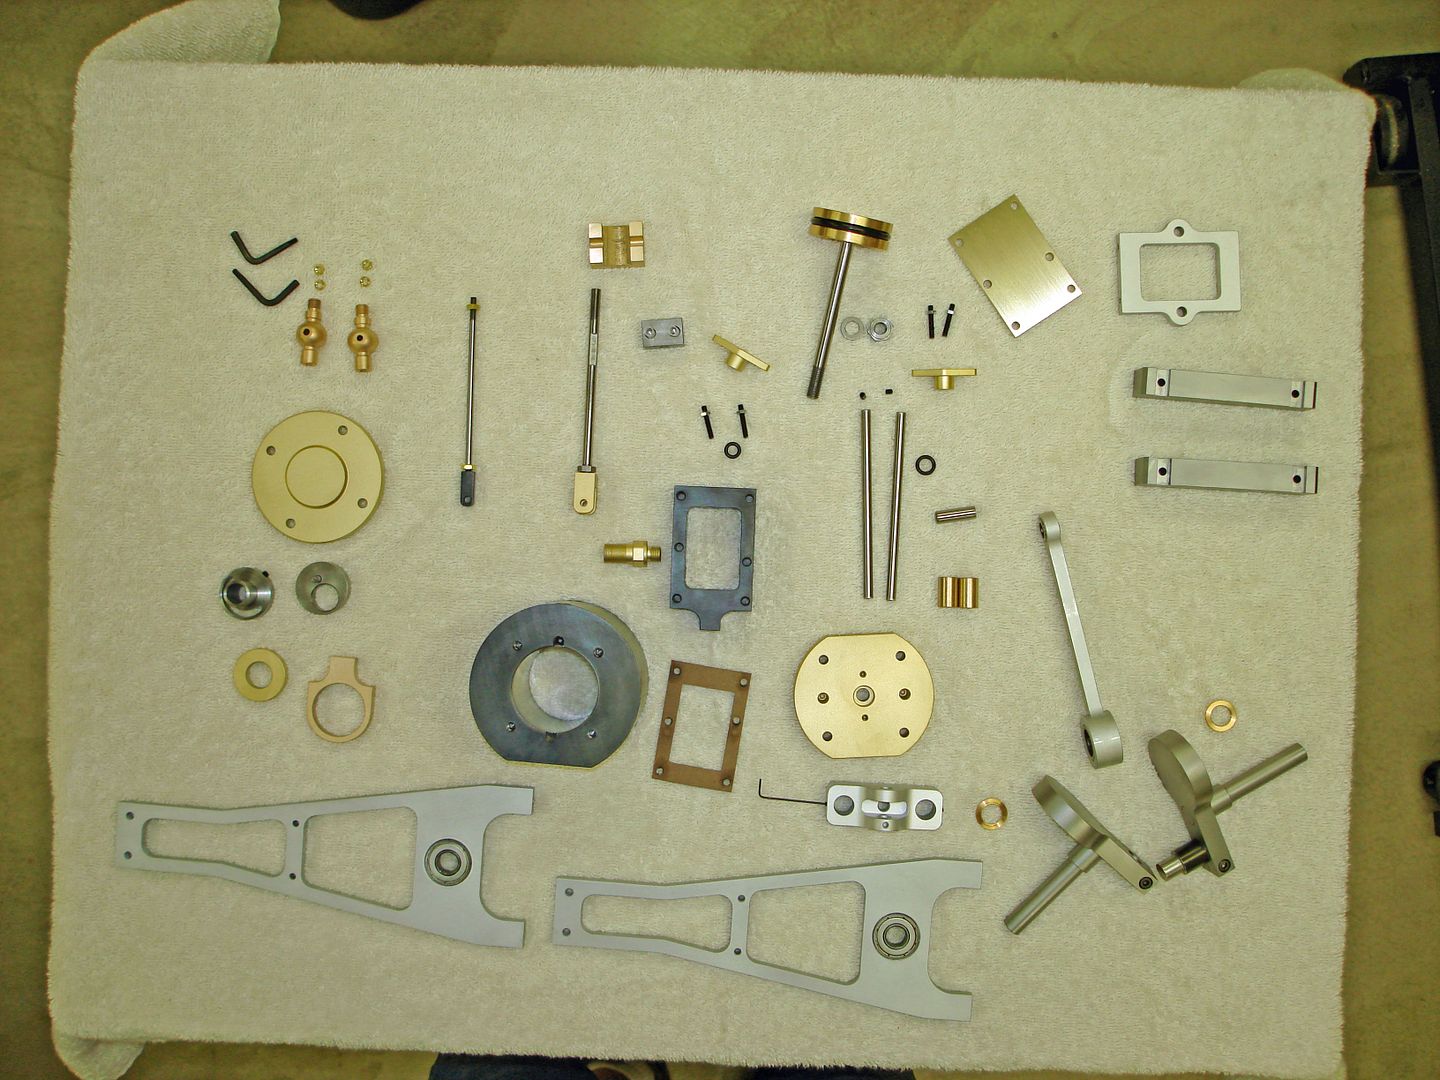
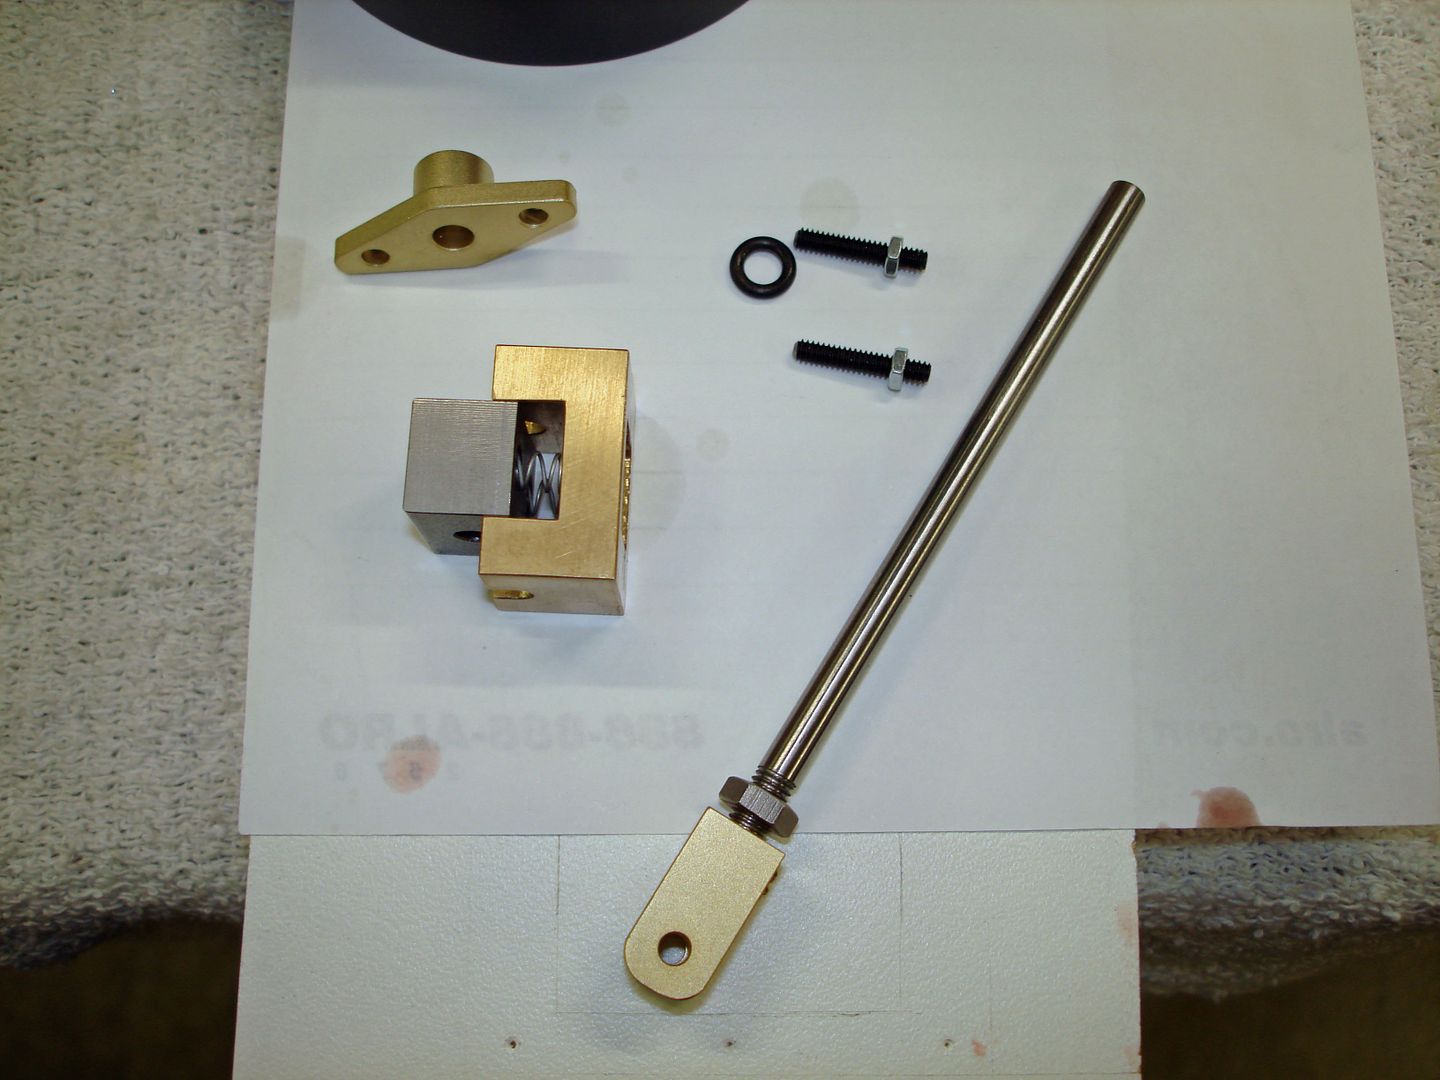
The piston has a o-ring with a light fit to the cylinder bore. Everything ready for assembly ...
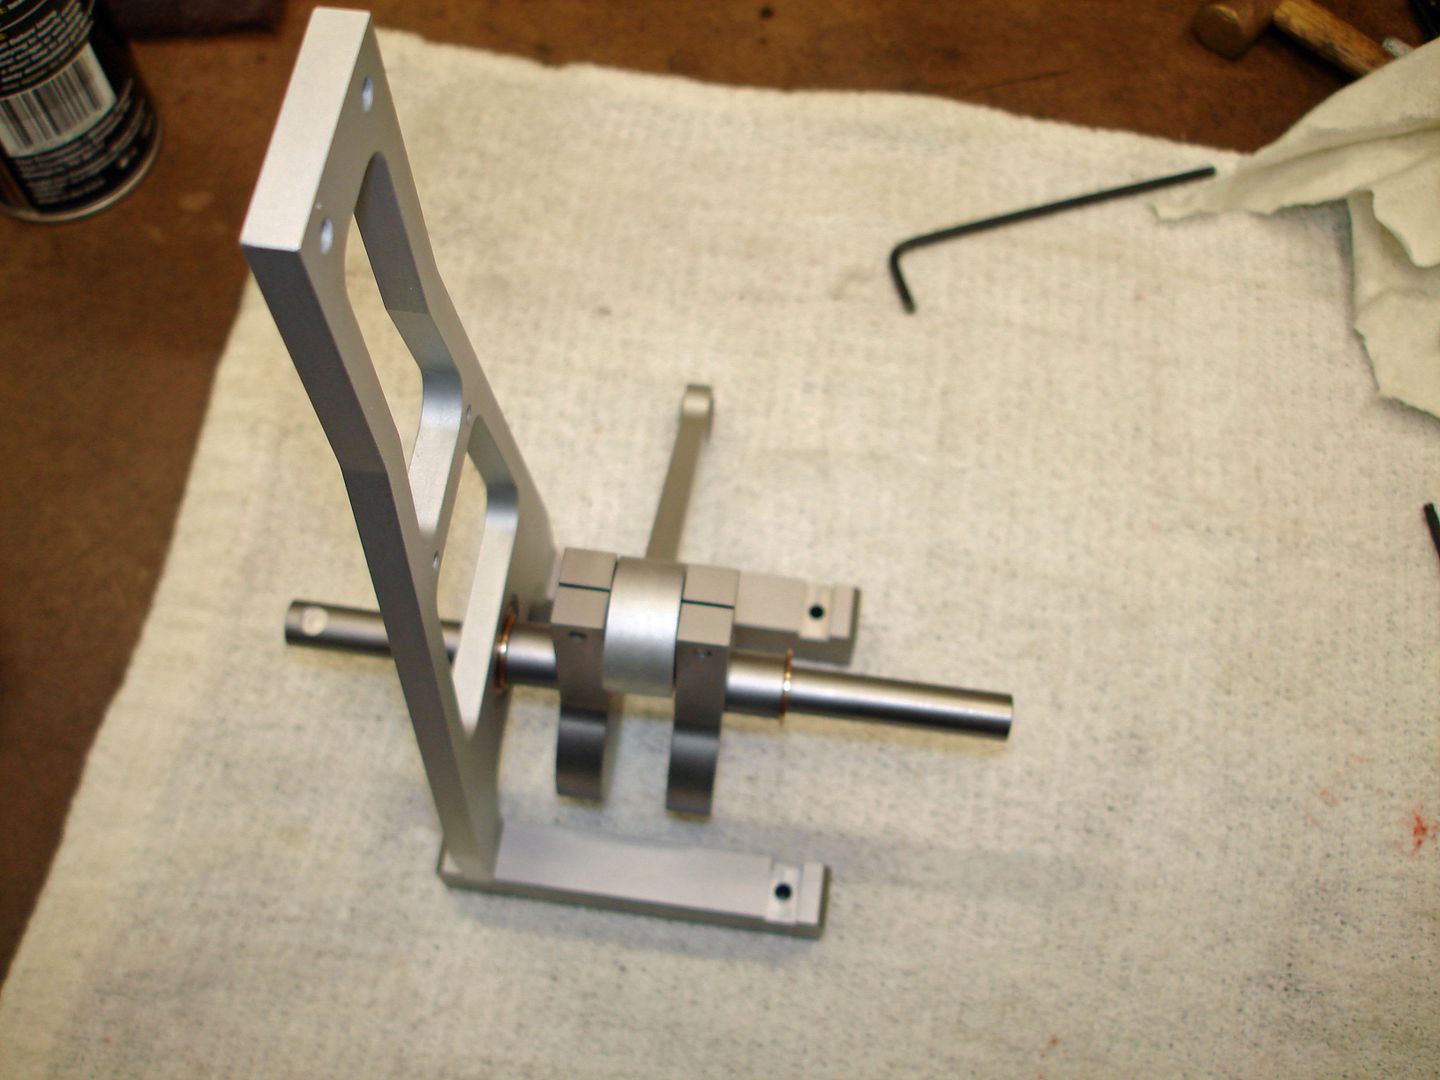
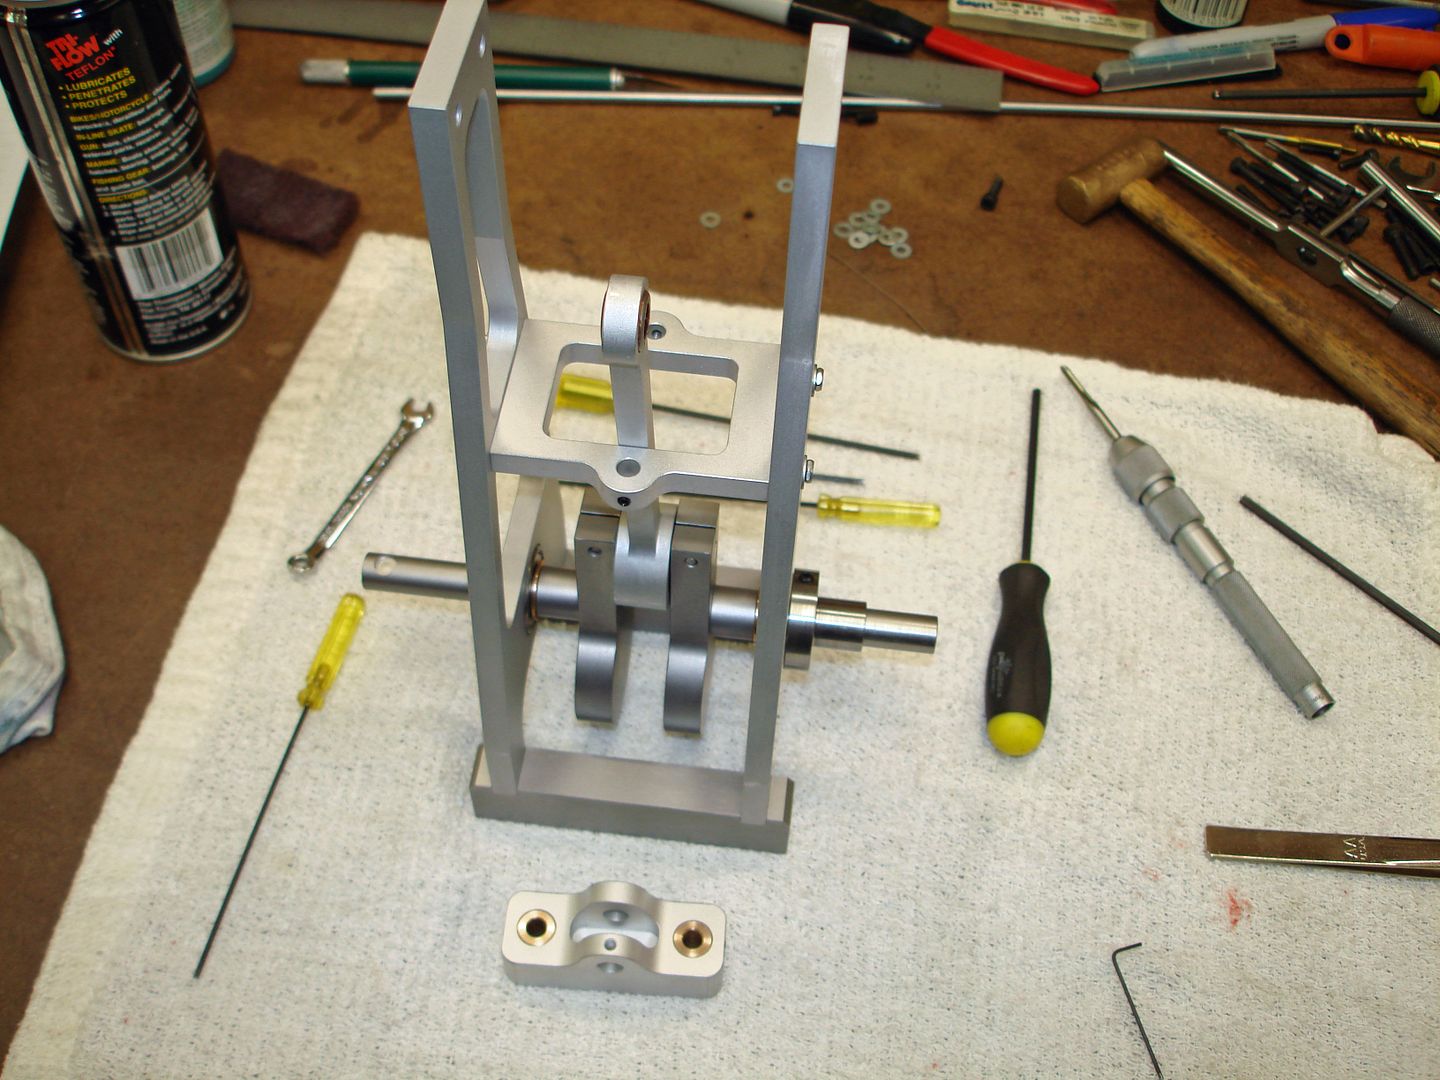
Started with one of the side frames and crank shaft. Connecting rod bearings greased and the crank assembled.
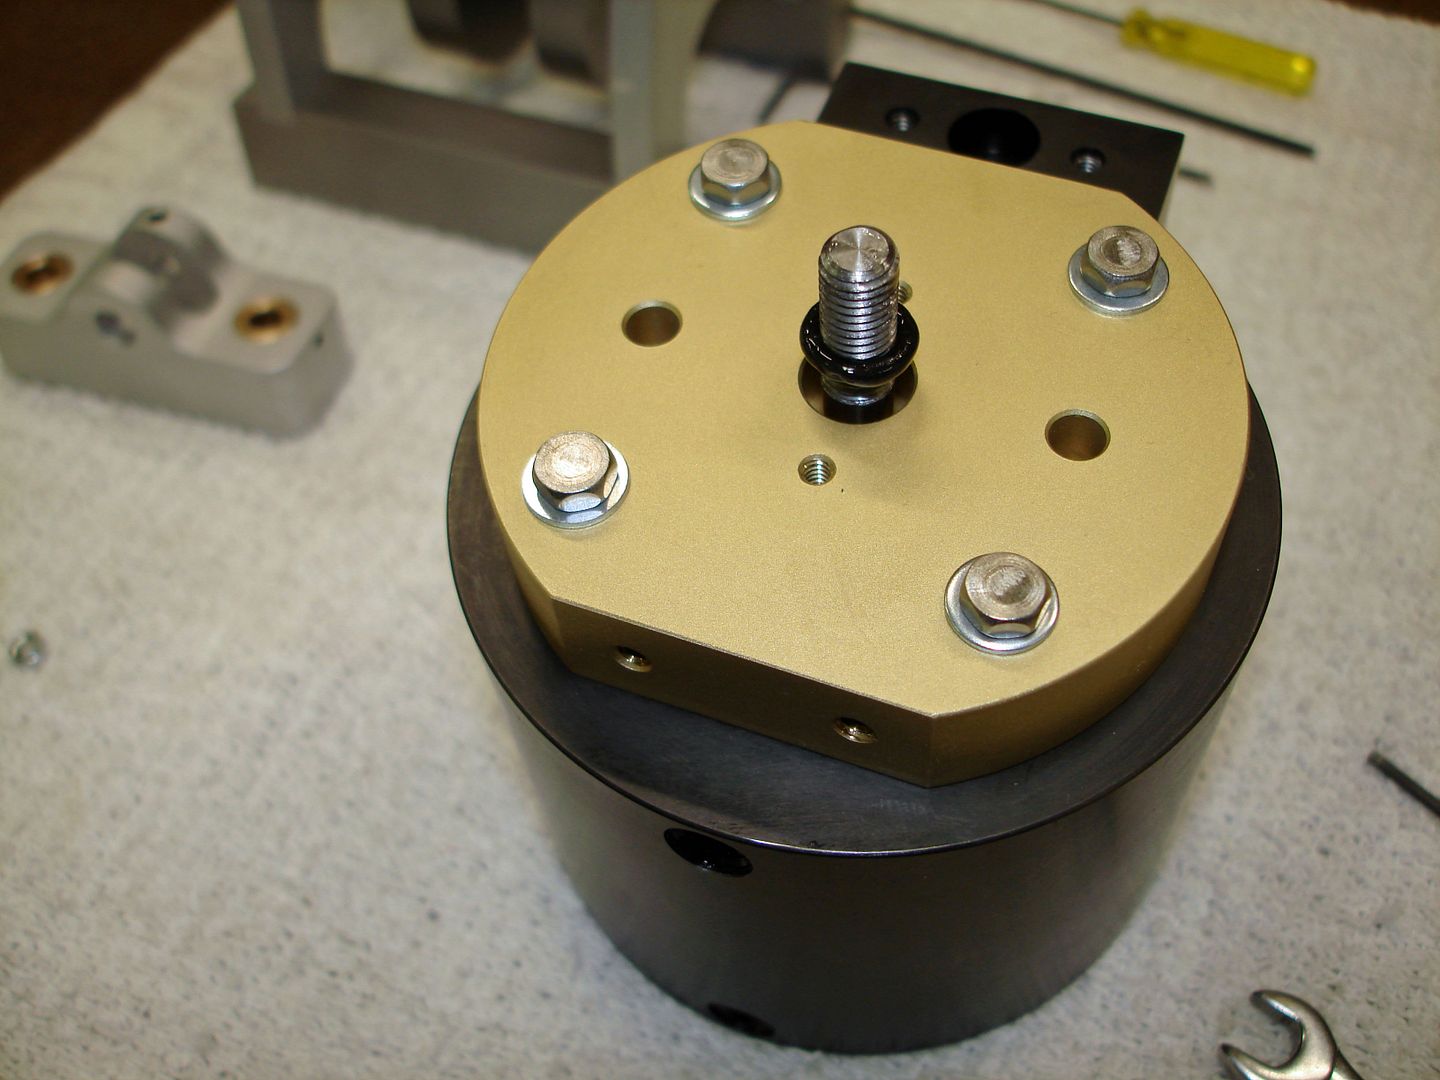
Opposite side in place and off to the cylinder and bottom. The spot face for the flywheel set screw is visible to the left.
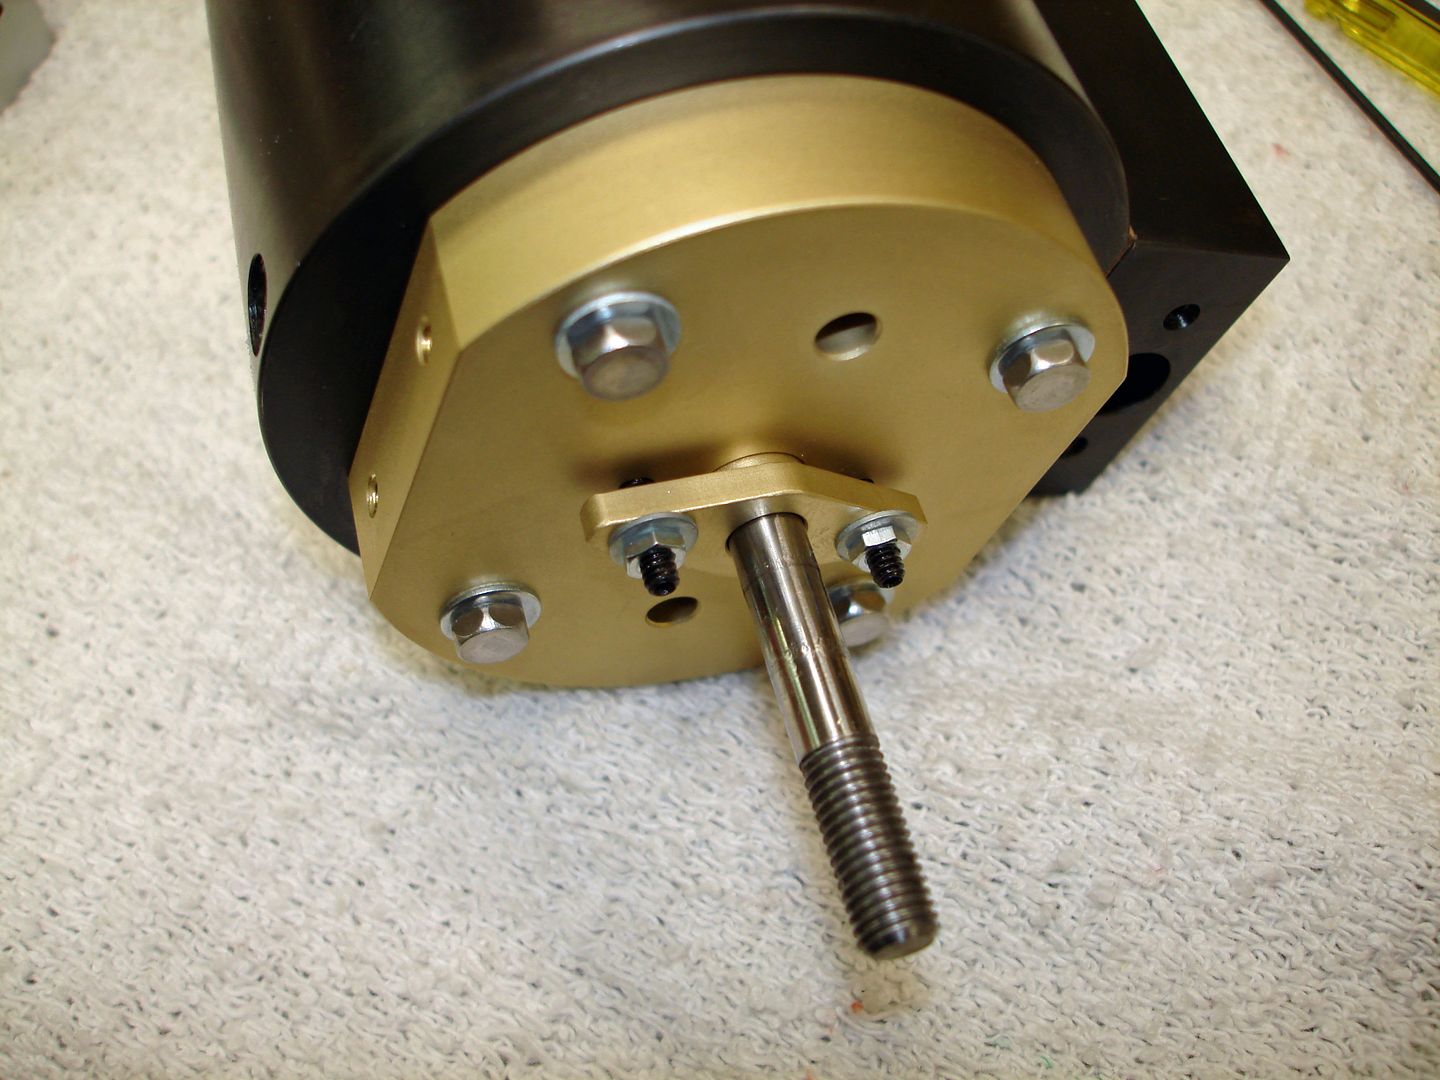
Cylinder bottom fastened to the cylinder and a o-ring in place for the piston rod. The packing gland will apply enough squeeze to seal the rod. Takes very little pressure to work and not bind the rod. Lubed with light weight synthetic grease.
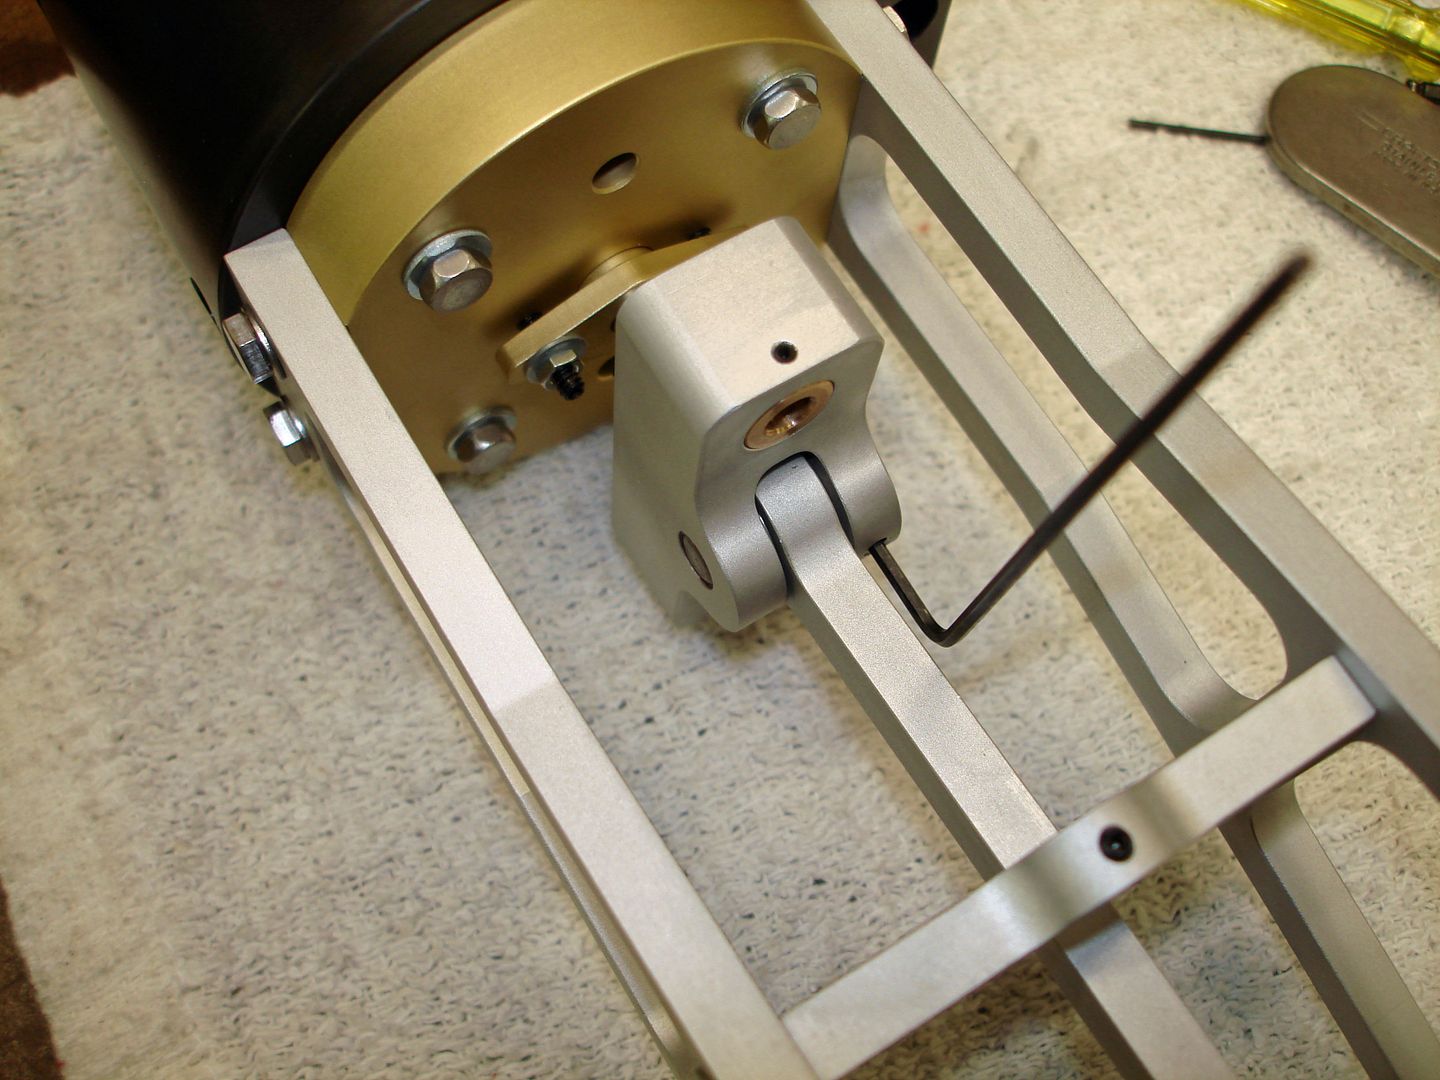
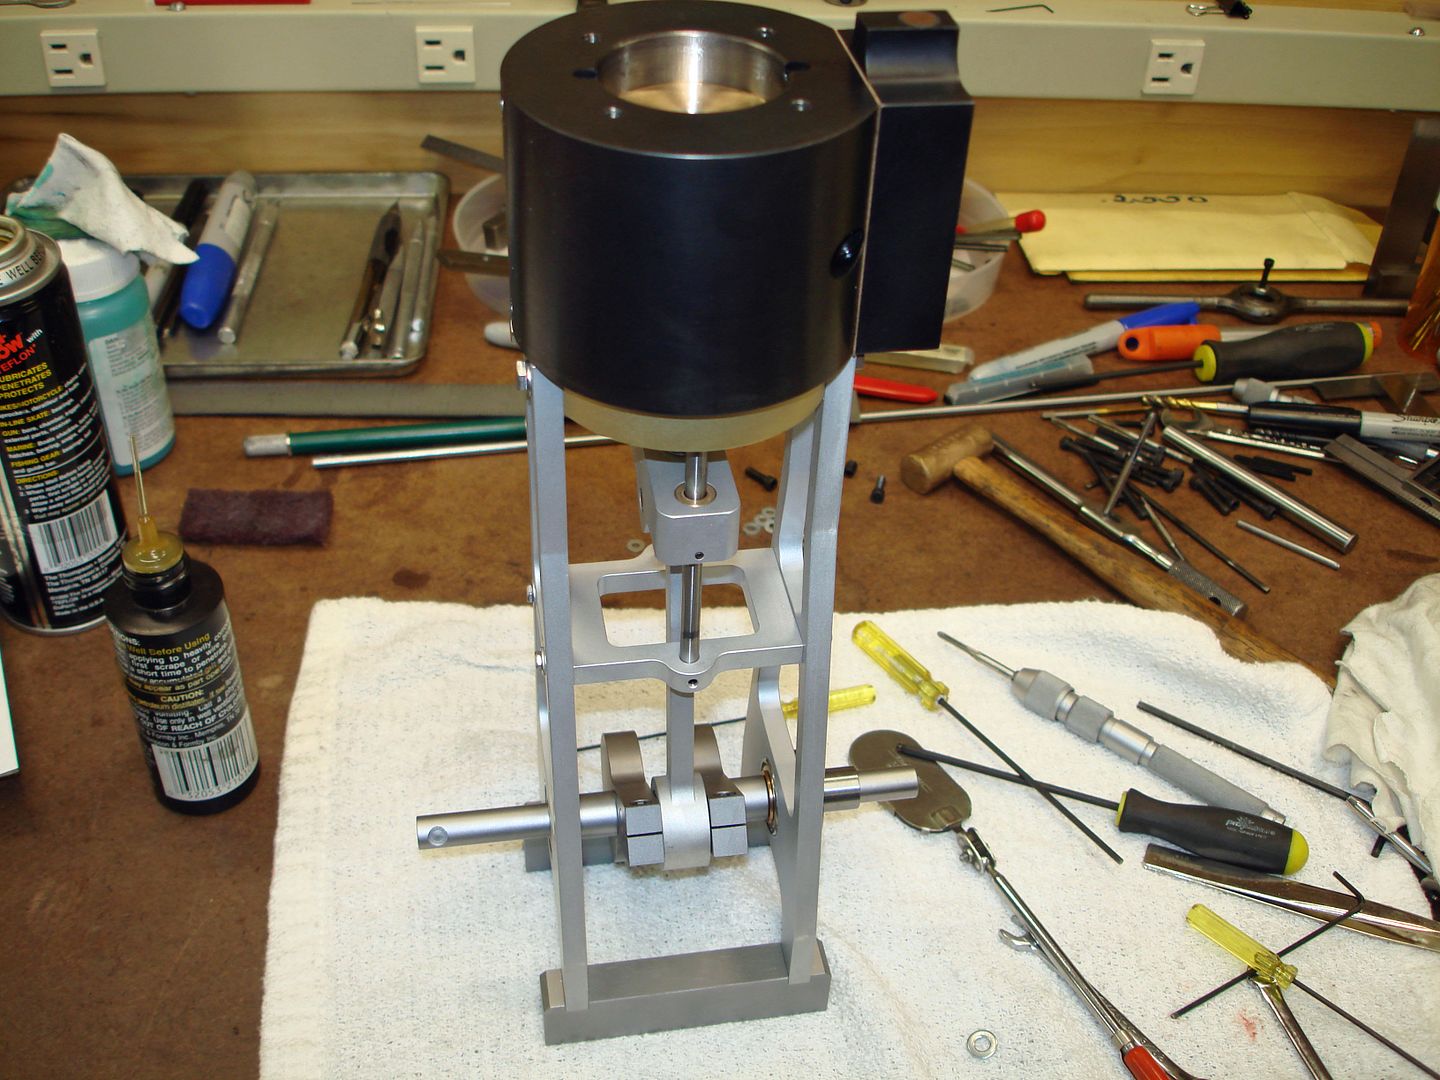
The cylinder is mounted to the side plates and the cross head is attached to the con rod and the guides and bronze bearings are installed. Attached the steam chest to the cylinder, too.
Flywheel get mounted next ...

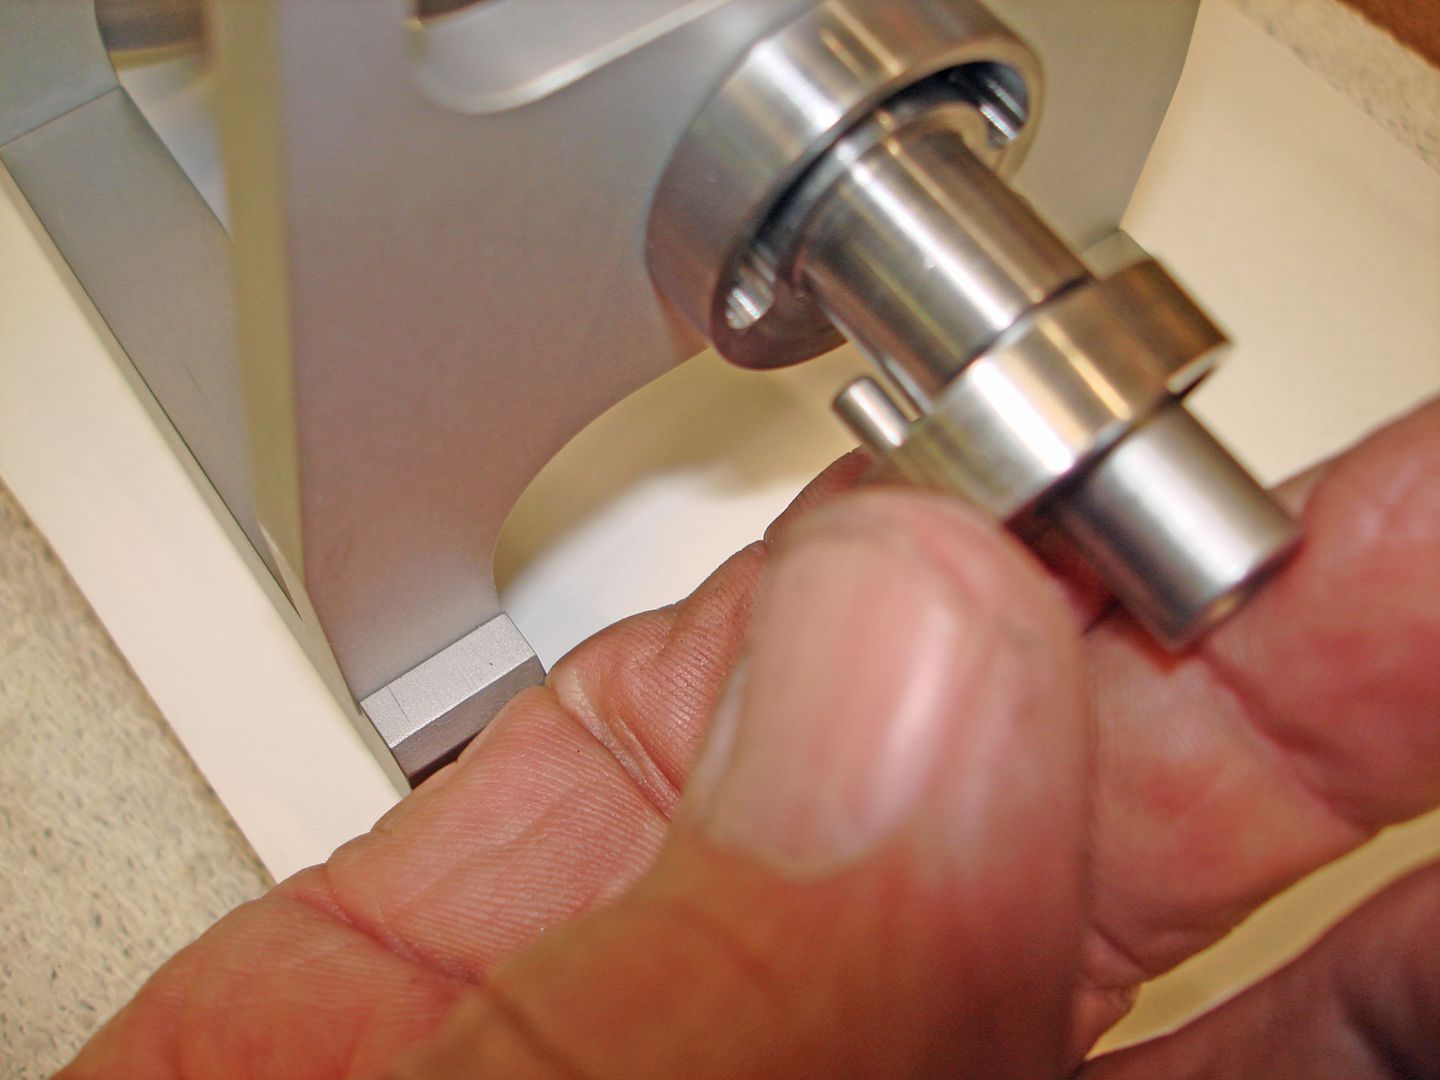
The valving parts are next to be installed on the crank shaft. The eccentric carrier slides on the crank and there is a circular groove I cut earlier for the set screw to bit into so valve timing can be done and not mar the shaft. The eccentric and eccentric follower with push rod go over the carrier and held in place with the brass collar.

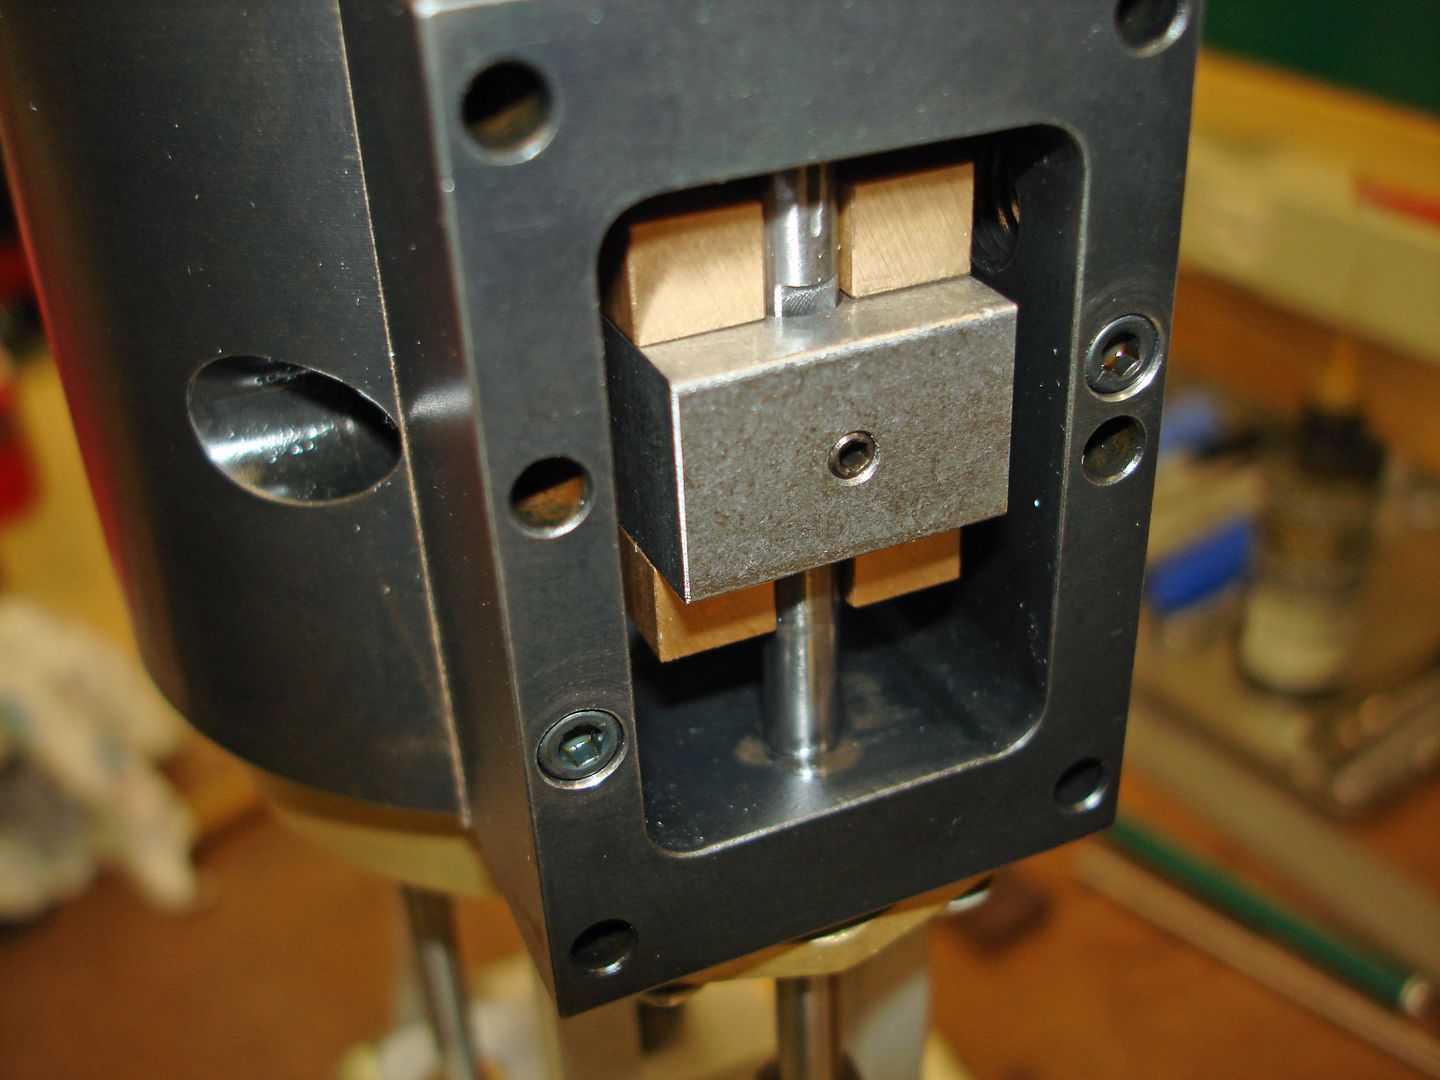
The slide valve assembly goes into the steam chest on the valve rod thru the packing gland with the same o-ring arrangement as the piston rod. The rod ends are connected together with a double nutted stud.
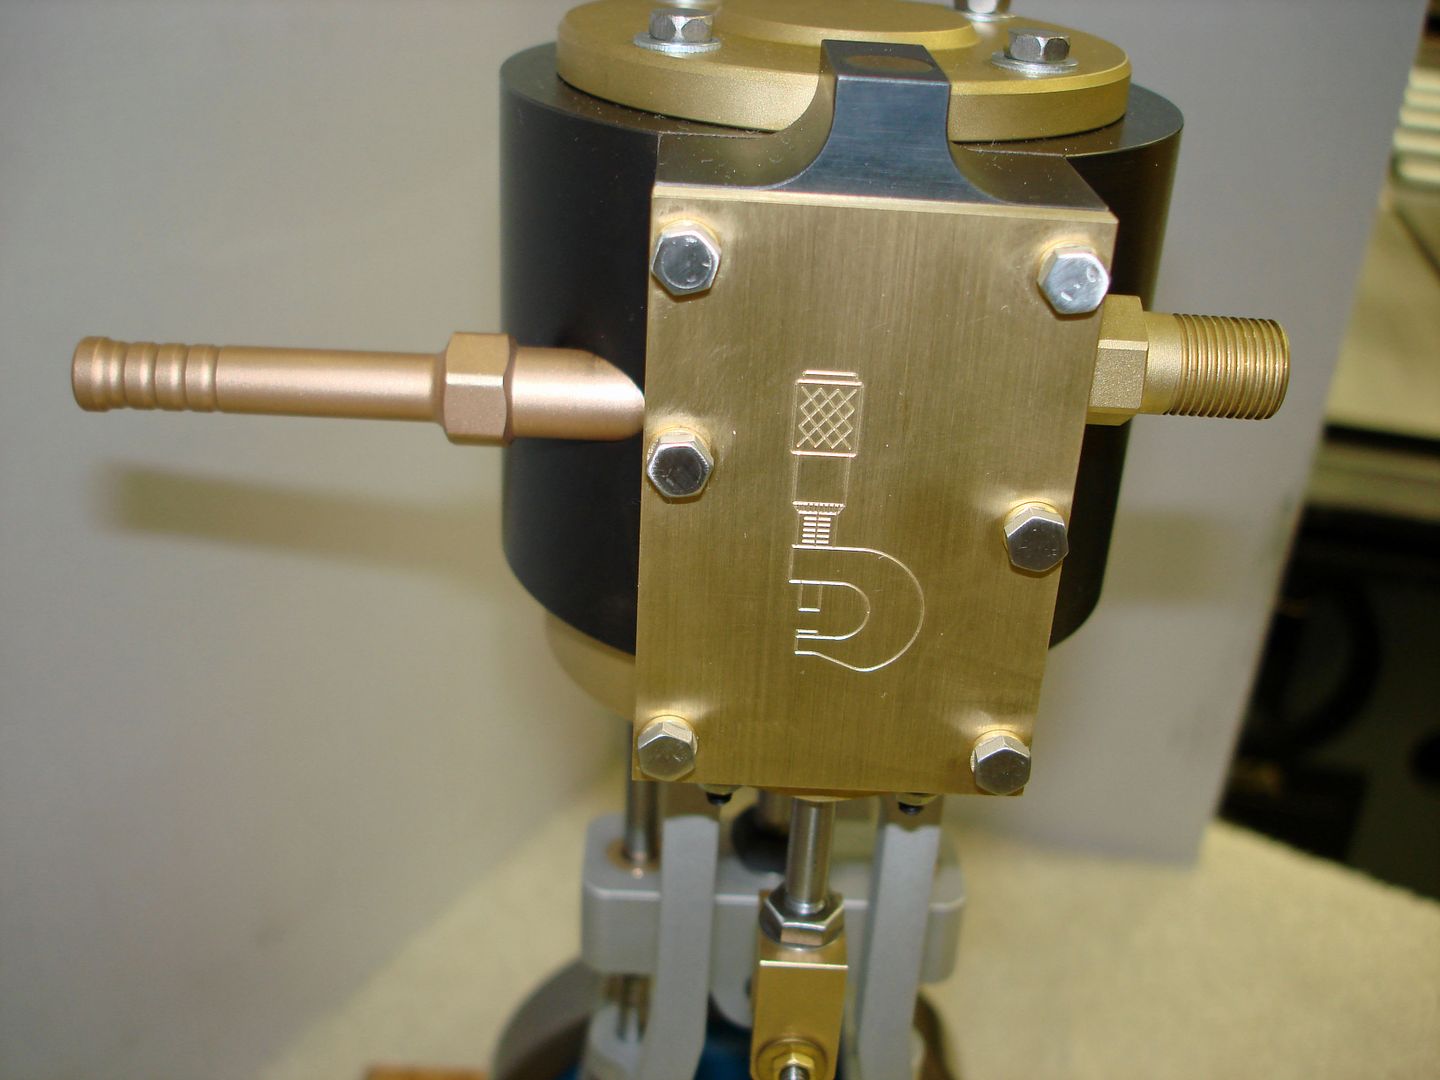
Engrave my micrometer logo on the steam chest brass cover, made a exhaust " pipe " and a inlet fitting for the air brush hose I use on my engines.
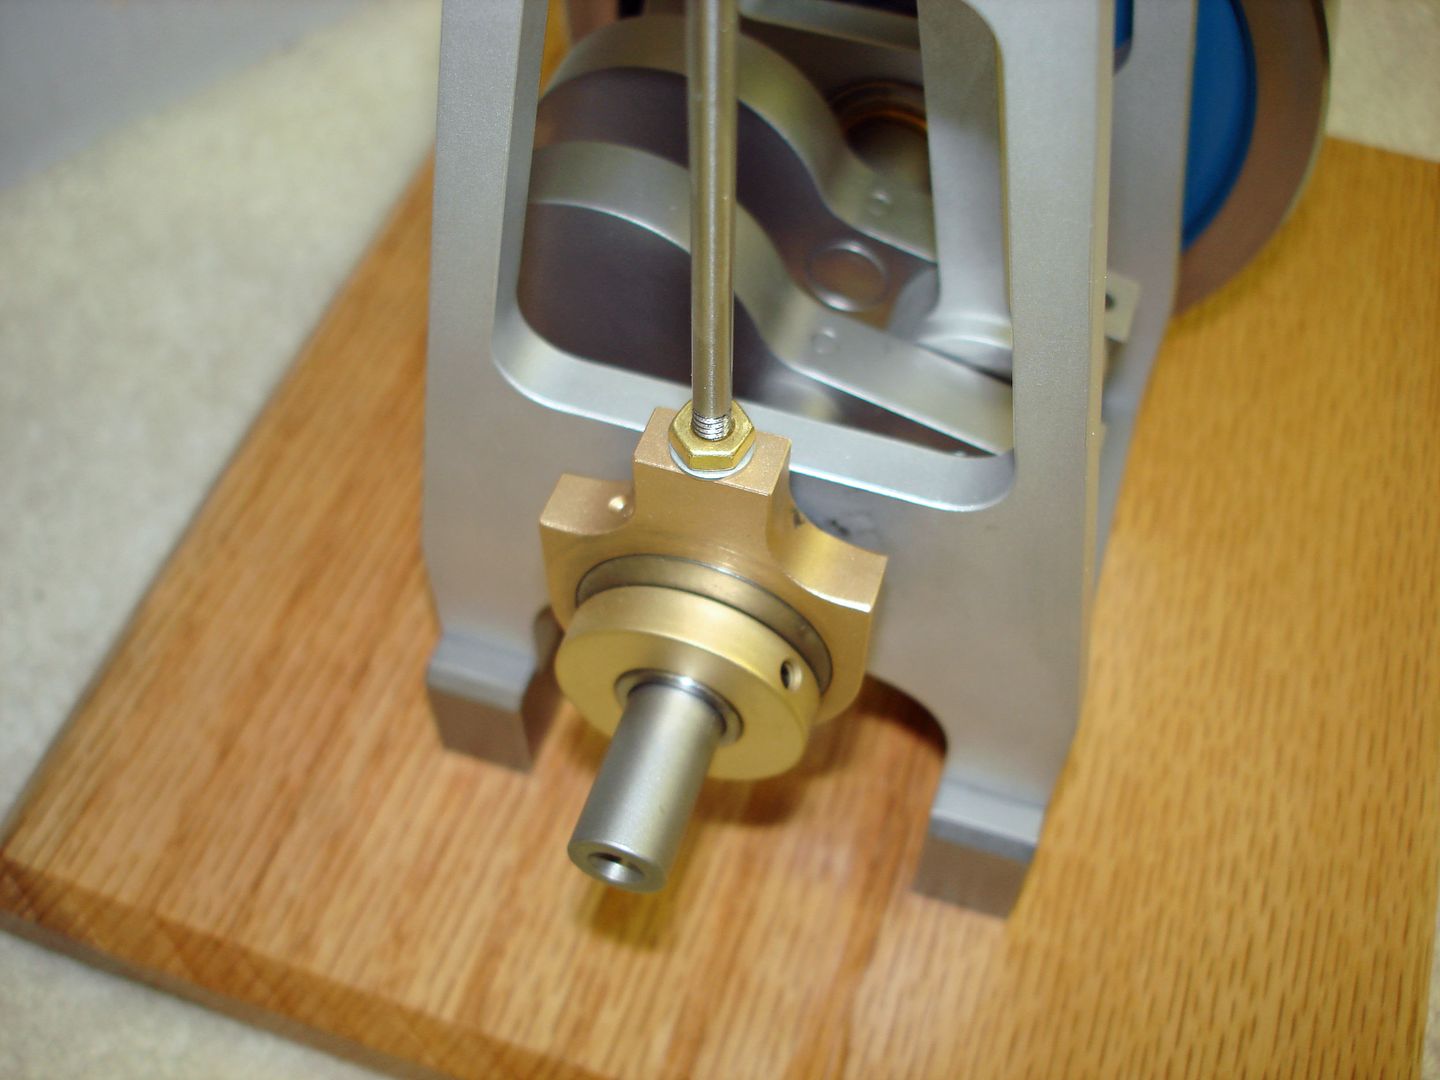
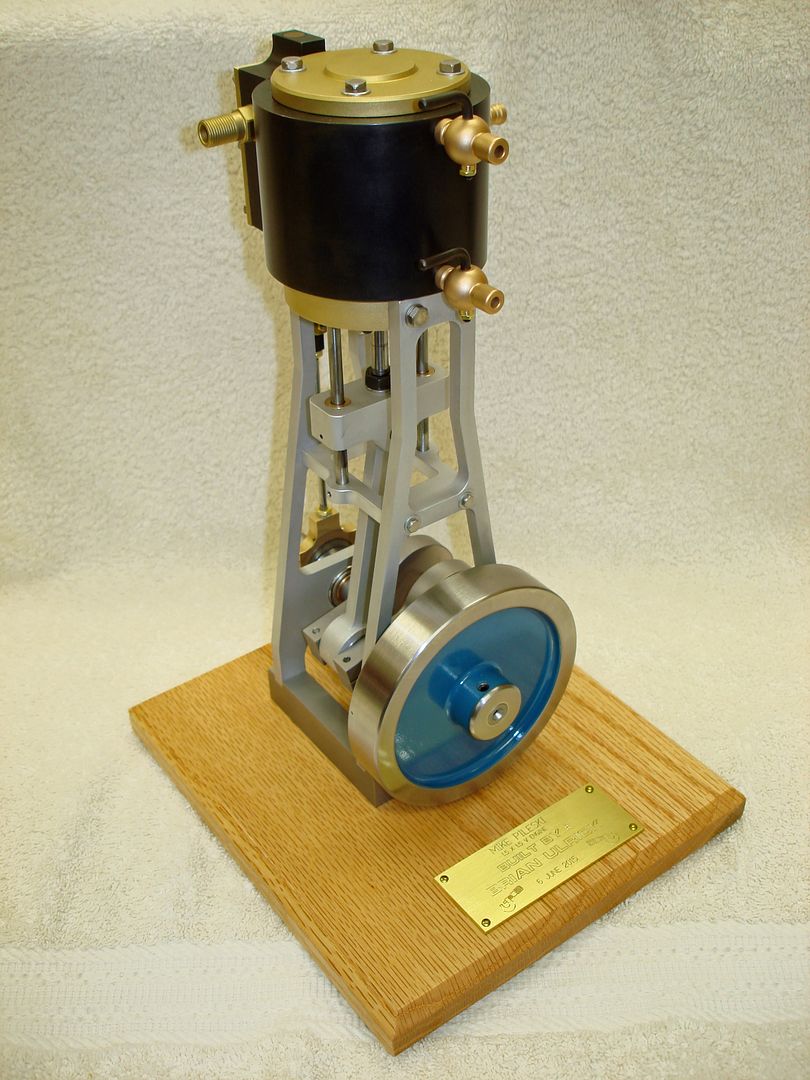
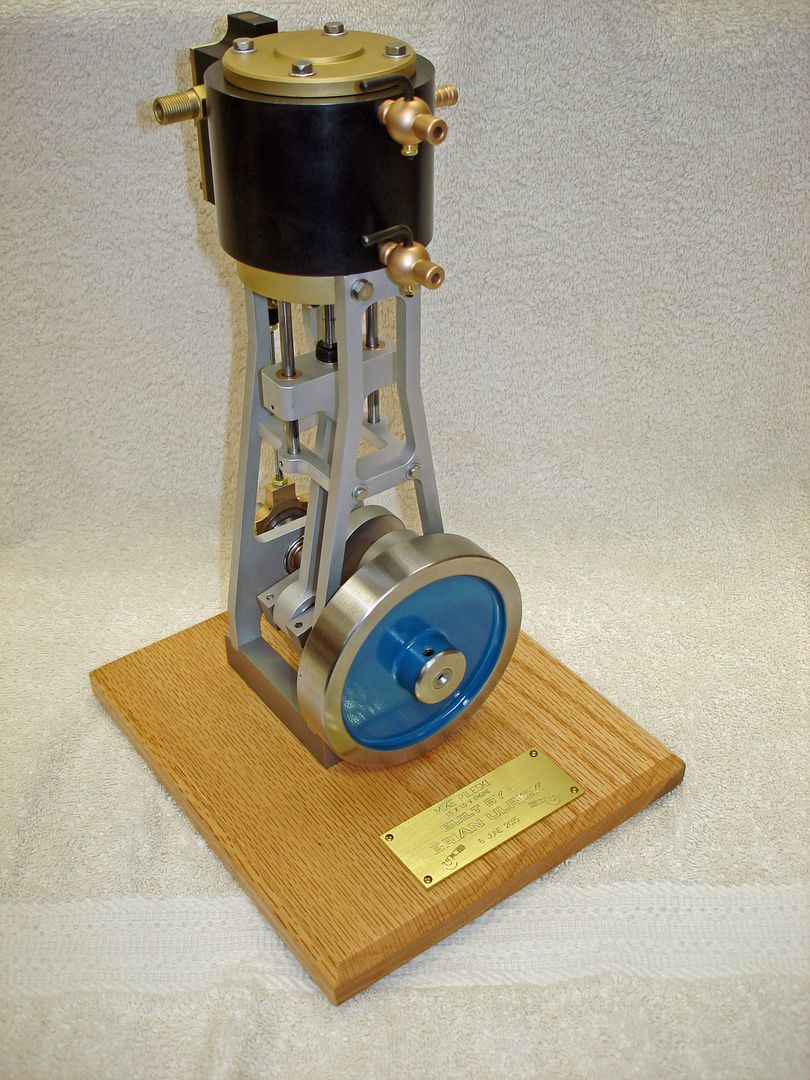
Mounted to a oak base with tag giving credit to Mike's design and my name and build date ...
A couple of video of the engine running. Thanks for all the views !
https://youtu.be/5Pc78agDQVY
https://youtu.be/TRwy6Z0lfLE


The piston has a o-ring with a light fit to the cylinder bore. Everything ready for assembly ...

Started with one of the side frames and crank shaft. Connecting rod bearings greased and the crank assembled.

Opposite side in place and off to the cylinder and bottom. The spot face for the flywheel set screw is visible to the left.

Cylinder bottom fastened to the cylinder and a o-ring in place for the piston rod. The packing gland will apply enough squeeze to seal the rod. Takes very little pressure to work and not bind the rod. Lubed with light weight synthetic grease.


The cylinder is mounted to the side plates and the cross head is attached to the con rod and the guides and bronze bearings are installed. Attached the steam chest to the cylinder, too.


Flywheel get mounted next ...

The valving parts are next to be installed on the crank shaft. The eccentric carrier slides on the crank and there is a circular groove I cut earlier for the set screw to bit into so valve timing can be done and not mar the shaft. The eccentric and eccentric follower with push rod go over the carrier and held in place with the brass collar.


The slide valve assembly goes into the steam chest on the valve rod thru the packing gland with the same o-ring arrangement as the piston rod. The rod ends are connected together with a double nutted stud.

Engrave my micrometer logo on the steam chest brass cover, made a exhaust " pipe " and a inlet fitting for the air brush hose I use on my engines.

Mounted to a oak base with tag giving credit to Mike's design and my name and build date ...


A couple of video of the engine running. Thanks for all the views !
https://youtu.be/5Pc78agDQVY
https://youtu.be/TRwy6Z0lfLE
