Elmer's Tiny

Home Model Engine Machinist Forum

Help Support Home Model Engine Machinist Forum:

This site may earn a commission from merchant affiliate links, including eBay, Amazon, and others.
PhiberOptix said:
Hi Arnold, well I hope you have better eye sight than I have, and I hope you like doing tiny fiddely bits, I am only 42 but have had to break out the magnifying lens several times lol my next projecty should be a zimmer frame (A walker for you in the USA)
Making the the fiddly bits does not worry me - assembly does! Guess I'll have to buy a decent magnifying glass; you're just 5 years older than I am....
Wish I had some of Getafix's magic potion ;)
Regards, Arnold
 
here's mine
smallw.jpg

the only problem I had was soldering the pivot pin. Elmer says to turn up a close fitting bit of ally to stop the solder going into the bore, I must have got it too hot as I couldn't get it out again, so I had to bore it out sligtly larger and make a new piston, the pin promtly fell out! so I made a new one of those from brass and put a little 10BA thread on it, that worked! it runs like a bumble bee!

as to rounding the cylinder I just cut 2 45 degree chamfers on the mill ,then filed it to shape, as for the column, I left the extra length of steel that is held in the chuck to hold it in the mill, did the flats on there ,rechucked in the lathe and parted it off, it is also a little tricky getting the crankshaft pins nice and square so watch out for that!

hope this helps someone....Giles
 
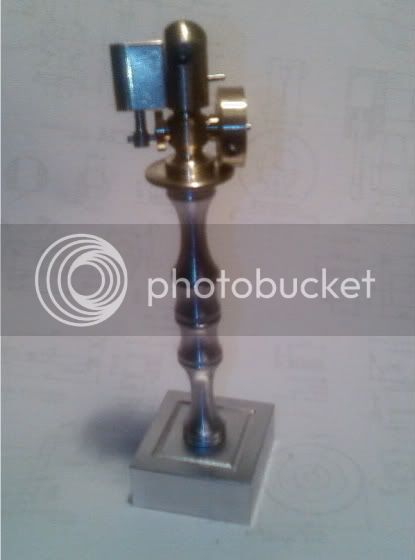
got quite a few of the little tasks done today, here is the progress so far:-

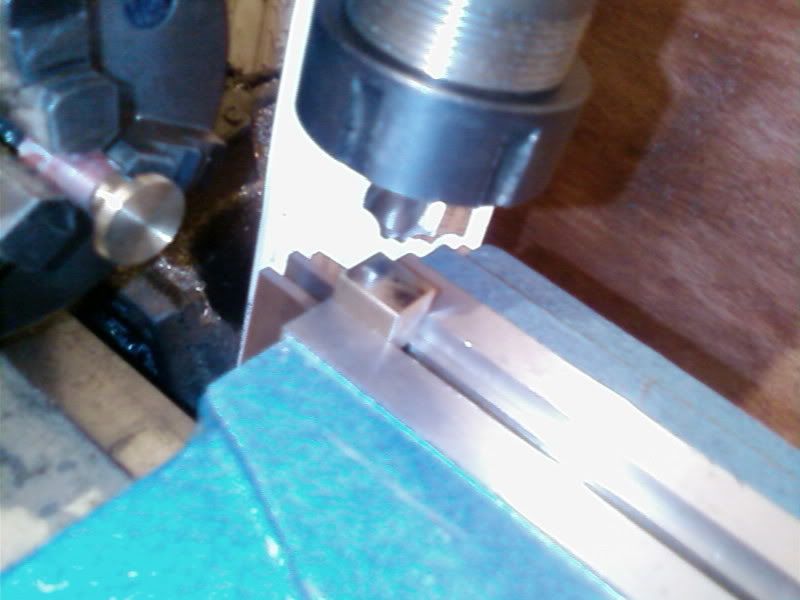
Setting up for cutting the rads on the back of the cylinder

SP_A0349.jpg


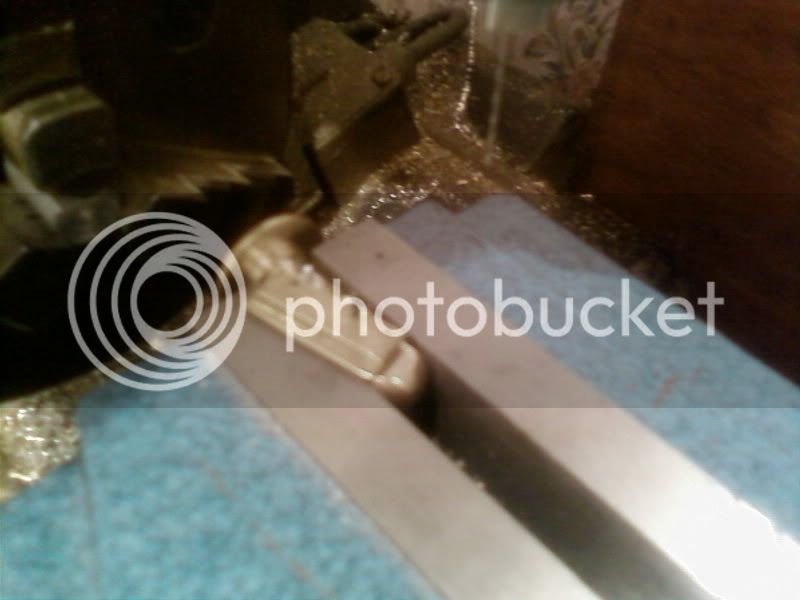
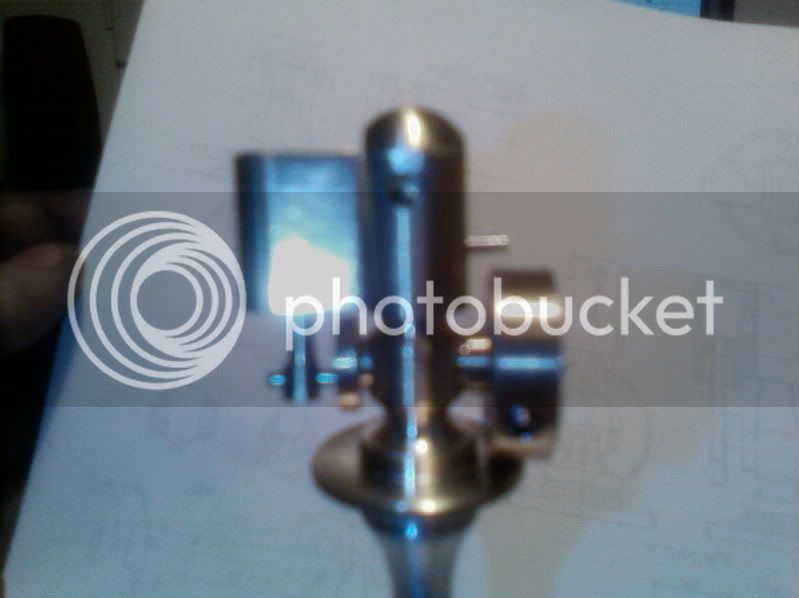
Rads are now cut on back of cylinder

SP_A0358.jpg


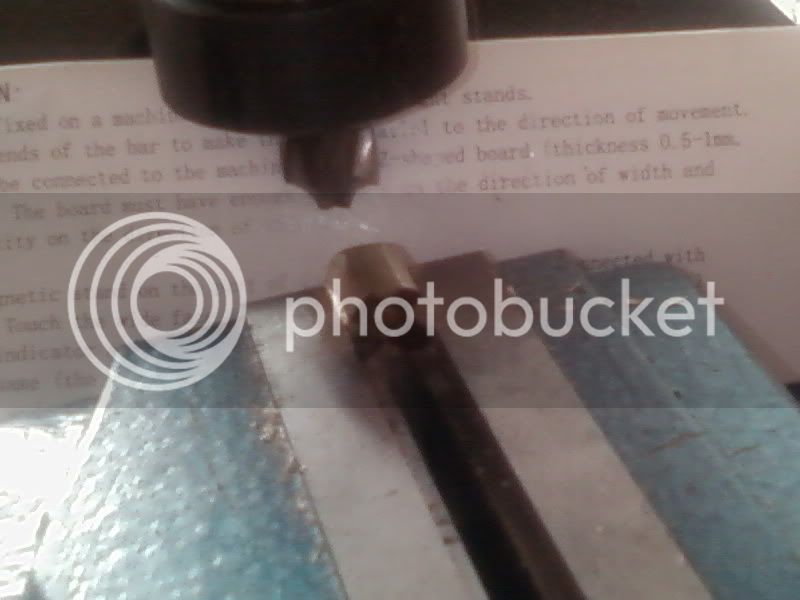
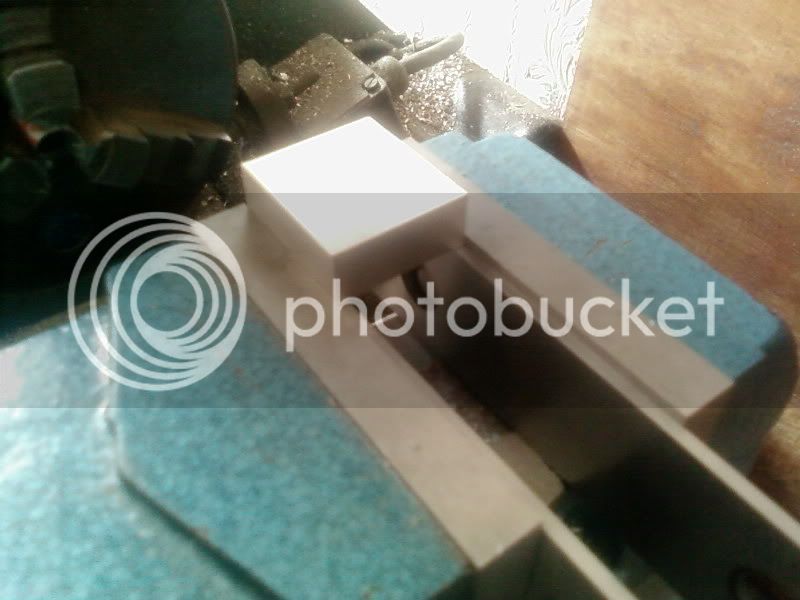
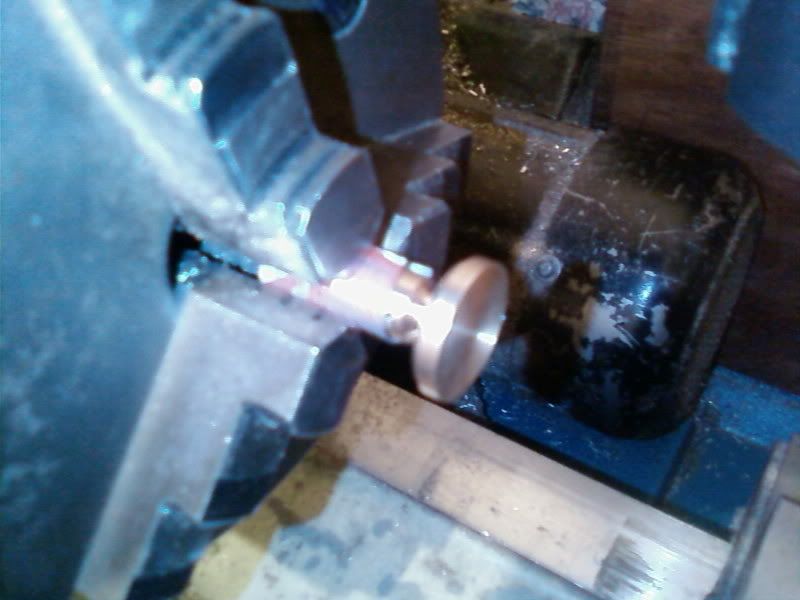
Ali block been fly cut to form pedistal base

SP_A0361.jpg


SP_A0357.jpg


ceter drilled, drilled and tapped M4 ready for pedistal column

SP_A0362.jpg


I ran a ball nosed cutter around pedistal base just for looks

SP_A0363.jpg


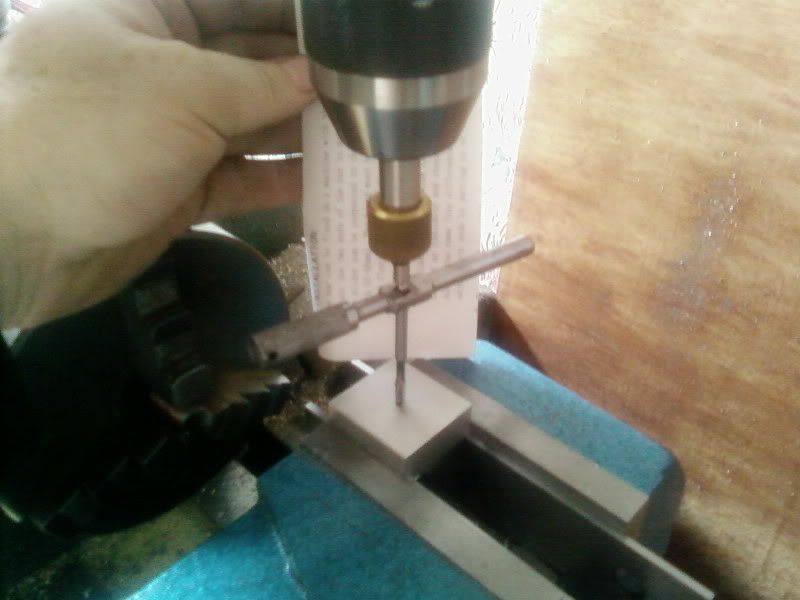
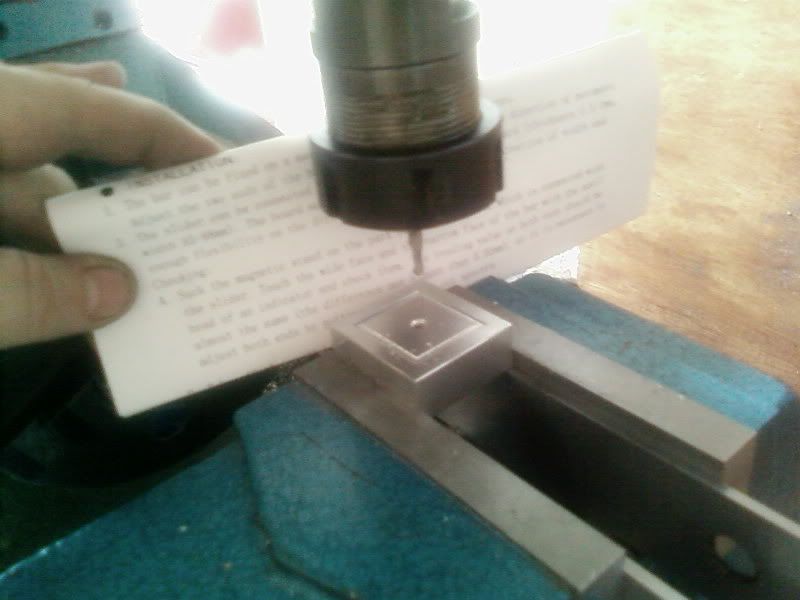
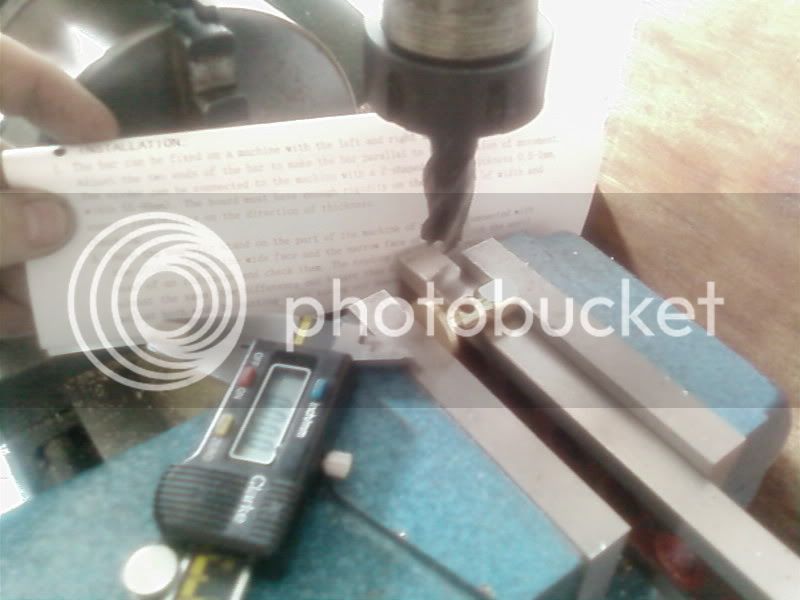
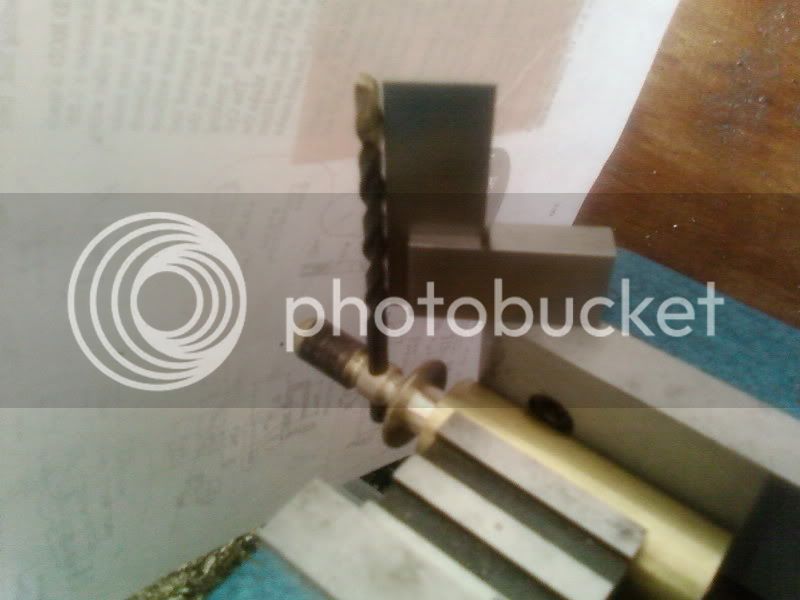
Drilling Jig made - this is the marking out phase

SP_A0365.jpg


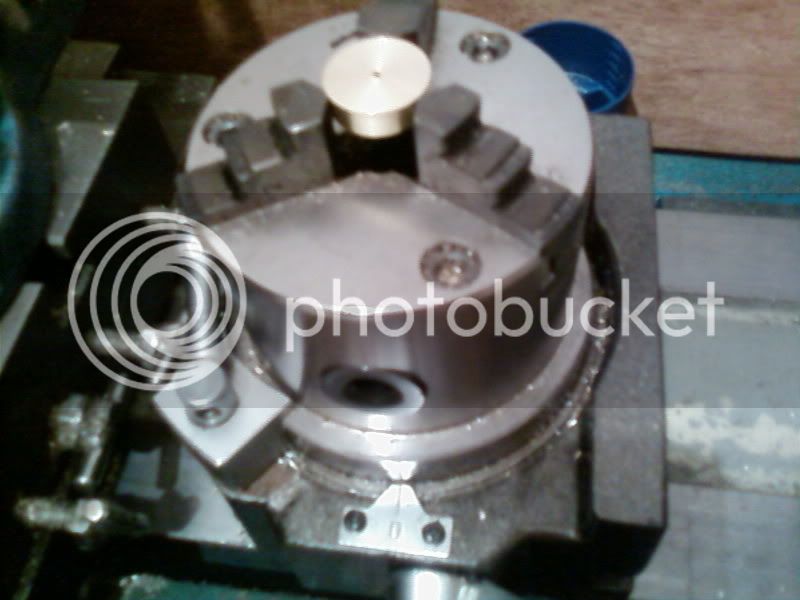
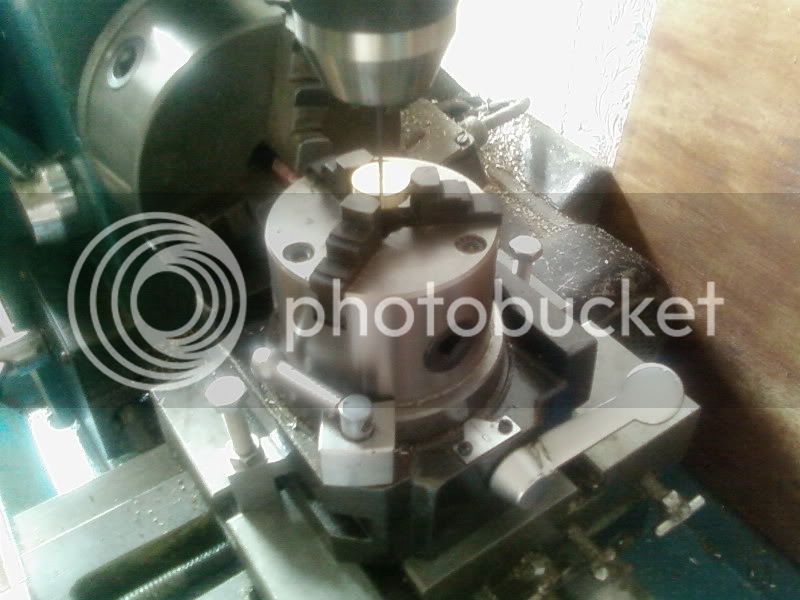
Fly wheel set in rapid indexer

SP_A0351.jpg


fly wheel been centered with milling head

SP_A0359.jpg


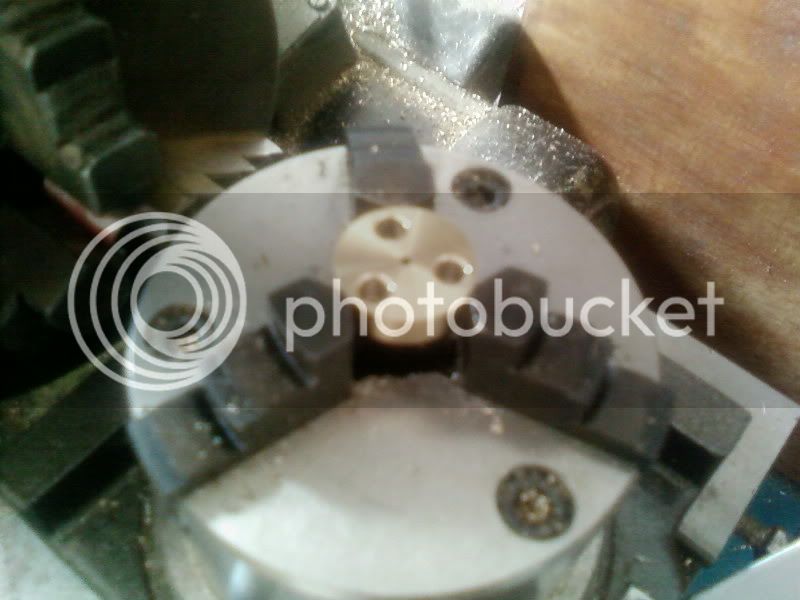
fly wheel been drilled at 120 degree intervals

SP_A0360.jpg


drilling and tapping hole in column for pedistal attachment

SP_A0350.jpg


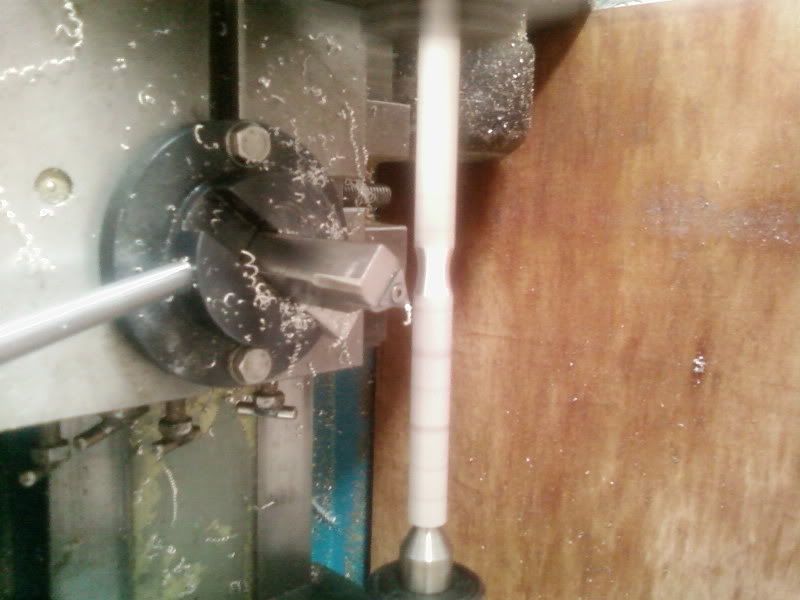
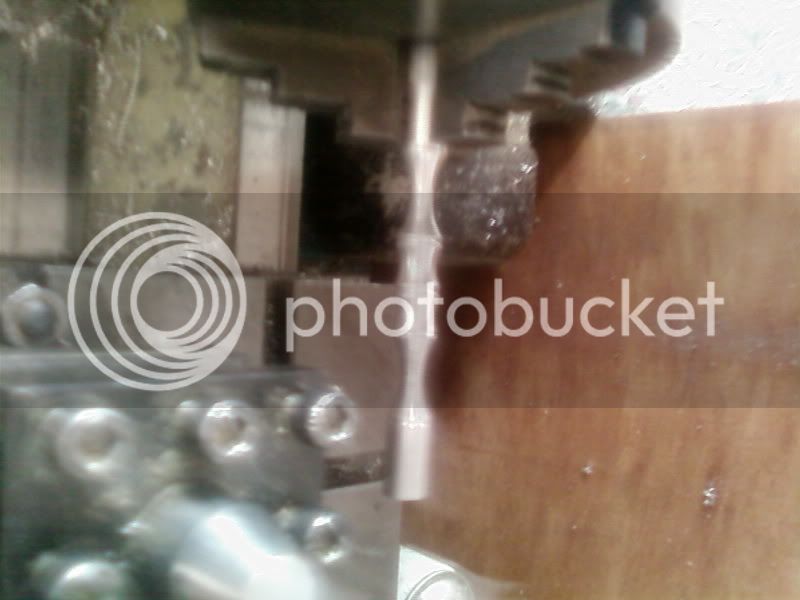
milling flats on the column

SP_A0364.jpg


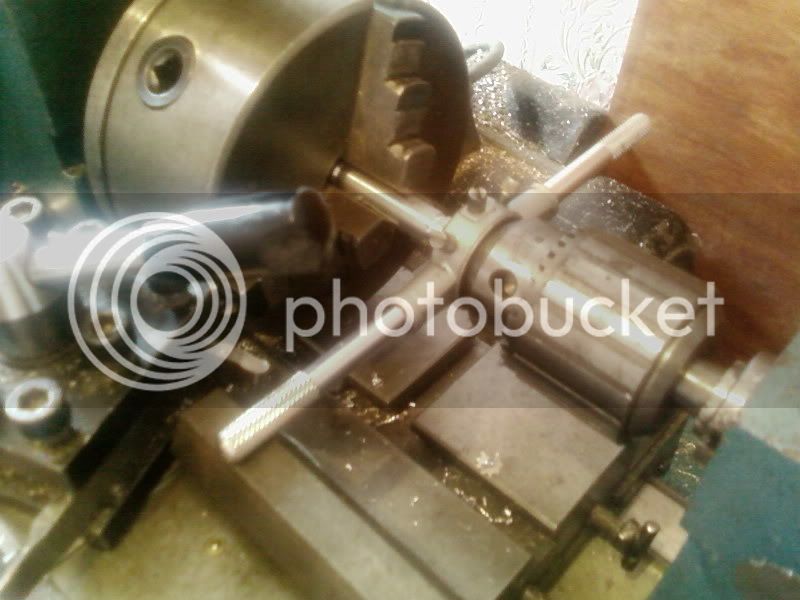
putting threads on both ends of pedistal column
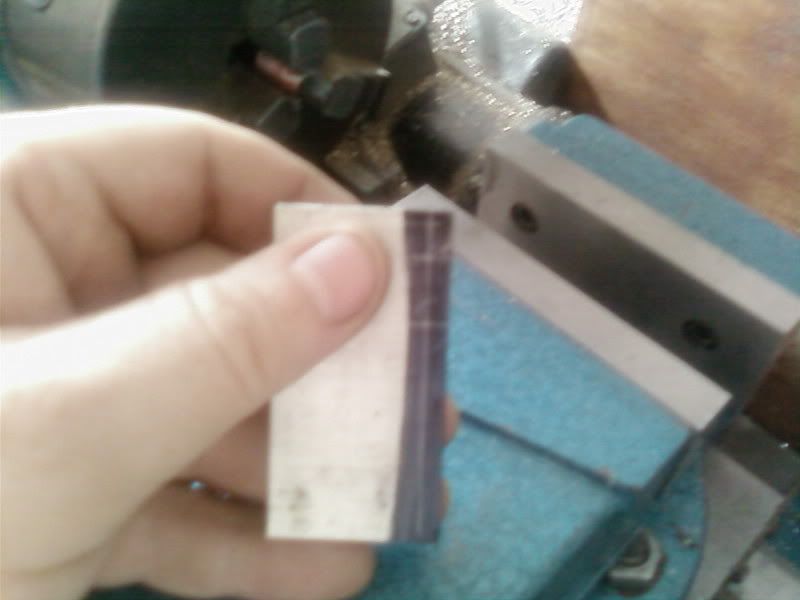
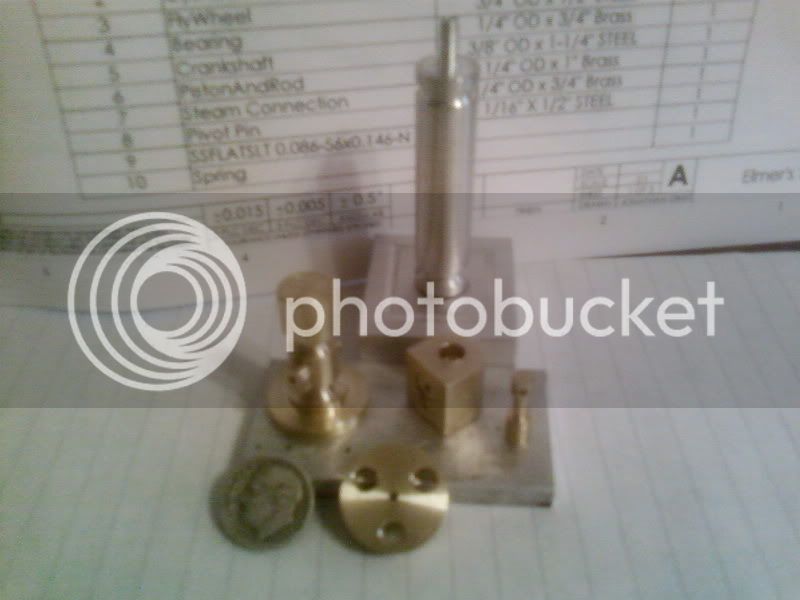
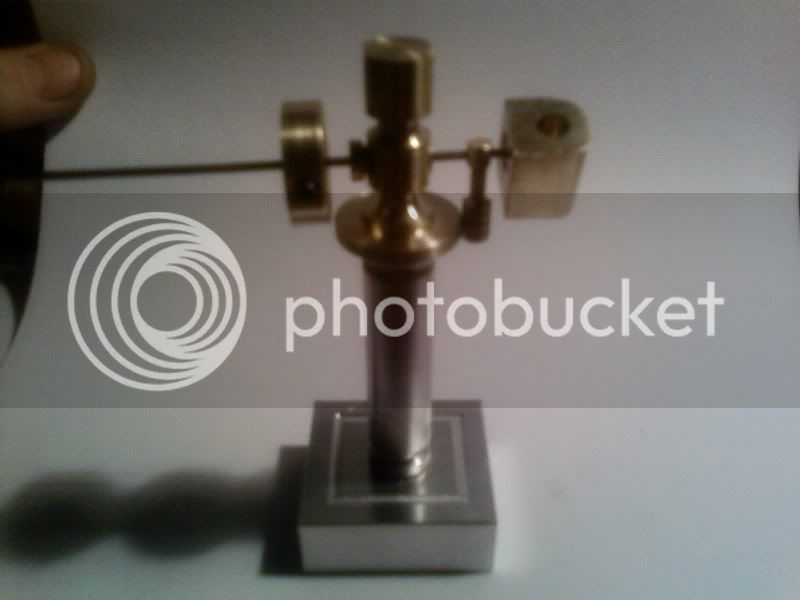
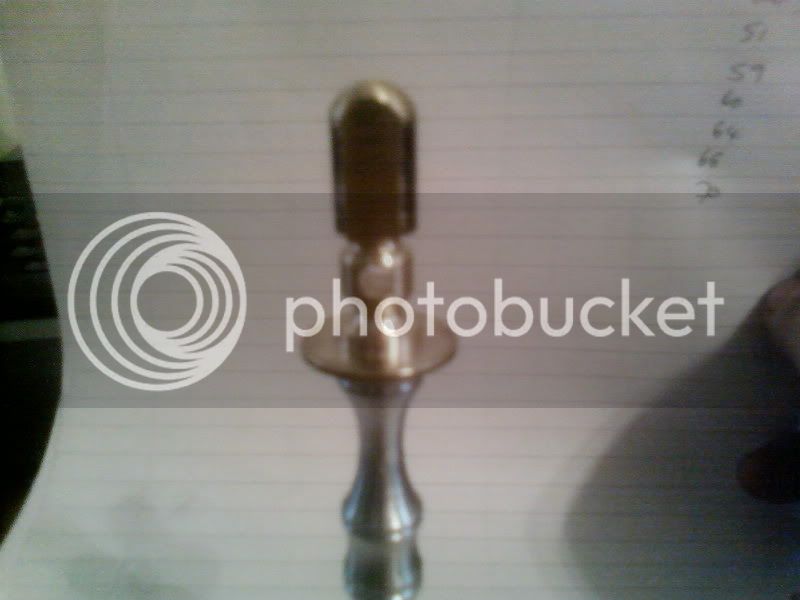
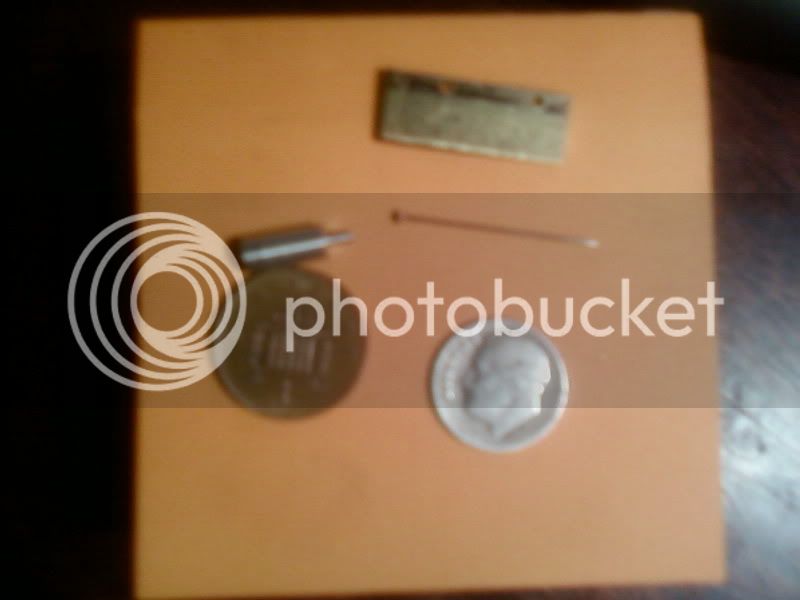
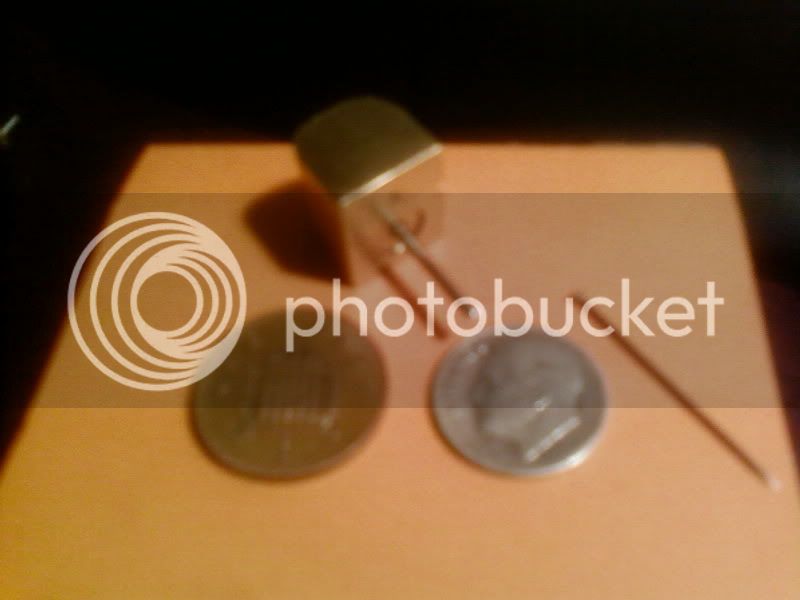
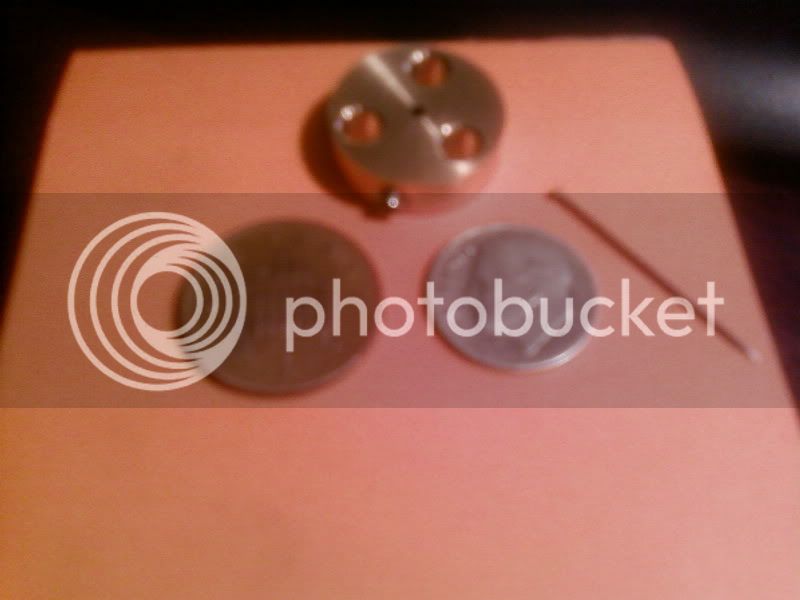
SP_A0366.jpg


the bits sof far
SP_A0370.jpg


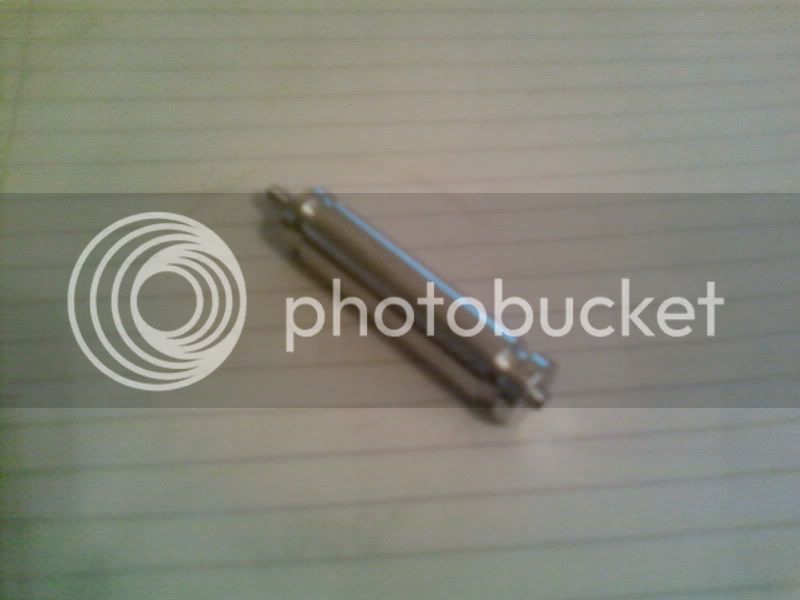
at this point my eyes were shot so stopped here for now, I am having dificulty in locating some 1/16 OD steel for the crankshaft and pivot pin, I think I will go and buy a few 1/16 drills and sabotage them

tomorow
I need to do the locking grub screw in the fly wheel
drill the column using the jig
turn down a crankshaft
buy some 1/16 drills
locate a spring
make an air inlet attachment
make a locking pin for the pivot pin
work out how the hell I am going to test it other than with lung capacity ;)
 
Forgot to say I had also drilled a hole in the piston rod to connect to the crank shaft
and drilled and reamed the hole for the piston in the cylinder, as well as the hole for the air inlet
these can be clearly seen in the final pic
 
Good progress Thm: Your'e nearly there!
I was about to suggest you try and find "piano wire" from a hobby shop; that would work well for the axle and crank pin, but might be a bit difficult to cross-drill for the pivot arm's spring retaining pin...

Regards, Arnold
 
arnoldb said:
Good progress Thm: Your'e nearly there!
I was about to suggest you try and find "piano wire" from a hobby shop; that would work well for the axle and crank pin, but might be a bit difficult to cross-drill for the pivot arm's spring retaining pin...

Regards, Arnold

Thank you Arnold, I had thought of guitar string, coat hangers, pushbike wheel spokes, welding wire, i have even been looking in the mrs's sewing box alas the needles are tapered :( i cannot find anything suitable looks like its going to be drill bits after all

 
piano wire is good as it is high carbon steel an ca be anealed, thats what I used

Giles
 
gilessim said:
piano wire is good as it is high carbon steel an ca be anealed, thats what I used

Giles

Thank you Giles, If all else fails then Piano wire it is

tho I am still looking for suitable alternatives,
I had a brainwave, dashed upstairs and
started hunting thru my pop rivits, still no match
then outside and tried the gardening wire alas no joy :(
I even checked the anchor wire on some sea fishing weights

ooh well tomorrow we will see which is cheaper a 1/16 drill or a piano wire

 
Phiber,
Do you have any acess to 1/16" drill rod (or silver steel). One length should last you quite a while and as noted in other posts a supply of various sizes is very handy to have around for shafting, pins, etc. If that isn't an option you might consider a dowel pin. While too hard to machine usually, they can be bought in various length and ground to the length you need. Just a though or two.

Bill
 
WhoooooooooooooHooooooooooooo th_wav
Mission Accomplished

SP_A0371.jpg


I found a length of wire in one of my old tool boxes,
it looks like it was used to hang some jig on while the welding cooled
its a good 8 inches long too so room for error

Thank you to:- Giles (gilessim), Bill (Wlindiii), Arnold (ArnoldB) :bow:
 
Great progress.
Even better...great line of pics showing your steps.
Thanks.

[EDIT: A dime? You're in the UK right? Stealing from the wife are you?]
 
zeeprogrammer said:
[EDIT: A dime? You're in the UK right? Stealing from the wife are you?]

Yes Zee, I am in the UK, The Dime is one i kept from my last trip to the USA as it is one of the old silver ones, not nickel one or whatever they are made from nowadays, and as so many members on here are from the USA, I thought it would be better to use that coin rather than one they wouldn't recognize ;)
 
PhiberOptix said:
as so many members on here are from the USA, I thought it would be better to use that coin rather than one they wouldn't recognize

A bit of a hijack of your thread here...but just wanted to comment...

Wife has been in Belgium for past year and I've gone over some 4 times now. What we notice is...we want to practice our (wife) French or (me) German...they want to practice English. :big:

I don't know what others on the forum think...but I like seeing the coins from other countries. Might make scale a little difficult but I doubt it makes much of a difference.

For that matter...it's one of the many things I like about the forum...seeing the cultural differences.

Not that it really matters in the scheme of things...

I apologize that another American couldn't immediately identify the dime. :big:

Enough of a hijack. I'm enjoying this thread.
 
Disaster :( going back up the stairs with the engine and tools in hand I stumble and snap the column stand from the base and gouge a nasty score from the engine cylinder, ooh well I went to the workshop and
re drilled and tapped the base, made a new and even batter column, and as the gouge was so deep I made a new cylinder too, this one has the optional dome on the top, I also made the crankshaft disk so all in all I am one step up from where I was this time last night

The broken Stand Column
SP_A0375.jpg


Turning down the stand column with a ball turning attachment

SP_A0372.jpg


Almost Done

SP_A0373.jpg


Aligning the column in the vice with v block and set square

SP_A0374.jpg


The new column in situ on the base

SP_A0377.jpg


New engine column in situ on the base column

SP_A0378.jpg


Crankshaft disk with scale coins for 'Zee' ;) the disk in the one with the arrow pointing at it

SP_A0376.jpg


Maybe tomorrow she will be finished....

Andy
 
Sorry for the disaster but nicely done new parts.

Thanks for orienting the eagle correctly. :big:
Sometimes I should keep my mouth shut (er...fingers quiet).
 
Drilling the gas ports using a jig, I mislaid the original jig when i stumbled so made a new one, then the wife found it in one of her shoes at the bottom of the stairs (sods law)

SP_A0380.jpg


the new jig and locating pin

SP_A0382.jpg


cut the wire for the crank shaft and inserted to the disk

SP_A0381.jpg


wire cut and inserted into cylinder, was a real tight fit had to use a copper hammer to tap it into position, I don't think i will be soldering here ;)

SP_A0383.jpg


The grub screw on the fly wheel is a tad too long which stops the flywheel rotating past column base, I will rectify this tomorrow

SP_A0384.jpg


Everything assembled - minus spring and retaining pin (because I haven't drilled the wire yet)

SP_A0385.jpg


SP_A0386.jpg


so tomorrow i need to :-
drill the wire
make a retaining pin
locate a spring
shorten m3 grub screw on flywheel
make a gas fitting for the intake on the column
TEST
video


Wow, that looks great! I wish all of MY projects would get better-looking when I drop them.
 
Awesome. Gee you work fast.

I'm glad you didn't get hurt in the stumble. Sounds like it was a bit more than that.
 
zeeprogrammer said:
Awesome. Gee you work fast.

I'm glad you didn't get hurt in the stumble. Sounds like it was a bit more than that.

Nope the only thing to get hurt was my pride, been as I am a Diabetic I should have eaten sooner my fault,
its like driving the car with the fuel guage in the red thinking "Oooh I dont need to refuel yet, ill make it"
just as the engine starts to splutter.
But it gave me the chance to 'improve' a few things

Tomorrow I have to drill thru a 1/16 inch wire - This I am not looking forward too, Just wish my eyes had Zoom lenses!!!

 
Back
Top