A different opposed piston engine---

Home Model Engine Machinist Forum

Help Support Home Model Engine Machinist Forum:

This site may earn a commission from merchant affiliate links, including eBay, Amazon, and others.
Holy Crow!!! Look what showed up at my house today. These are not the original arms that JWCNC was going to build for me. A gentleman in Kansas said he was so anxious for my build to proceed that he cranked out these two arms and sent them to me air express!!! I know that JWCNC has been working on a pair of arms for me, but has ran into some unrelated problems that are going to delay them. If he does manage to finish the arms he has started for me, I will pass them on to the next person who can show me that they are seriously building this engine. So---Thank you BIG BIG Mr Kansas!!!
 
They look really good Brian. Are you ready to fire it up?

Cheers,
Phil
 
Not yet. I have to make and mount bushings and machine the slots in the bottom of the pistons.--It's getting close--Hope everything fits up!!!
 
Well, there we go boys and girls---The arms are a perfect fit!!! I have to cut clearance slots in the bottom of the cylinders, and a bit of "fettling" here and there, but I'm very pleased with what I am seeing.
 
Wow. Those look sweet.
Looks like your Birthday and Christmas both fell in January this year. Passing on the spare set? It can’t hurt to have a little good Karma in the old machine shop bank account.
This can be a frustrating hobby, trying things that I honestly don’t know how to do, but the willingness of people on this site to help makes a real difference.
WAY TO GO KANSAS ! Thm:

Kansas_Flag_b.gif
 
BMAC2---I've grown older and a little more cynical with the passage of time. Many times over the last 5 years people have made parts for me, just because they are very nice guys, and genuinely want to help. In the essence of "Tit for Tat" I decided I should be a good guy and do the same thing. Two people on the board were making Websters last year, and they had no way to make the gears. I cut the gears for both Websters and mailed them out to the fellows. Neither of them finished their engines.--Perhaps I shouldn't care, but this pi$$ed me off to no end. I will give the spare set to someone who needs them, but only when I see they have invested enough time to have built at least 2/3 of the engine first.---Brian
 
So--The last two cuts, opening up the slots in the cylinder bottoms for the arms had me concerned. I sat here last night thinking of making special fixtures to bolt the cylinders to while I machined them, thinking of dismounting the cylinders and holding them in the chuck on the rotary table to machine them---I didn't sleep worth a damn thinking of how to do this. This morning I got up, bolted my angle plate to the mill table, clamped the engine to the angle plate, and inserted a 4 flute 1/2" endmill in the mill. I centered the cutter in the cylinder with my electric edge finder, Sat my tool height at "0" by touching the tip of the tool to the end of the cylinder and setting my digital vernier depth gauge on the mill, and then took 0.010 depth cuts back and forth across the area I wanted to cut away. I set the stops on my x axis so I couldn't overtravel, (didn't want to cut into the far side of the cylinder) and made successive passes to the depth of .438". Then I offset the "Y' axis in .005 increments and opened out the slots .030" in each direction to get the 9/16" width I wanted.--worked like a charm!!! Now I have to lightly file all the sharp edges created by the cuts (especially on the inside so I don't cut the Viton rings when inserting the pistons) and I can start reassembling things.----and Oh yes, while I was making those cuts, I had a wad of toilet paper shoved down the cylinders to keep most of the chips and dust out of the rest of the engine.

 
Check out this movie. It is AWSOME!!! As I had expected, there is a bit of "fettling" with a hand file required around the lower corners of the "arms" that fit into the cylinders but really not much. When I look at a cross section of the assembled cylinders with my 3D software, I knew that the underside of the arms cleared the bottom inside of the cylinders at the centerline, but since the cylinders are round I expected there would be some slight interference with the bottom corners of the arms. Nothing that 5 minutes with a file doesn't fix. I don't have the Viton rings on the pistons in the video. It will "stiffen up" a lot after the rings are installed. I still haven't made a proper check for compression, but will get to that. Now I will time the valves and then the ignition, and then, well,---we'll see!!!
 
Hi Brian:
Probably my computer but, the audio on the video is fine but the video is stop action and I only get about three frames of the engine in action. It doesn't play on line. I had to download it.
Sort of strange.
Not to worry. I'll wait for the final "fire up".

Excellent work and done in record time I'd say.

Sage
 
I got the valve timing set, but then had to stop and make 4 pivot pins for the ends of those strange shaped arms. Normally, I just cut short pieces of cold rolled shaft and hold them in place with a dab of 638 Loctite, but in this case, if one of the pins ever worked out while the engine was running, it could do some real damage. Right now I'm waiting for a call back from my bolt store, to see if they have any 3/16 external e-clips.
 
Last edited:
Brian
That is one phenomenal piece of work you've got going there.
Waiting with anticipation for seeing it run.
Many thanks for your continued contributions to the hobby.
Ernie Johnson
 
Very cool engine Brian. Can't wait to see it run under its own power.

Cheers,
Phil
 
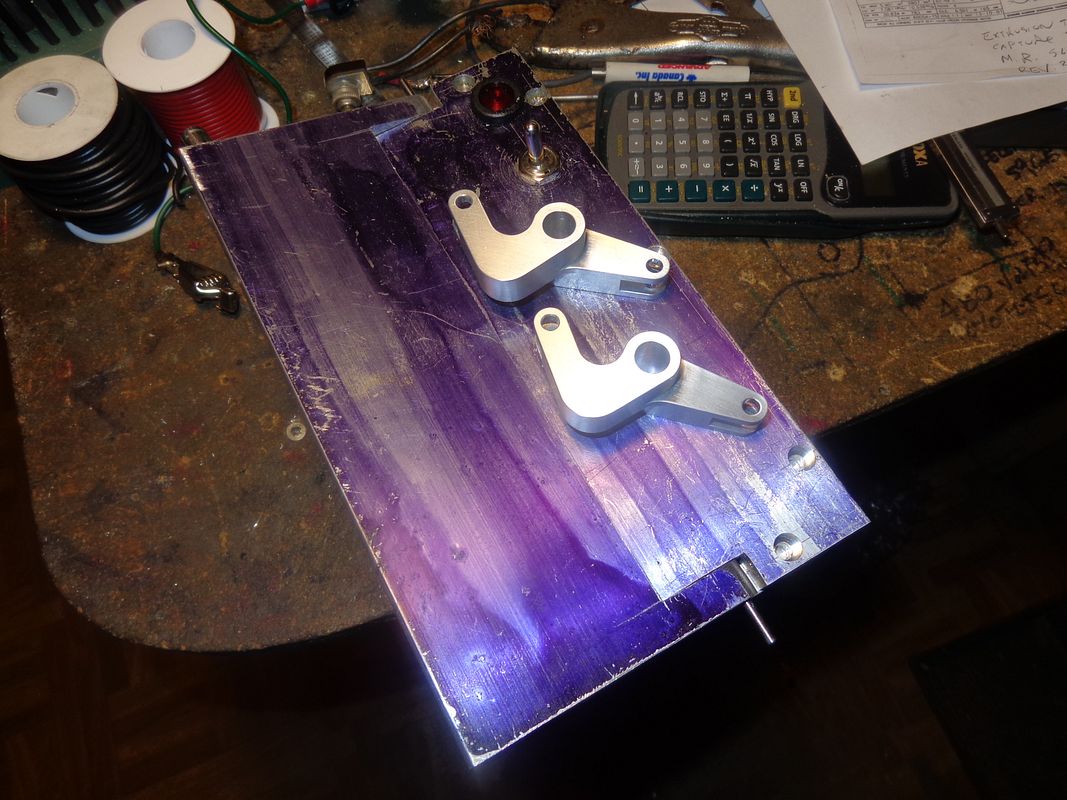
So---I don't think I can be any readier than I am now. The valve timing is set. I do that by loosening off the grub screws in the crankshaft gear so that I can rotate it by hand without the crankshaft moving. Then I turn the crankshaft over in the direction I want the engine to rotate until the pistons are about 1/8" from being at bottom dead center. Then I rotate the crankshaft gear in the same direction with my fingers (the camshaft gear will rotate in the opposite direction) until the lobe on the cam is just at the point where if it went any farther it would start to lift the exhaust valve. Then I lock down the crankshaft gear grubscrews, and that's all there is to valve timing.--The ignition timing is set. I do that by loosening off the grub screw in the ignition cam so the cam rotates free of the crankshaft. I keep turning the crankshaft in the direction I want the engine to run until the piston is about 1/8" before top dead center. Then I rotate the ignition cam in the same direction . If you have seen the drawing of this engines ignition cam, you will see that it is perfectly round with a flat machined on one side. Whenever the rubbing block on the cam is riding up on the main diameter, the points are open. When the leading edge of the flat gets to the rubbing block on the points, they will close. The stay closed until the trailing edge of the flat spot lifts the points open again.--And that (the points opening) is what collapses the primary "field" in the coil and induces a high tension spark in the secondary windings of the coil. I set the position of the cam so the points begin to open at about 1/8" before the pistons reaches top dead center, and lock down the ignition cam grubscrew. ----I have filled my new fuel tank with a 40:1 mix of Coleman fuel and 2 cycle engine oil. This will lubricate the pistons and the cylinders and the Viton O-rings. I have the engine setting on top of 3 sheets of white printer paper, so if there are any leaks in my fuel system I will see tomorrow morning. I have opened the needle valve on Chucks carburetor 3/4 of a turn, and opened the throttle screw one full turn from the fully closed position. The valve lash is set so that when the pushrod is not riding up on the cam there is about .015" free play between the top of the valve and the rocker arm. All that remains to do is hook up my coil and battery, cross my fingers, say a short prayer to the God of small engines, and crank it up. Cross your fingers for me!!!---Brian
 
Last edited:
Sage, I have had that problem with photobucket videos, gives me the "buffering" message. If I'm patient 15-20 minutes to watch a 1:30 minute video, you tube videos no problem.
Brian, I find myself drawn to anything you build, despite not being overly excited about "slow" engines I find your builds captivating. If I didn't have something in the works I would consider your opposed. And maybe will in the future.
Art
 
Brian, been following the thread and not saying anything but just being a looker you sure make one there like I call it a lot going on, fellow would have to try to look at one part for a while before he could go to another one then try to take it all in, that is nice of you to share with us you know that is one of those engines that a fellow would love to have to show off to people who appreciate the finer things but I think that is out of most tinkers abilities, so its a copy past and when all done print and keep hoping someday that one would be good enough to build, thanks again for you time to photo, explain and in the end show us a real running winner, Lathe Nut
 
Just awesome. Looking forward to seeing it run under its own power.
 

Latest posts

Back
Top